Friday, November 2, 2012

Don't buy a wooden boat...buy a fiberglass one and add as much wood as possible.

Paul and Amber on s/v Kingsley take on some projects to spiff up the boat by adding wood.   I've never heard of roasted oak before.  Looks interesting...


   I don't know who said that catchy phrase, well, actually, I think it is just me saying it. Our Kingsley boat project of last week was heading over to my friends shop and working on new galley sink/trash covers (inside) and some new cockpit tables (outside). The orginals were made from plastic...not even a workable plastic - some composite that is equally hard to clean/paint (a.k.a. it is probably cheap).
   We upgraded the galley covers to bamboo and the cockpit tables (not finished yet) to roasted oak - a wood that has been literally roasted, removing water and sugars making it good for outdoor use (and cheaper than teak). I haven't installed the cockpit tables yet but I am pretty happy with our [almost] finished project.
   Do you have any recent add-wood-to-your-fiberglass boat projects? Did you use teak or something different? What do you use to maintain your indoor wood shine?
   ~Paul  

Step 1 - buy wood.

Picture
Step 2 - use old pieces as patterns


Picture
Step 3 - enjoy the fact that it will never get cleaner than this:)

Tuesday, October 30, 2012

It may not seem like the right time of year to do a project regarding bug screens... in the Northern hemisphere. But Paul on s/v Solace is located in the Southern hemisphere, where this a good and proper project for this time of year -  Making replacement bug screens:

I have two port holes in the side of the cockpit well (near the floor), which we keep open all the time. We place in the port holes, these snap in bug screens; but as you can see, from the picture to the left, some of the plastic has broken off. It is also broken in a couple of other places not visible in the photo. These bug screens are 1985 vintage and have just deteriorated through use and I suspect UV damage. Also, these sit around shoe level when sitting in the cockpit, and occasionally get popped out by an accidental heel kick.


Wooden Template

In reconstructing these, I first made a wooden template suitable for a router. I used MDF (medium density fibreboard). Next I procured some PVC board, which when doubling the thickness of the PVC board, was just a few millimeters thicker than my old bug screen. I used PVC, but could just as easily have worked with Polyethylene plastic board.

Next I cut out of the PVC board, four rough finished frames which were about 5-10mm wider than my template. You might notice that my template has a wider surface than the original bug screen. This was to give it some added strength and make it easier to place the bug mesh between the two PVC cutouts.

Routering

I used double sided sellotape to secure the template to the rough cutouts and then routed the remainder of the PVC off to the finished template. Each one was done in turn.

Then because my template wasn't exactly symmetrical I matched two pairs so that all corners lined up perfectly.

Mesh glued and trimmed

I lay one side of my PVC cutout down and placed a small bead of 3M 4000 deck caulking compound in the centre of the flat surface. Then I placed my bug screen mesh (Nylon I think) over the top off this, then spread the 4000 over the mesh so that it was in the middle and not near the edges, and sat level with the mesh and not proud. Final tension was then applied to the mesh and it was allowed to set up. This was to act as a "glue" so I could the trim the mesh about 1mm in from the outer edge after it had set up.

4000 applied before 2nd side attached

Next application of 4000 was applied in a thin layer over the mesh, but not approaching the inside edge by about 5mm. If the 4000 is squeezed out to the inside and over the mesh, the job looks "ugly" and once set is hard to remove from the mesh without damaging it.

Glass over top for glue to set

Finally the other side was applied, being careful that both PVC cutouts lined up perfectly. The PVC was pressed down from the inside edge to the outside, squeezing out any excess 4000. A plate of glass was applied over the two pieces and allowed to set up.

After it has set up, a sharp craft knife was used to trim the excess off, on the outside edge.

Finished product

The finished product to the left. It's both flexible and hardy. Should last several years. But, if you need to change the mesh, just slip a blade between the two sections to break the bond. Clean up and repeat the process for new mesh.
What am I going to secure it with in the port hole? Probably "blue tack"; but one could use a double sided foam tape, like they use to secure mirrors on walls.

Don't try to do the gluing in one step with the mesh. I tried and it was very difficult to have both PVC pieces line up perfectly. Also when trimming the mesh off, you could still see the mesh on the outer edge and it looked "ugly". A much better finish, if you glue the mesh to one piece first; have it set up, and trim the mesh back from the out edge. Then, when trimming the final outer edge of 4000 is done, a nice white finish is all you see.  So, in essence, what you see here is a bug screen that has had the mesh replaced once because I didn't do it right first time. Cost $30 for the PVC 1 square meter sheet; and $7 for the mesh.

[Editor's note: Not sure that the 3M 4000 - or any adhesive for that matter - would stick to polyethylene]

Thursday, October 25, 2012

Sometimes it's the little things

Over on s/v C'est la Vie Jeff has been working on a big project: refurbishing his engine room.  Now this certainly does not qualify as a "small" boat project.  But in the midst of this, he has found one of those small things that can be more important than the big ones. 
One of the few items remaining in C'est la Vie's engine compartment is the drive shaft.  The drive shaft is a solid stainless steel rod that connects the engine inside the boat to the prop outside the boat.

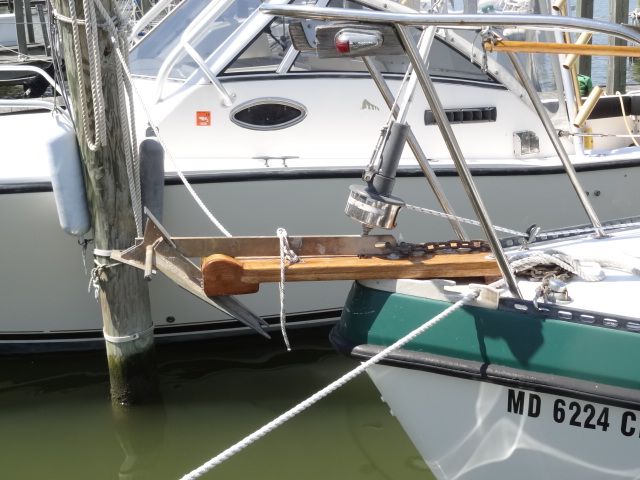
C'est la Vie's shaft and shaft seal were replaced in 2007 
Traveling from the prop towards the engine, the point where the shaft passes through the hull it is supported by shaft log.  The log is a bronze tube with rubber bushings.  The log relies on water from outside the hull to serves as a lubricate thus reducing wear and friction. Directly forward of the log is our shaft seal.  The shaft seal allows the shaft to spin freely yet prevents water from entering the boat.   In 2007, we replaced the shaft, shaft log, and the shaft seal (here is a link to the photo album - Replace Shaft, Log, and Seal - fall 07

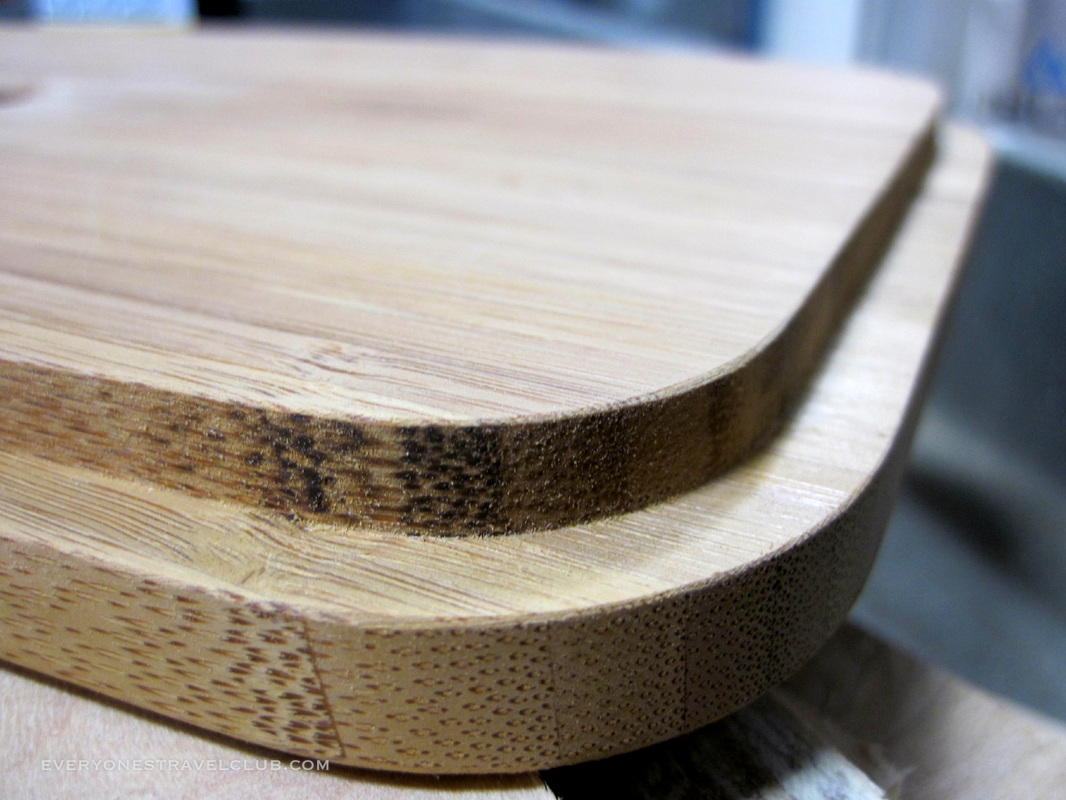
During the 2007 project, we purchased a PYI-PSS shaft seal and had the boat yard complete the installation work.  The shaft seal uses a rubber bellows as a spring to press a carbon flange against a spinning stainless steel rotor.  The carbon flange and stainless steel rotor are very smooth and when pressed together create a water proof seal.  As with any hole in the hull of the boat a failure of this system can cause the boat to sink.

the newly installed shaft seal - Fall 2007

Since all the components of the shaft system were new in 2007, I left them in place and did not intend to replace any parts.  My experience over the weekend has me questioning this decision.

C'est la Vie's Shaft Seal - Sept 30, 2012

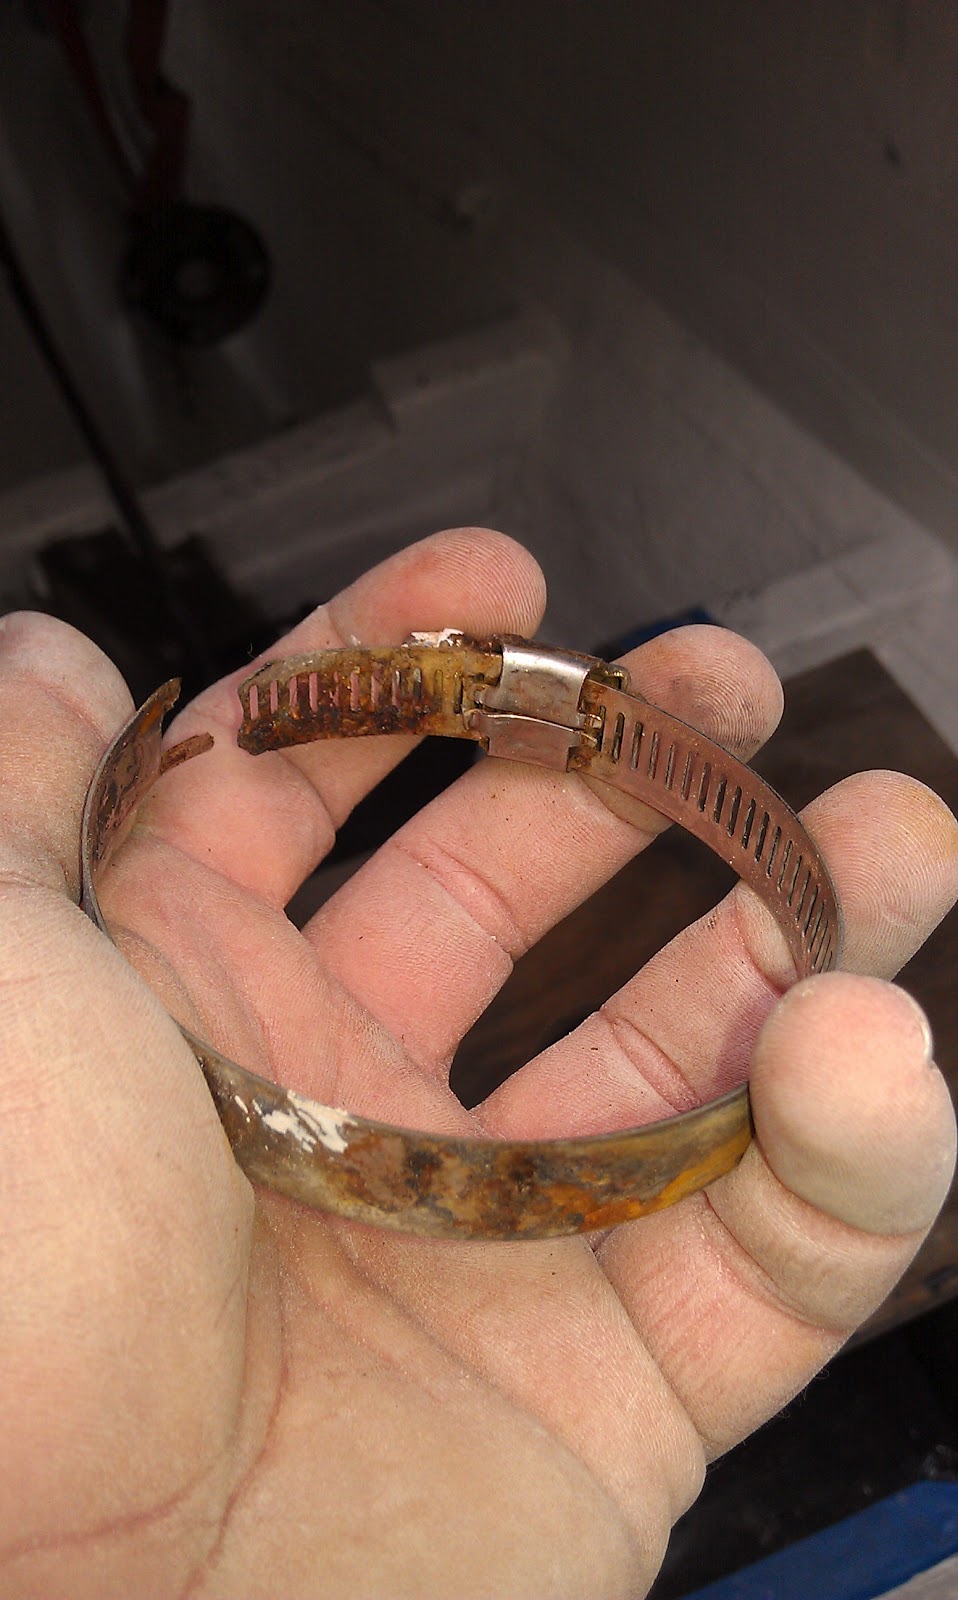
While sanding between coats of primer in the bilge, I noticed a paint drip on the aft most of the shaft seal's four hose clamps.  Using a scotch bite scrubbing pad, I reached back to remove the paint drip. Instantly the hose clamp broke in my hands. 

the  stainless steel hose clamp that broke in my hands after 5 years of
service on our shaft seal.

Alarmed I grabbed a nut tool and attempted to loosen the other hose clamps for an inspection.  The very next hose clamp I touched, the forward most clamp, broke as I torqued on the hex head.  Yikes! Failure of these clamps can sink the boat.  The clamps used on shaft seal were provided by the manufacturer, but are not of the quality I expect for critical through hull fittings.  Not all hose clamps are created equal.  

Without a doubt all hose clamps on board a boat should be stainless steel, but even among stainless clamps there is a broad spectrum of quality.  Clamps used in critical areas (i.e. through hull fittings, engine coolant lines, engine exhaust lines, black water systems, etc.) must be ABYC approved  316 stainless steel with a non-perforated band.    

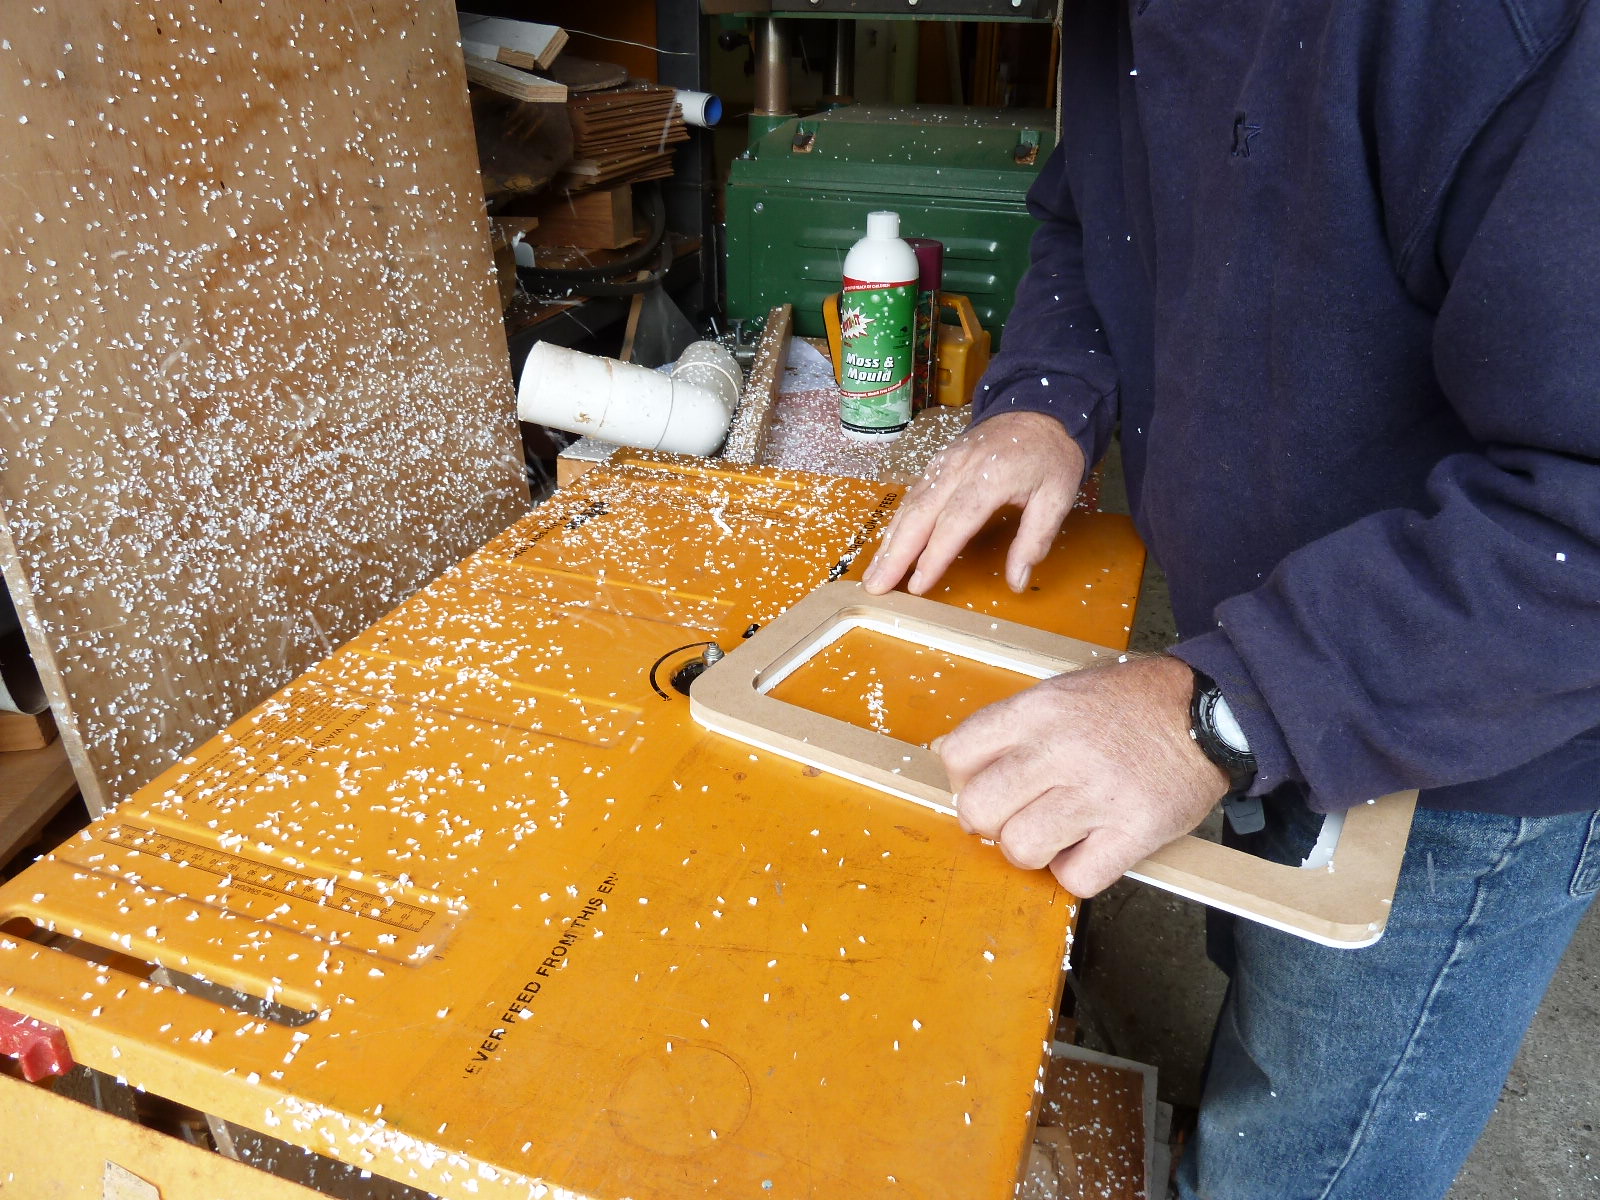
an ABYC approved 316 SS hose clamp with a non-perforated bans will replace
the bands on our shaft seal.

How does one identify the various quality of clamps?  The easiest test is to run a magnet across all hose clamps on the boat.  If the magnet is attracted to the clamp then the clamp contains ferrous metal that will easily rust. Any clamp attracted to a magnet needs to be kicked off the boat ASAP.  I keep a magnet in my tool box expressly for testing hose clamps, bolts, screws, etc.  If any of these items do not pass the magnet test then off they go.

Hose clamps that will pass the magnet test are appropriate for non-critical boat systems (i.e. tank vent lines, fresh water plumbing, etc.).   If the clamp is destined for a system that is considered critical then it must pass two additional tests.  First is the band non-perforated?  A non perforated band is stronger, better resists rust, and provides more uniform pressure around a hose.  Secondly the hex head on the clamp must be 7mm.

I'm unsure if the 7mm hex head is a brand specific standard or if it is set by the ABYC.  All high quality AWAB Hose clamps have a 7mm head so I look to this as an identifying feature of high quality clamps.

If your using the 7mm head as standard of quality then I recommend purchasing a  flexible shaft 7mm nut tool  to compliment the clamps.  

It is worth noting an exception to my hose clamp rant.  As hose diameter increases to 2" or greater and/or if the hose has a wire for additional strength (e.g. engine exhaust systems), then t-bolt hose clamps are recommended due to their ability to provide increase pressure on the hose. 
Inspecting and replacing hose clamps is a "small" boat project we should all perform, annually at the least.

Tuesday, October 23, 2012

Oops

I apologize - due to insufficient caffination, I had re-scheduled a previously published post for posting again this morning.  I've taken it down (the original is still there) and replaced it with a new one.

bob

A custom anchor platform

Because of their shape, Danforth anchors are difficult to stow on a "standard" bow roller. Rick dealt with this problem on s/v Cay of Sea by making his own anchor platform, specifically designed to work with the Danforth.  Tho the project below does not show the design and construction of the platform directly, I think the pictures give enough detail to allow one to construct their own anchor platform:
A year ago last month, I fabricated and installed an anchor platform for Cay of Sea.  This took quite a while, because the platform had to accommodate a danforth-style hook – not the easiest anchor to fit to a platform.  Also, it was a “custom” fabrication, so there was a great deal of measuring, marking, trimming, fitting, refitting, remarking, designing, redesigning – you get the idea.  It was a lot of fussy work, but the result was a great improvement for stowing and handling the ground tackle.


This is the way it looked this spring before the finish failed.  Compare with the following images:

Failed Finish

Close-up of failed varnish and darkened grain

So maybe this doesn’t look to alarming to you, but considering that it is made of red oak, taking action is indicated sooner than later.  Red oak is a lovely dense, hard wood that is tough.  The problem with it is that it is rot-prone.   I knew that when I used it to build the platform, but I used it anyway because it was readily available and reasonably cheap.  I reasoned that if I kept it protected with epoxy and varnish, it would do fine.And it would have done fine, if I had kept up with it this year.  However, I got in a hurry last fall to use it, and only put on 3-4 coats of cheap varnish, promising myself that I would do a better job soon. . . Soon is relative, you know.  I should have re-varnished this spring with the good stuff, but I didn’t. Subsequently, here we are in mid-fall, and I’ve got to redo the finish correctly.

I was also dismayed to find out that the fender washers I used weren’t stainless, or were an inferior grade of stainless, and they rusted.  I know I chose them from the stainless bin, but sometimes fasteners and hardware gets shifted about.  When I reinstall that platform, I’ll be sure to use high quality stainless fender washers.

After removing the platform, I was happy to see that my sealant (Boatlife caulk) did a great job of keeping the water out of the boat and out of the bolt holes.  I sealed the deck holes with epoxy last fall, but did not pot the holes and re-drill.  I intend to do that while the platform is off too.
So the first step was to remove/strip all the finish off.  I used Strypeez paint remover – the really thick stuff, and it did a really good job.  It was in the 50s yesterday while I was using it, so it worked a little more slowly, but it did the job.

Strypeez slathered all over

After removing the finish, I used oxalic acid to bleach the dark lines out of the wood, and lighten it over all.  Three heaping tablespoons in a quart of hot water made a very strong solution.

All finish removed, and wood bleached with oxalic acid. Ready for acetone wipe-down and first application of epoxy resin.

I wiped the piece with solvent, then mixed my epoxy resin, and here I may have a glitch.  My container of West System resin pulled air with the second pump, and I got an imprecise measure of resin.  I pumped in two pumps of catalyst anyway, and hope the ratio is nearly correct.  If it isn’t, it won’t cure properly – I’ll know tomorrow morning if it cured.  If it didn’t cure, I’ll have to strip it again and re-coat with a properly mixed ratio.  Regardless, I’ll need more resin for subsequent coats, so there’s no great loss if I need to take an uncured coat off – just a bit of time.

And, I got a comment on my introductory post requesting a few more photos of the platform, so here they are:


Thursday, October 18, 2012

Making winterizing easier

Do you live in a climate where you need to winterize your boat?  Thankfully, here in Seattle, if you live aboard winterizing is pretty much synonymous with addressing deck leaks.  But if you do need to winterize, Drew over at Sail Delmarva has some suggestions to make this annual task easier...

I'm not clear why a boat made in Canada came without the most basic provisions for winterizing.

______________


The Head
Since I stay in the water all winter, I need to be able to winterize every hose. During the coldest weeks I flush with a weak glycol solution, so the down stream portions are no concern. I pump-out before it gets too cold for the stations to close and generally make it until they thaw. However, the suction side presents a problem. Additionally, I've had occasional trouble with sea grass fouling the intake valve on the head pump. Two years ago I installed a simple Y-strainer, which solved the clogging problem, but it was very difficult to clean; the lid would stick and the location and leverage were terrible. About a year ago I replaced the intake hose, upgraded the strainer (also a freebe) and moved it to a more convinient location in the holding tank compartment, and added a glycol addition fitting. No more clogs and 5-minute winterizing.

To winterize the sea cock side:
  1. Place the head pump in the locked position.
  2. Clean the strainer, if you think it's due.
  3. Open the sea cock.
  4. Open the blue valve and add ~ 1 quart of glycol from a jug on deck (it also has a drain valve).
  5. Close the sea cock.
To winterize head side:
  1. Open the blue valve.
  2. Unlock the head pump and pump until you see red.
  3. Close the blue valve.
Why red instead of pink? I use ethylene glycol (EG) antifreeze on the head system:
  • I get it for free (we make it).
  • The affect on the sewage plant is less than for propylene glycol (pink non-toxic, AKA PG) because less is needed (PG is less effective, on a percent basis) and they biodegrade at the same rate.
  • Ethylene glycol is NOT more toxic to fish or the environment. It is only more toxic to mammals. Don't take my word for it--read the MSDSs.  
  • The head side is most certainly not potable!
  • EG is less harmful to the hoses than PG. Just a little, but that is one of the reasons propylene glycol is not favored by automotive OEMs. 
  
The Pressure System

Adding just a few valves made this into an easy one-gallon job. 15 minutes, tops.
  1. Pump the tank empty. Remove what remains by bailing with a cup or with a shop vac. No glycol in the tank.
  2. Close the valve to the left of the strainer. 
  3. Open the valve to the right of the strainer and place the hose in a jug.
  4. Open every tap on the boat, both hot and cold, and let run until glycol comes out. Have a jug handy to catch any extra.
  5. Once the jug runs empty (most likely before you are finished), let it blow air through the pipes for just a few minutes. Open every tap you have winterized and catch what comes out. It will be enough for the rest of the boat. Don't forget the transom shower.
  6. Close the glycol valve.
  7. Remove the strainer, clean, and put a little glycol in it. Yeah, I could just leave it off, but I know I'll forget in the spring and get a slight flood.
Only non-toxic propylene glycol on the potable side, obviously.


After reading Mike's link, I figured I should add these. I've also posted winterizing stuff here.


Shower Drain

I guess I might as well mention this, while on the topic. Pour about a quart in the drain and pump.


Sinks

They're all hose and drain anyway. Skip it.


Engines

They drain if raised.


_______________


 The previous owner blew out lines and disconnected lines. I spent a season chasing leaks in connections that had been opened too many times and replacing cracked fittings on the water heater that didn't quite drain. This is MUCH better. The only thing lazier would be wintering in Grenada....
Related Posts Plugin for WordPress, Blogger...