The aft cabin is finished with the exception of a few coats of wax so here are the pics for your perusal.
This is the starboard aft cabin berth that we removed the mattress from. We bought these hardwood drawers from Lowes in a kit for less money than we could have bought the materials.
Tim built a bulkhead across the foot of the berth at the same location as the front of the pantry cupboard. The area behind this bulkhead will store boxed tools like drills and the Dremel. In this picture he's working on installing the wire shelves that will hold our Harbor Freight plastic storage boxes. And yes, we know the shelves are upside down. We needed the lip to keep the boxes from sliding back and forth every time we tack.
The finished project minus the waxed finish. There is a handy shelf on the top for putting the tools currently being used. Below the hinge are the two drawers that hold tools. You can now see the door on the bulkhead to access the boxed tool storage. We left enough room then in front of the drawers for guests to put their duffels.
Here it is with the front panel lowered on the hinge. This makes our workbench which will soon have a quick-mount vice on the corner in the front of the picture. It's hard to see in the picture, but under the workbench are three drawers that we put 100# heavy duty sliders on and locks to hold our heaviest tools.
The drawers have good sliders on them and are stopped by the fiddle.
The cupboard at the foot holds an amazing amount ofjunktools.
Showing posts with label carpentry. Show all posts
Showing posts with label carpentry. Show all posts
Tuesday, November 14, 2017
Aft Cabin Project
Please welcome new contributors Deb and Tim, who live aboard and cruise their Tartan 42, s/v Kintala. If you live aboard your boat, you undoubtedly work on your boat. So where do the tools, electrical connectors, plumbing bits, spare pieces of precious teak, etc go? Deb and Tim created a nicely organized storage area for just these things...


Tuesday, October 31, 2017
The Changing of a Hanging Locker
All of us have boats with storage compartments wedged into any void space in the design. Not all of these spaces provided by the designer are useful to our particular needs. Dana on s/v Rubigale, tackles this issue head-on...
Empty Locker Before
I was frustrated with the inability to store much of anything in the two hanging lockers that I had, and the lack of storage in general on the boat. The shape of a hanging locker doesn’t lend itself to any item of clothing I can think of other than perhaps a miniskirt or skinny jeans, and I doubt that is what most people want to store in them. I decided to convert the locker in my V-berth to shelves instead and see if I could recover some of that space.
Supports Installed The first challenge was that with the curvature of the hull, nothing looked straight. I ended up measuring down from the top and then using a level to draw lines on the walls where the shelf supports would go. Never would I have thought that those lines were straight due to the visual tricks of the curvature and I had to trust the level. Each of those lines were measured for the supports which were cut 1” short of the back wall and angled at 45 degrees due to the slant of the wall. These were predrilled with a small countersink. Once this was done they were coated in polyurethane and screwed onto the side walls where the marks had been made and the holes filled with wood filler.
Logan Helps With Patterns The second challenge was that the back wall is the hull of the boat and curved not only top to bottom, but from forward to aft. After starting, I discovered that one of my two “straight” walls was not straight. Not being a geometry genius, I had to come up with something that would allow me to cut shelves with as few tries as possible. I took a piece of scrap trim and drilled a hole the size of a pencil at one end. I used a thin piece of balsa wood about 4 inches wide as a temporary shelf, put brown wrapping paper over it and placed it on the supports. I then used my pencil “protractor” to trace the hull shape onto the paper.
Once I had the side measurements and the shape of the back, I cut the shelves. I left a one inch gap at the back for air flow. I used 1/2’ plywood for the shelves – anything thinner wasn’t going to be strong enough and thicker just took up room I could use for storage.
Cut Shelves With Rail After a few coats of polyurethane, a small fiddle-rail, stained to match the outside of the locker was attached to the end with small brads. The shelves sit on the supports unattached. The fit is snug enough that there’s no movement, but they can still be easily removed. The fiddle-rail keeps containers from sliding into the door when the boat heels.
Finished Shelves A relatively large amount of storage was gained by changing a traditional hanging locker to shelving. This solution works well for me since I don’t really have clothes that need to be hanged. I plan to convert the only other hanging locker as well, but will use L brackets instead of wood supports to save some steps and time.


Tuesday, February 7, 2017
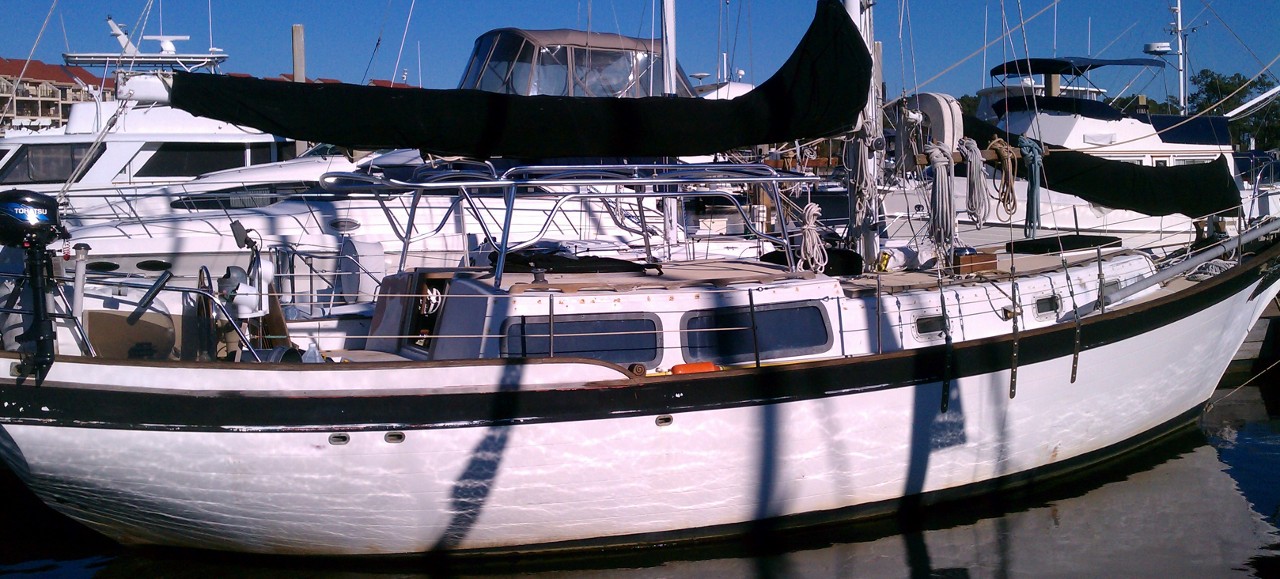
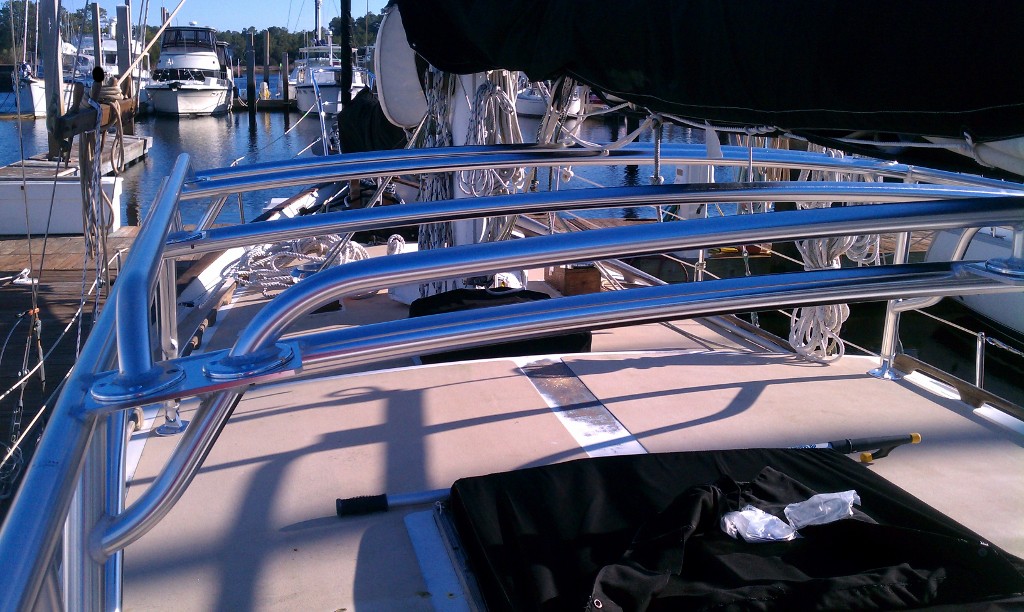
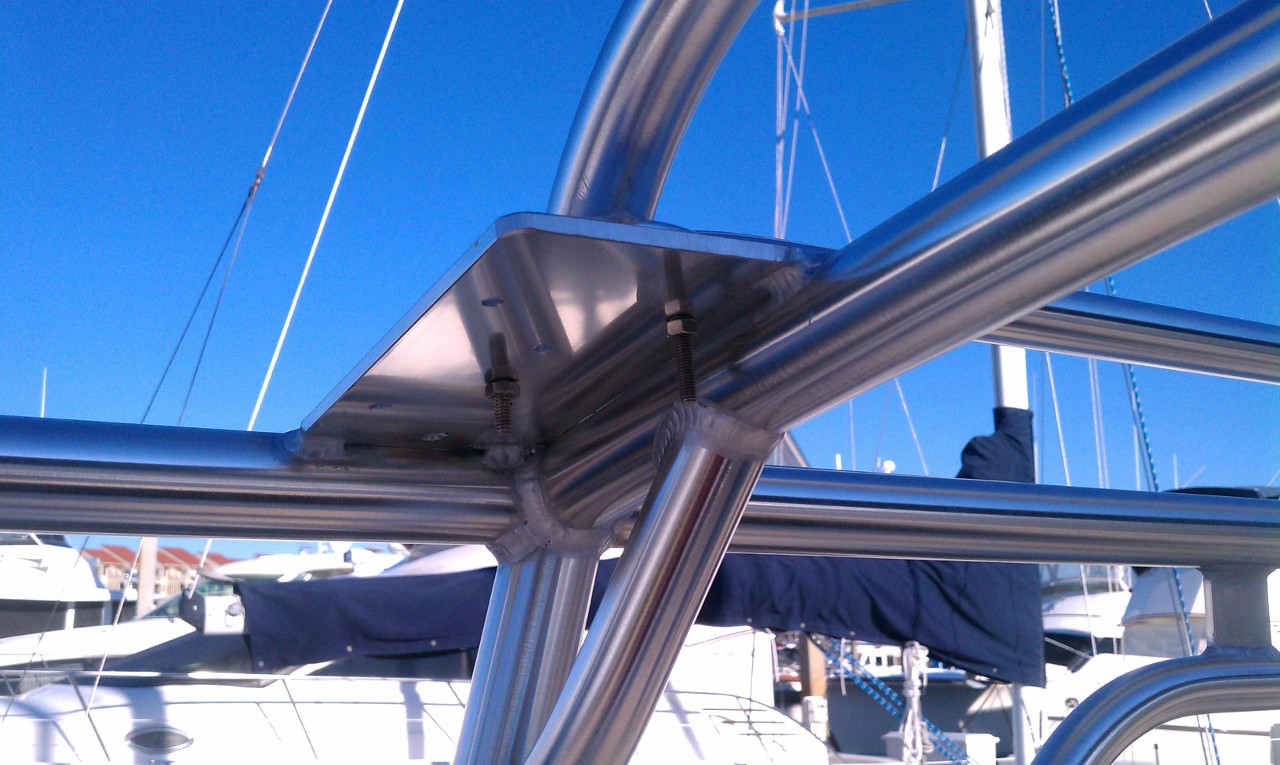
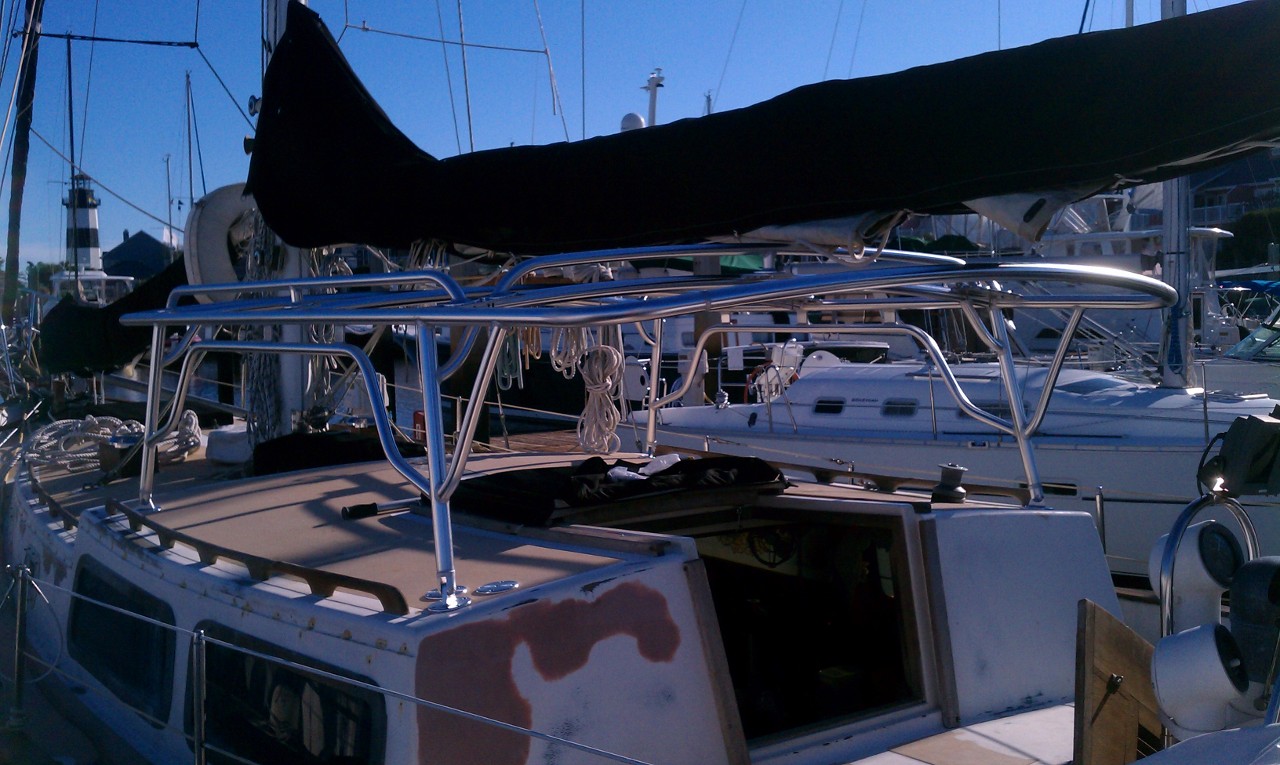
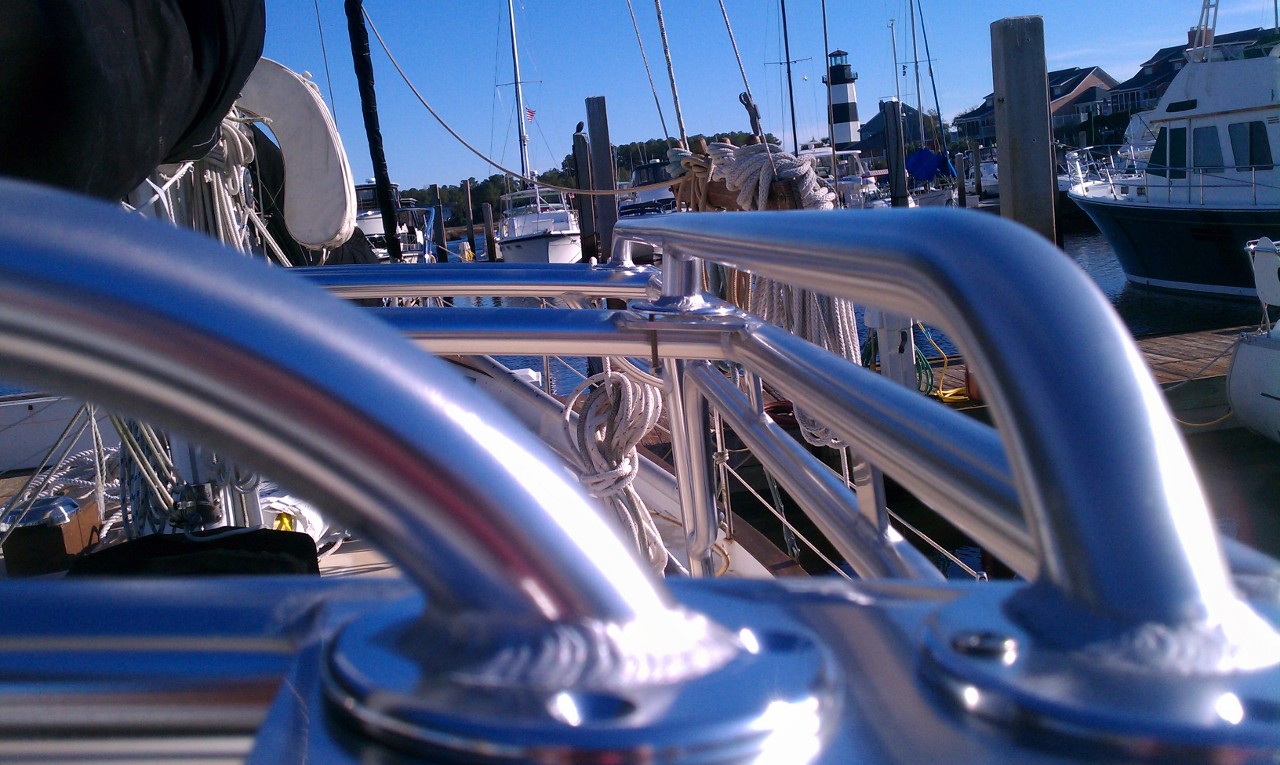
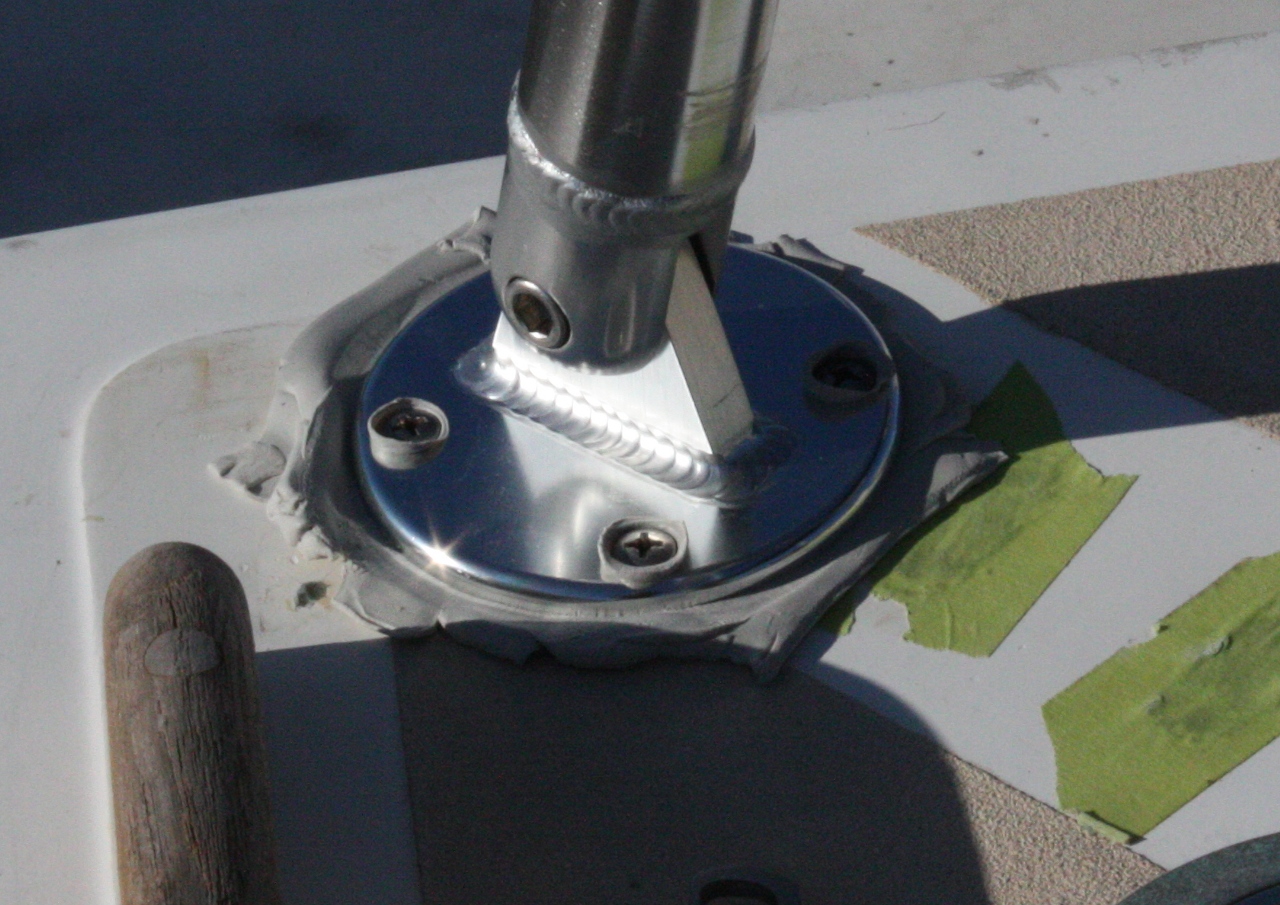
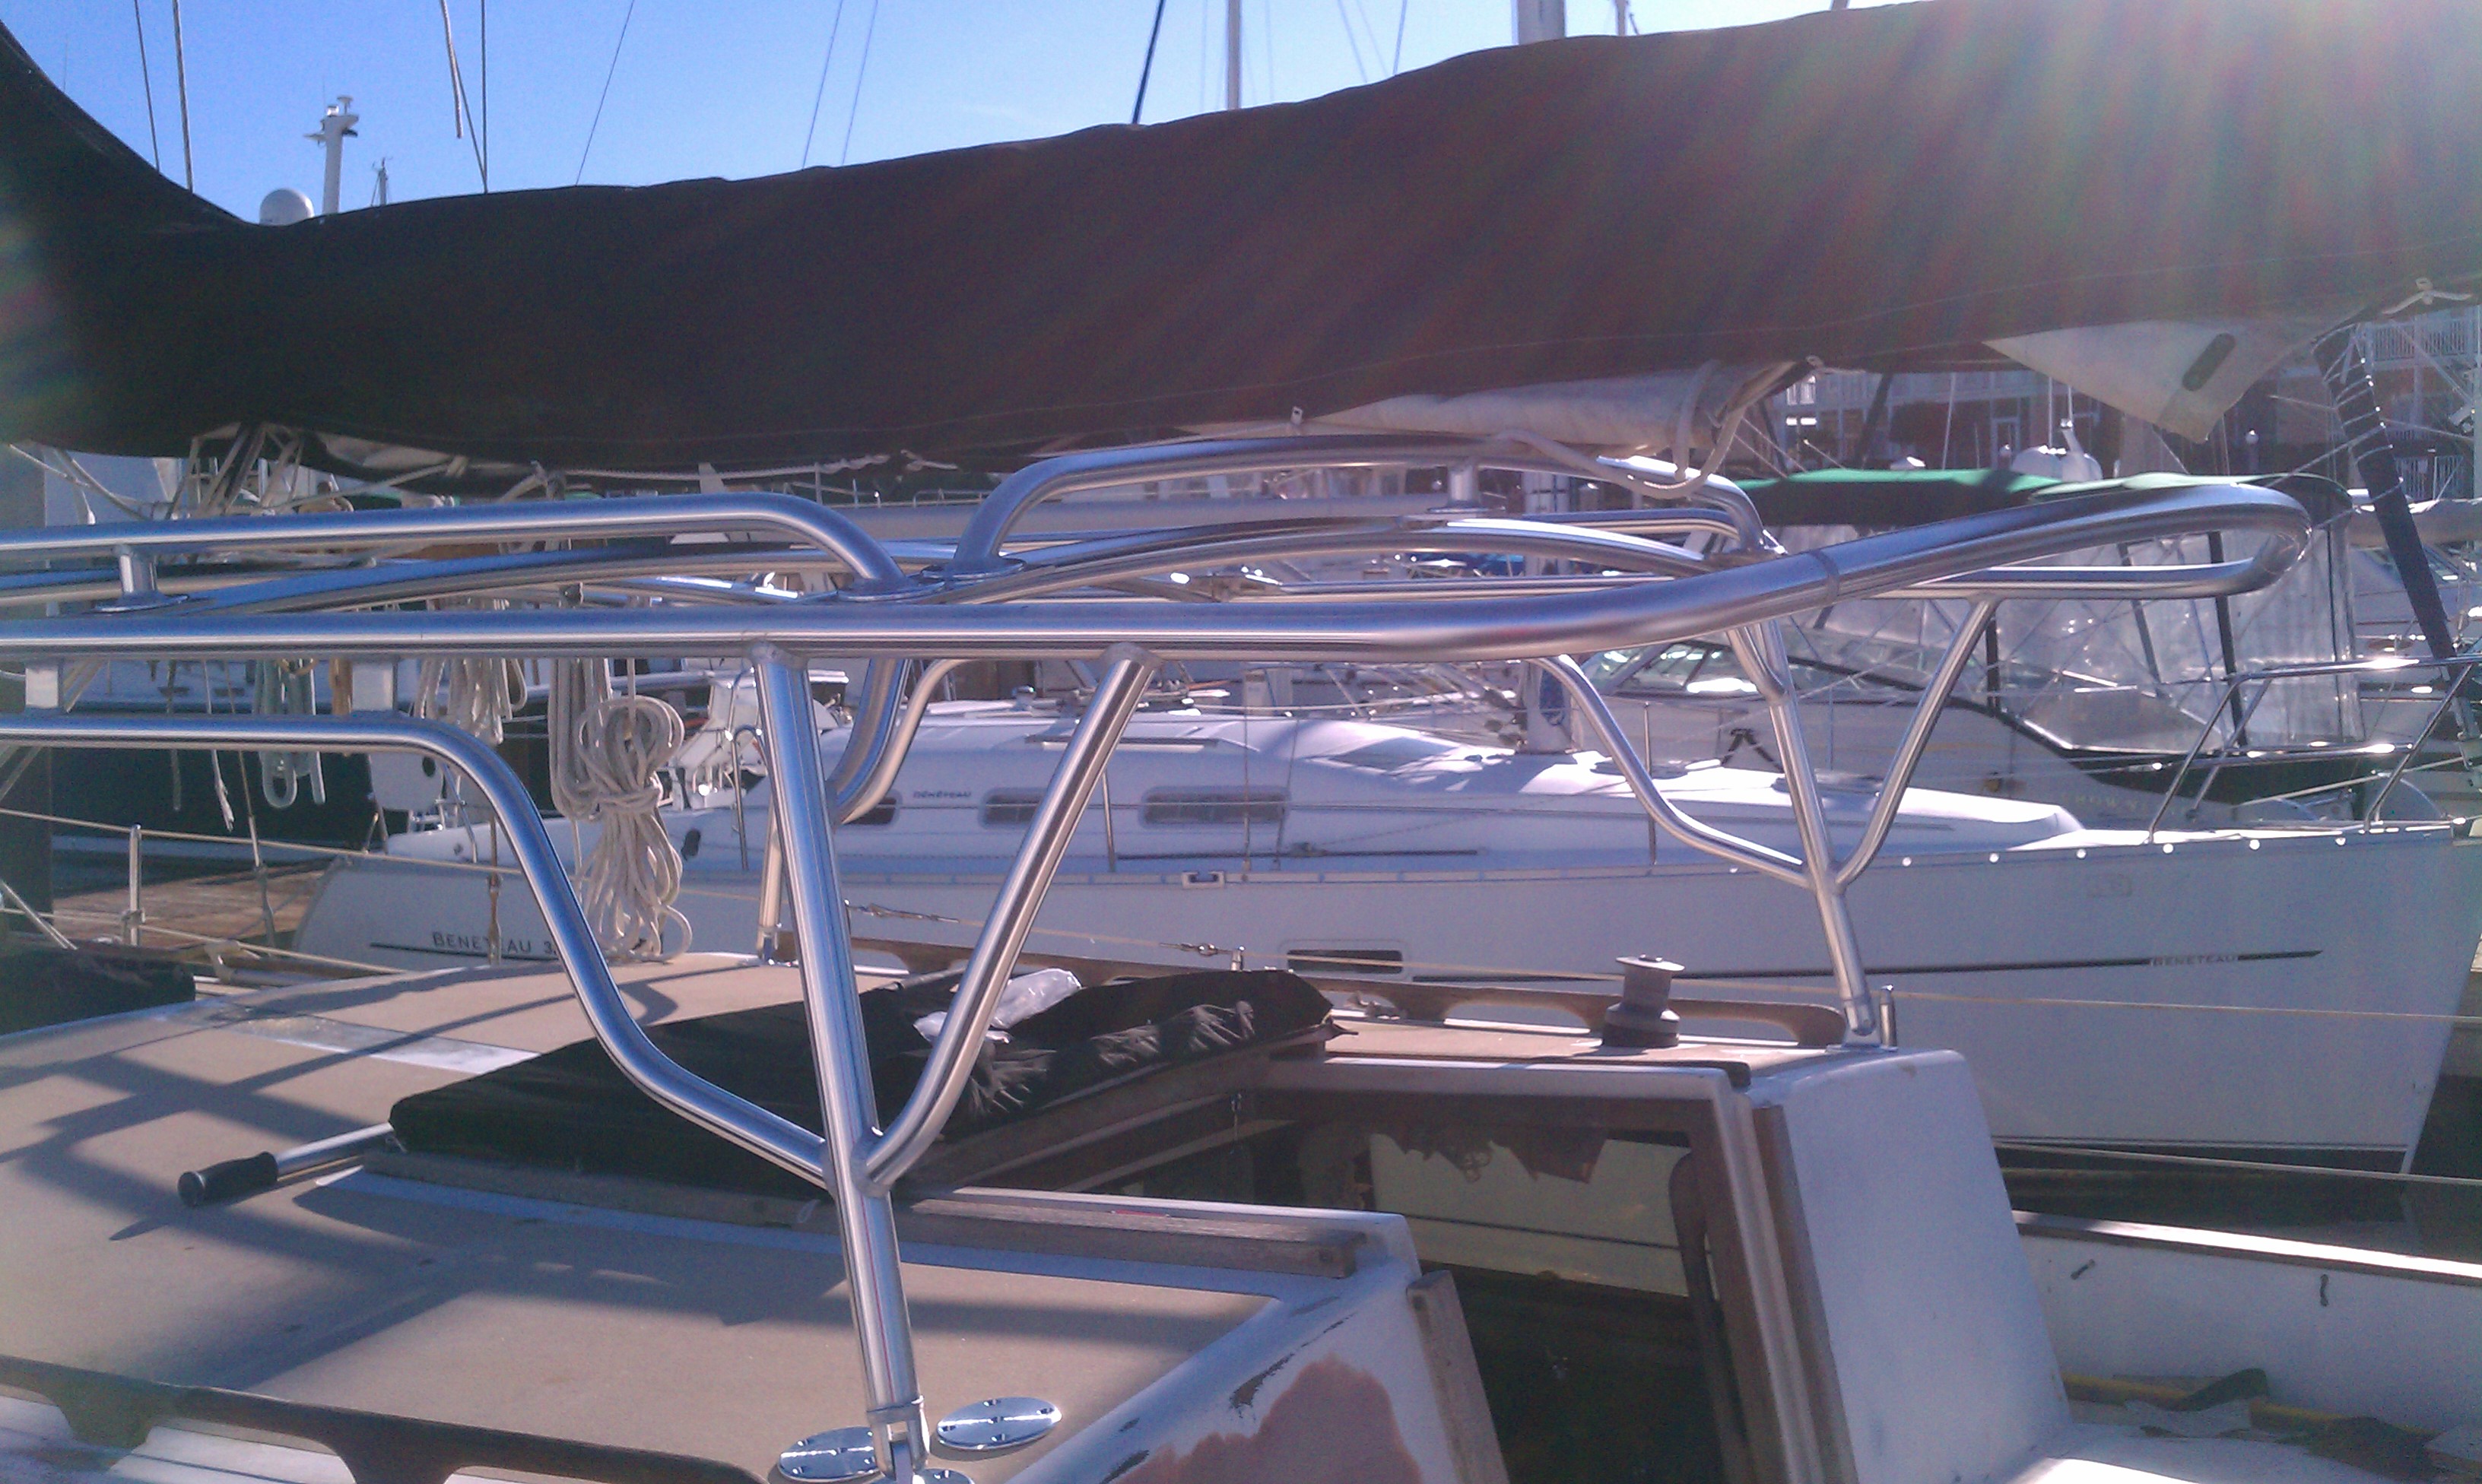
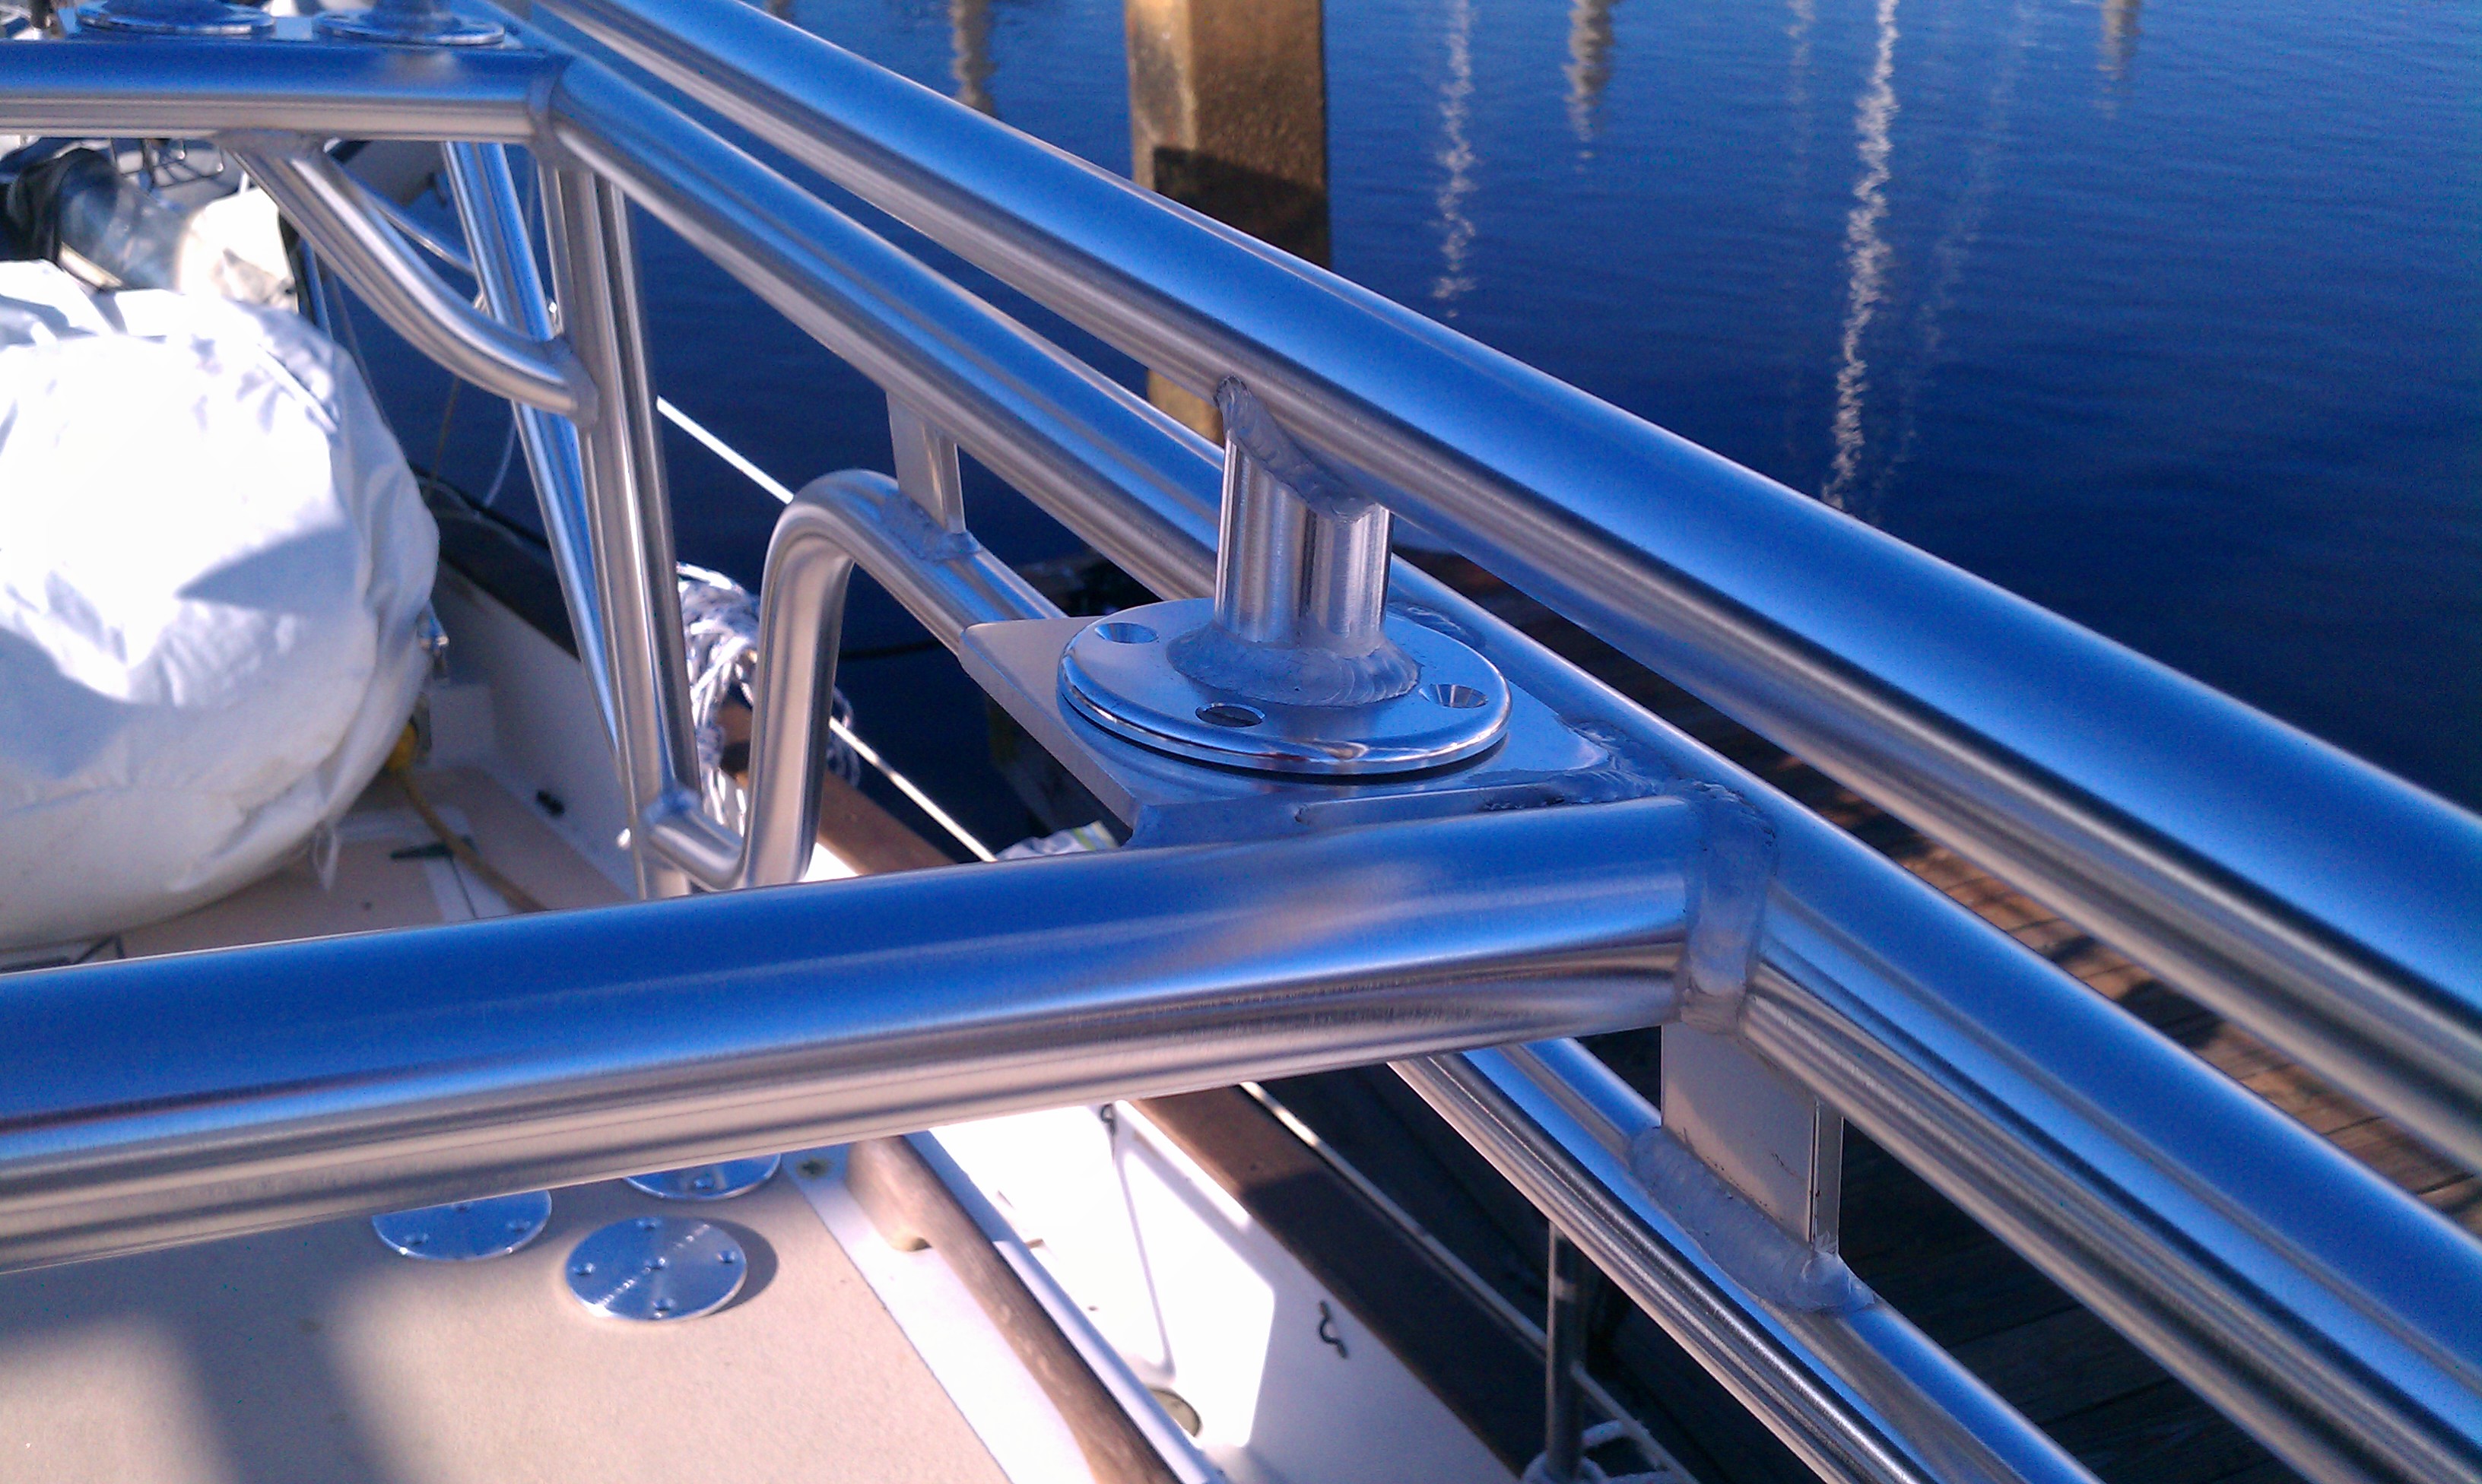
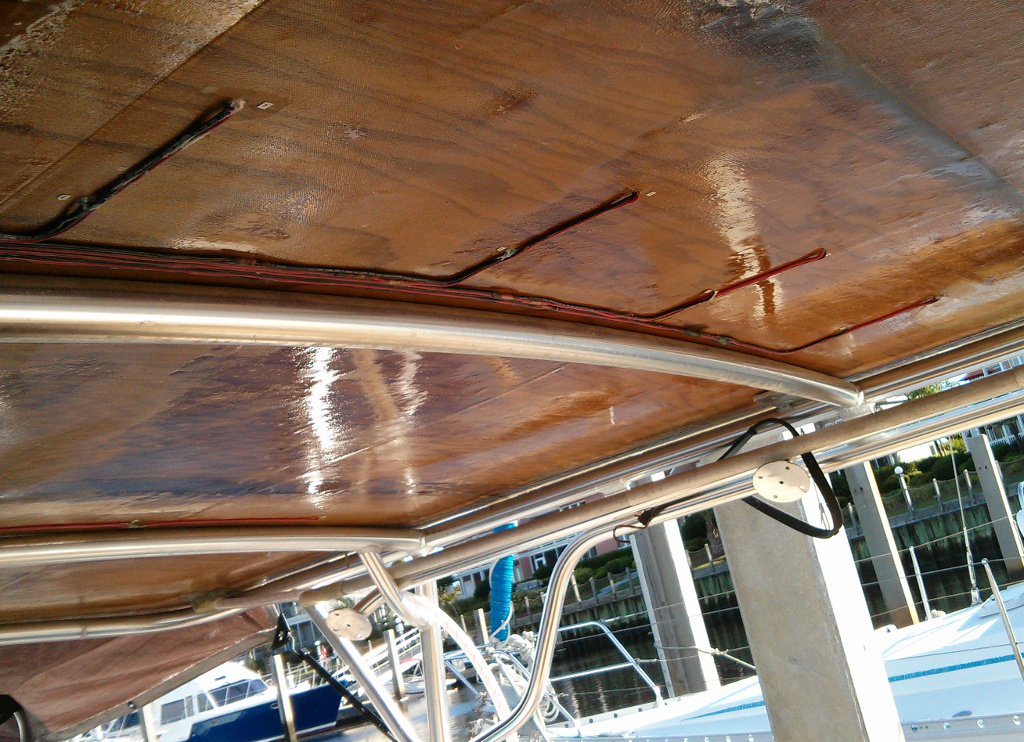
Valkyr’s Hard Dodger
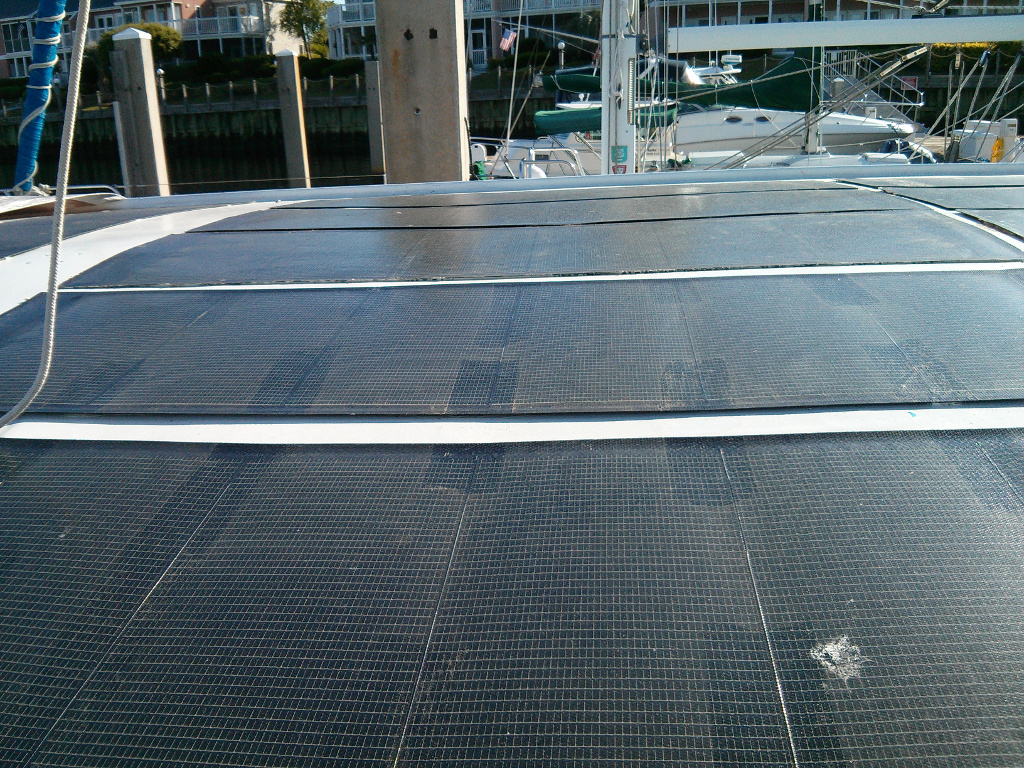
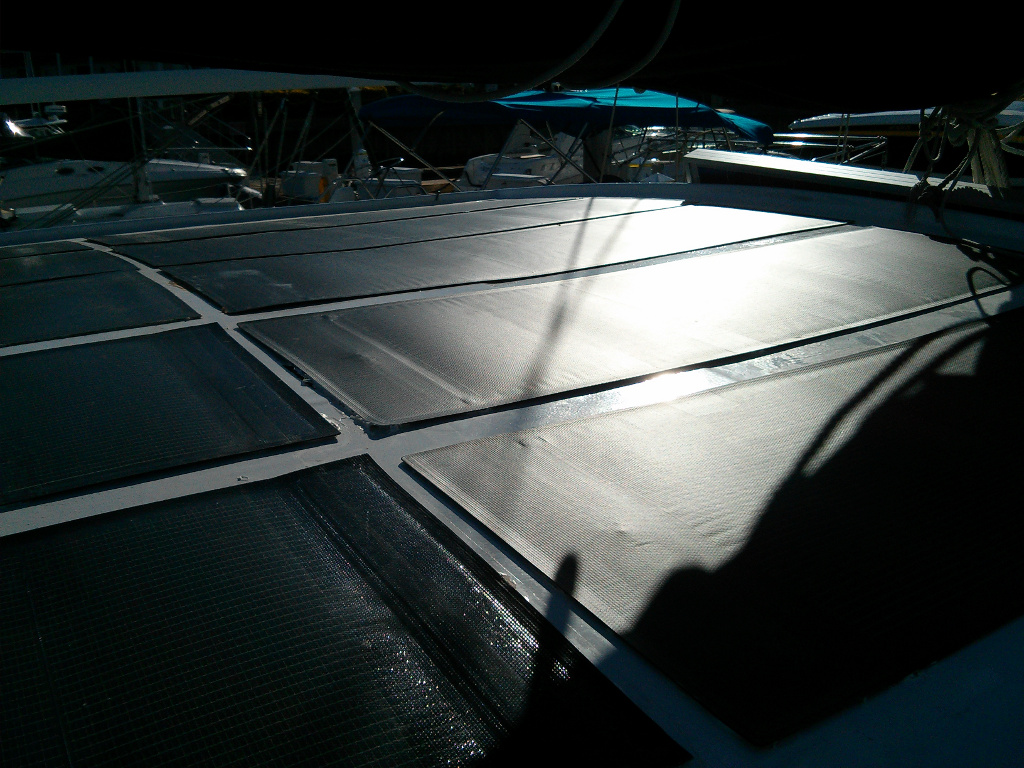
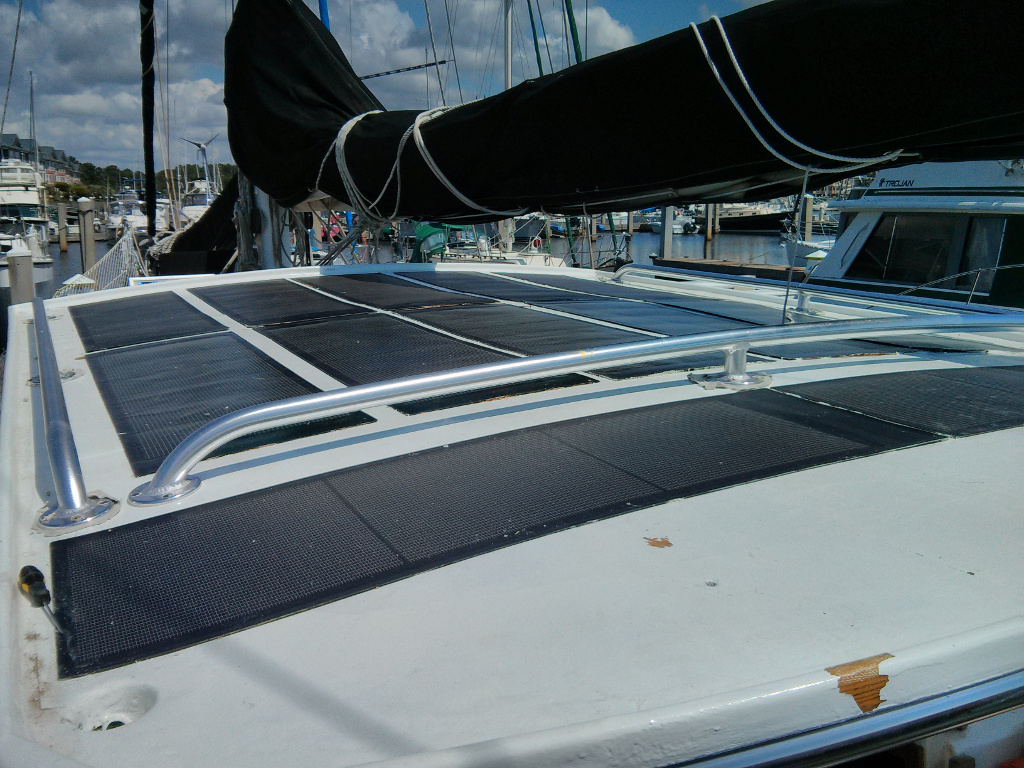
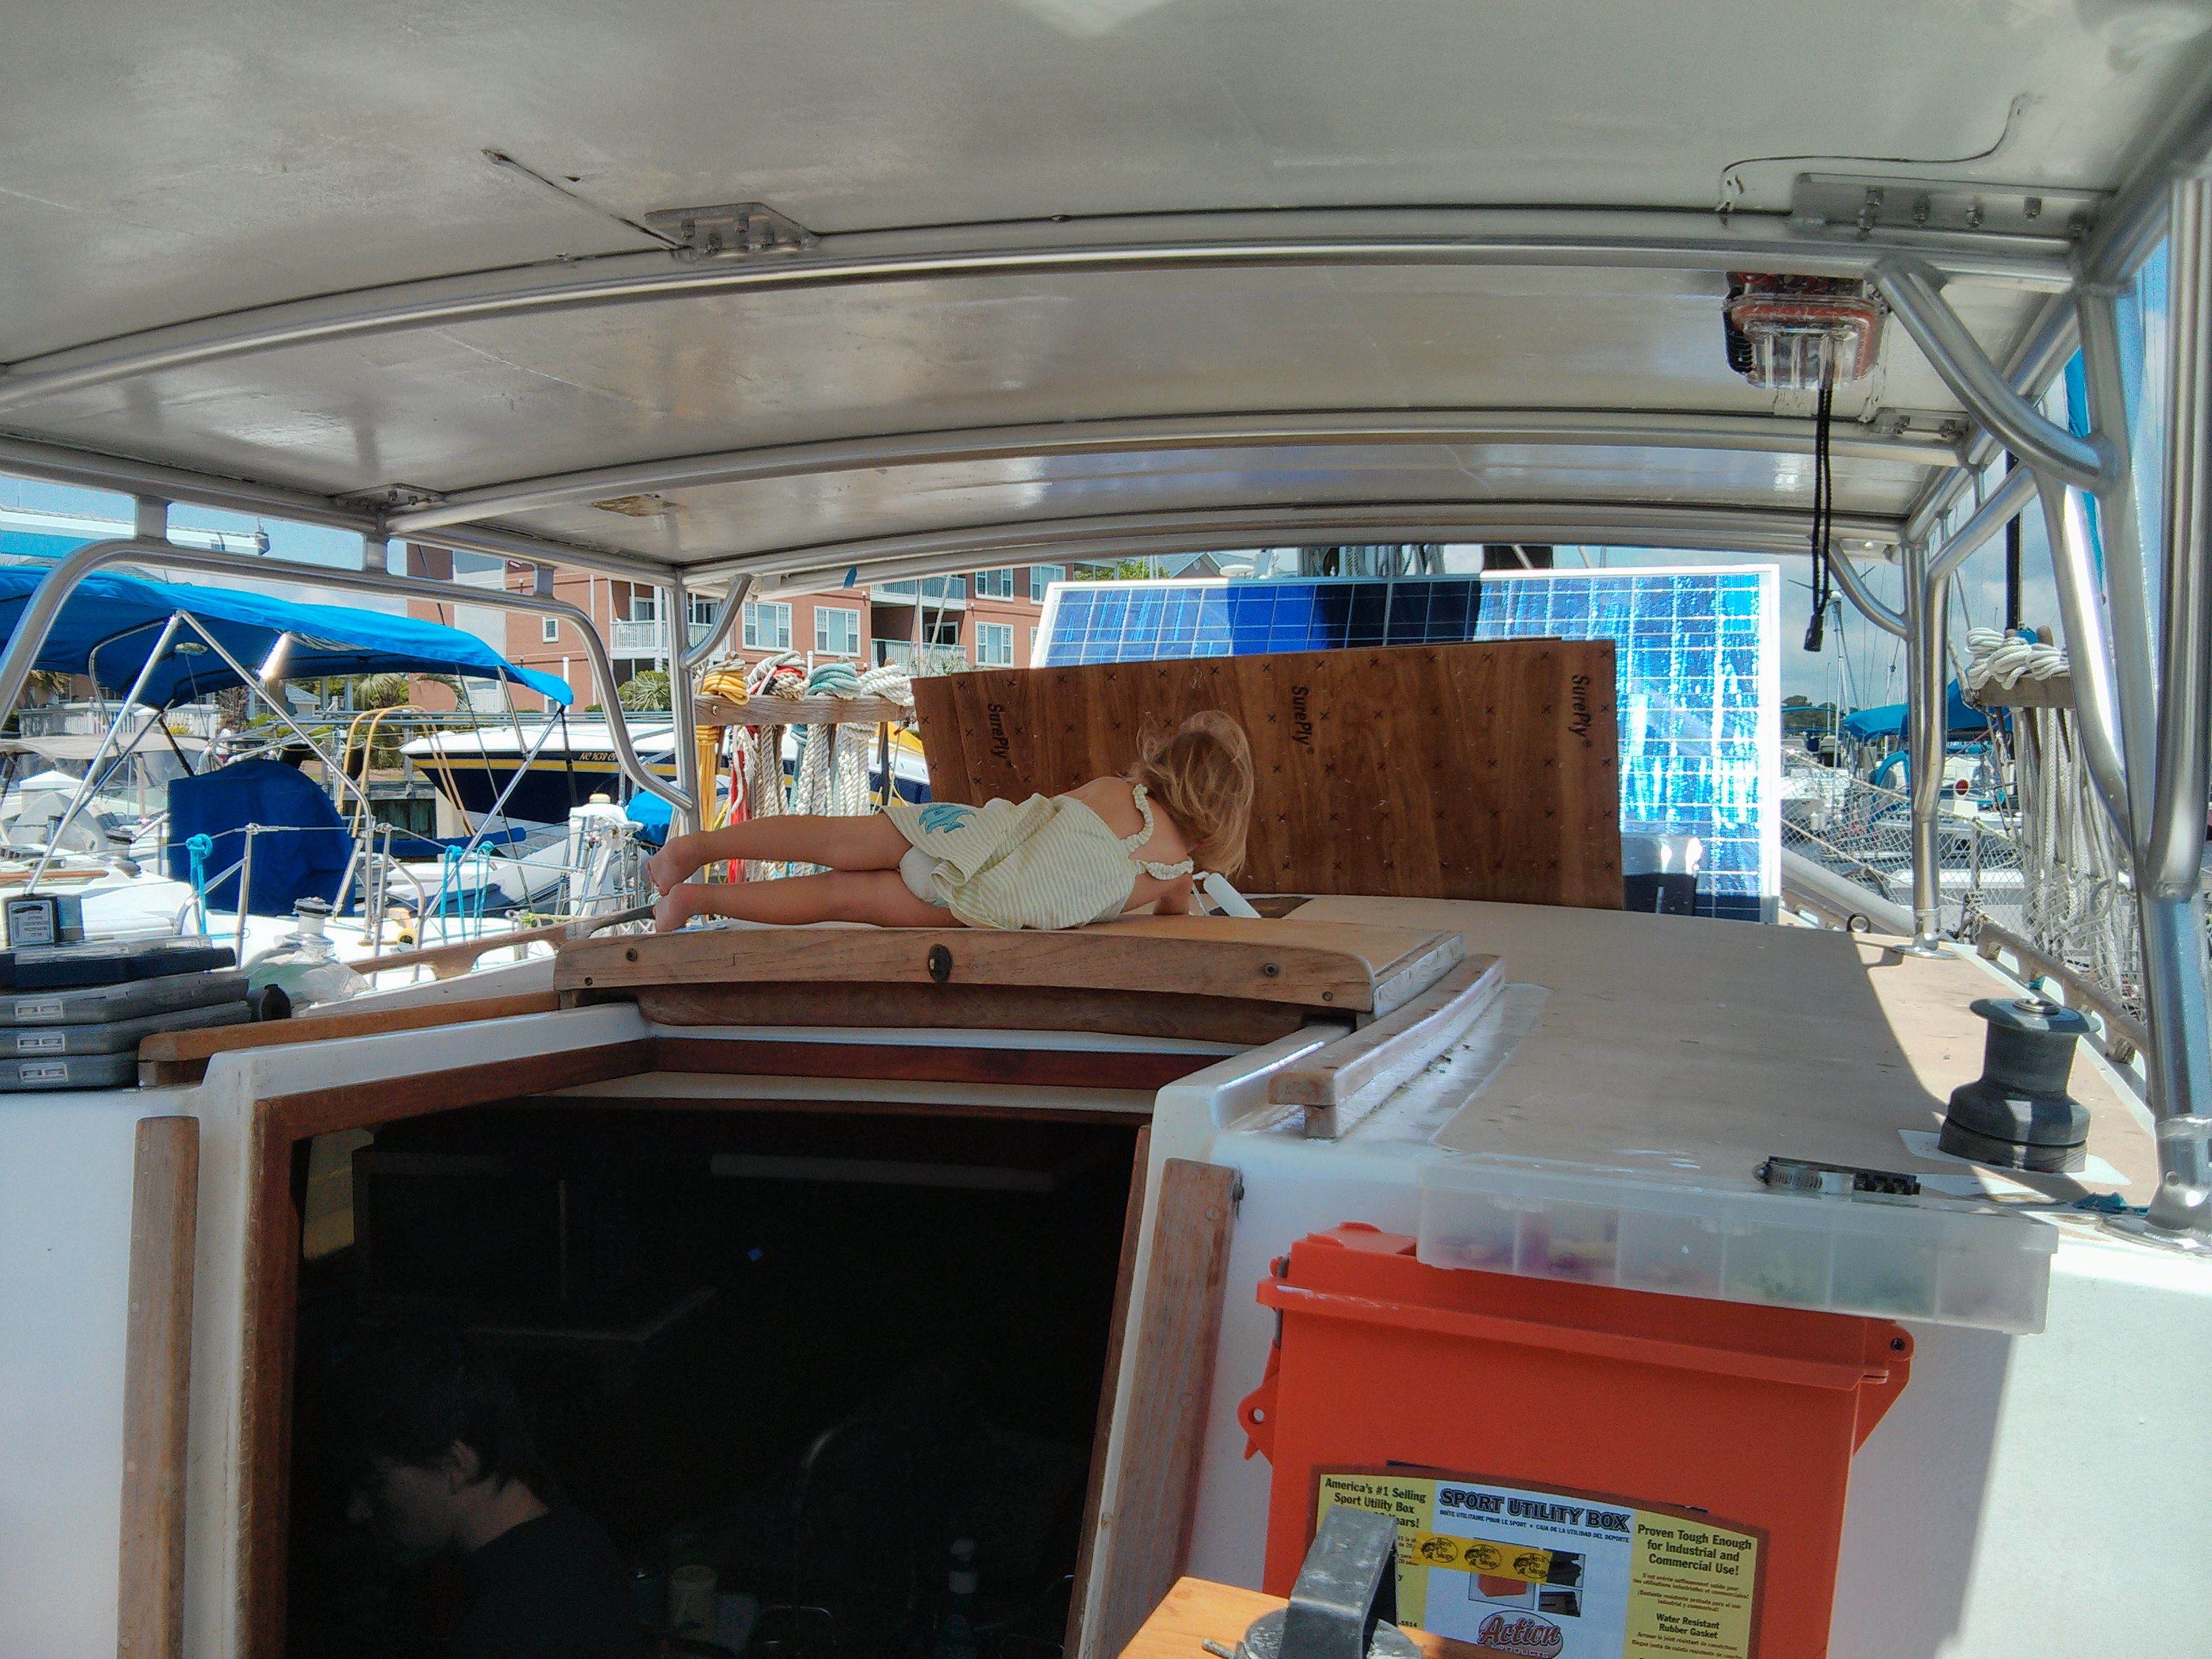
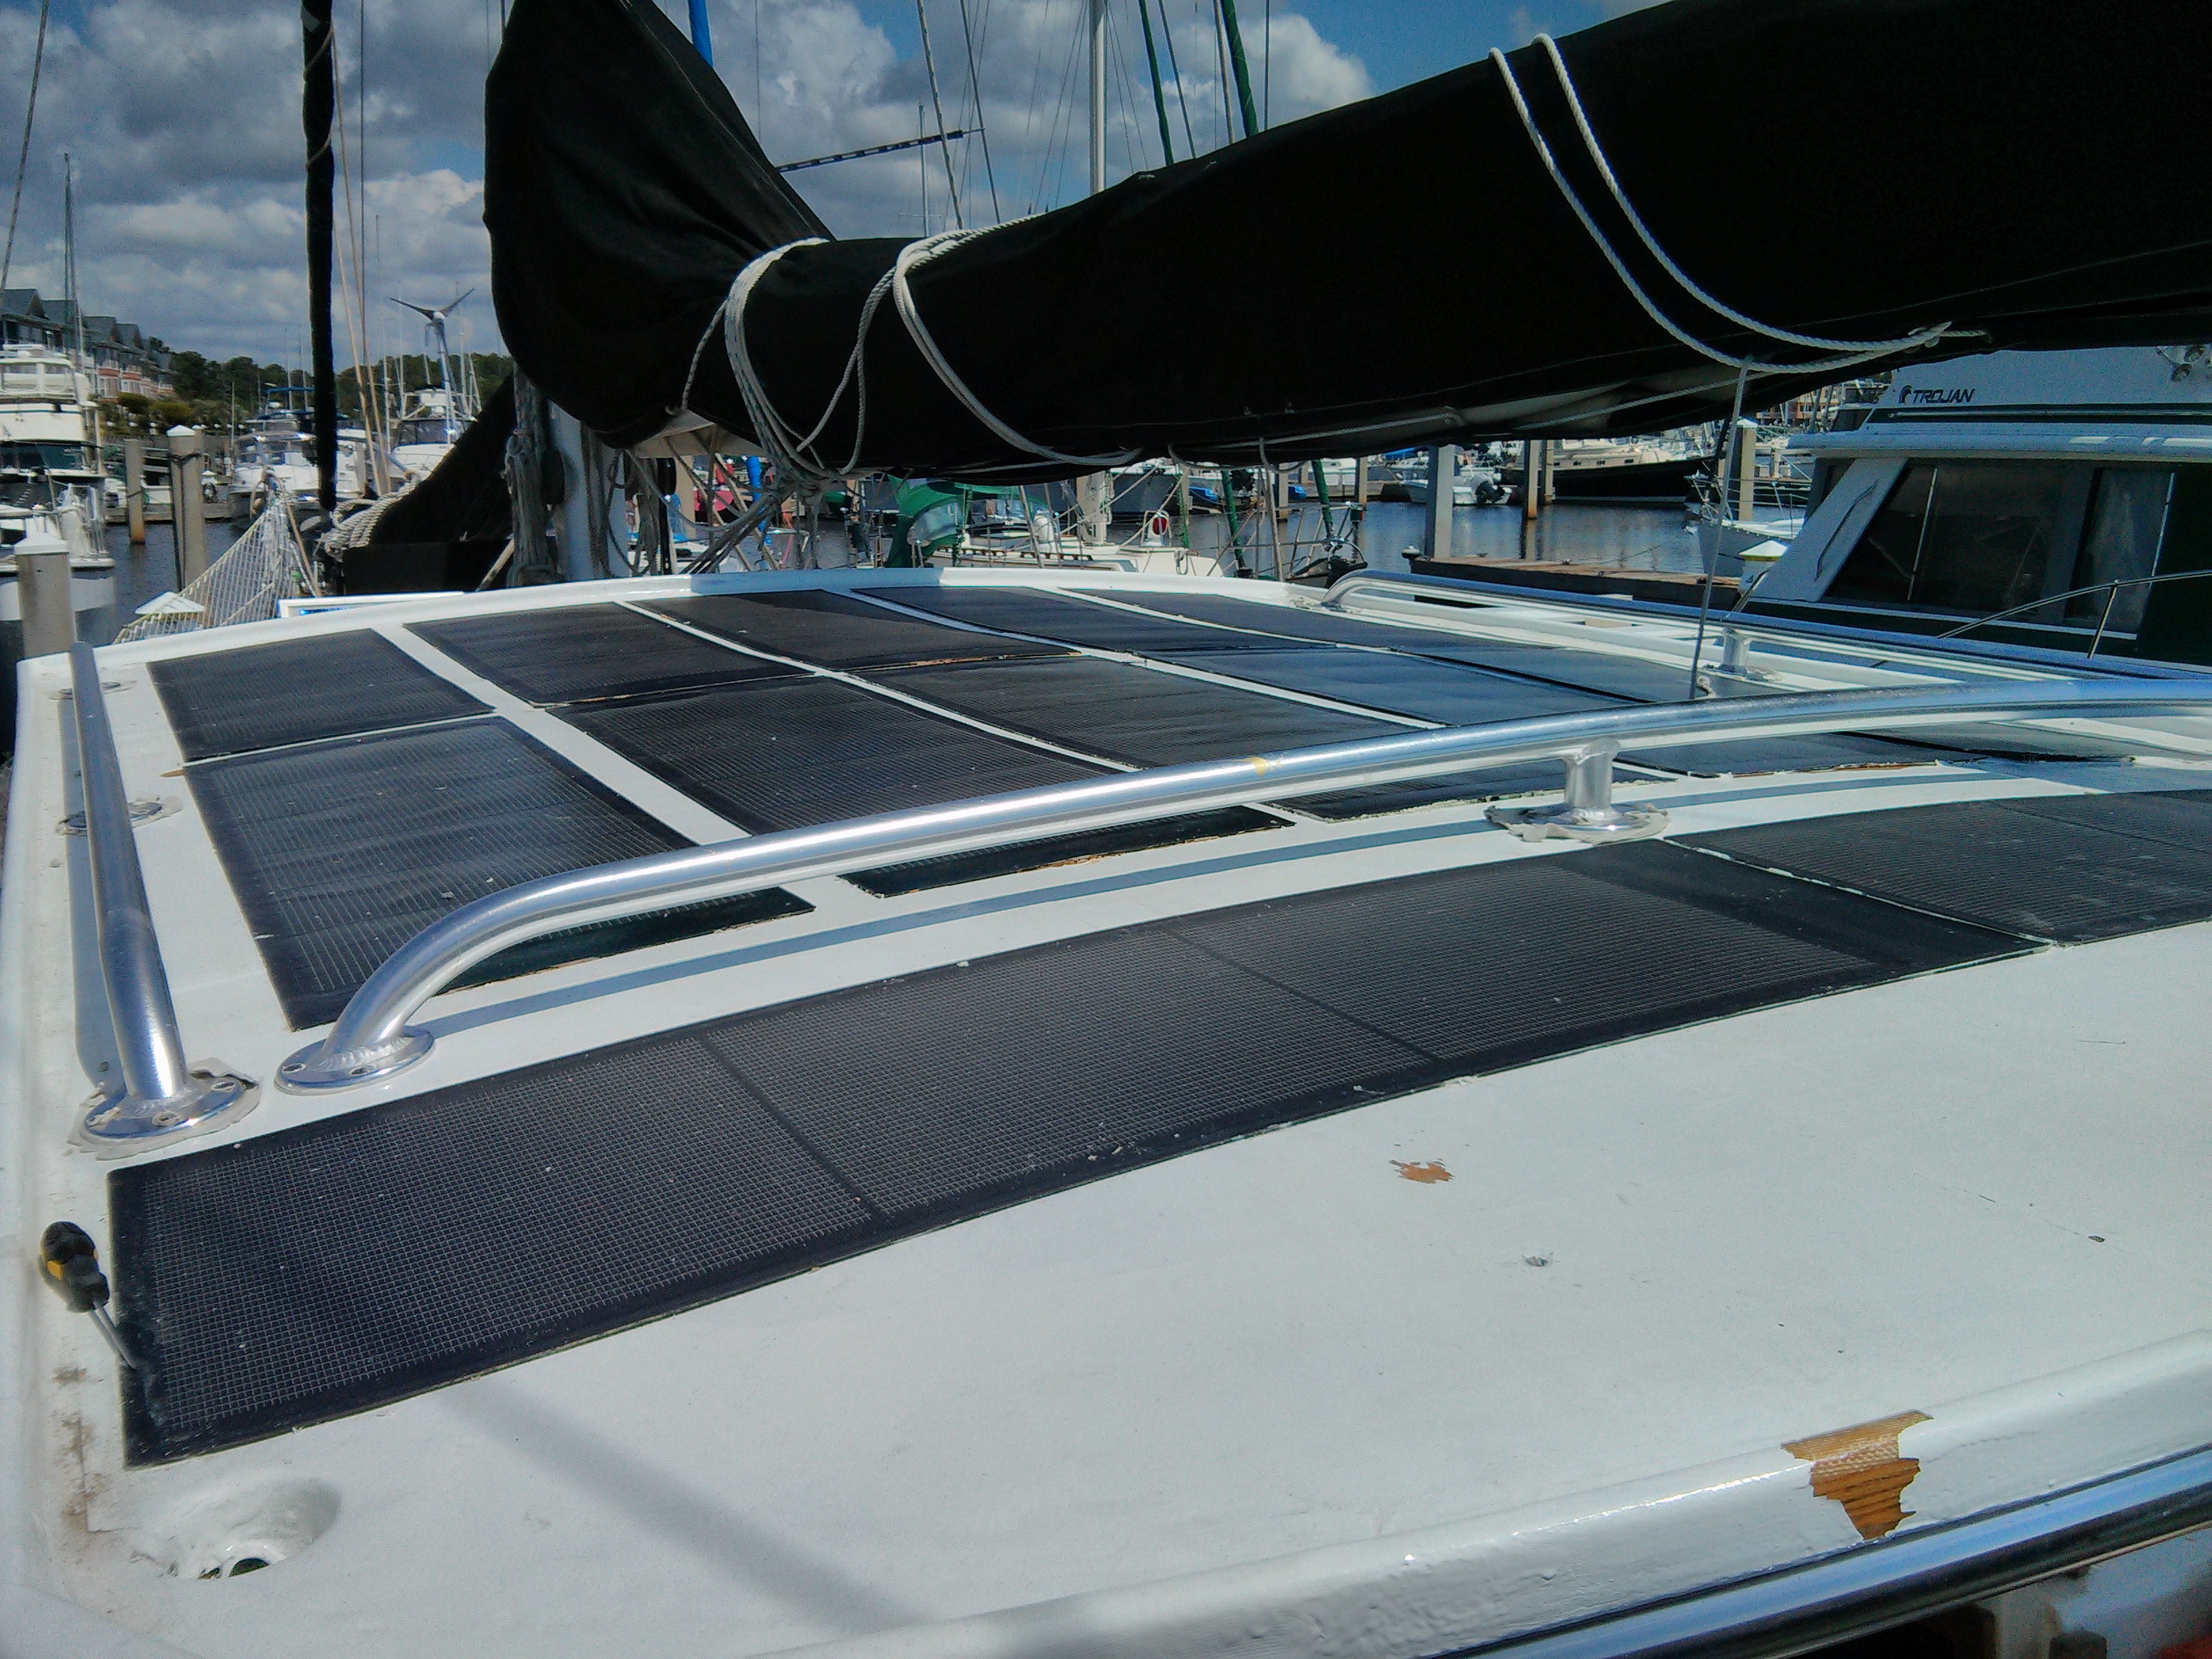
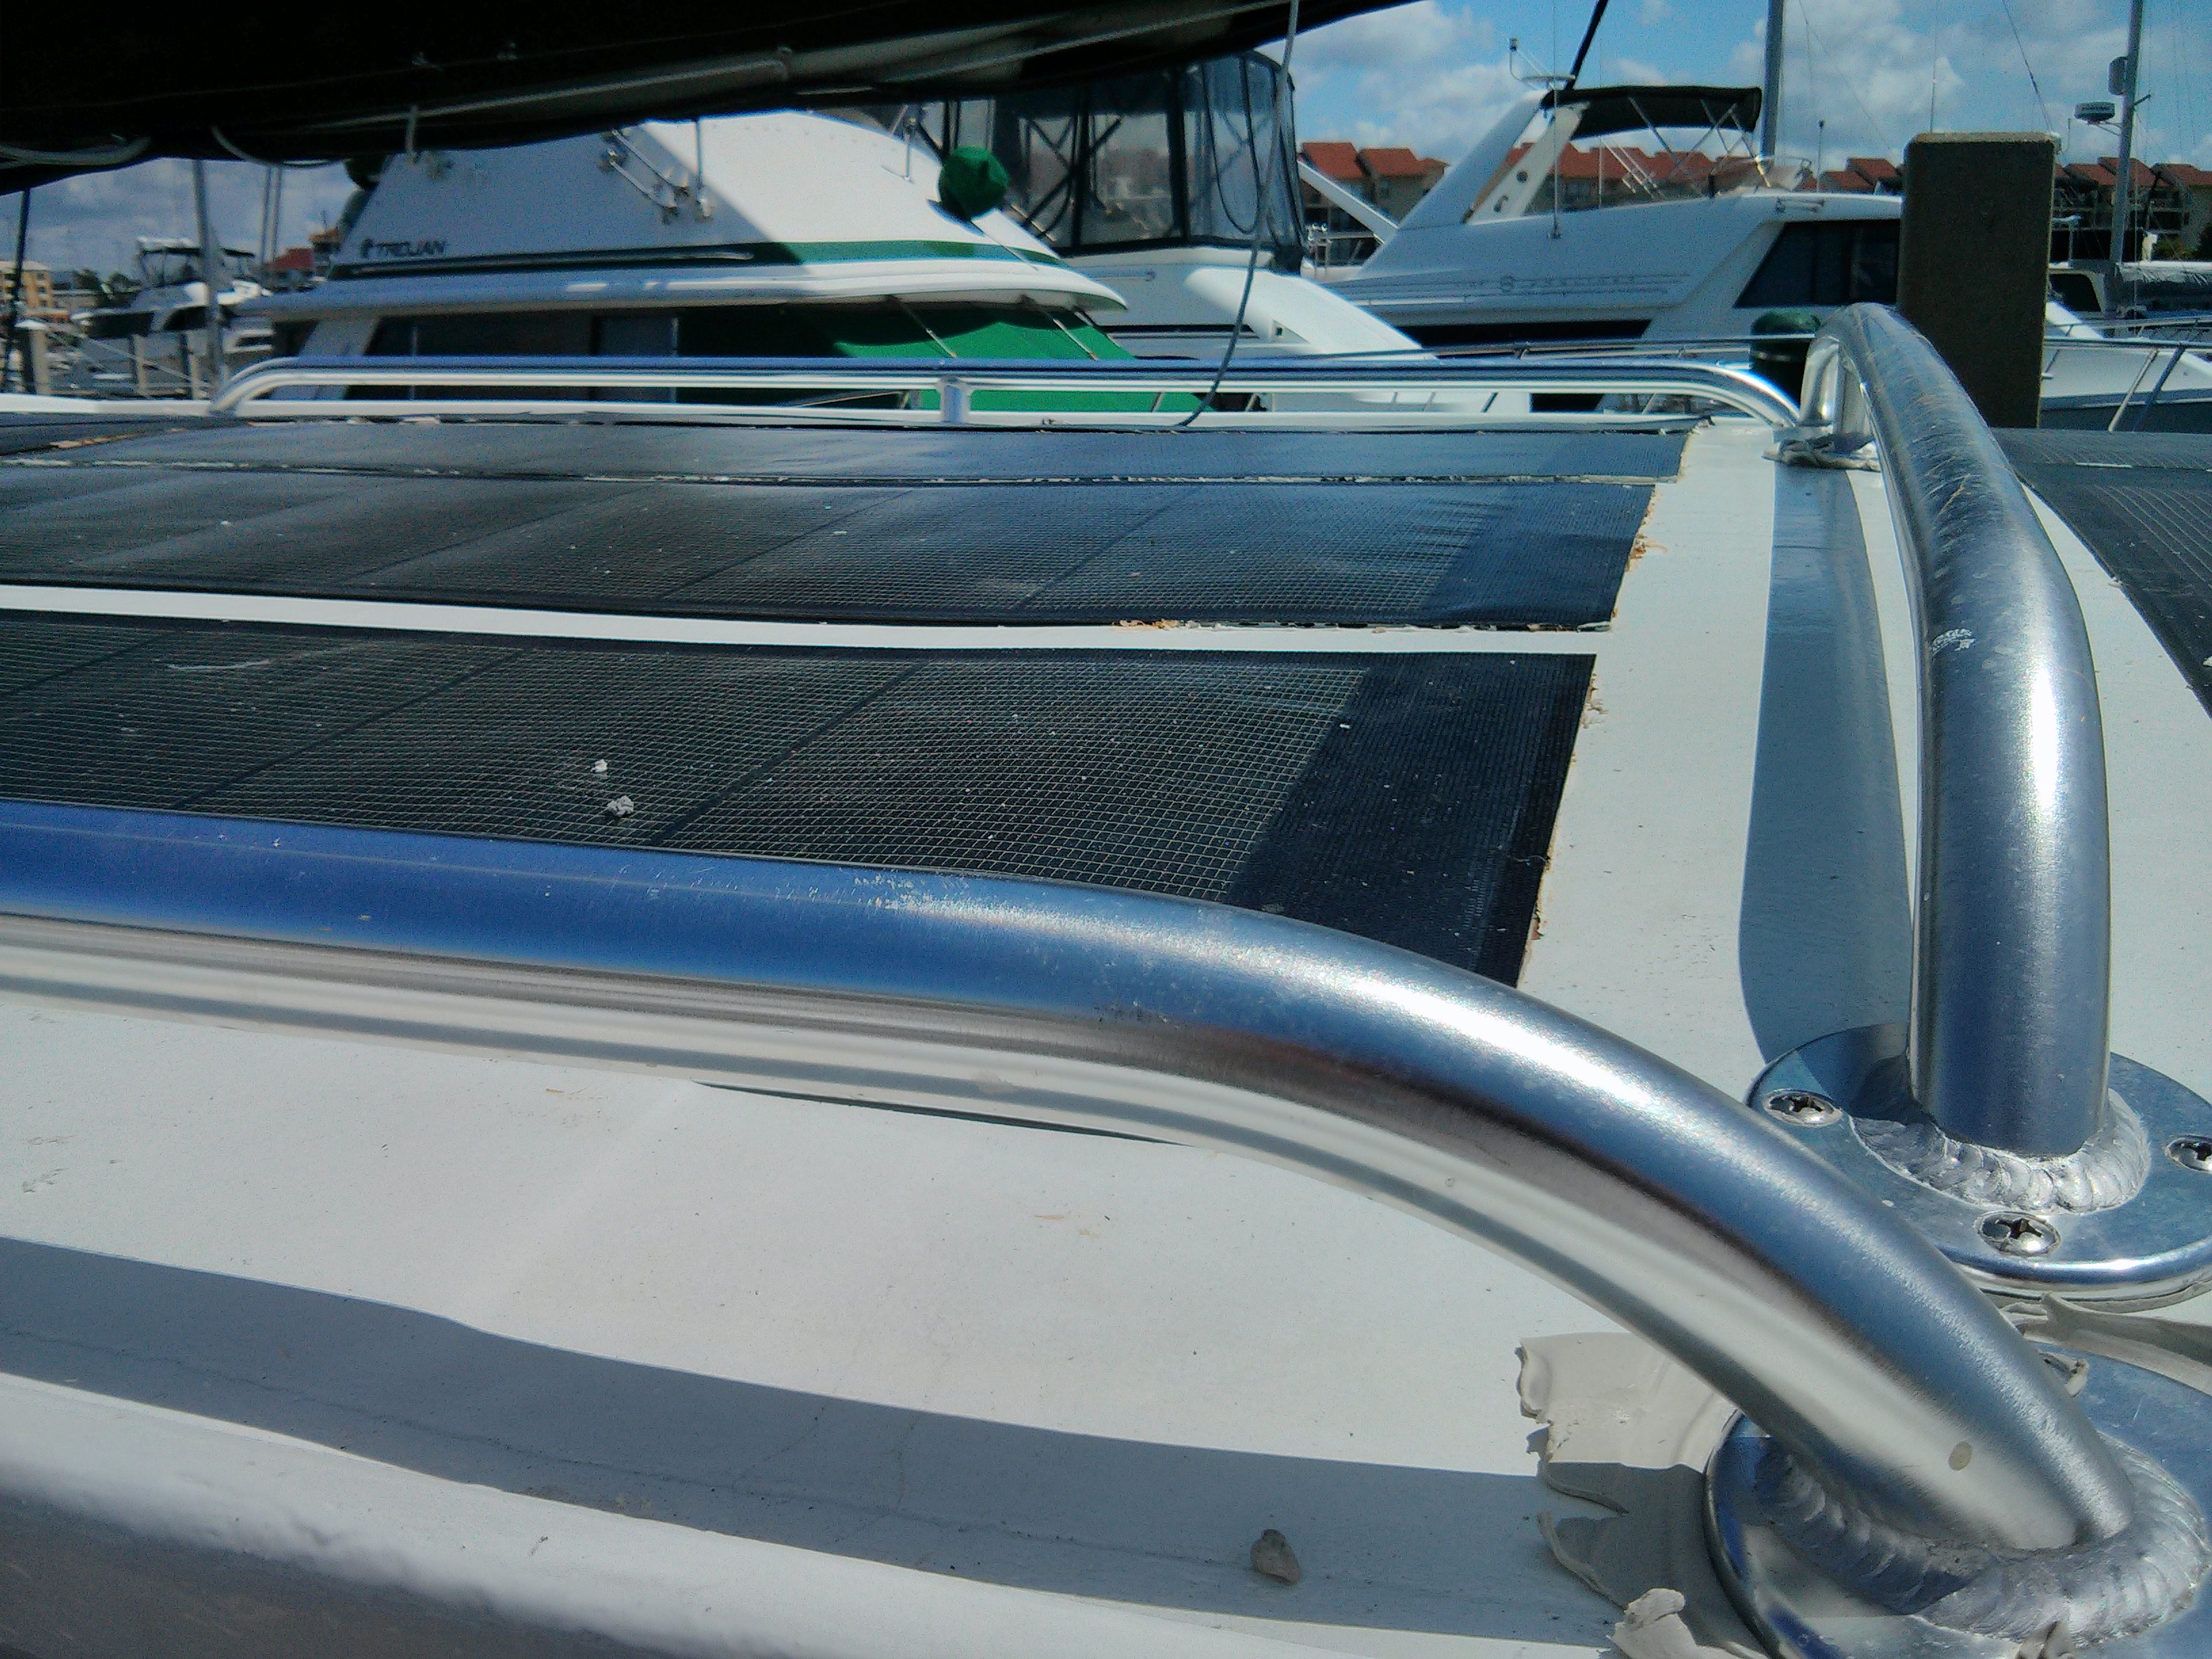
Scott aboard s/v Valkyr needed more solar power to run his A/C (he is in Florida). And shade is also a very nice thing... So he took on the project of making a hard dodger to support all those new solar panels. This is not strictly a small boat project, but shows some excellent construction techniques. Enjoy!
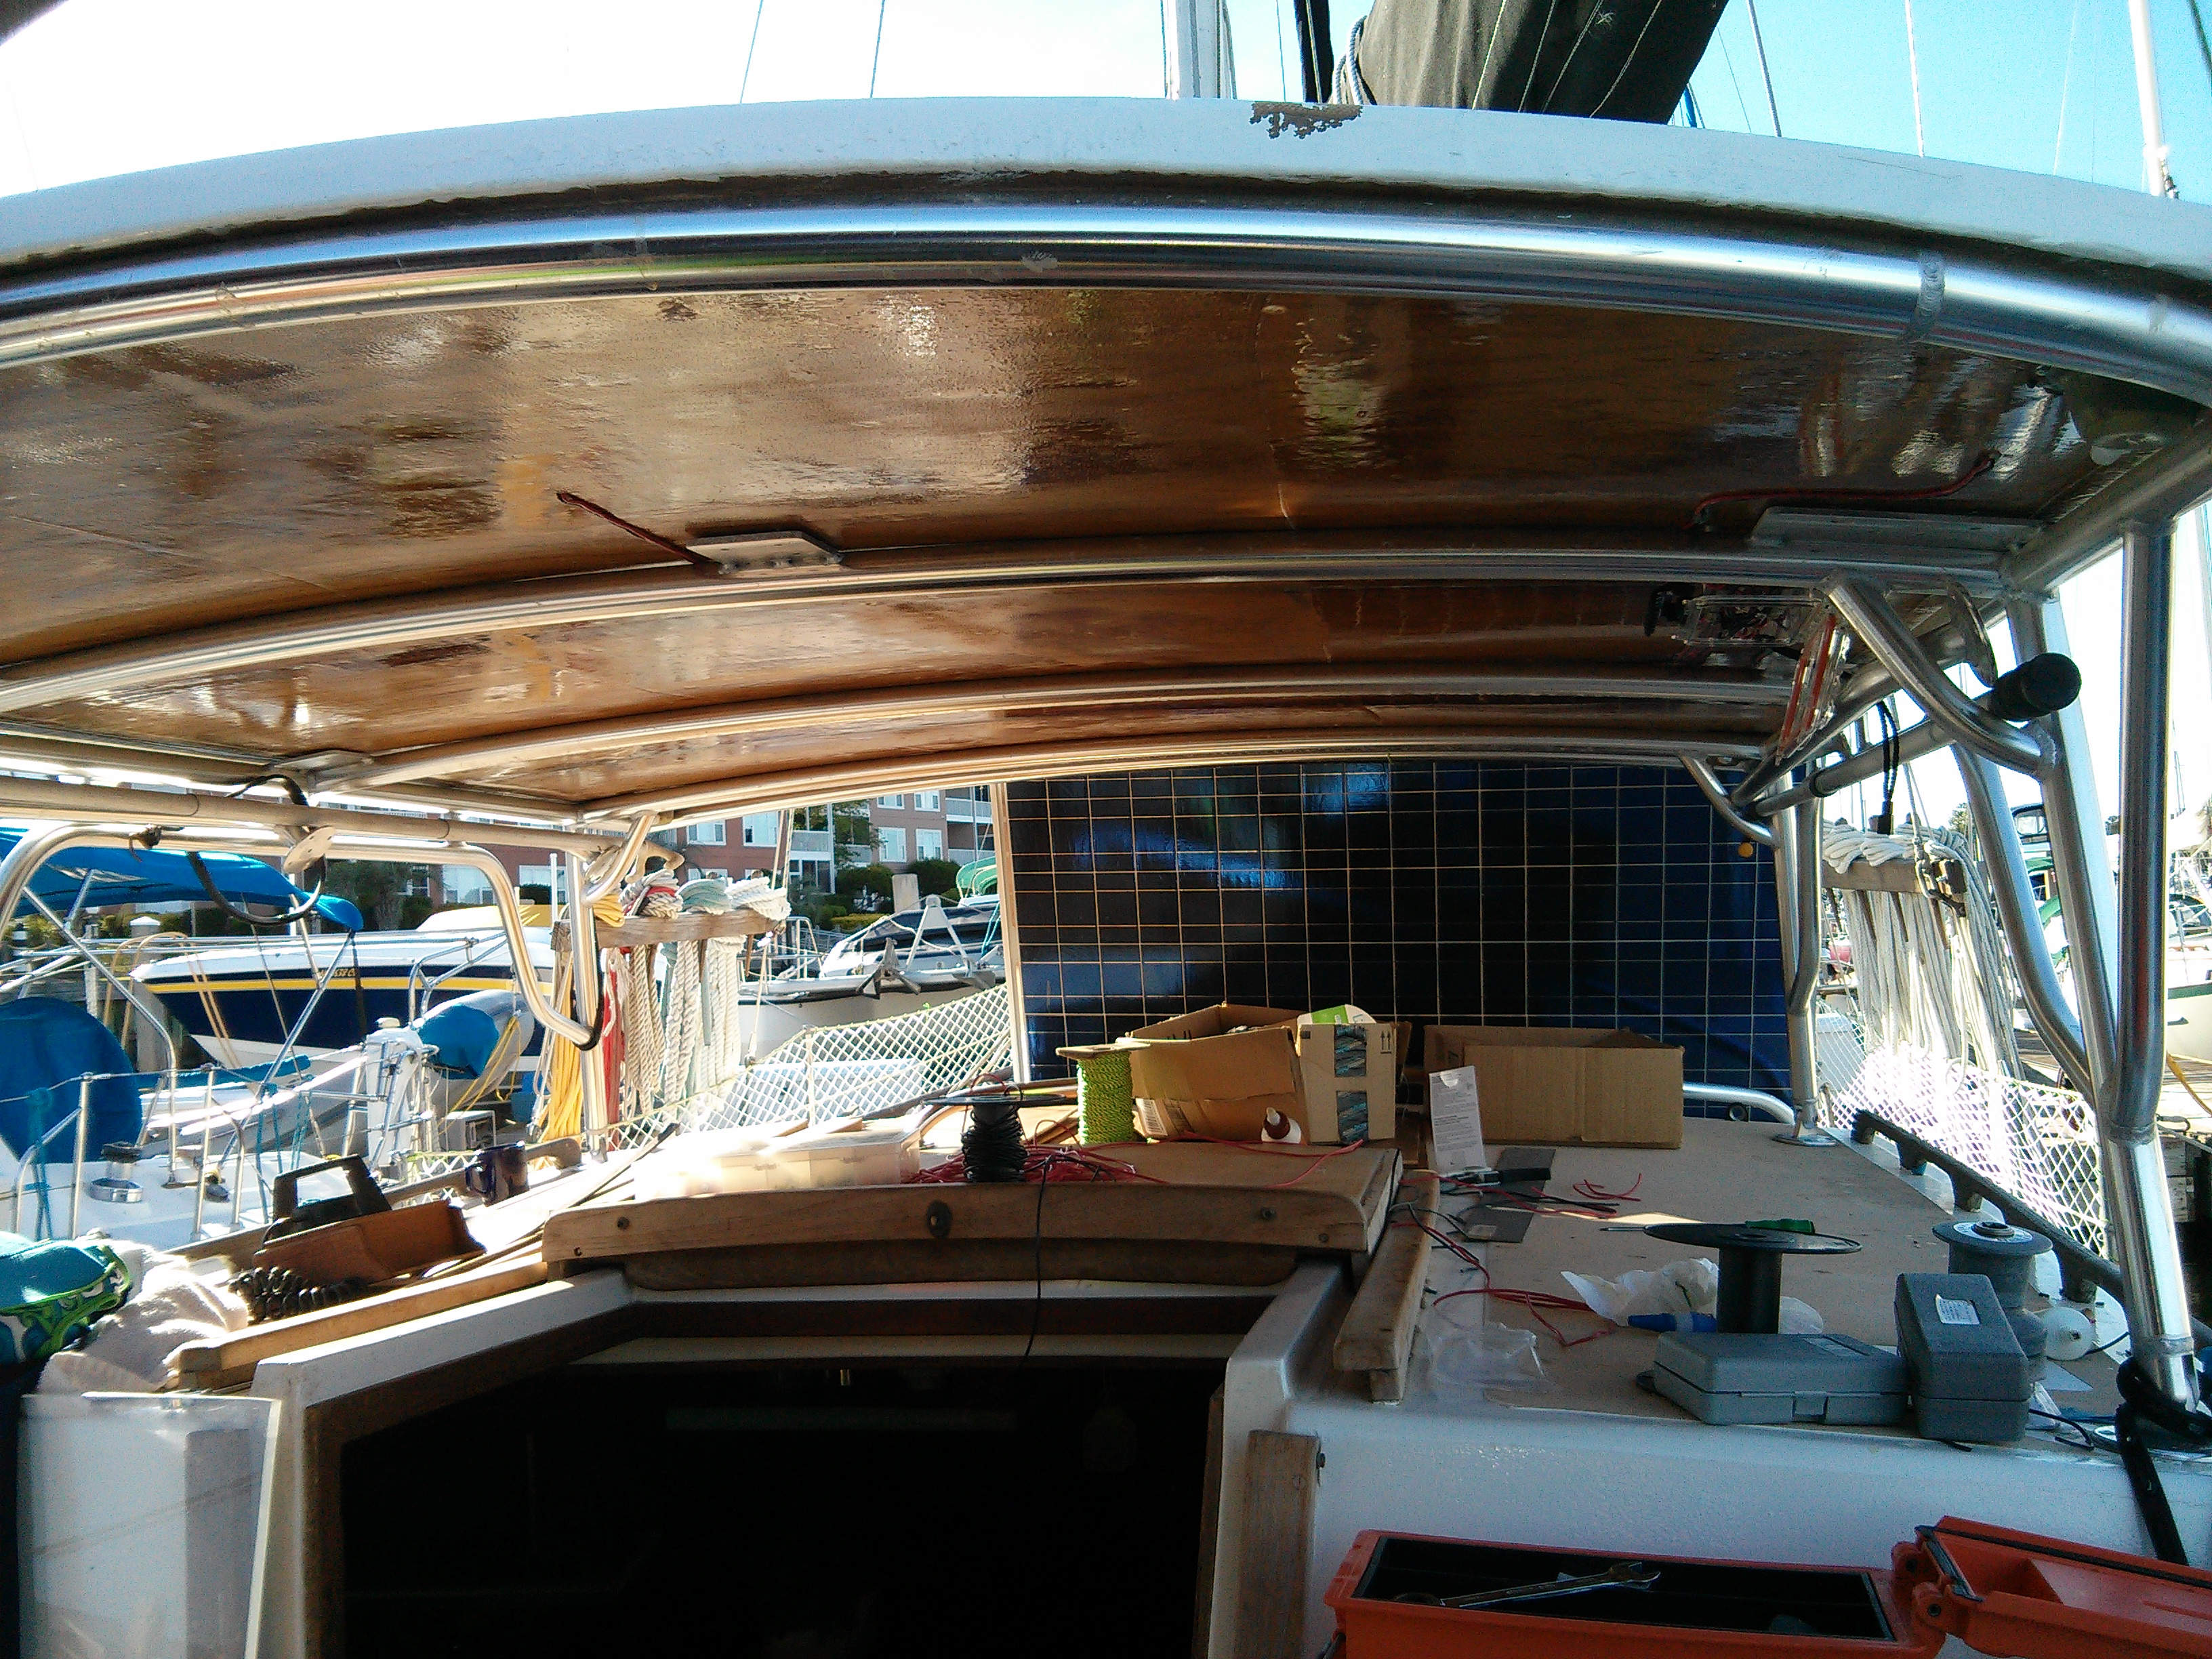
So I thought I had posted pictures of Valkyr’s hard dodger long ago but it seems that I didn’t. These are not the best formatted pictures but should help to give an idea of what I did.


Tuesday, January 31, 2017
Room in the Reefer
This post originally appeared on Windborne in Puget Sound
Guilty.
I am guilty as charged.
Yes, there has been an unconscionable gap in posting to this blog - it's just that not everything in our lives is related to boating, and a bunch of that stuff came up recently. OK, enough of the Mea Culpa.
Eolian's refrigerator compartment is huge for a boat. But because it is so tall, much of the space in it either goes to waste, or we spend a long time sorting thru piles of things in there with the door open, looking for something.
Something had to be done.
I decided to make a shelf that would add 50% to the horizontal storage space in there, and put some of that vertical space to use. Because I am a professional scrounge, I have a good collection of teak scraps discarded by others, gleaned from the dumpsters. I brought some of this, and a collection of tools to the boat:
In a project like this, it is important to make dimensional decisions that will fit with what you plan to store in the reefer. To that end, I think I may have disturbed some folks at Safeway by walking around with a tape measure, measuring beer boxes, soft drink cartons and other things. It was kind of surprising to see the variability in carton sizes, even for canned drinks.
The trick in building this shelf was that it needs to be removable, yet it needs to stay in place with a load of food on it when the boat is in a seaway. I was most worried about the shelf tipping over toward the door when on a starboard tack. Here's how I dealt with that:
Yes, the shelf slats seem to be sort of unevenly spaced from side to side. This is because the left-hand side of the reefer is deeper than the right-hand side due to hull taper.
Sadly, in my first attempt at making the side brackets, I failed to take into account that the rear wall of the reefer matches the hull contour. So I had to redo the brackets. In fact, every board was custom cut and fitted because of the hull contour and because the hull is tapering in as you go aft (to the right in the picture).
But in the end I got it. And we've added 50% to our reefer storage.
Seems like a pretty small thing for a day and a half's work. But there was a lot of thinking and trial fitting. And that beer box is no longer full...
Guilty.
I am guilty as charged.
Yes, there has been an unconscionable gap in posting to this blog - it's just that not everything in our lives is related to boating, and a bunch of that stuff came up recently. OK, enough of the Mea Culpa.
Eolian's refrigerator compartment is huge for a boat. But because it is so tall, much of the space in it either goes to waste, or we spend a long time sorting thru piles of things in there with the door open, looking for something.
Something had to be done.
I decided to make a shelf that would add 50% to the horizontal storage space in there, and put some of that vertical space to use. Because I am a professional scrounge, I have a good collection of teak scraps discarded by others, gleaned from the dumpsters. I brought some of this, and a collection of tools to the boat:
 |
| Some of the tools |
 |
| Making a mess of the dock |
The trick in building this shelf was that it needs to be removable, yet it needs to stay in place with a load of food on it when the boat is in a seaway. I was most worried about the shelf tipping over toward the door when on a starboard tack. Here's how I dealt with that:
- The left-hand support bracket has a foot that goes all the way to the door, about twice the length of the bracket. With this extension, it would be very difficult indeed to tip the shelf on this side.
- On the right-hand (aft) side, I made the last of the shelf boards extend behind the holding plate, preventing any movement on that side.
 |
| Three pieces, with clever interlocking |
Yes, the shelf slats seem to be sort of unevenly spaced from side to side. This is because the left-hand side of the reefer is deeper than the right-hand side due to hull taper.
Sadly, in my first attempt at making the side brackets, I failed to take into account that the rear wall of the reefer matches the hull contour. So I had to redo the brackets. In fact, every board was custom cut and fitted because of the hull contour and because the hull is tapering in as you go aft (to the right in the picture).
But in the end I got it. And we've added 50% to our reefer storage.
 |
| Et voilà! |
Tuesday, December 27, 2016
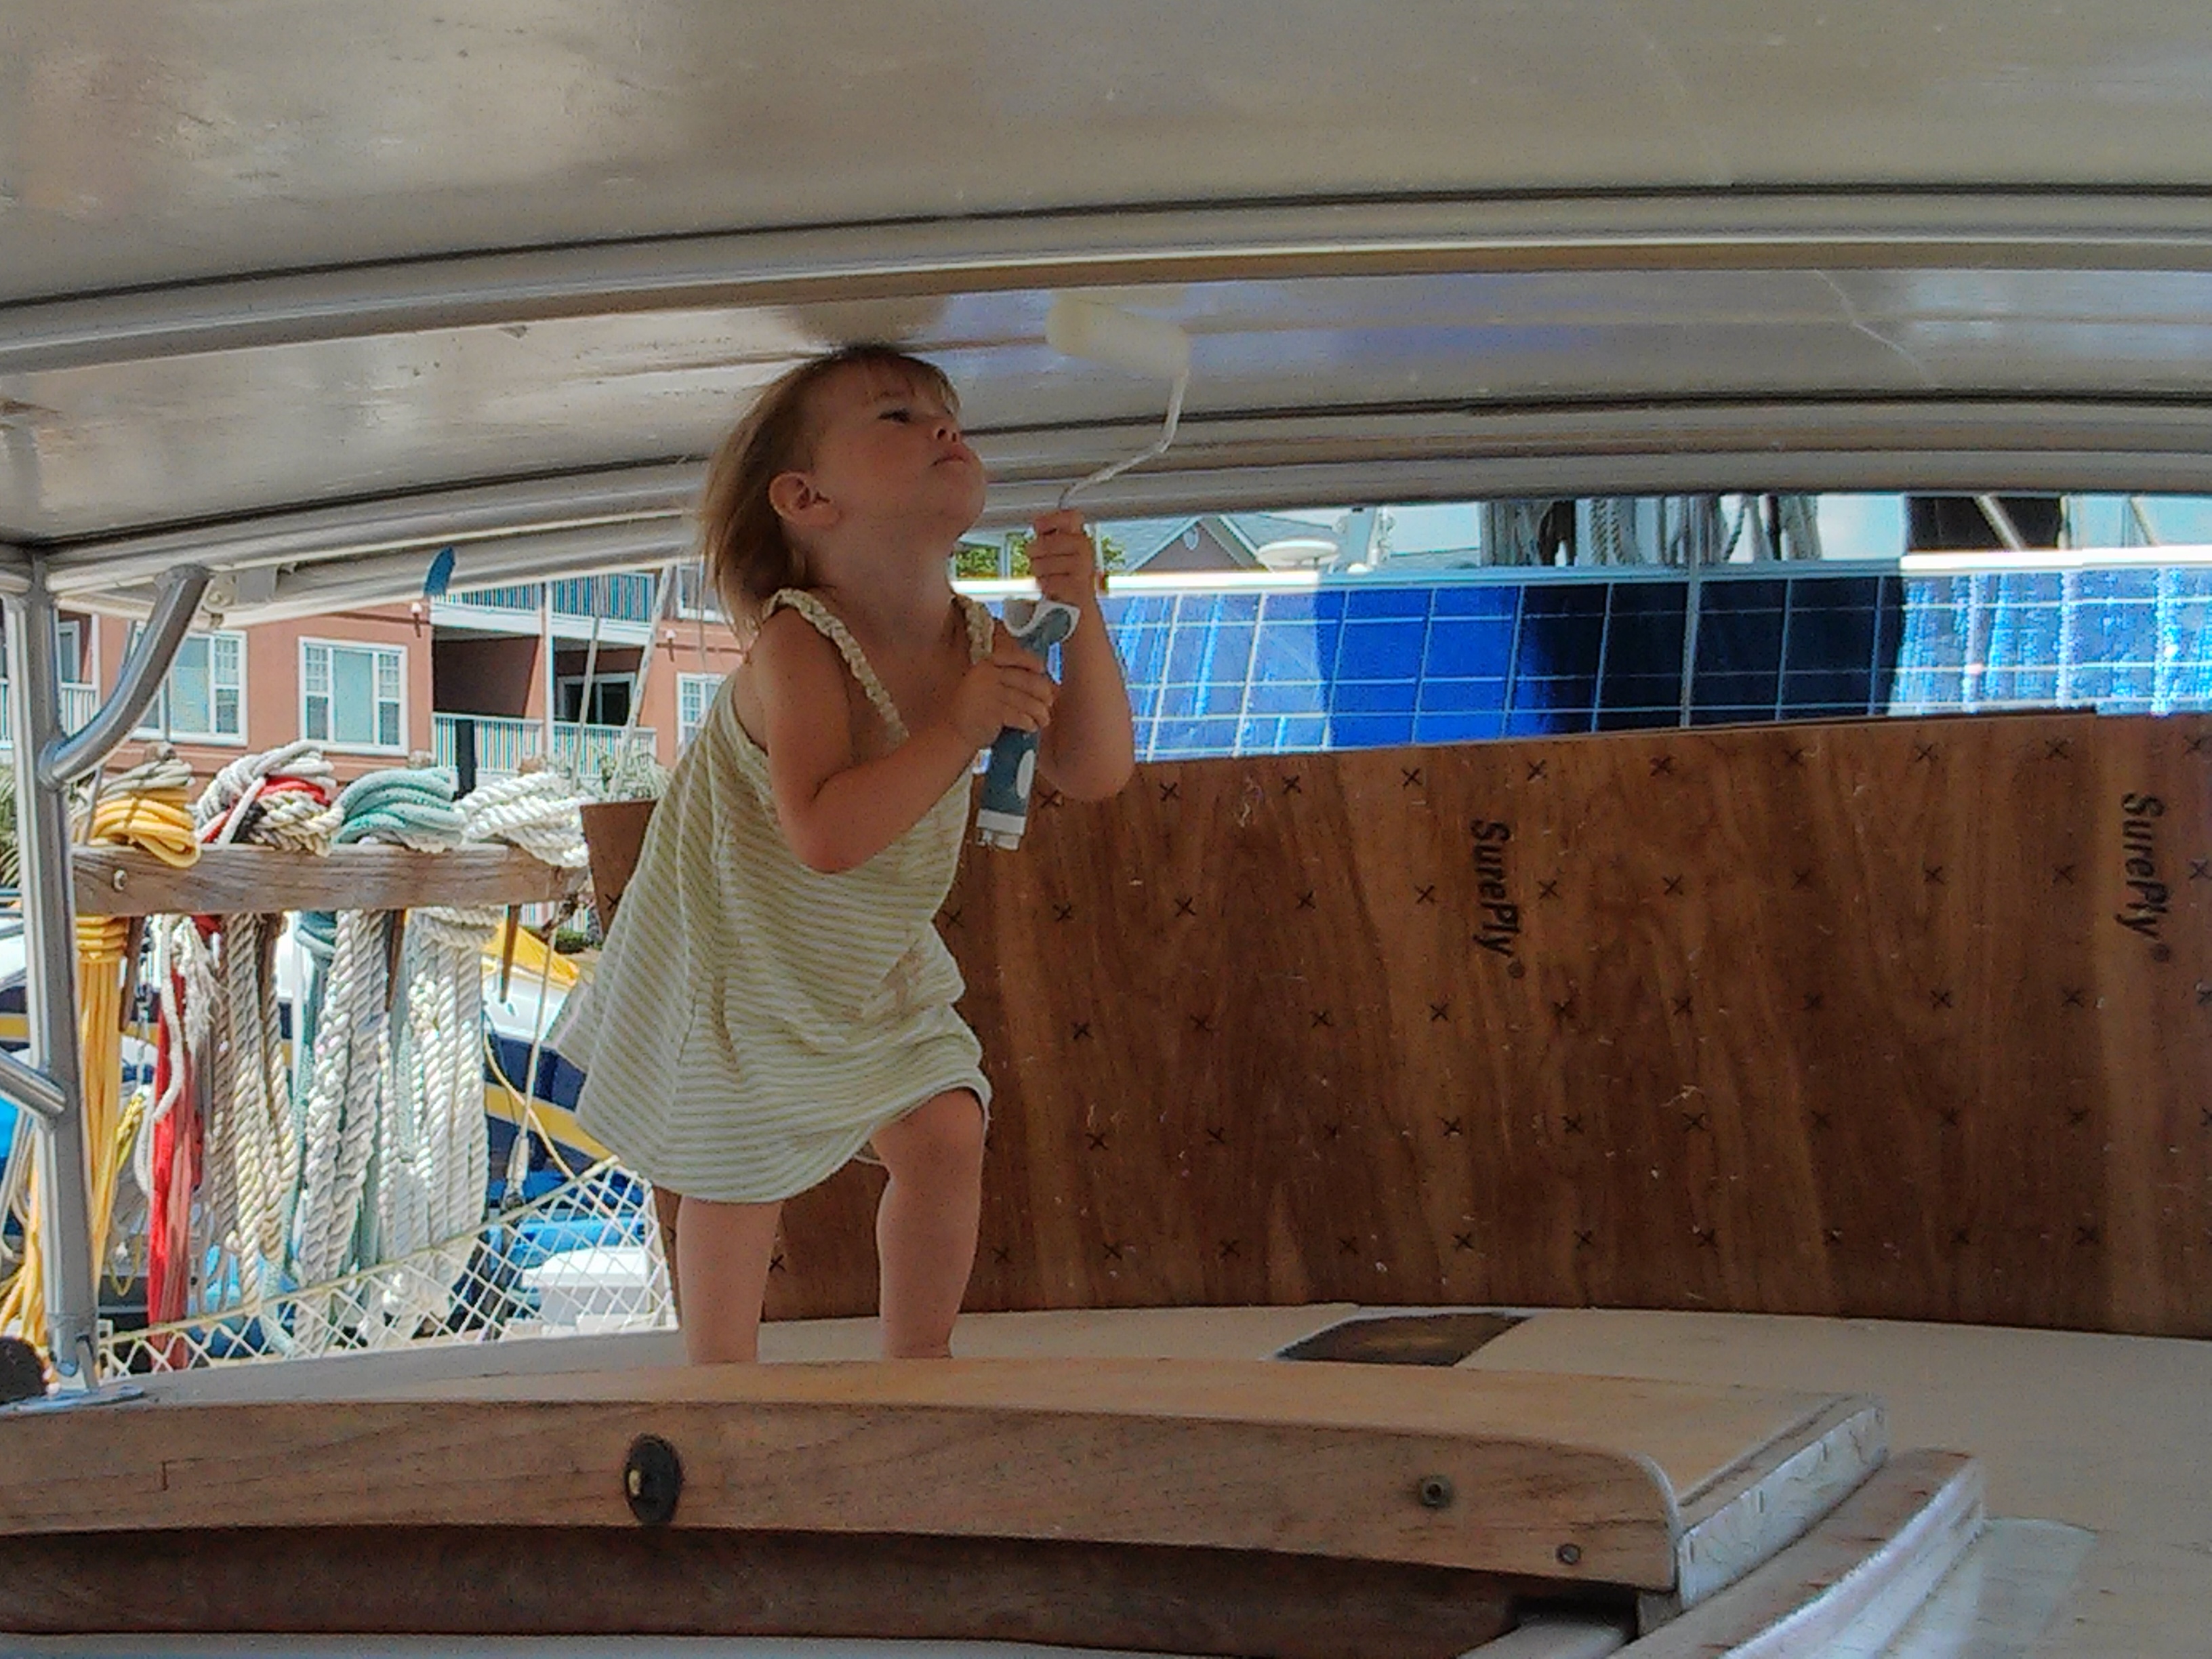
The making of a hard dodger
This is not an easy project.
It is well beyond the "small boat project" range. And yet, it is so well executed that I couldn't resist drawing your attention to it. Mike of s/v Chalice has tackled the creation of a hard dodger. And he has done it in yeoman fashion. Pay particular attention to the tools and tooling that he creates in order to do the actual project work:
Yeoman work indeed.
What follows is a combination of two of Mike's posts (I wish there was a third showing the completed dodger).
It is well beyond the "small boat project" range. And yet, it is so well executed that I couldn't resist drawing your attention to it. Mike of s/v Chalice has tackled the creation of a hard dodger. And he has done it in yeoman fashion. Pay particular attention to the tools and tooling that he creates in order to do the actual project work:
- A rib glue-up table
- A buck for gluing up the roof panel
- An adjustable jig to support the roof panel in place in the cockpit while supports are created
- A rolling gantry (!)
Yeoman work indeed.
What follows is a combination of two of Mike's posts (I wish there was a third showing the completed dodger).
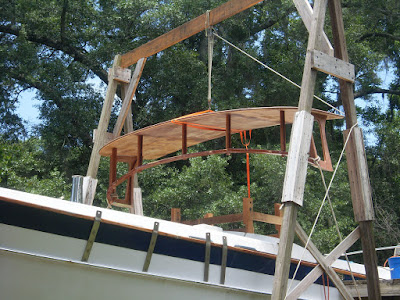
The Hard Top / Hard Dodger. *Part 1*
So here we go. This was spread over about a year. First I made the actual top piece, then the bottom rail was made right on the boat. Then I built the gantry crane to set the top piece up there and join the two together.
I started with a table to make the mahogany ribs that are internal to the top.
Made with OSB, filled with thickened epoxy, sanded, then clear coated with epoxy again to give a nice smooth surface then waxed about 8 times so the glue would not stick to the form.
From Update_July 20, 2016
From Update_July 20, 2016
From Update_July 20, 2016
From Update_July 20, 2016
From Update_July 20, 2016
Next a large form was made that matched the same curve as the ribs. I did not take pics of that part. I have a few of the actual glue up of the top piece.
From Update_July 20, 2016
From Update_July 20, 2016
There is a layer of 1/4" luan on top and bottom. Mahogany ribs with 1/2"foam panel between them with solid Mahogany about a foot around the edges.
I used plastic nails to nail the first layer to the form. This allowed easy removal and sanding. I used a cheap Harbor Freight 18Ga. nail gun. Worked great and saved about $300 from buying a Italian gun made for them.
Later I cut it to shape and glassed it top and bottom.
From July 21, 2016
From July 21, 2016
The Hard Top / Hard Dodger. *Part 2*
So now we have the top up on the boat. I built an adjustable jig to hold it so I could get the right height and location. Here are some pics with the process of fitting the top to the bottom rail I had made earlier.
By the way, this was the most difficult part.
From Update_July 20, 2016
From Update_July 20, 2016
Starting to look good. I think.
From Update_July 20, 2016
Looking lean and mean.
Dirty boat.
From Update_July 20, 2016
Ok now we have it together (barely). So let's lift it off and to the ground.
From Update_July 20, 2016
From Update_July 20, 2016
From Update_July 20, 2016
On the work horses for final assembly and finishing.
From Update_July 20, 2016


Subscribe to:
Posts (Atom)


