All I want for Christmas is a Dyer sailing dingy, I said out loud half in jest to a friend at the marina, he got on his phone and I heard him say, "you still have that Dyer dingy for sale, how much? He looked at me and said $300 about 4 miles from here. I told Vicky and off we all went. A 1991 Dyer Midget sailing dingy minus the lower mast section, the boom and sail and oar locks. It came with the upper yard (to the mast), the complete rudder, daggerboard and a set of oars. I snatched it.
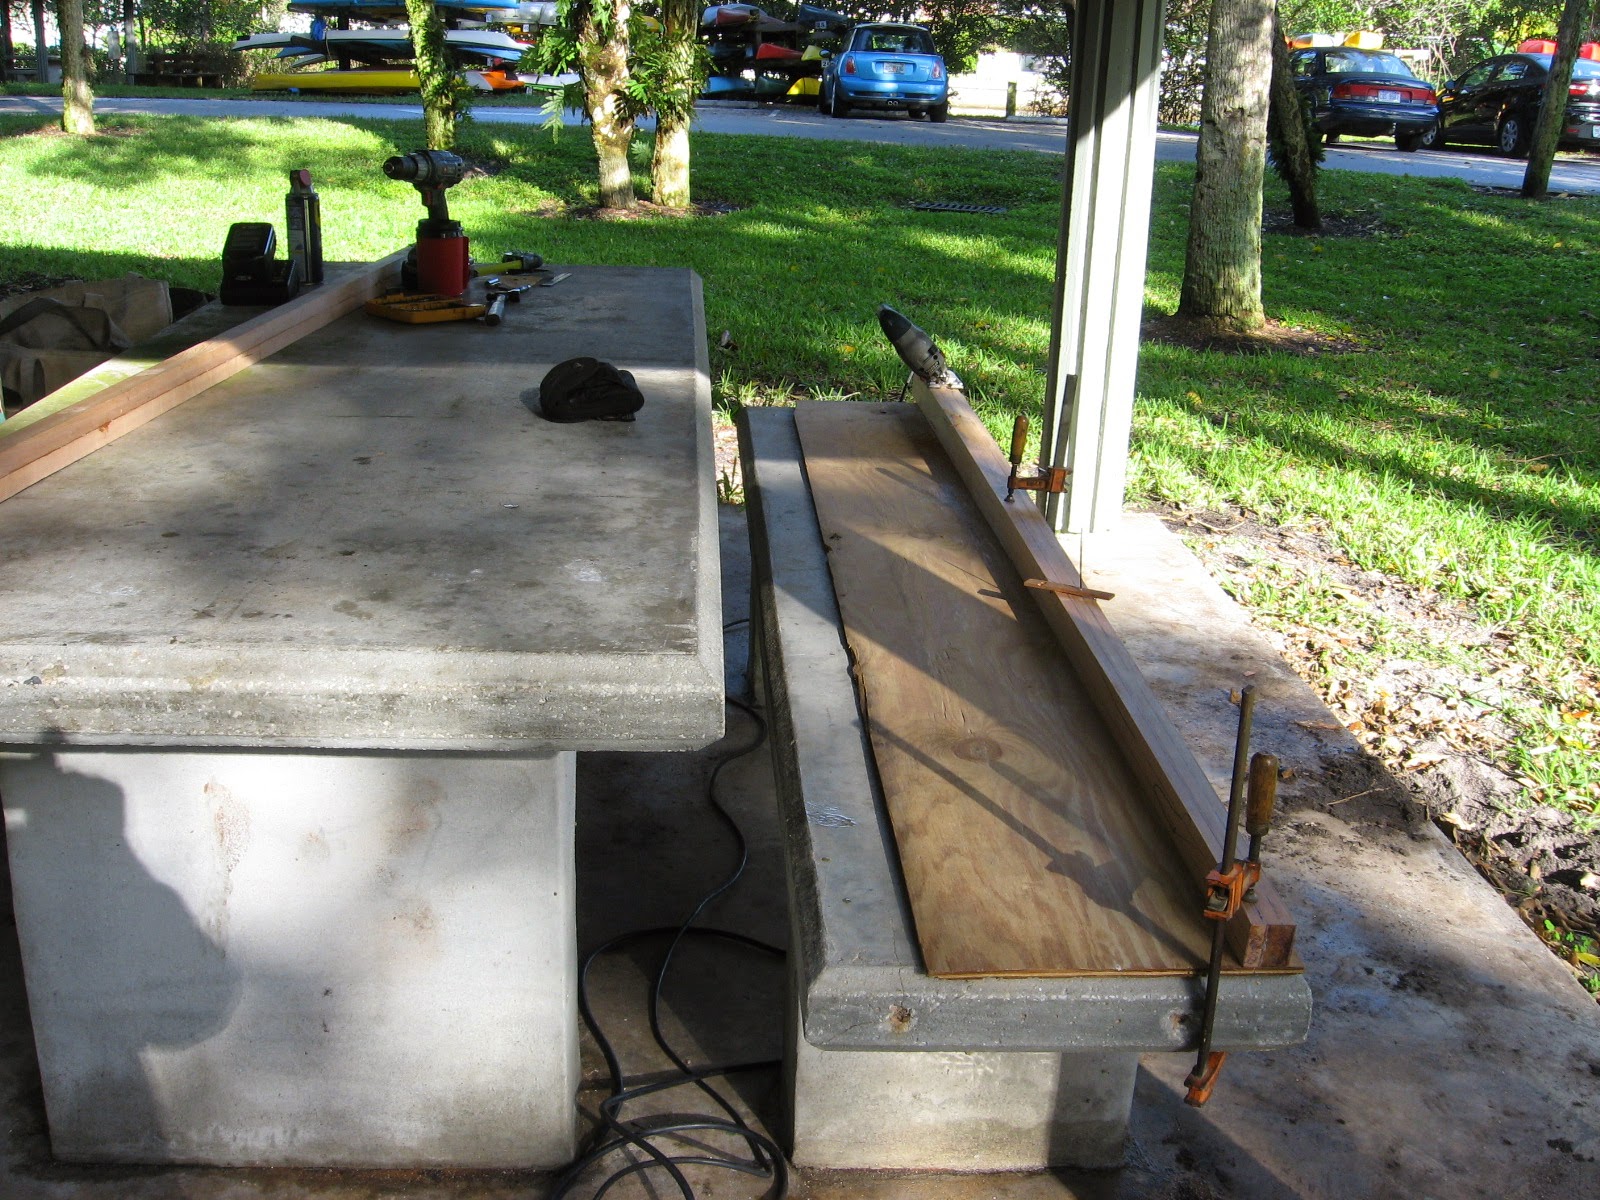
Once I glued up some straight grained fir that I bought at the local lumber store I brought it to shore to my makeshift shop, the concert picnic table behind the cruisers lounge and laundry. After squaring up the stock for the round mast with hand planes I drew out a taper for the upper two thirds of the mast.
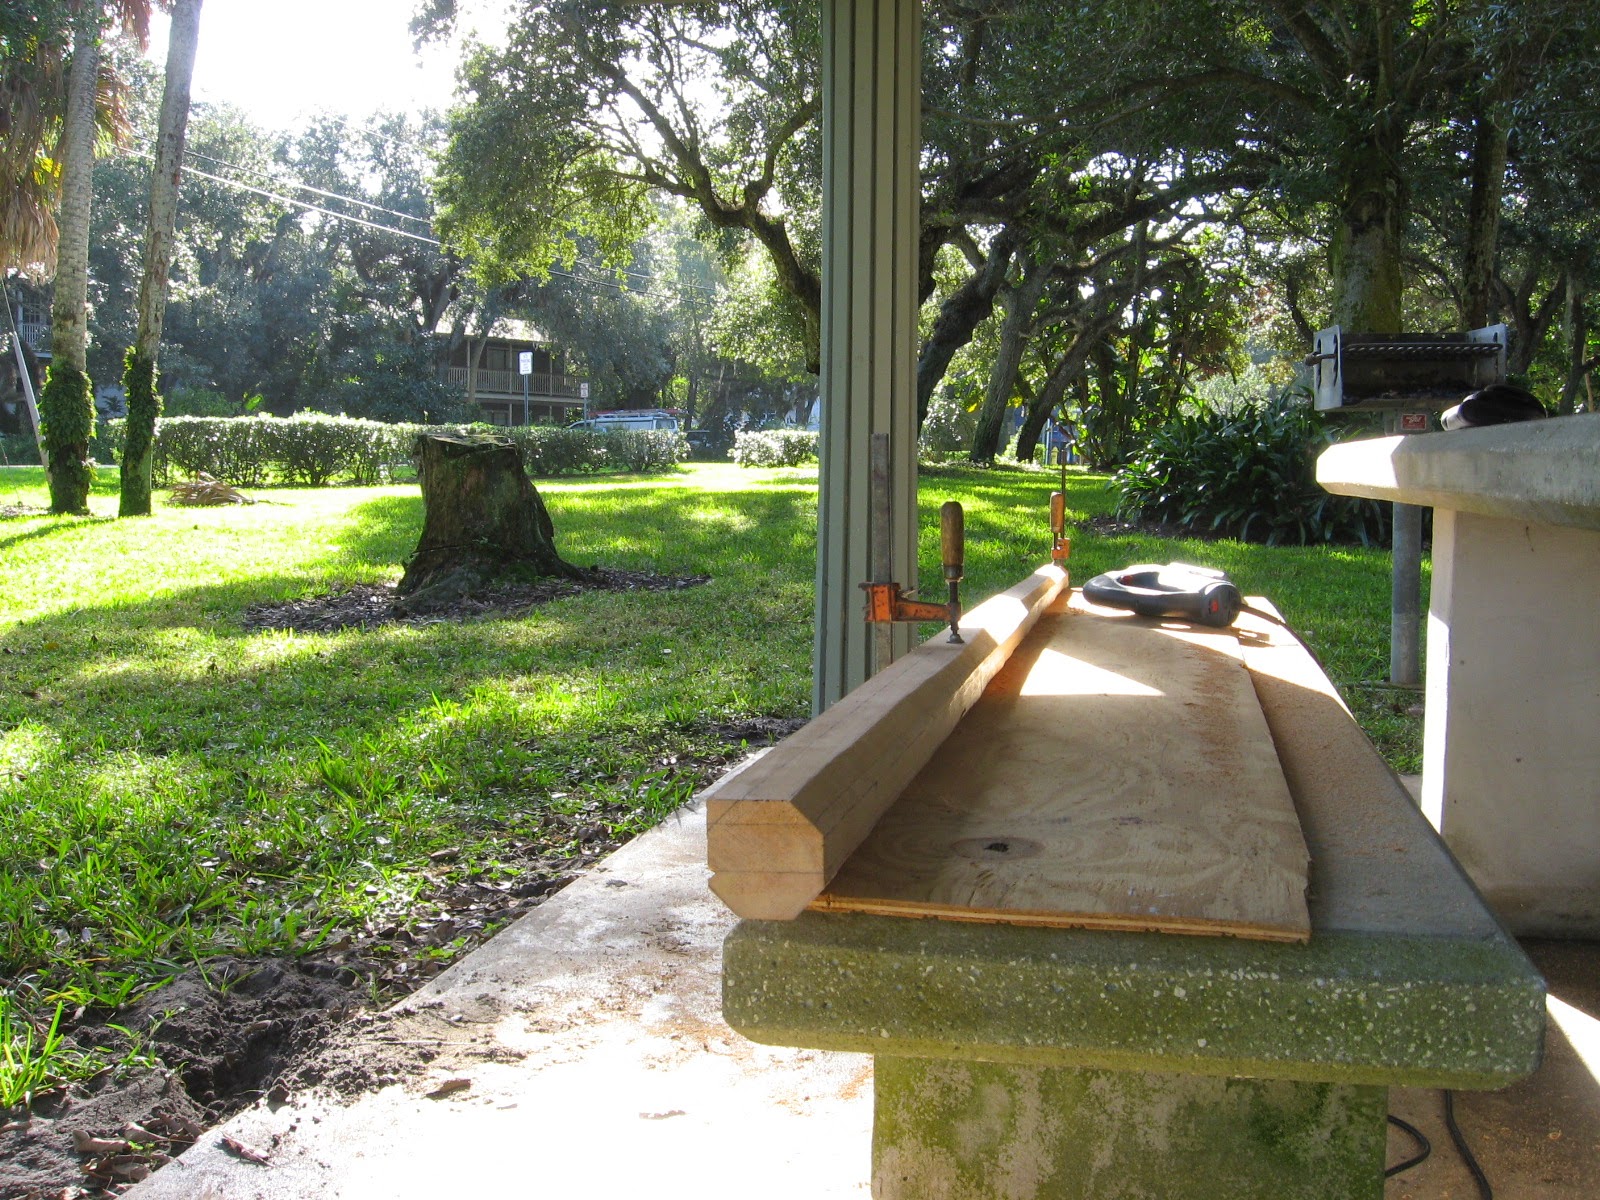
With this very crude but simple jig I was able to draw lines that tapered the "square" to the desired top dimension, 1 3/4". The base is 2 1/2"
Next is to cut the corners off, making 8 sides to the spar staying away from the lines. It was very tough using a jig saw for this operation, but a man's got to use as best he can what a man "has" to use.
Certainly not the greatest bench, but enough. The scenery was excellent and the distractions from cruisers were many, but I got by.
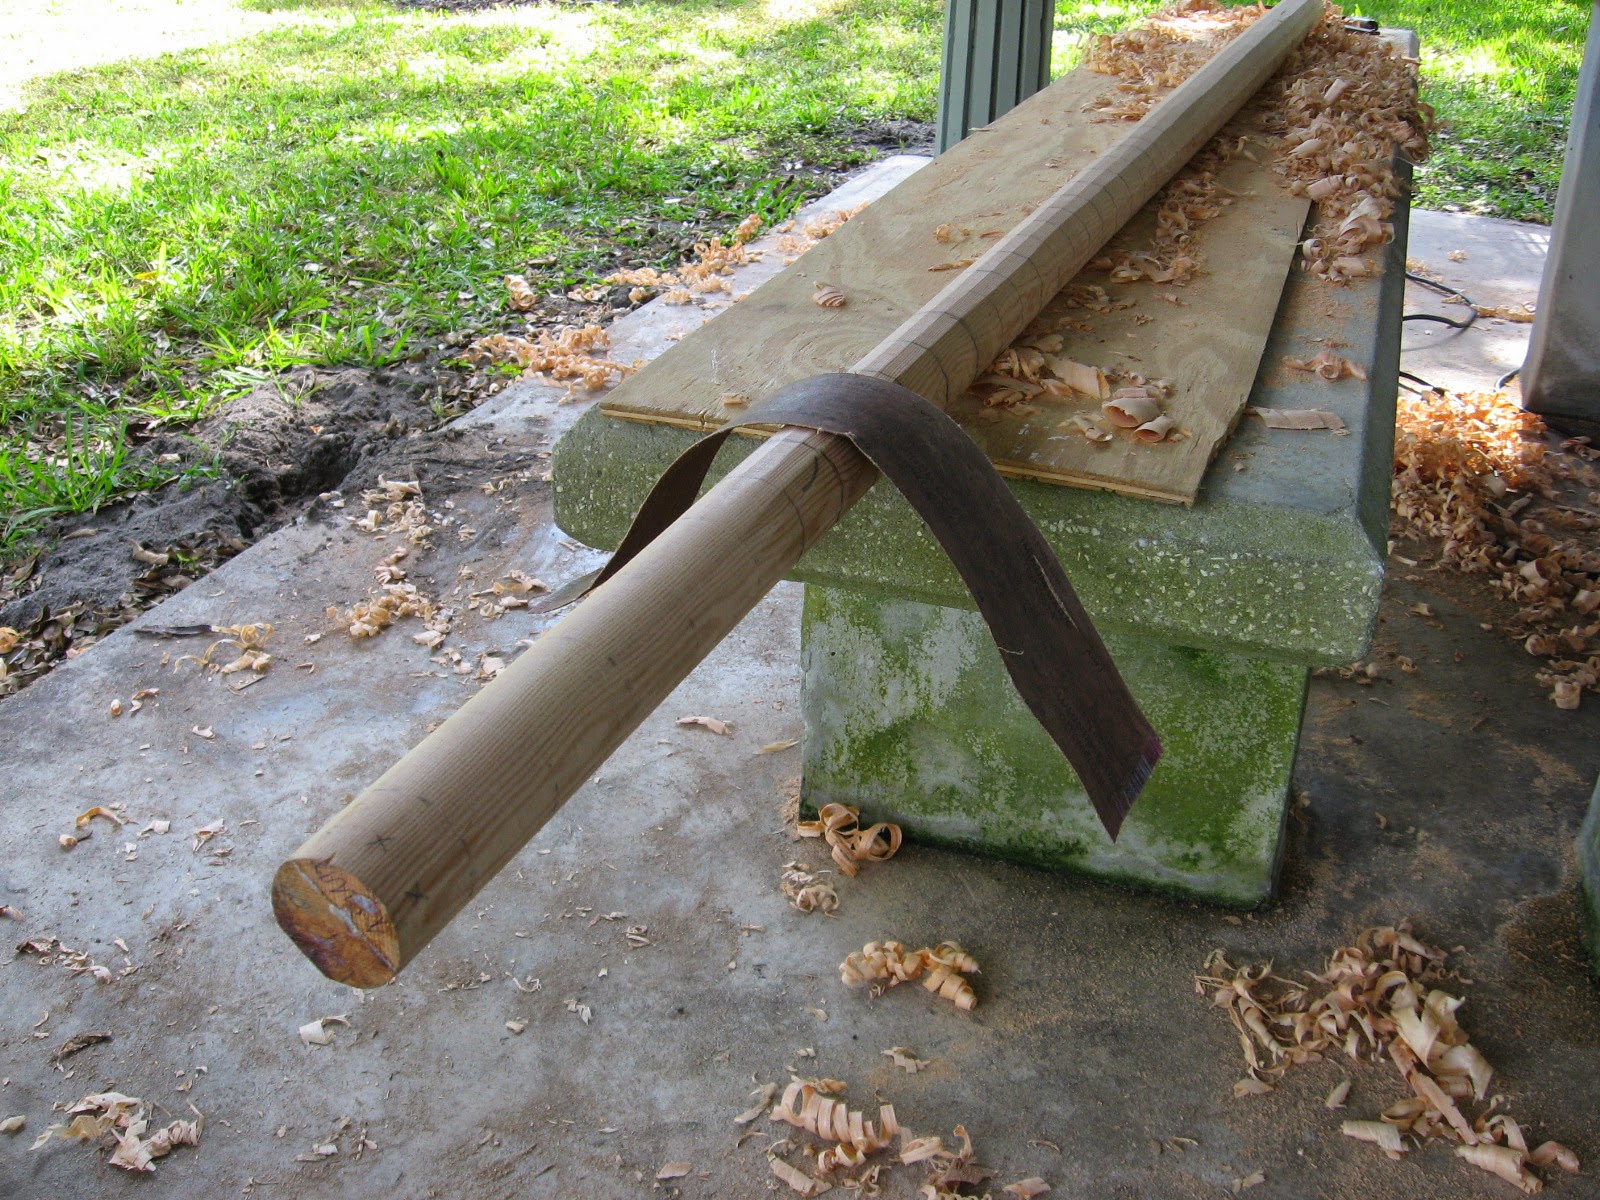
I then carefully planed all eight sides to an even width right to the lines. This gave me the taper I wanted and much closer to the "round" I wanted. I'm sure I could have come up with a way to draw lines on all eight sides again for a perfect 16 sided spar but I chose to knock down the 8 high spots by eyeball with the hand plane.
It was definitely close enough with 16 sides to dig right in with the truly grunt hand work, sanding against the grain with a cut opened belt sander pad. I think it was 50 grit.
Then of course some proper sanding down with the grain to bring to finish.
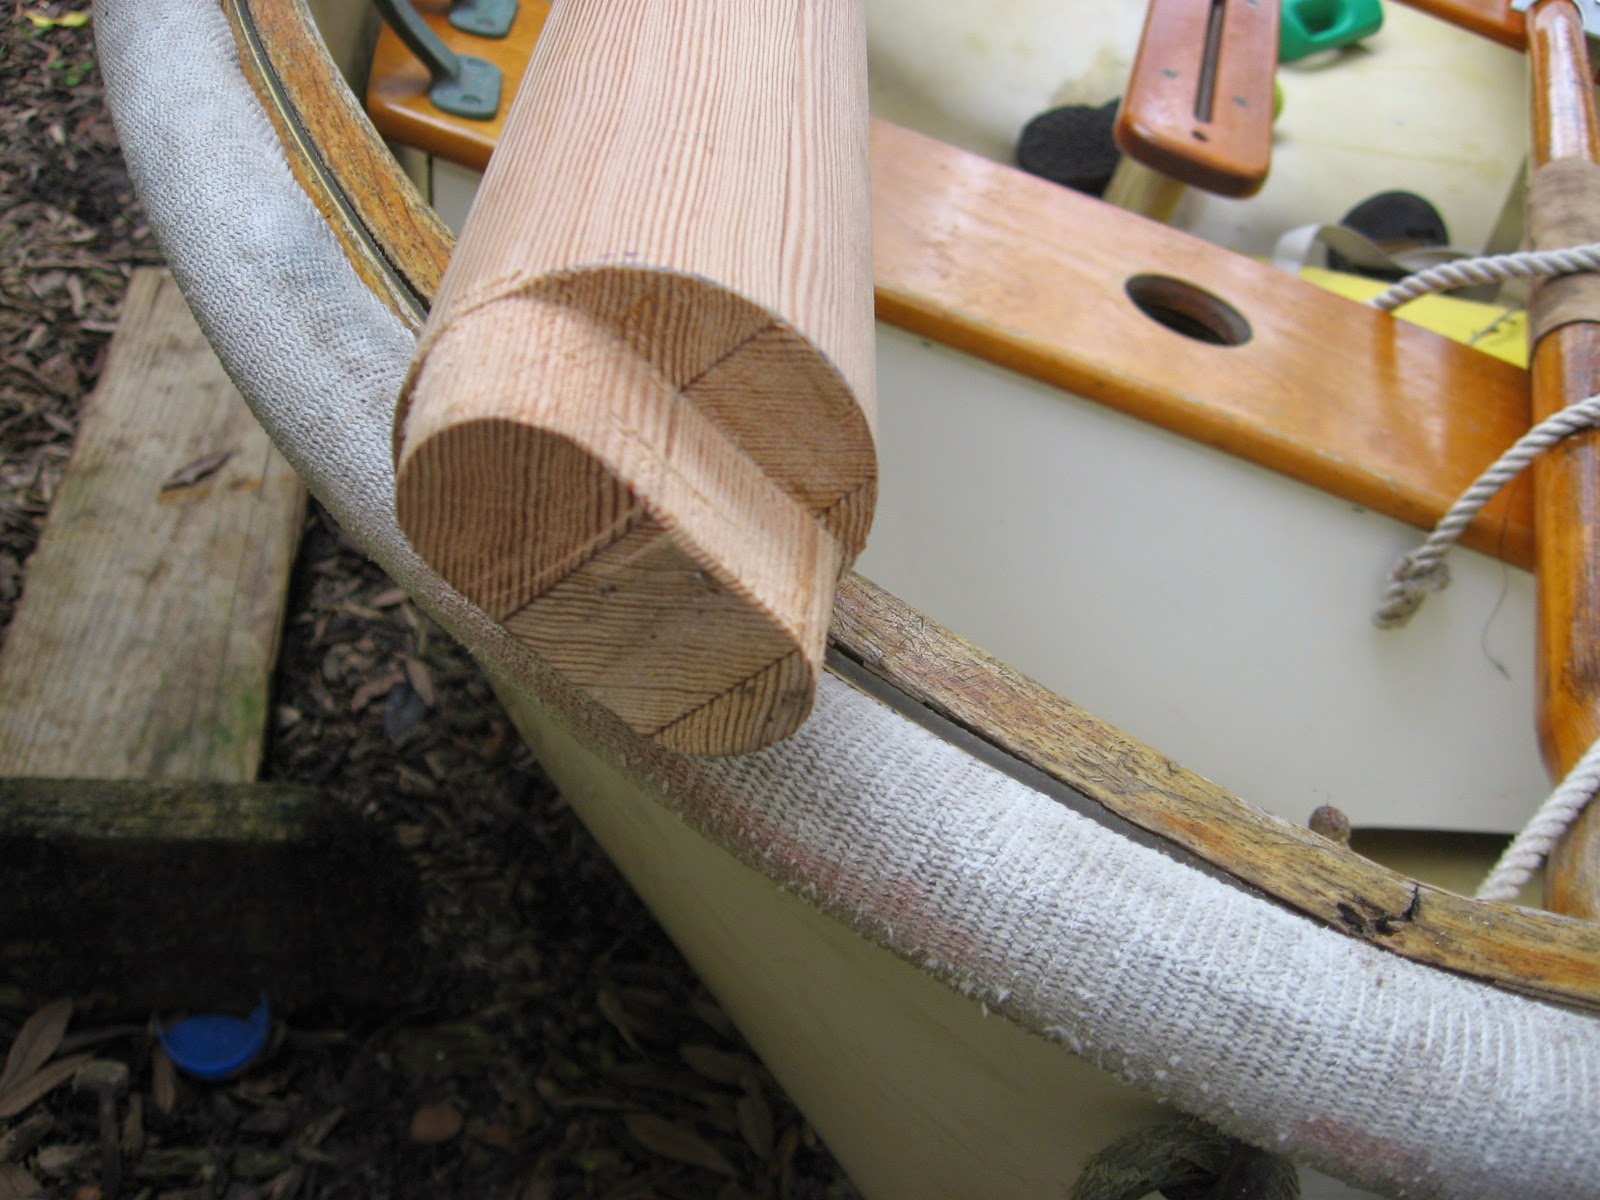
With the fitting and shaping of the mast step I was ready to move onto the rectangular boom.
My crude but effective set up to use a round-over bit for the boom and an evening beverage for a good day work.
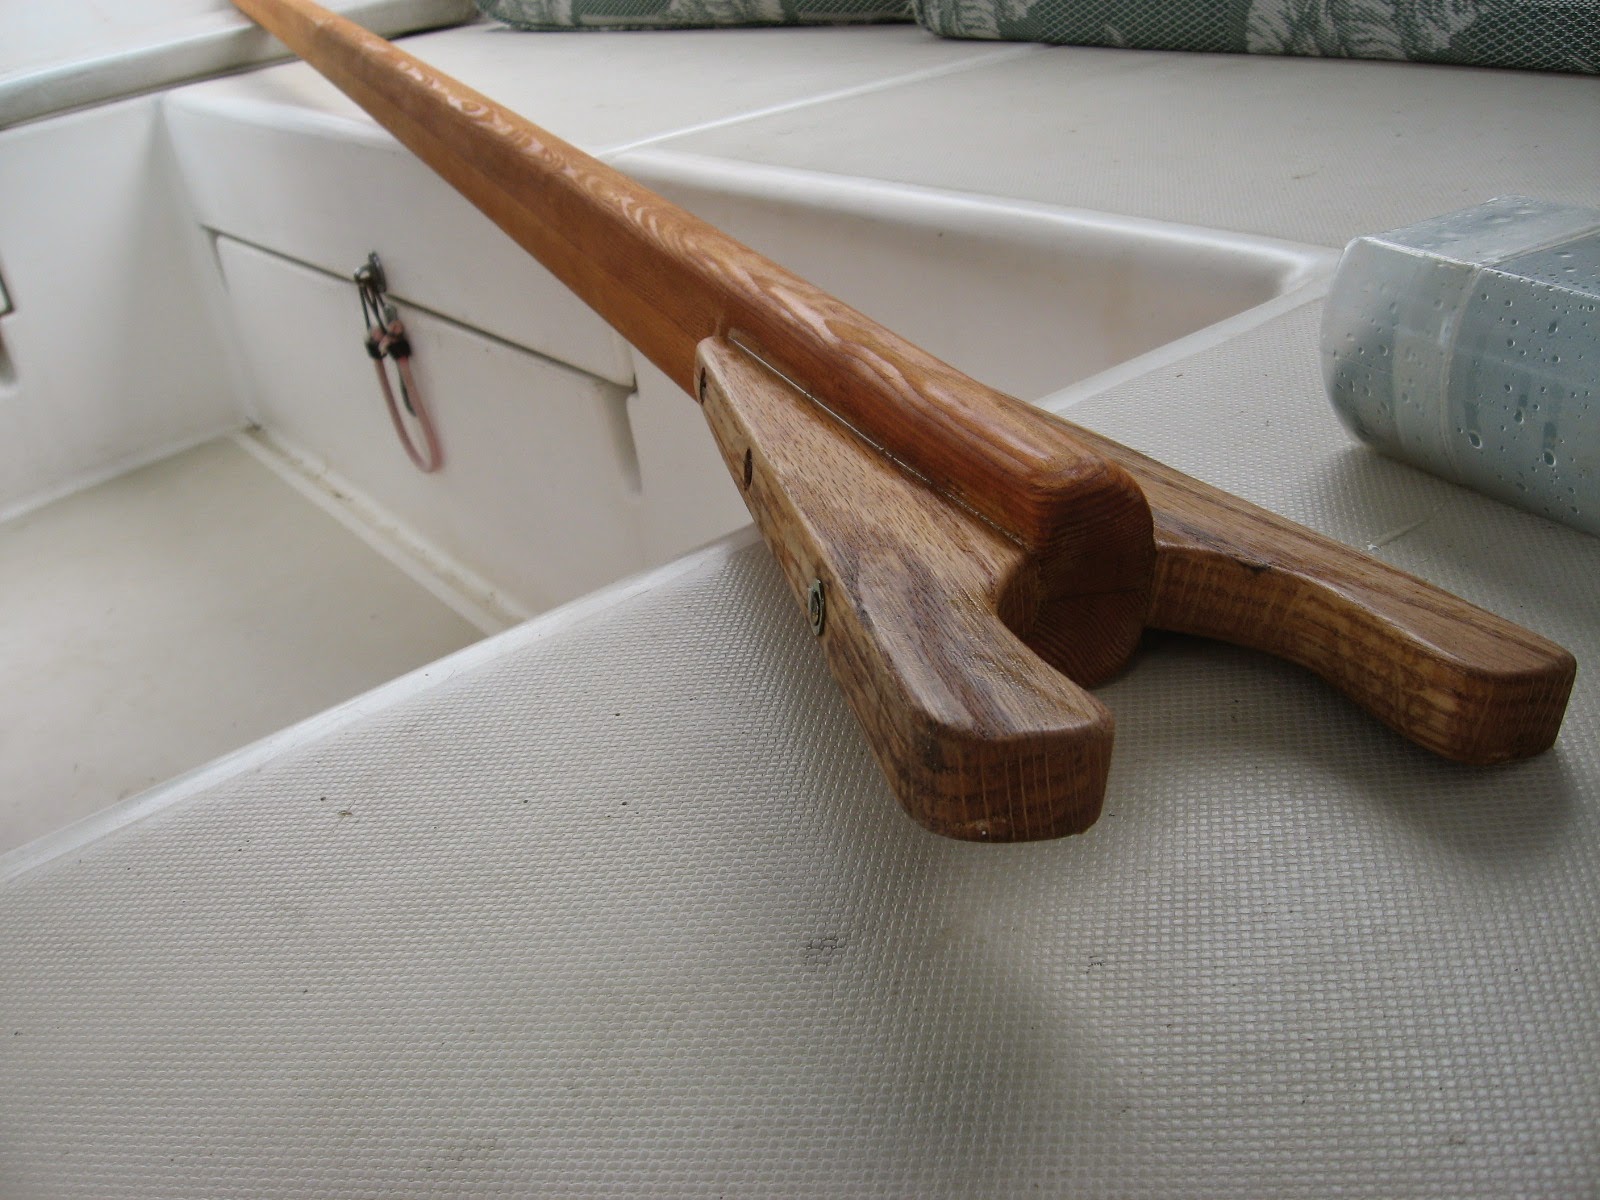
The oak jaws on the boom were pretty straight forward other than I had riveted the end prior to getting the bronze fitting, which is held in place with nothing "but" the rivet, so I had to re-rivet twice.
Prettying it up with the leather work and we are just about done. I also made a couple of teak cleats for the mast and boom, threw on a few coats of varnish ...
... spliced some rope work to complete the running rigging. I had bought a new sail from Dyer along with the proper bronze fittings I was missing, but they sent me the wrong part which caused a very long delay leaving me frustrated not being able to set the sail.
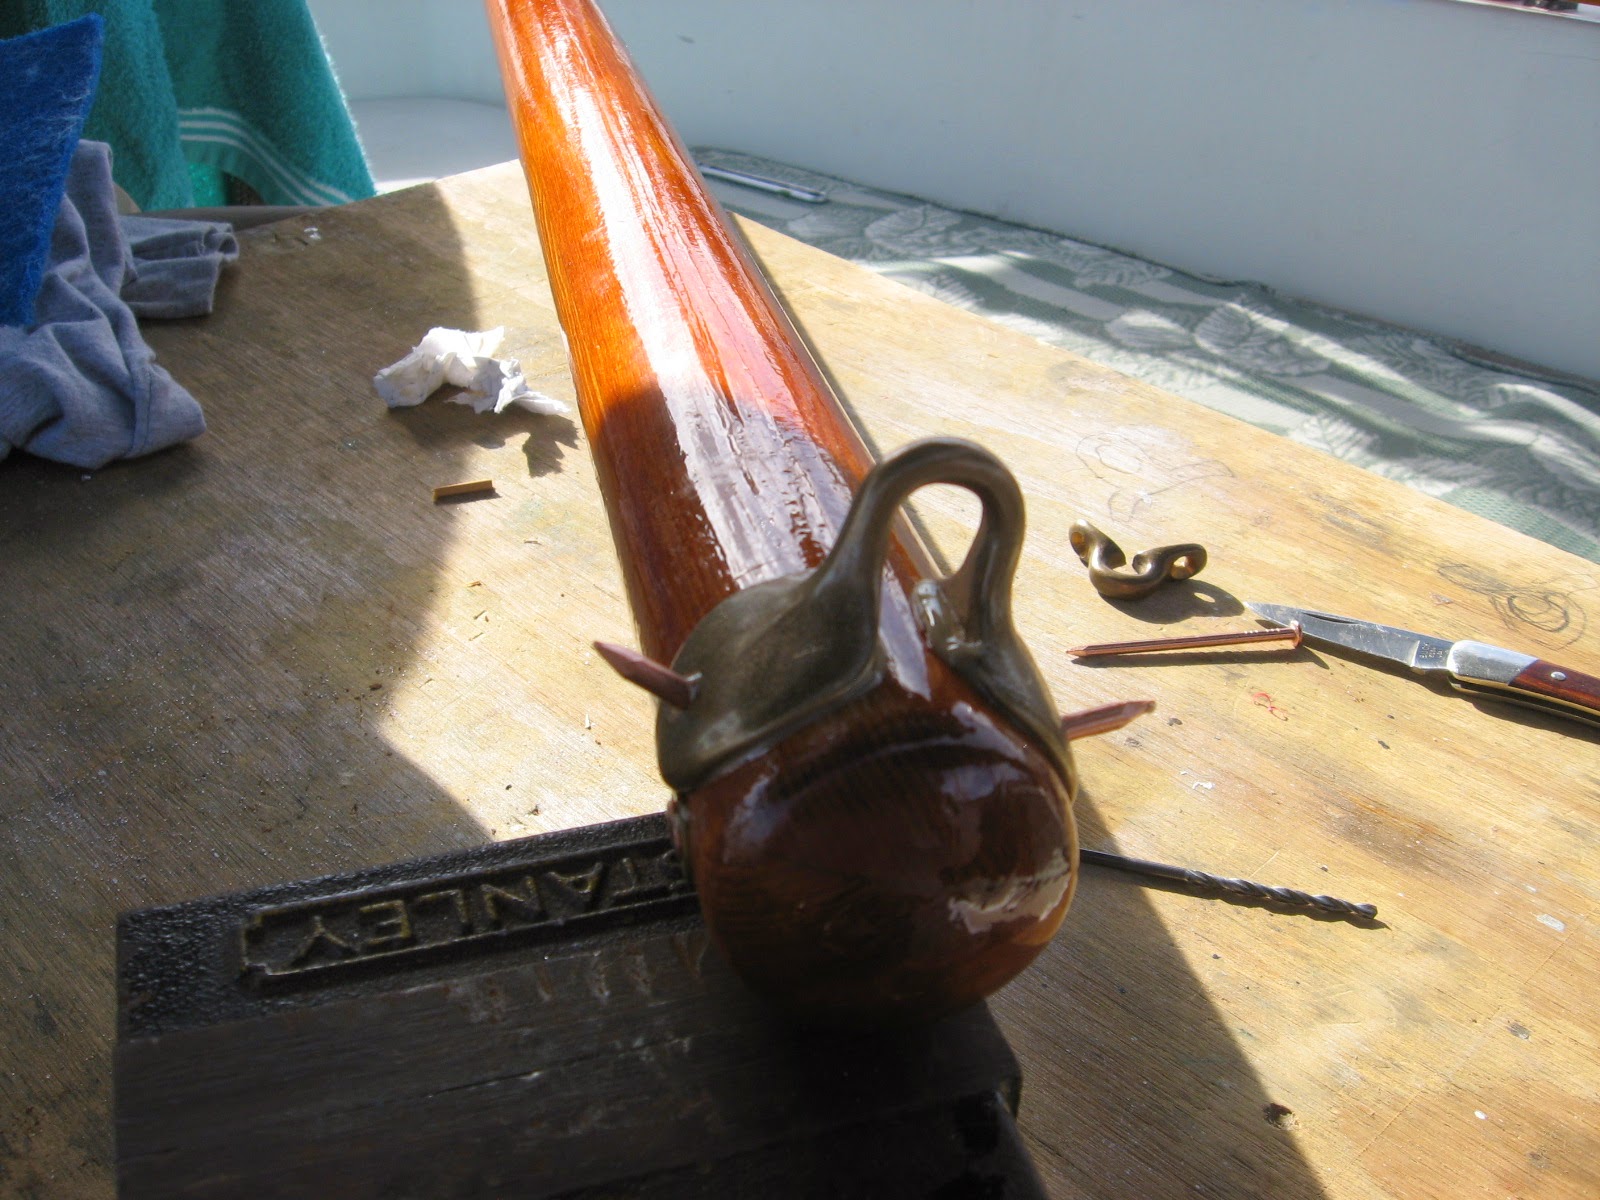
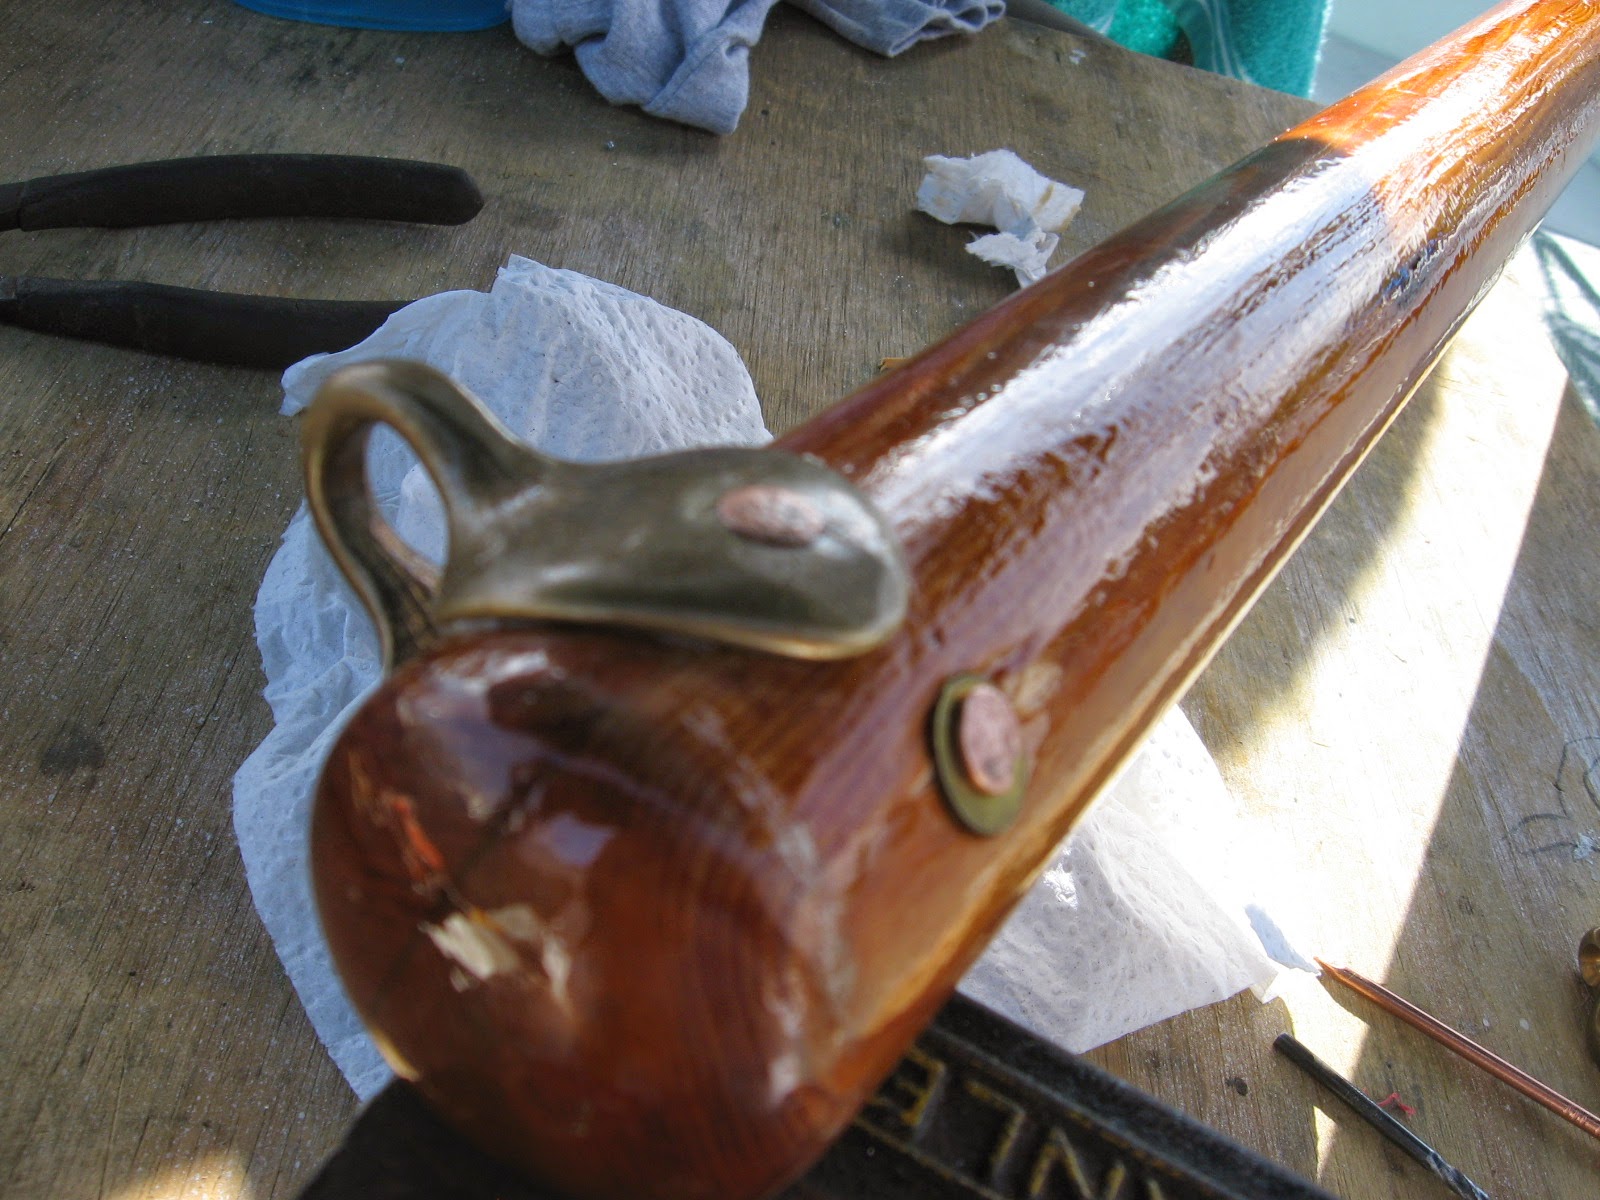
The parts finally came in and I hurried to rivet on the yard hook strap eye with the two inch copper nails.
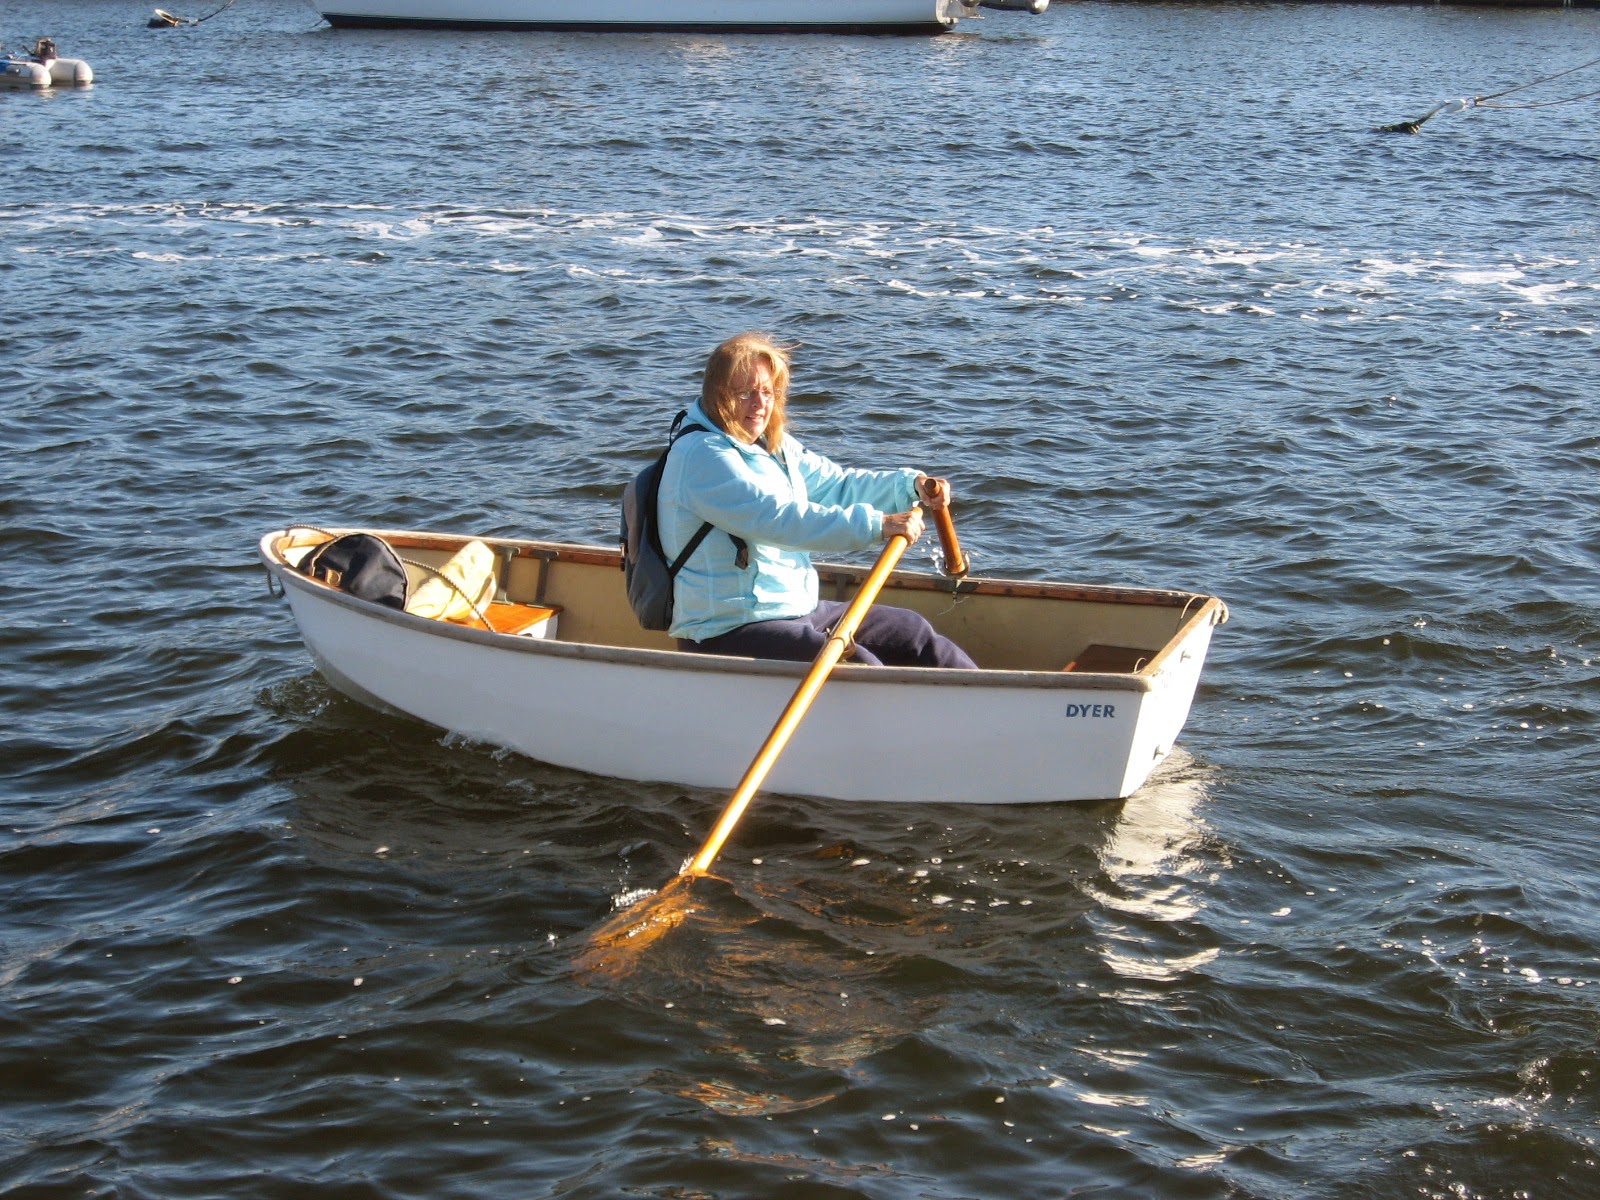
Christmas came very late for me this past year but worth every minute I had to build the missing parts.
Showing posts with label s/v Painkiller. Show all posts
Showing posts with label s/v Painkiller. Show all posts
Thursday, February 19, 2015
Boo Boo's Spars
In which Ken of s/v Painkiller constructs spars for a Dyer dinghy on a park picnic table, using only hand tools...


Tuesday, January 20, 2015
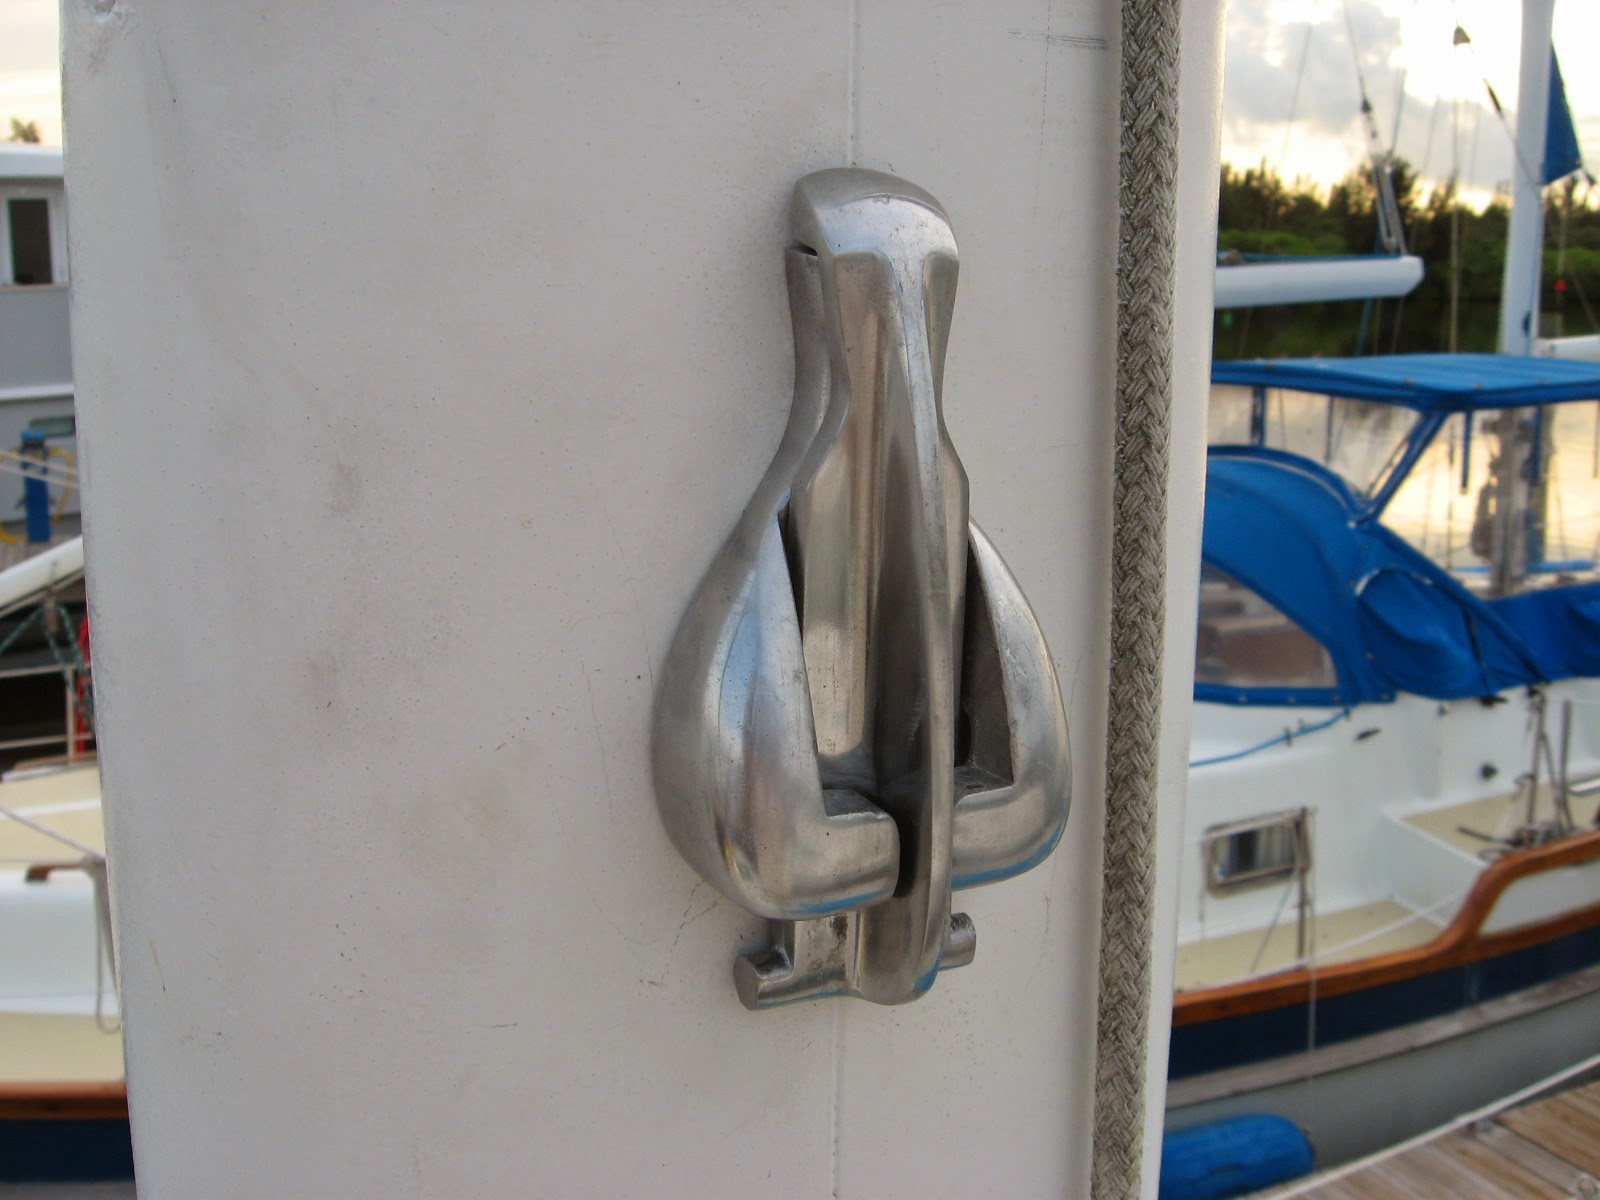
Oar locks
No, not the bronze things that the oars rest in on the thwarts... Over on s/v Painkiller Ken has been very busy. What I've included here is only part of his original post - you should go see it. Here Ken makes a device to ensure that his oars do not go astray while he is away...
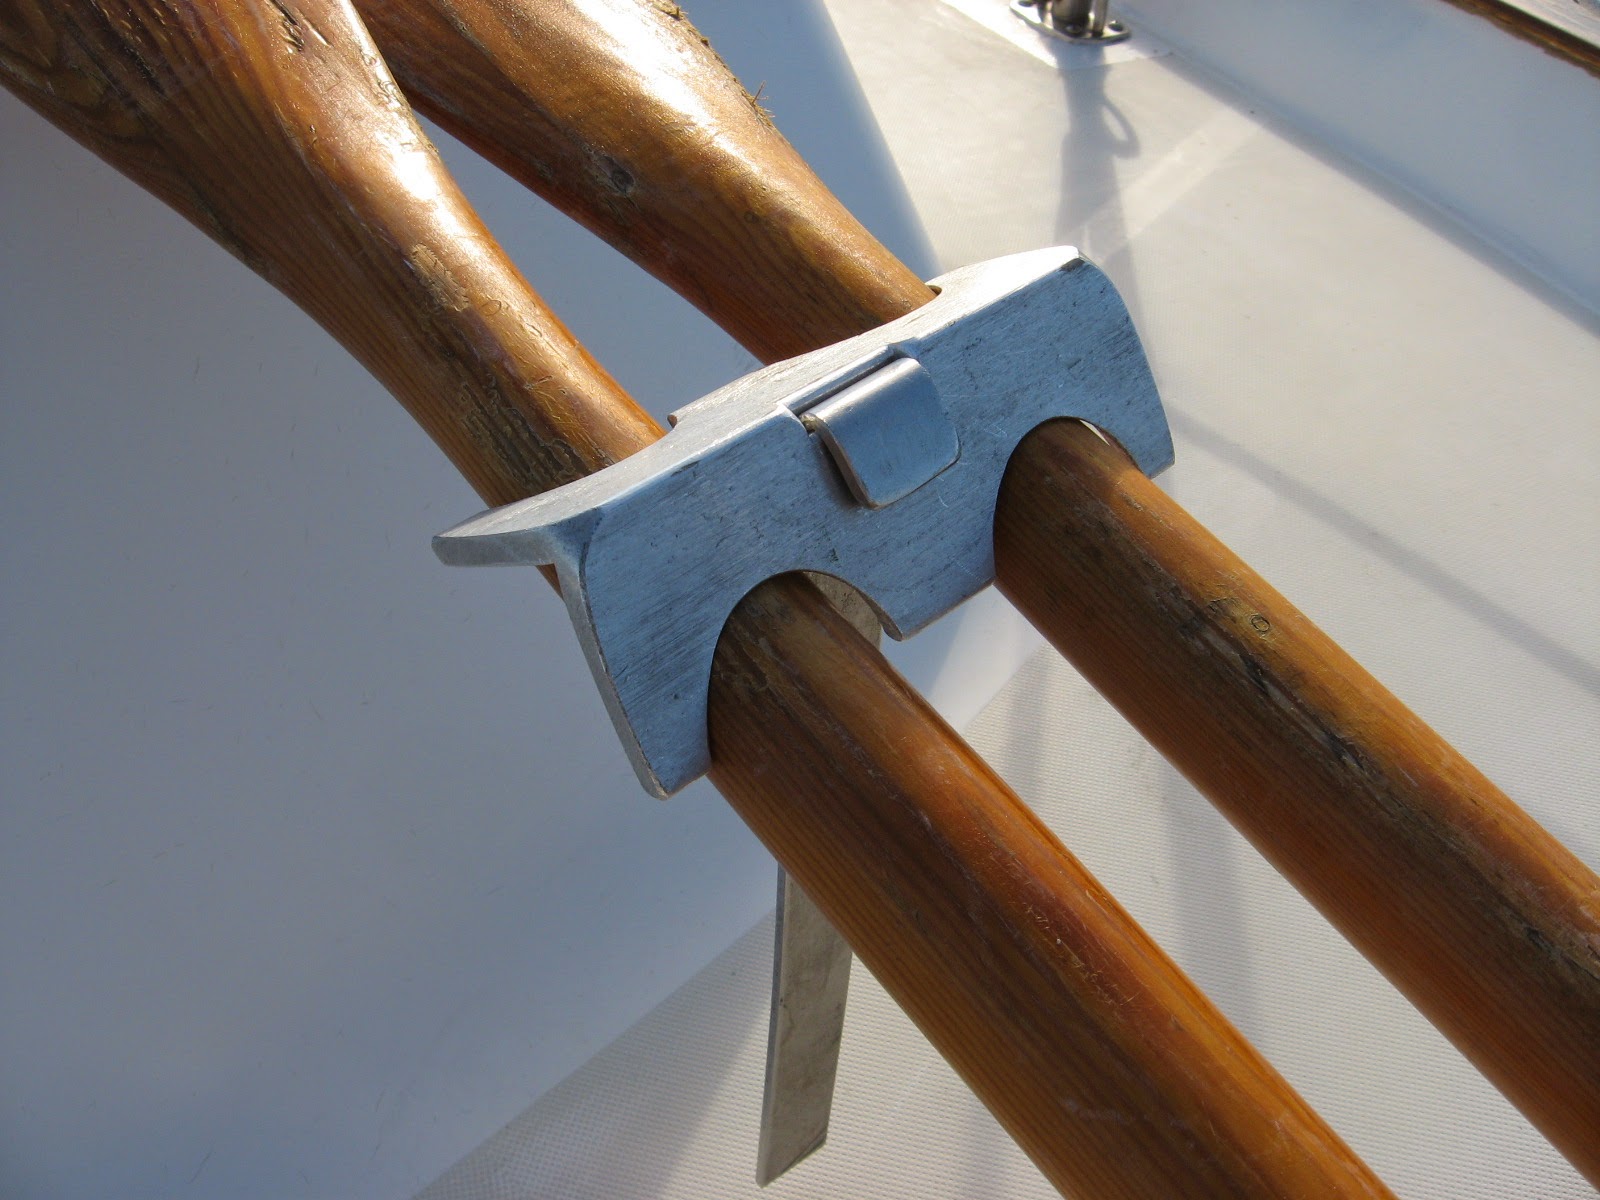
Need to secure the oars from theft so I went on to build a home made version of Edsons oar clamps that cost a wee too much money.
I think this lock is going to be down right pretty when it's set on the thwart of that Dyer. Below is the the new future mast and boom to said Dyer dingy because .....I have a few things in the kettle these days.


Tuesday, December 9, 2014
A Platform To Stand On
Metal fabrication is not a frequent topic here because of the specialized skills and tools it requires. Nevertheless, good communication skills can substitute for those, as Ken of s/v Painkiller demonstrates:
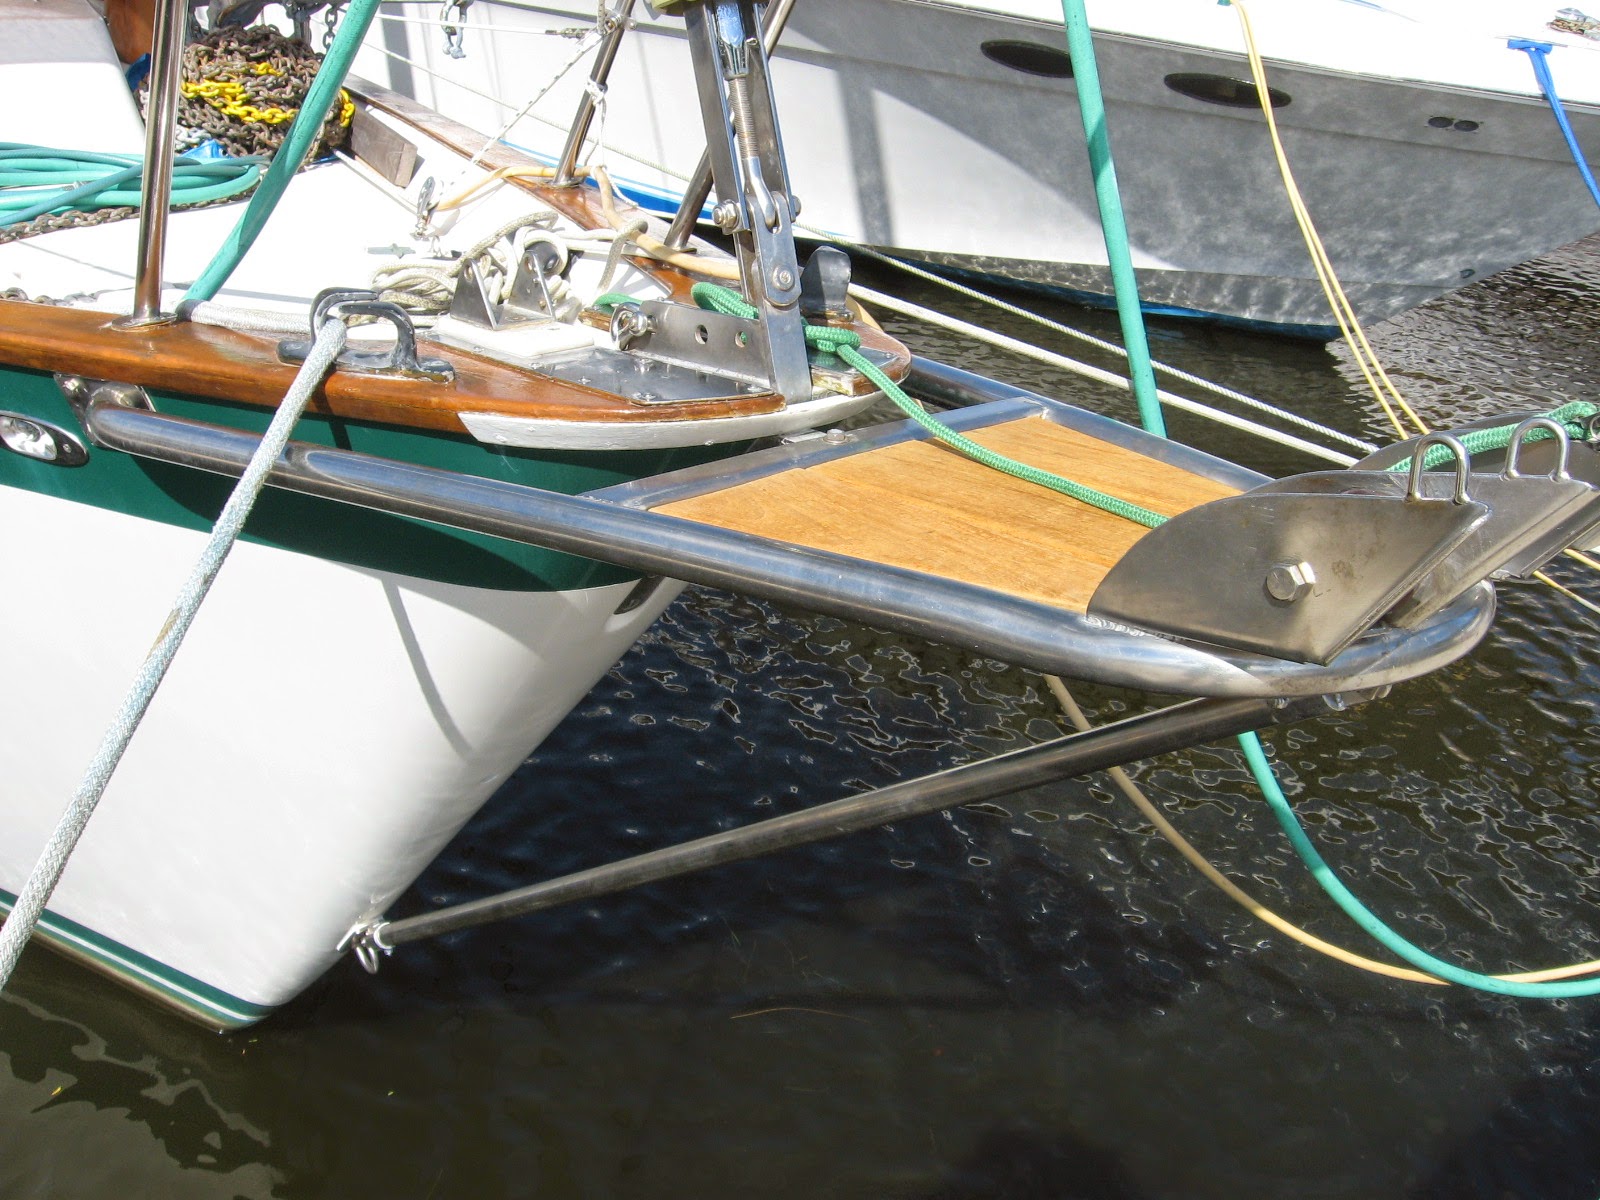
Not too long ago on the Pearson 424 forum that I hang out, someone asked if there was any information or drawings, or possible "who" fabricated the anchor platform that was offered to Pearson owners when having a new boat built.
Nobody had any concrete answers, so I offered to the gentlemen inquiring that I would give him an accurate detailed drawing that he could have the exact piece reproduced from any competent fabricating shop.
All I had to do was go forward with measuring tape, paper and and pencil. I noted in my drawings (I shared with the forum) that I would add a third or fourth point to stiffen the platform as it seemed to me it having a weak spot with potential heavy loads from getting a stuck anchor off the bottom. Not to mention that mine was bent at least 5 degrees....I never noticed it till I starting measuring for the drawings.
I had some ideas and traded some unwanted stuff at Sailors Exchange in St Augustine, FL for some various bits and pieces of stainless steel hardware that I could fabricate into something to help beef up the platform. A 1/2" U-Bolt was my starting point. The actual finished bracing point saw a few different ways before I settled on a robust 3/8" plate that supports the brace for the anchor platform and offers me a point near the waterline to lead a snubber line for anchoring. After coming up with a definitive plan, I removed the platform and brought it to a local shop to have straightened and weld up my various pieces.
I backed it all up with 12" x 5" shaped block epoxied into the forward stem. Not sure if I would tow my boat at sea in an emergency from this point, but for sure at anchor it will be fine.
I'm thinking this will take a load off my concerns of have an oversize anchor bury itself a little deep and need some persuasion to pop it free.


Tuesday, November 11, 2014
Bomar Cast Aluminum Hatch Rebuild
The hatches on s/v Painkiller needed attention. Ken tackles a complete rebuild head-on:
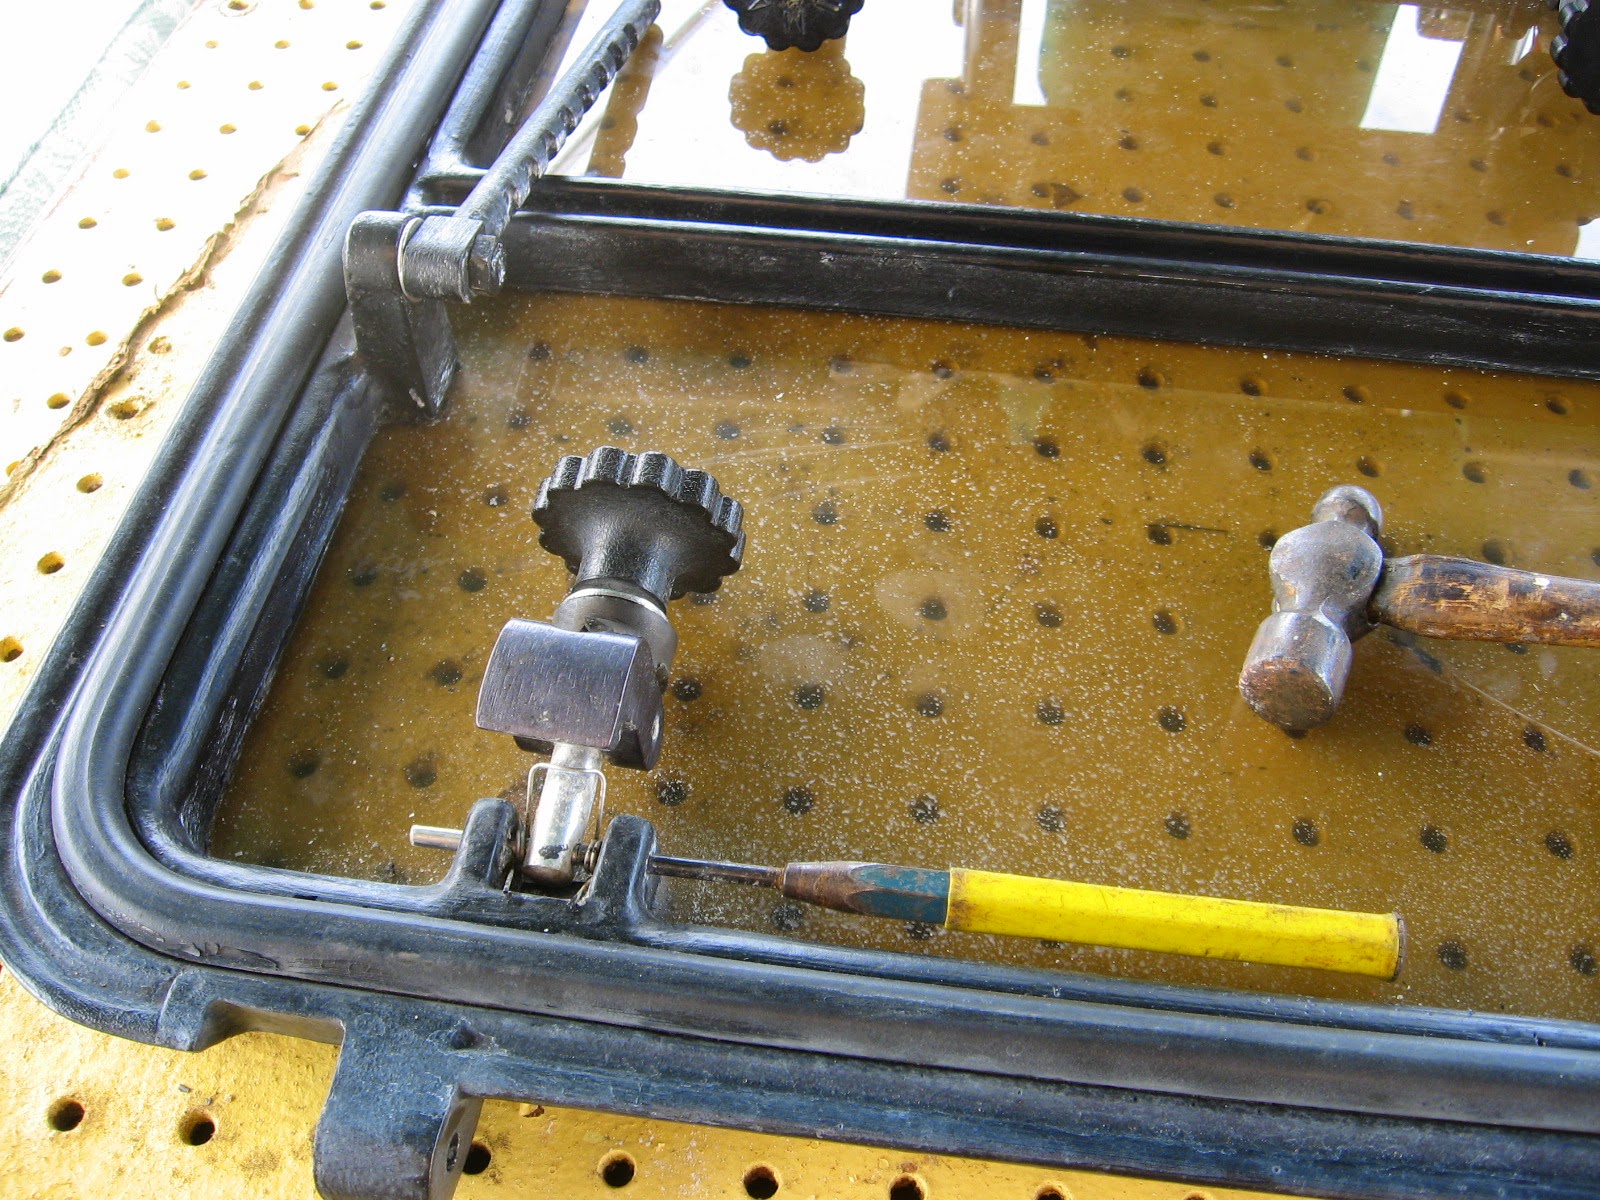
The dogs came out just as easy with an 1/8" punch and small hammer.

Very simple construction, a shaft, a dog, couple of pins and a tightening nut.
Old dry gasket material just as easily came right out.

Lots of wire scraper, wire brush and sandpaper cleaning of all surfaces inside and out, it's kinda therapeutic for me, I just love making things better!
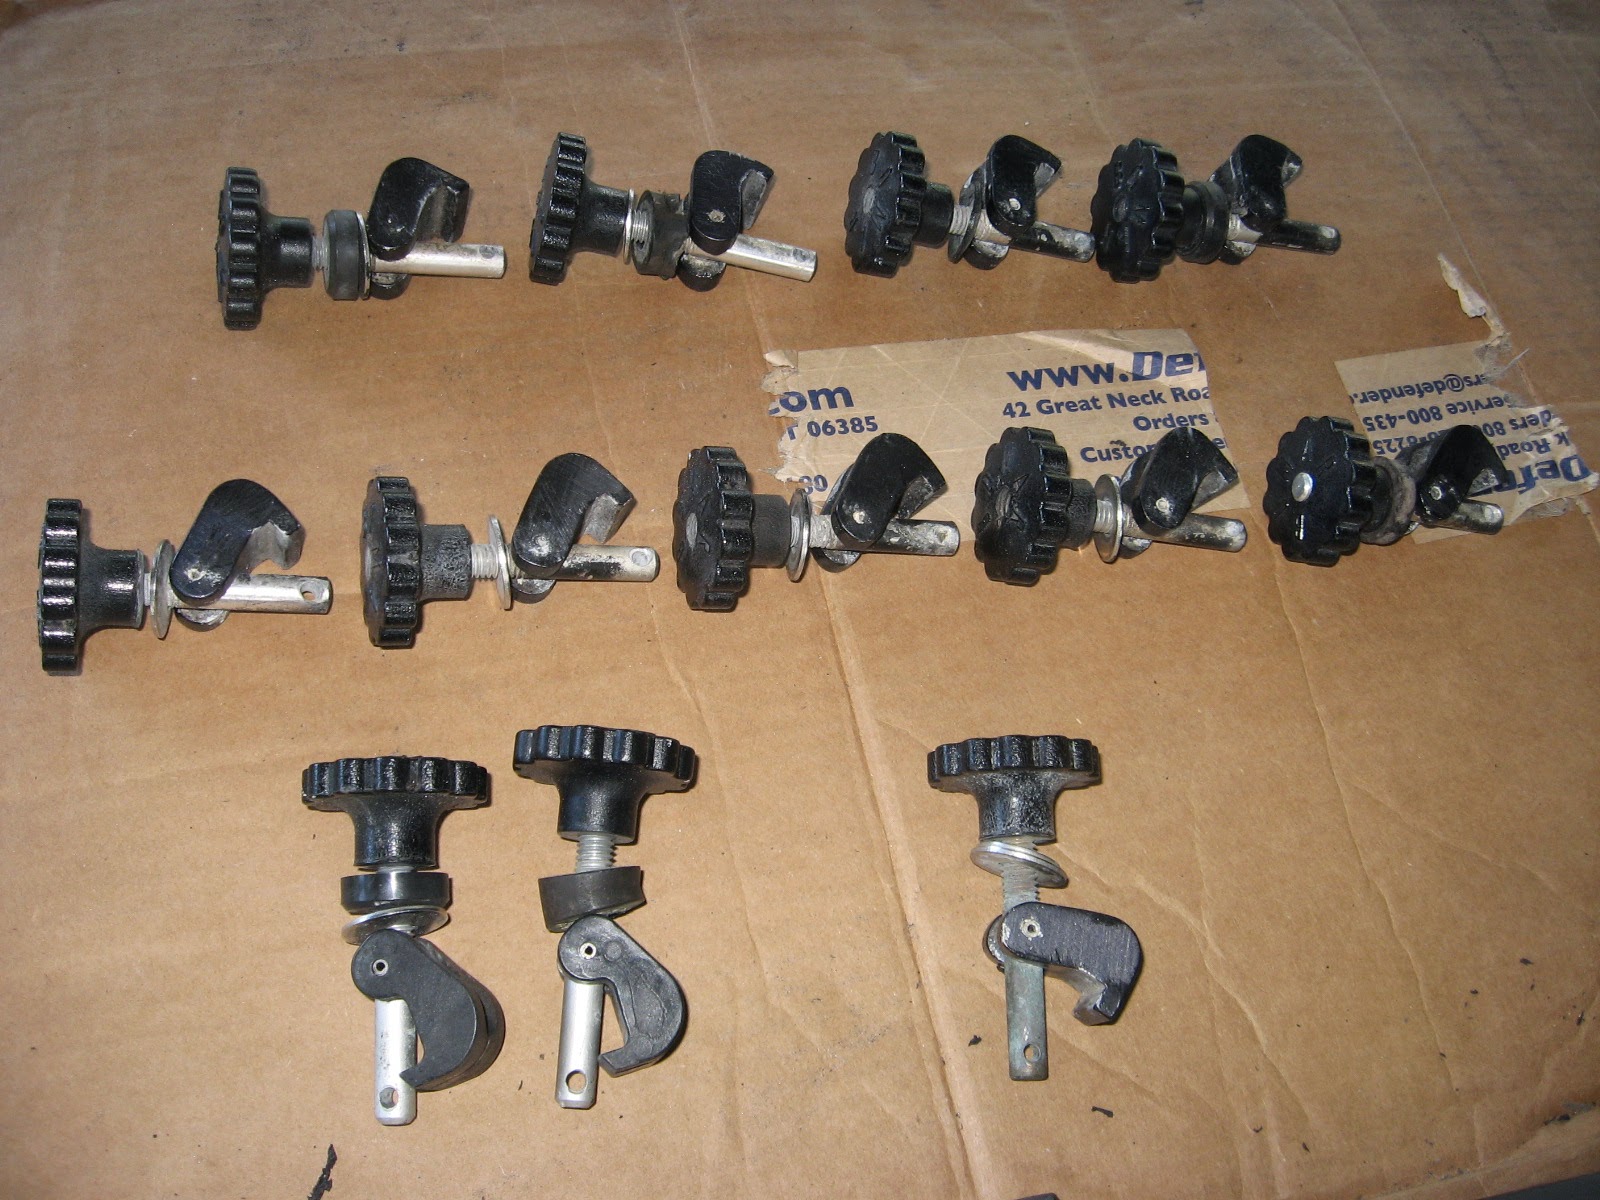
Sorting through all the dog downs, deciding what is worth keeping and or repairing and how many "new" complete kits to buy.
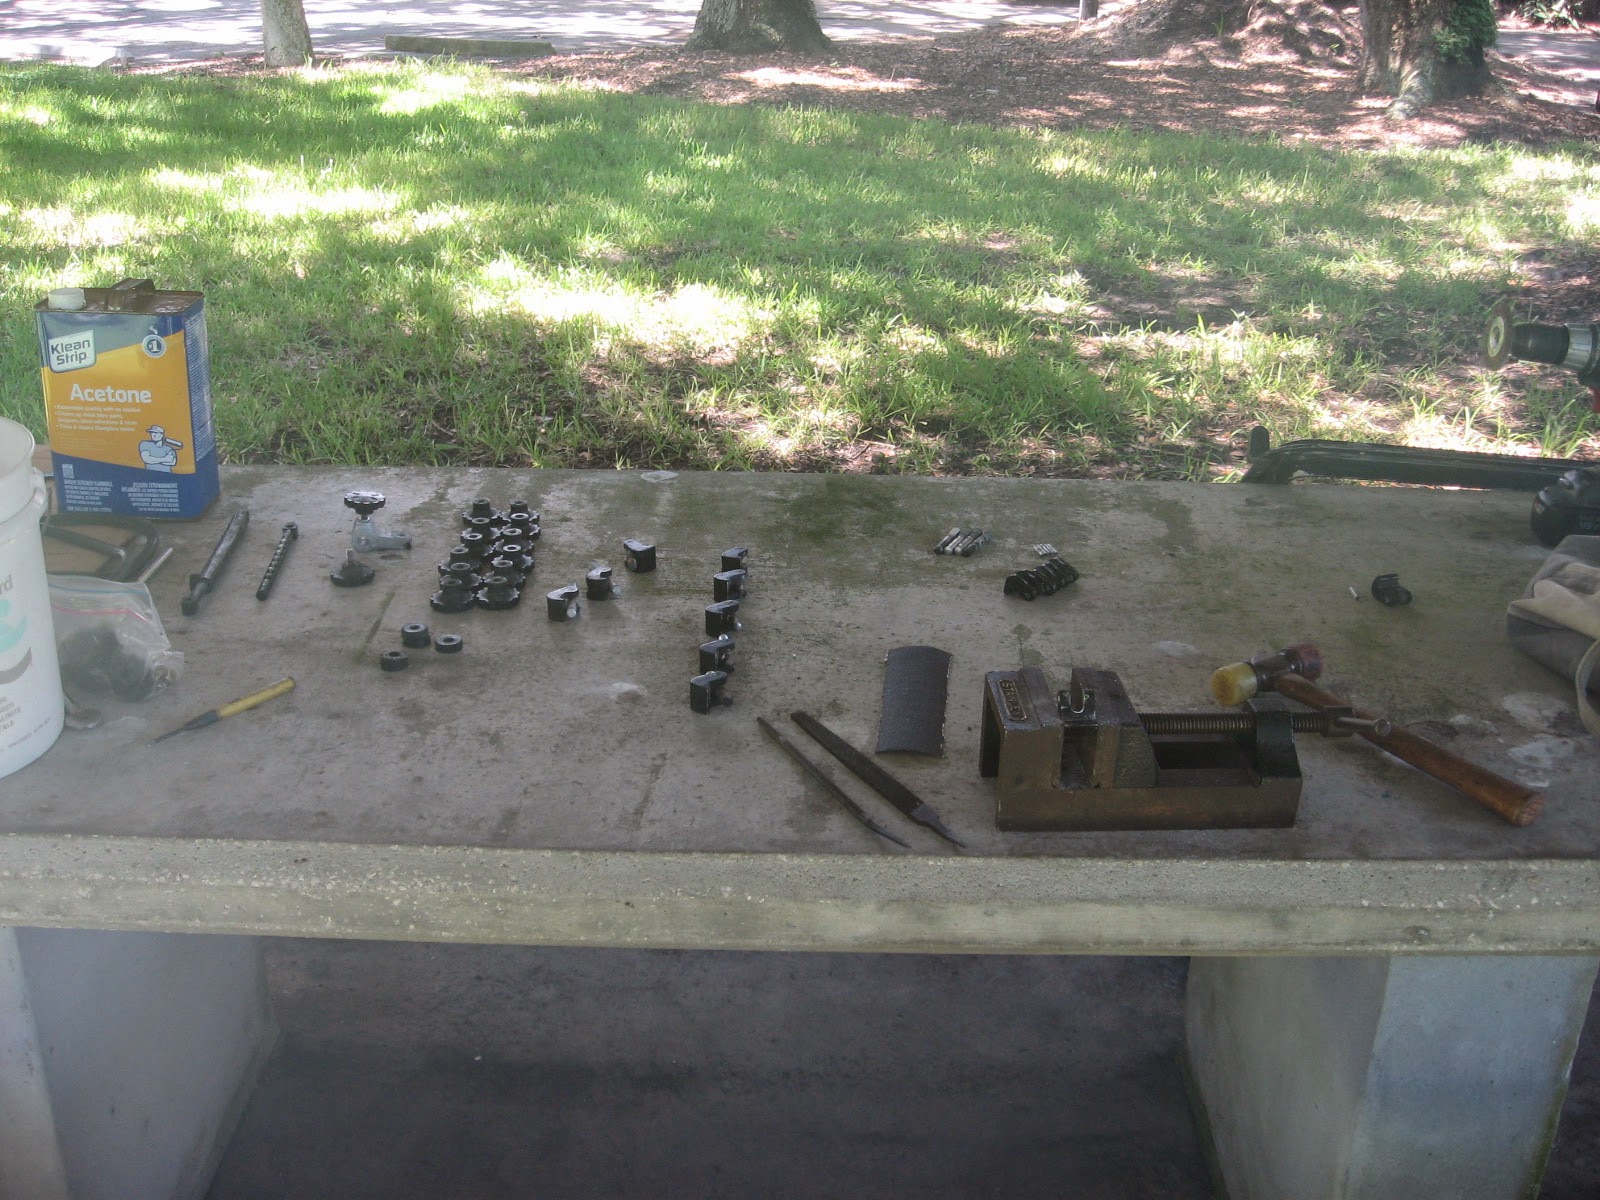
I filed and tuned up most all the dogs, had to make a few new shafts with material I had at hand ...

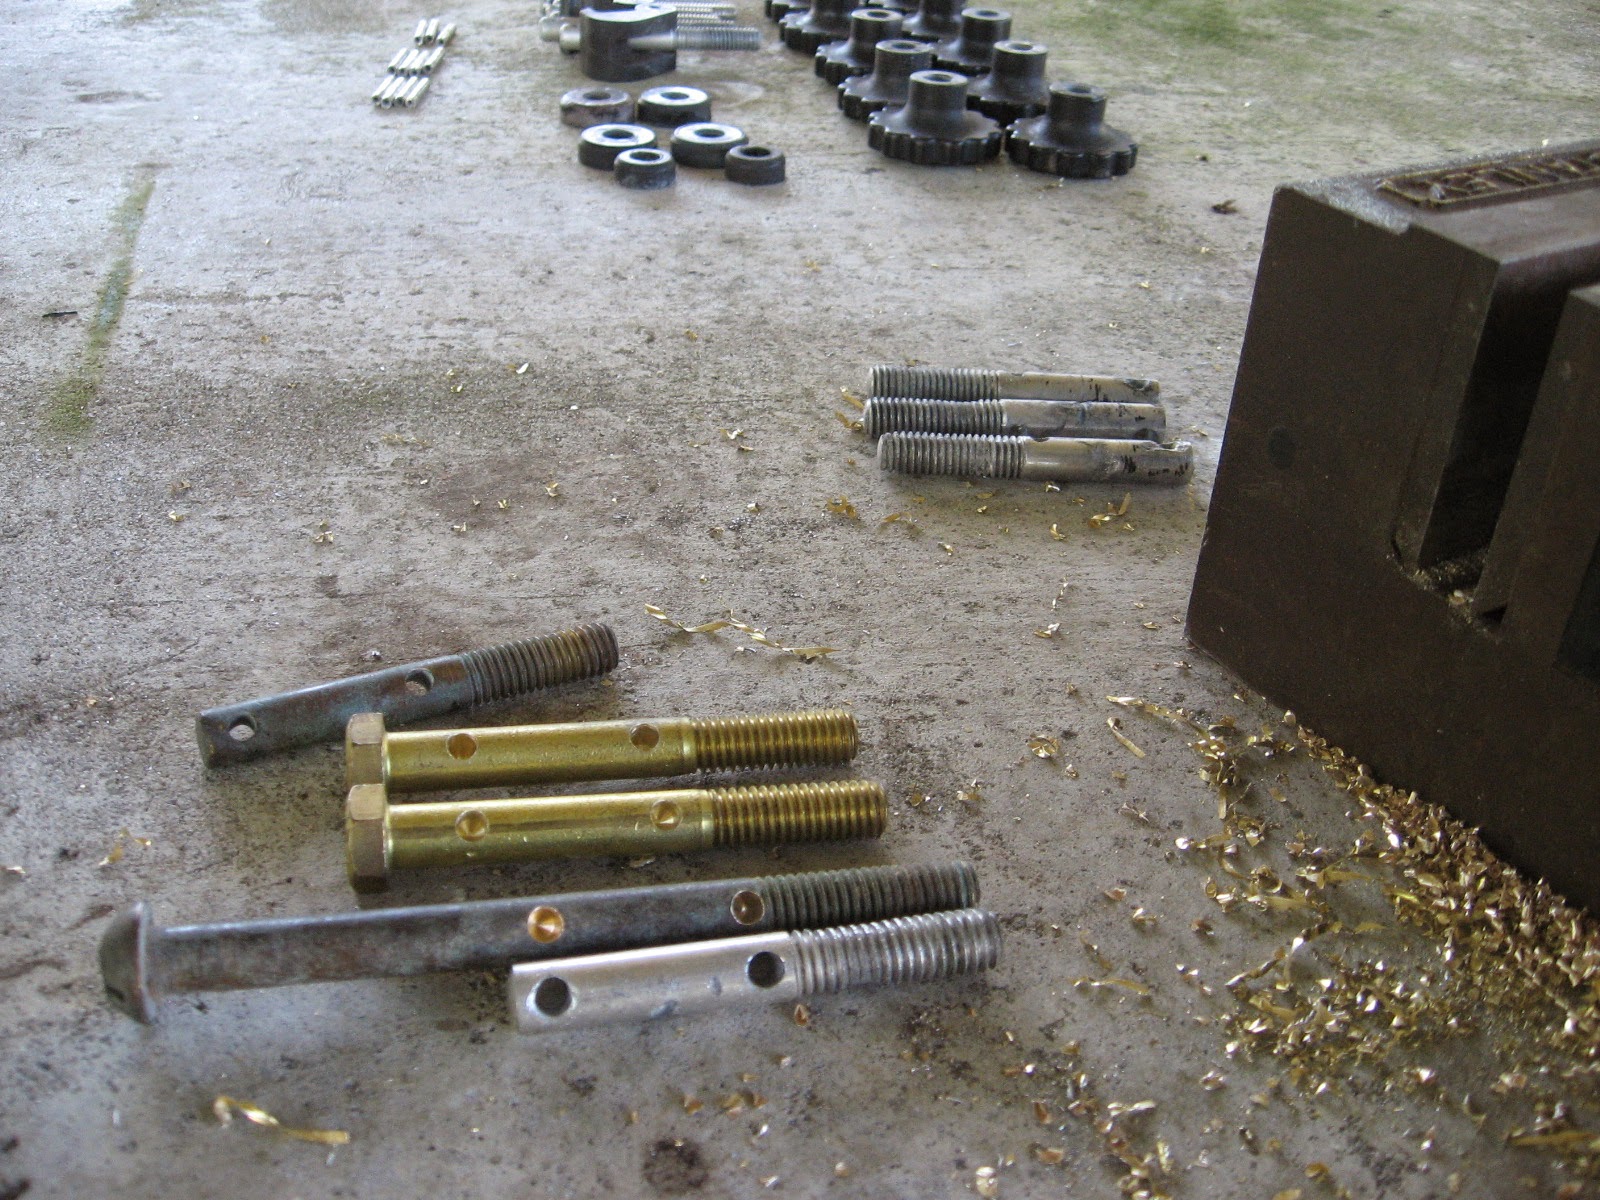
... to give me one hatch with 4 new bronze and brass studs, one hatch with original aluminum studs that were in good condition and one hatch with all new kits at $35 a kit. That's the one in the galley, used the most.

Using an old lens re-cut for more clearance, with a router I traced the new stock for a proper fit.
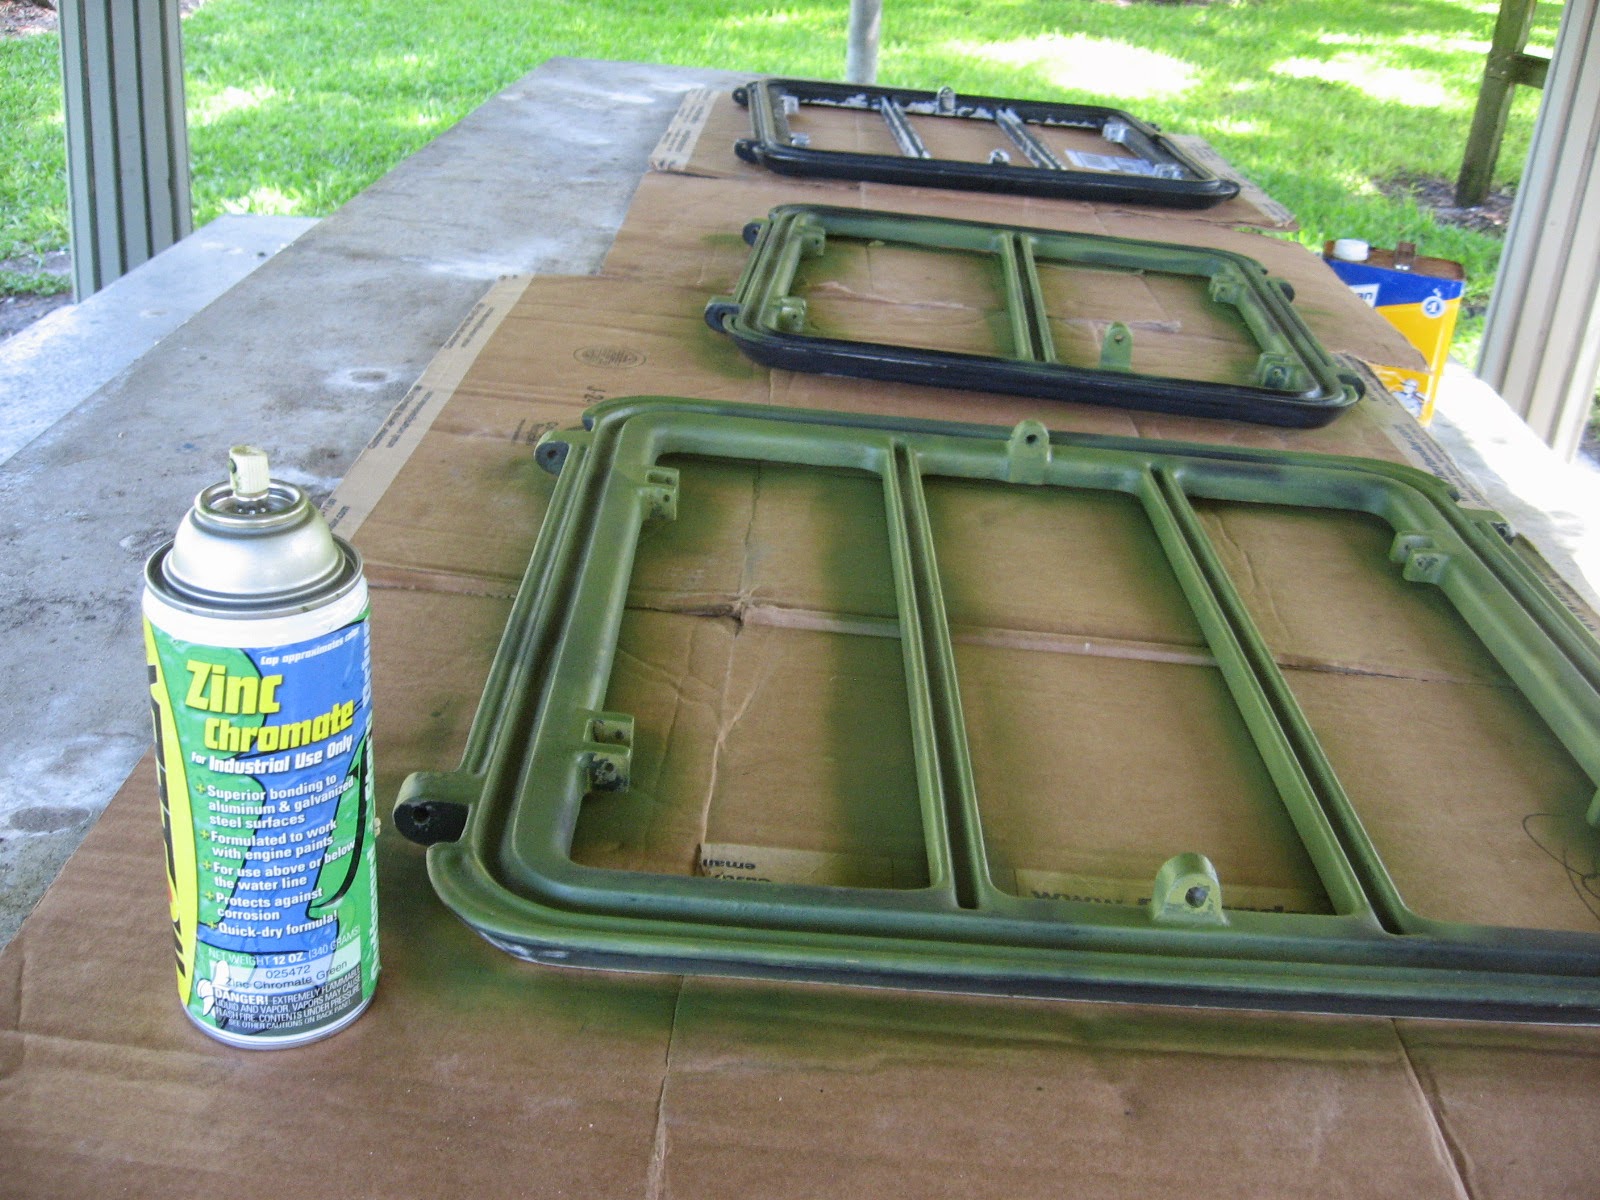

Zinc Chromate for the bare aluminum and a couple of coats of paint, let dry for a few days and...

... mask everything then...clean, clean and be careful of even your fingerprints as handling the new lens ...

... lay on the goop for a waterproof shiny new hatch.
I didn't get any pictures of laying in the new gasket. it went simple enough after a thorough cleaning and then clamping the hatches in place for a couple of days.

A total of about $100 per hatch, what's not to love about that?
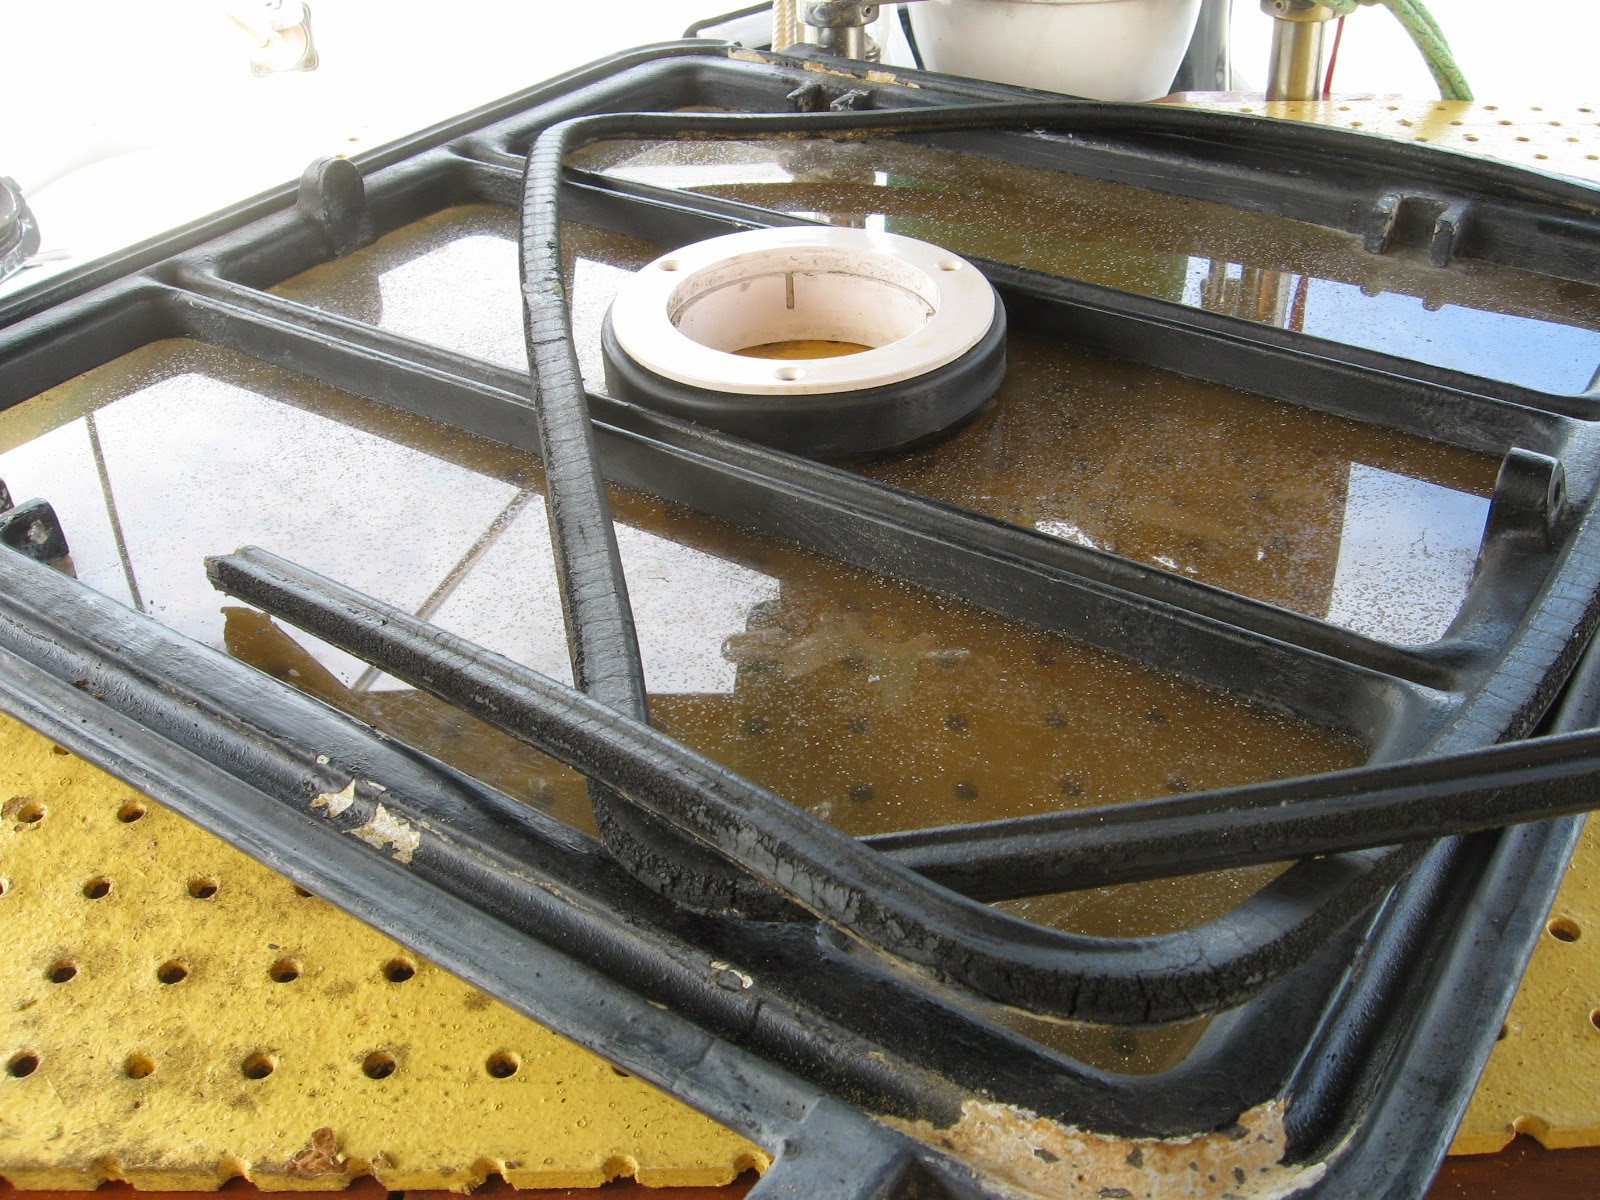
After seeing the replacement cost of these old style offshore hatches we actually went and bought three, one step down, Bomar replacements for just over a $1000. After getting the new ones back to the boat we took a closer look at them side by side with the old ones. Wow! We brought the new ones back for a full refund. Let's keep the old ones and rebuild!
Once started, the old lenses came right out. A couple of these were leaking and it seemed to me that the lens were at one time cut too big and not given enough room to expand and contract. Should be (I think) about an 1/8" per foot of lens, 2' hatch=1/4". Google it, find out for yourself.


The dogs came out just as easy with an 1/8" punch and small hammer.
Very simple construction, a shaft, a dog, couple of pins and a tightening nut.
Old dry gasket material just as easily came right out.
Lots of wire scraper, wire brush and sandpaper cleaning of all surfaces inside and out, it's kinda therapeutic for me, I just love making things better!
Sorting through all the dog downs, deciding what is worth keeping and or repairing and how many "new" complete kits to buy.
I filed and tuned up most all the dogs, had to make a few new shafts with material I had at hand ...
... to give me one hatch with 4 new bronze and brass studs, one hatch with original aluminum studs that were in good condition and one hatch with all new kits at $35 a kit. That's the one in the galley, used the most.
Using an old lens re-cut for more clearance, with a router I traced the new stock for a proper fit.
Zinc Chromate for the bare aluminum and a couple of coats of paint, let dry for a few days and...
... mask everything then...clean, clean and be careful of even your fingerprints as handling the new lens ...
... lay on the goop for a waterproof shiny new hatch.
I didn't get any pictures of laying in the new gasket. it went simple enough after a thorough cleaning and then clamping the hatches in place for a couple of days.
A total of about $100 per hatch, what's not to love about that?
Thursday, October 23, 2014
Making Space
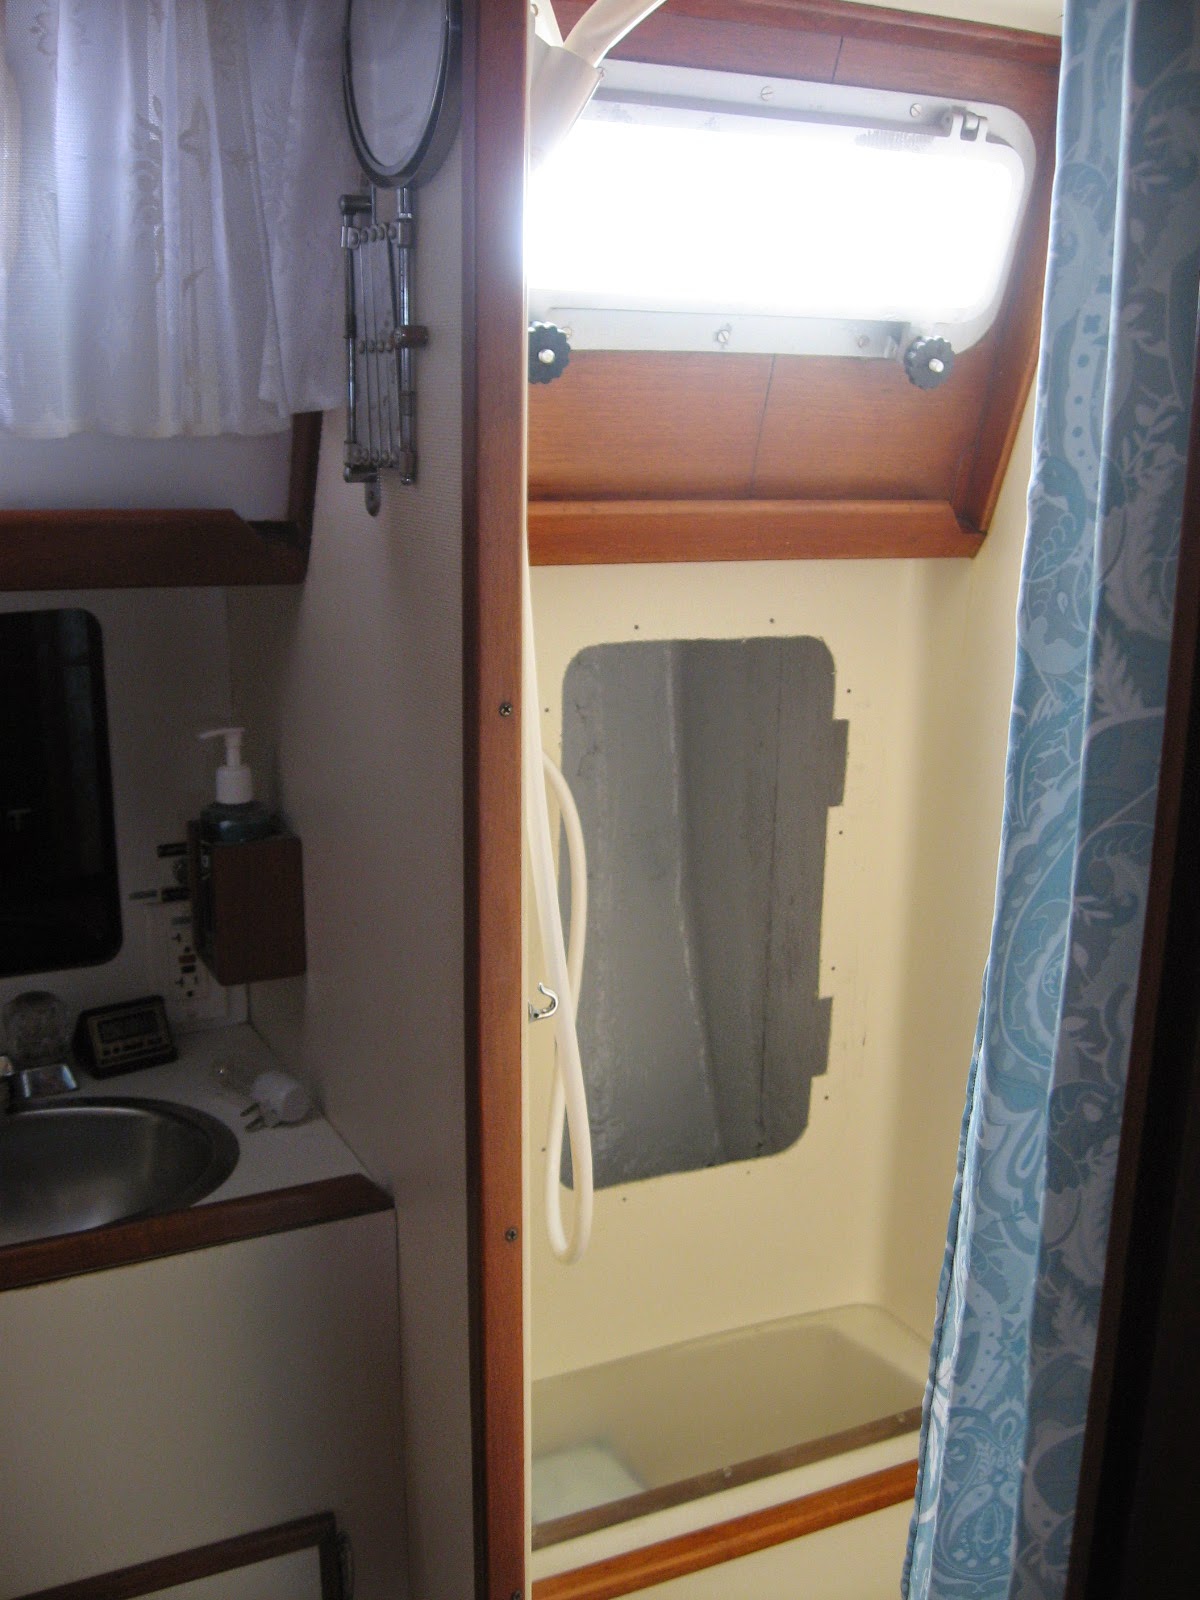
When you live aboard, storage is a premium. Aboard s/v Painkiller, Ken & Vicky discovered some hidden space that they converted to storage:
Ever since moving aboard PAINKILLER we've been seeking out additional storage that can be utilized without too much difficulty. Not that we're collecting more and more stuff to fill up these places but to actually have more room to stockpile needed supplies while travelling.
We're actually planning one more trip to the storage unit with a huge hunk of stuff not really needed, too many fenders, an extra holding tank, jugs and quite a large pile of left over stuff from the previous owner that we thought, maybe we'll want it later. Nah! we'll be fine without it.
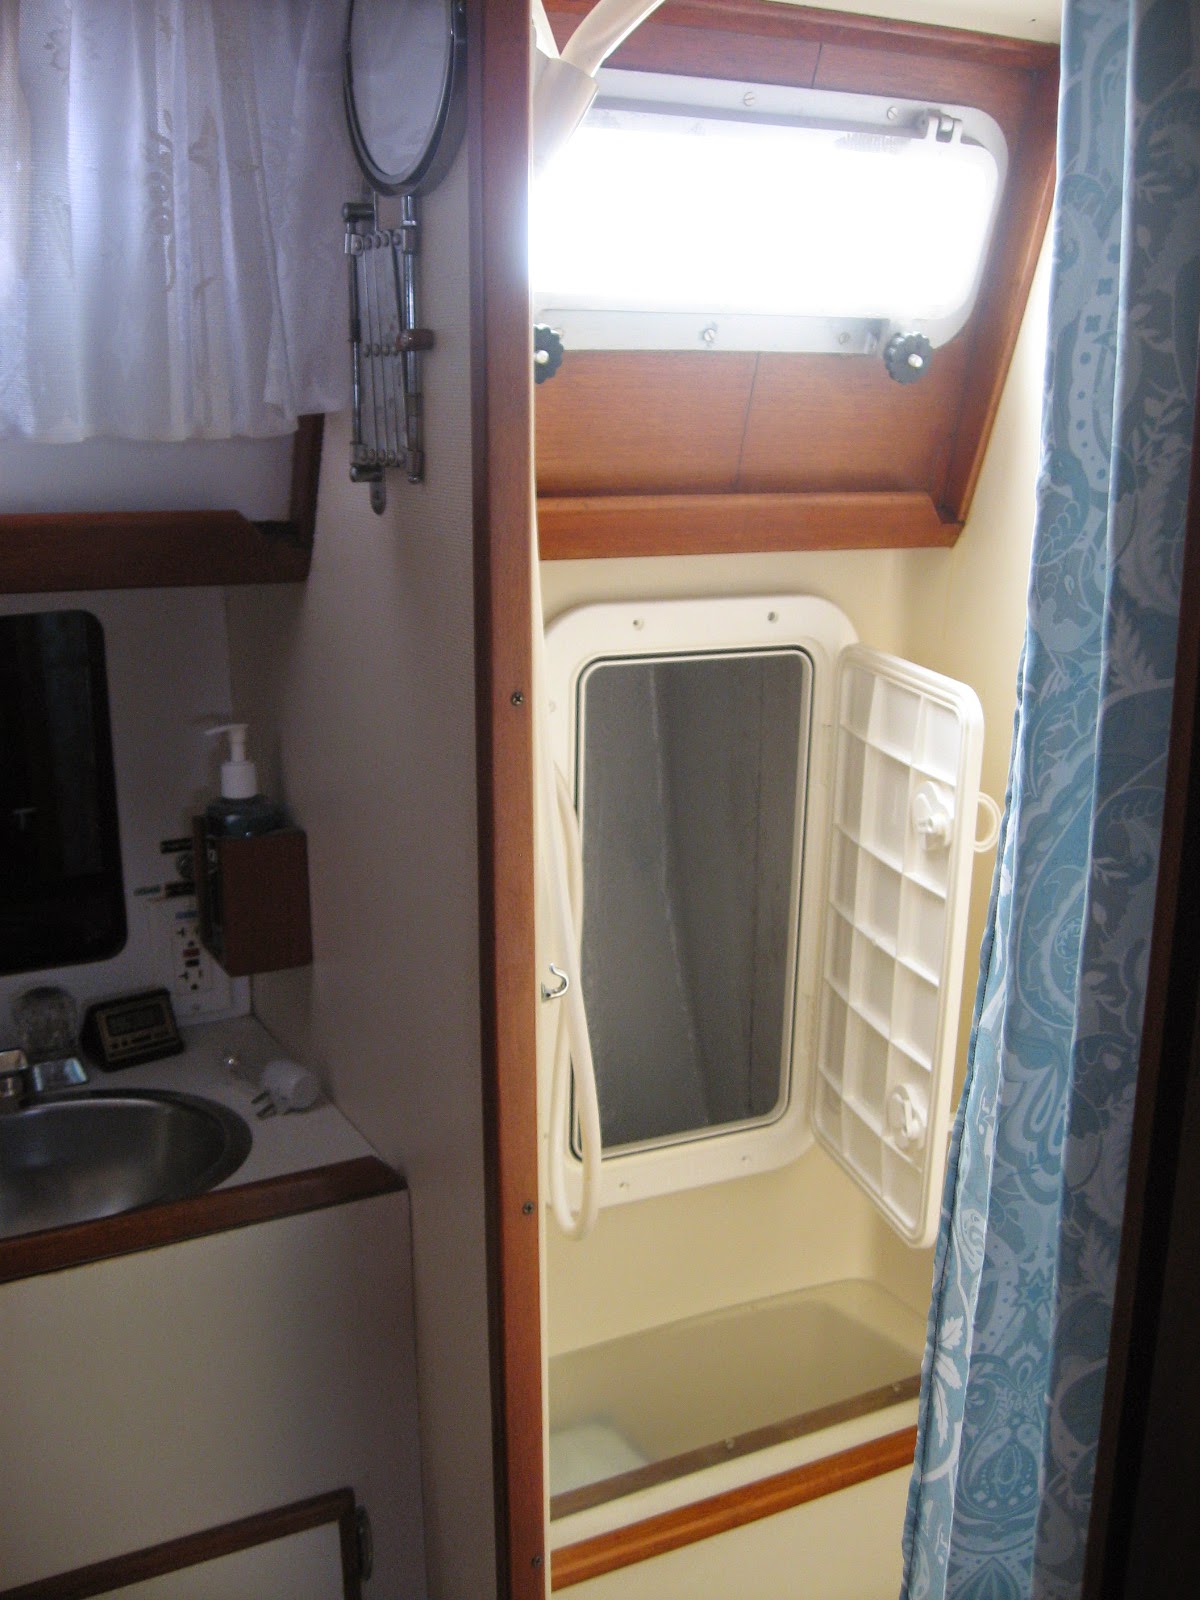
Having a shower in itself is a huge storage area of things that can be easily removed for shower use, but this space that was buried behind the outboard wall is too good to waste. It really is huge as it follows the hull all the way down.
A jig saw easily cut through the fiberglass after drawing from the template then a simple gasketed deck hatch gave us another huge dry storage area. A simple job yielding many cubic feet of storage.

Friday, August 29, 2014
Stairway To The Masthead
How do you climb your mast? If you ascend using mast-mounted steps, have you ever asked how those steps were mounted? Ken & Vicky, who live aboard s/v Painkiller has documented the very professional process that he used to mount his steps:
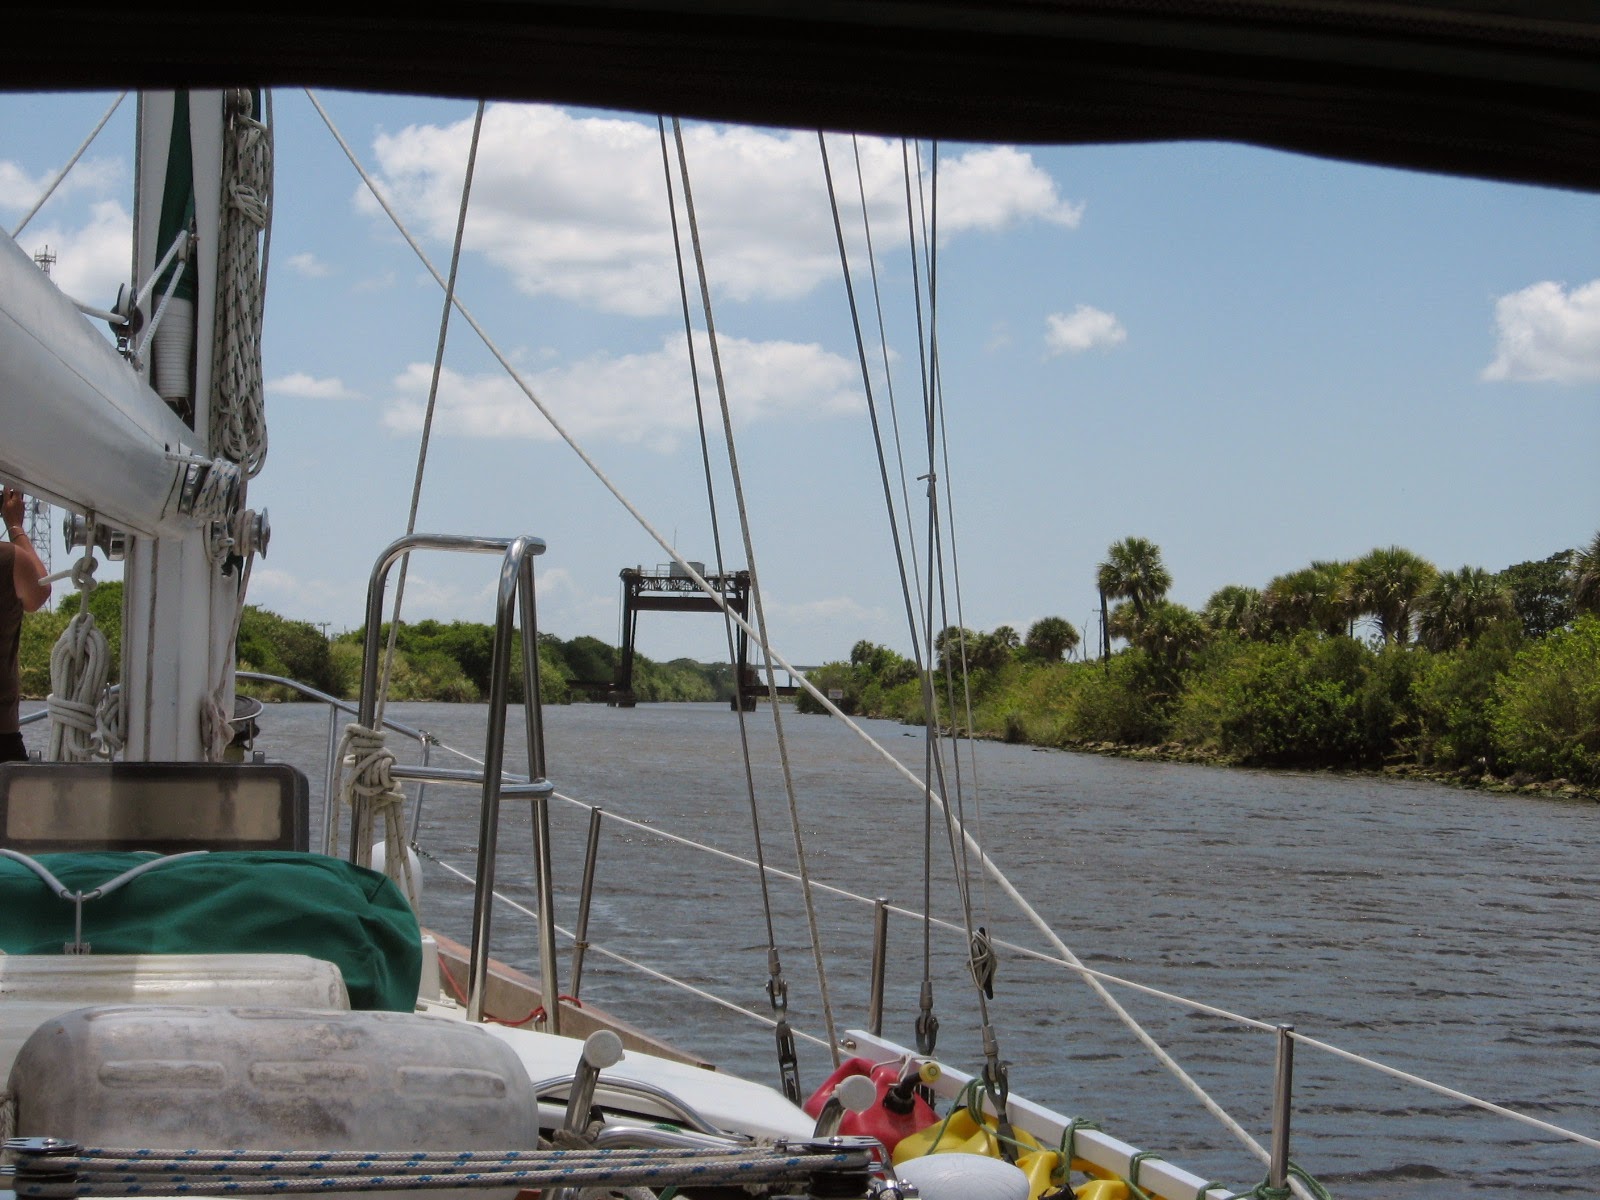
A not so long time ago we came across a low lying railroad bridge.
We hit it with the top of our mast.
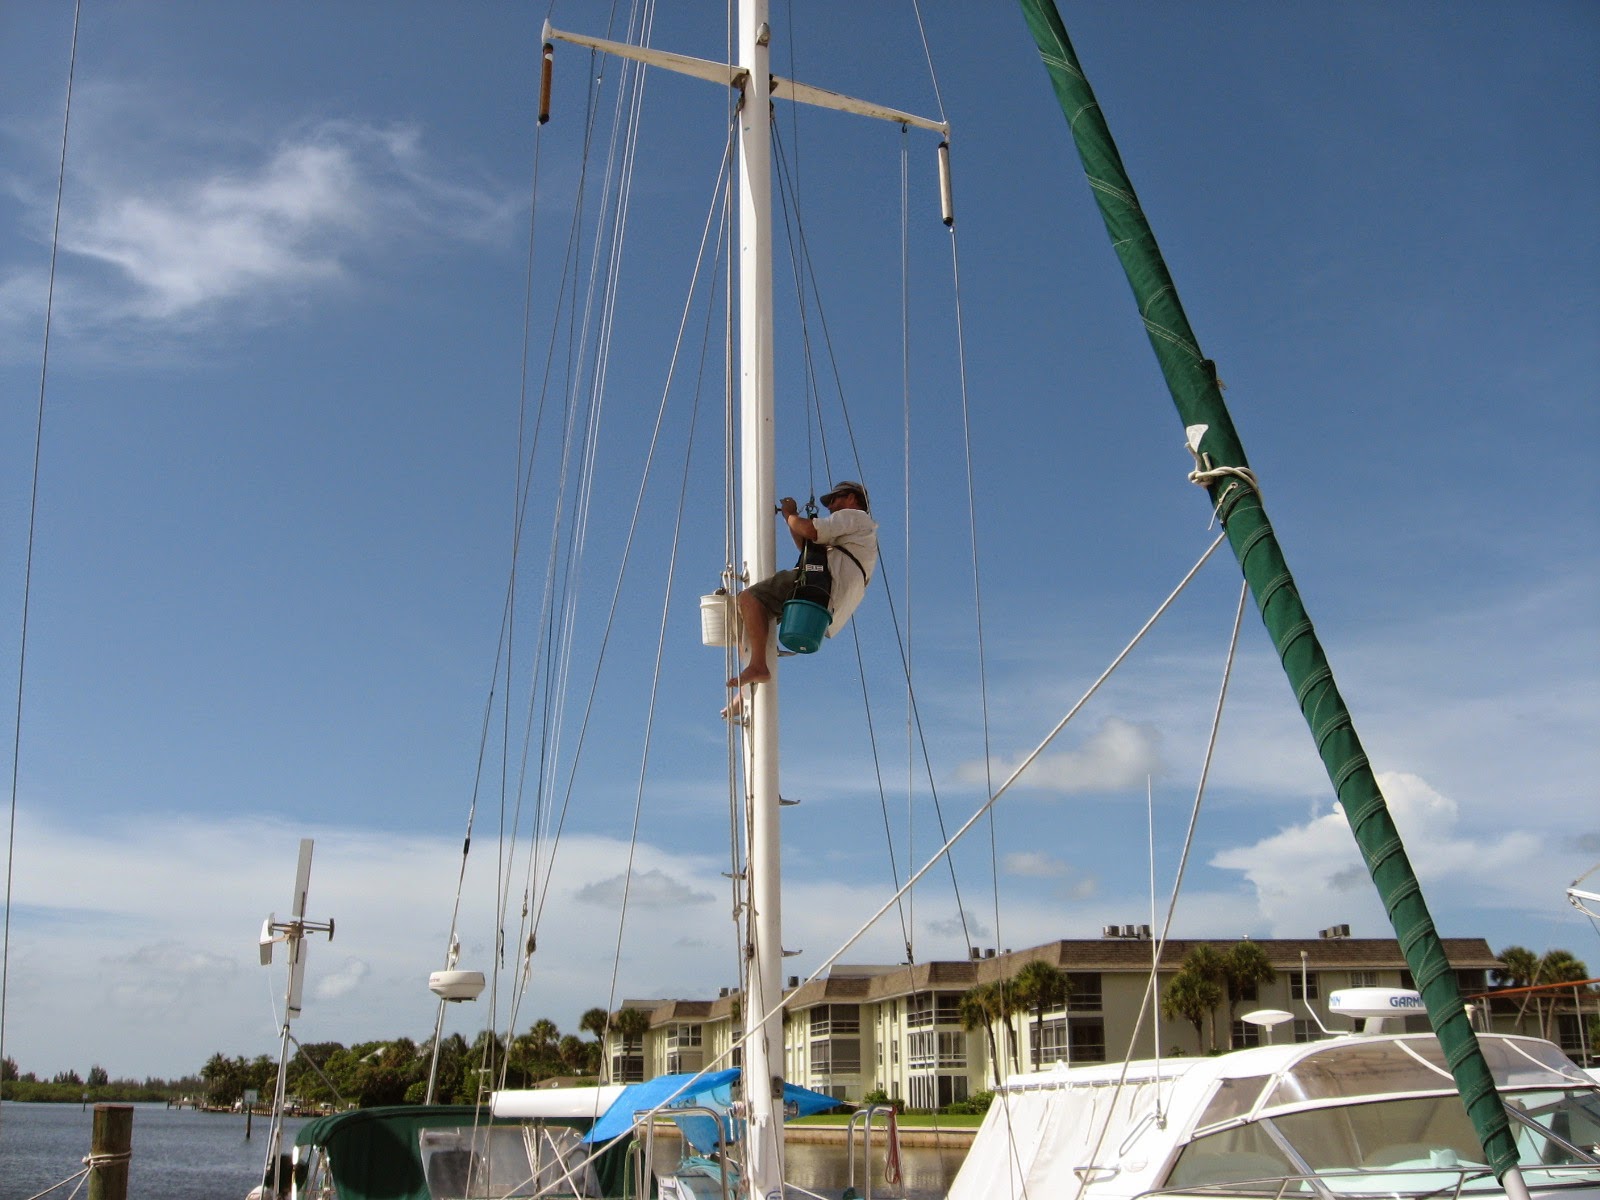
With damage to the anemometer transducer we felt it was in our best interest to invest some $$ to make it easier to get my old gut up the mast without having Vicky being shaking in her boots while tending me up the mast, relying on her sole ability to keep me from plummeting to the deck.
So we bought some steps.
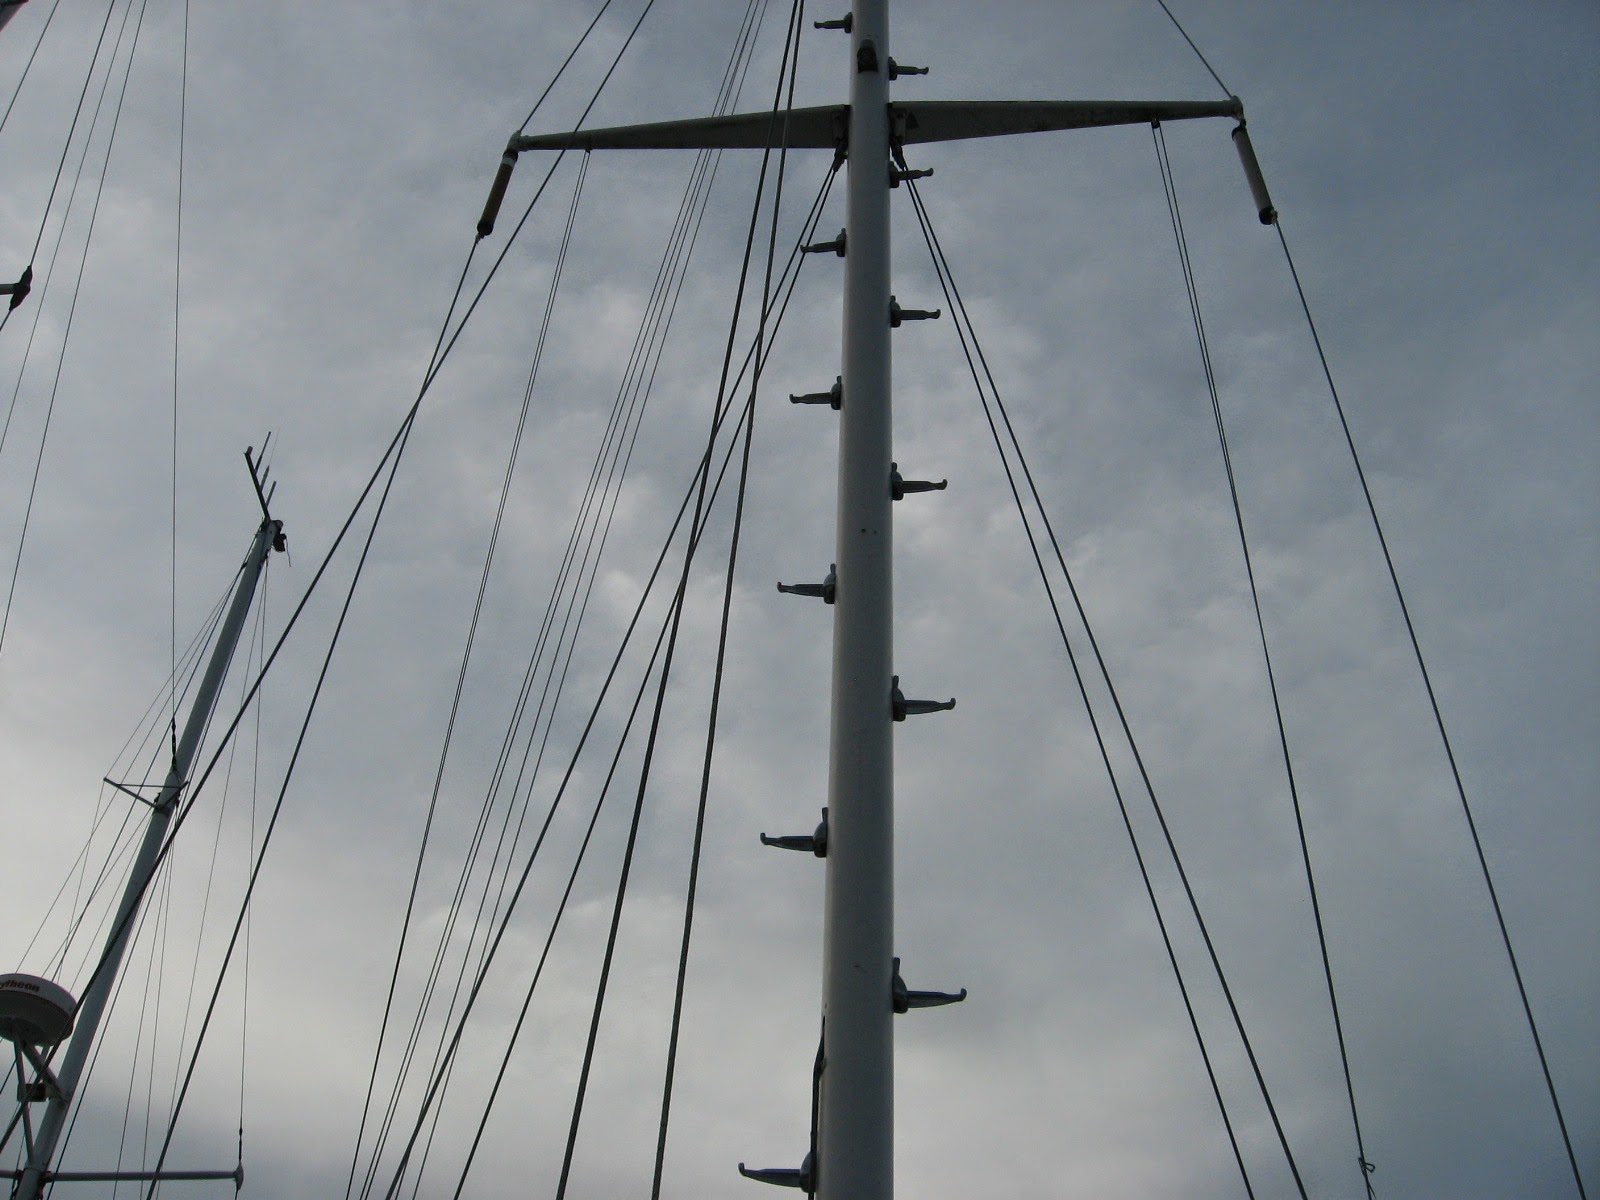
Of course the old machinist in me felt they were not up to my standards of being de-burred/no sharp edges, so I grabbed a mill file and hit them proper where it counted, just in case I ventured up there barefoot. I will!
After checking with many others who had and used and installed mast steps, that 18" would be fine. I bought enough steps for that distance but at the last minute (thanks Tor) I went with 16" which lets me very comfortably climb and always have at least three limbs secure on the mast. At 5' 8" and shrinking fast this distance is PERFECT for me.
Here's how I installed them while hanging from a chair....
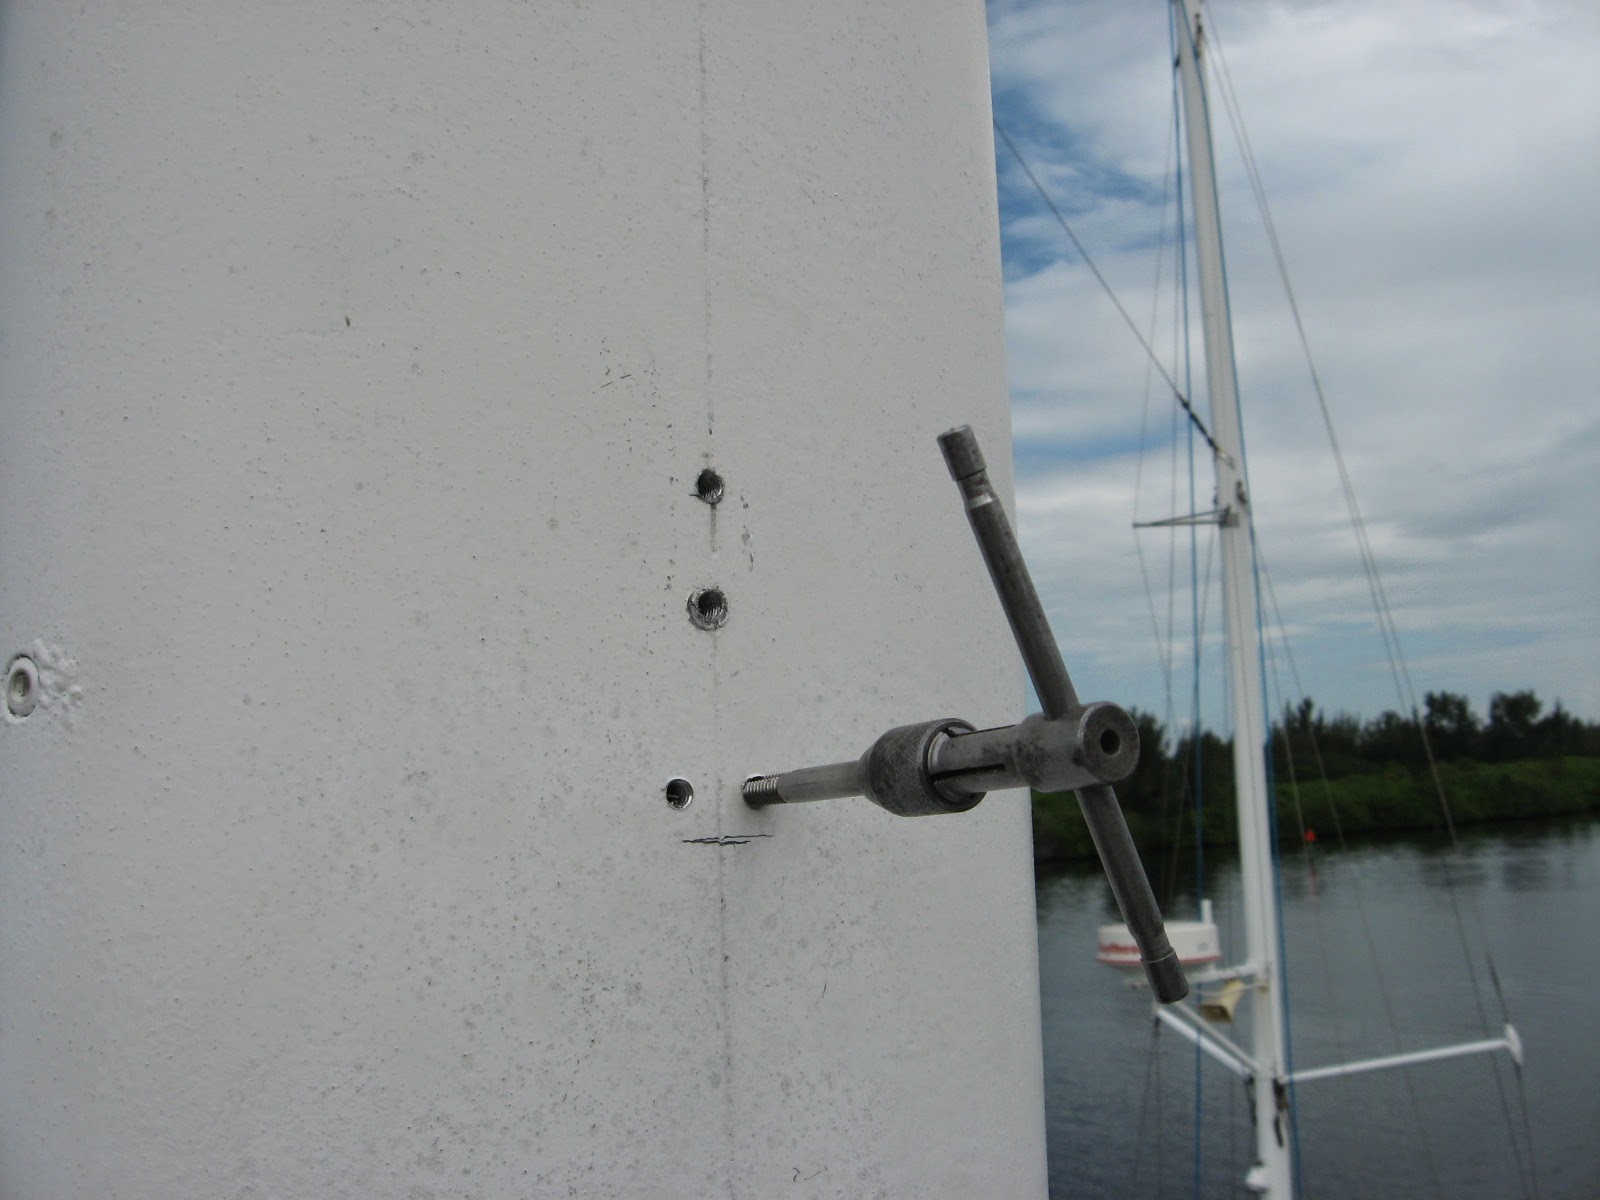
First, using a self centering bit (designed for centering hinge screws quickly in door installations) I would start a first hole. Great device with a spring loaded collar that centers the drill in a countersunk hole.
I'd then drill out the started hole with the proper drill dia. for a 1/4- 20 tapped hole. Tap the hole and then attach the mast step base to the mast with one screw. I was using some old diesel fuel as tapping fluid. A little dip of the tap in an old prescription pill container filled with diesel oil did the job of keeping the tap lubricated while easy to get to from a bucket while hanging there.
I'd then fasten the base onto the mast with one screw tight and take the self centering drill to start the other three holes while it was securely in place.
Then drill the three remaining holes out to the proper dia. for the tap, remove the base and carefully tap all the remaining holes. Then I'd take a countersink and clean the sharp edges off the tapped holes.
A generous douche of Lanocote in the threaded holes...
Another generous coating on the countersunk holes and on each screw threads as final assembly.
A very easy climb...
At the time of this post I have not finished, I had to order more steps. I plan to have a finished height two steps on either side of the mast high enough that I can look "down" onto the masthead for repairs.


Subscribe to:
Posts (Atom)


