A few days ago I was following a thread on a sailing forum regarding how to best dry a pair of high-dollar leather and Goretex seaboots. Suggestions from experts ranged all over, but missed that most obvious answer; a boot drier. Perhaps this won't resonate with warm climate folk, but it should; I've seen enough mold and mildew in Florida to make it the state plant... if it were a plant.
I built this one15 years ago in an evening, for the specific purpose of drying wet snow gear, but it has certainly been used far more for rain soaked gear.
Even the most sodden boots, shoes, or gloves are dry, warm, and fresh in a few hours. Odor is eliminated, as there is no chance for anything to grow. Wet gear has a proper place, and space is conserved since less gear is needed. The materials came entirely from the might-need bin, but I suppose it could be built for $30 if everything were purchased. It could be made longer, for a larger family, with very little change in cost.
The fan provides just enough flow. A bit of flashing creates an internal baffle, directing all of the air flow over the bulb before it goes to the pipe outlets. A 60W bulb seems to provide just enough warmth, but a larger bulb or lamp-base heater could adapt the design to larger sizes. Hardware cloth keeps small fingers and trash out. Pipes could be made longer for sea boots. The unused pipes are plugged by dropping a large bolt in the hole, focusing the heat on a reduced number of holes. The weight is sufficient to keep it from tipping over.
What would I change? I should have built it for 8 pipes (4 boots + 4 gloves) to better serve 2 people. I should have made the pipes just a little longer (no so much that it could tip over) and drilled a cross-wise hole near the end (so that they cannot be blocked if the boot is sitting on the end). But Jessica is off to college, so it's really just me playing outside, and it works quite well as it is.
- 110v computer fan
- ceramic socket with 60W bulb
- box and switch
- a salvaged cord
- 3/4" lumber and some screws
- 3/4" PVC pipe stubs
- a bit of flashing and some hardware cloth
- paint
I've been tempted to build something similar into the boat--it's really sweet to have warm, dry shoes in the winter--and perhaps I will if I start cruising more in the off season, now that school schedules don't matter. Perhaps something that diverts warm, dry air from the mini-dehumidifier.
Thursday, October 9, 2014
Warm Boots
The time of year is coming when this idea will be very welcome indeed. Warm dry sea boots? What a luxury! As usual, Drew at Sail Delmarva shows us how to have them for a very minimal investment:

Tuesday, October 7, 2014
No more searching for the hidden hot sauce
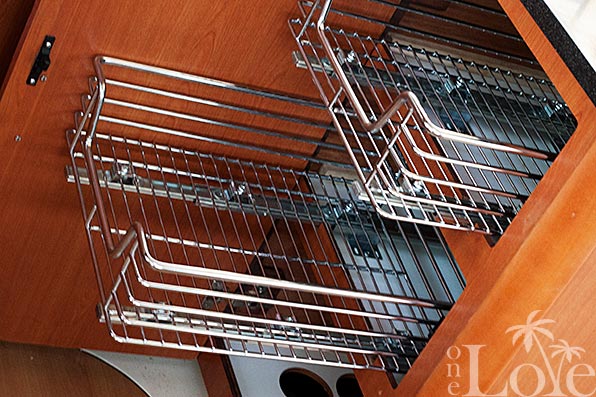
Does your boat have deep shelving which makes the things in the back all-but inaccessible? Ours does, and I will assume yours does too. Mike and Rebecca, currently living and working aboard s/v One Love address this issue with a neat product:
Much of yesterday was spent making what we consider to be a huge improvement to our galley, installing slide-out drawers for the cabinets. After noting that one of our friends had made a similar upgrade, Michael sourced the drawers and flew down to St. Thomas with them last month. While time consuming, the installation was not that tough. We managed to get two of them up and running yesterday and we have 4 more yet to install. We think this is going to be a huge time saver for us![There is a link to source these in the comments on the original article. -Ed]
Thursday, October 2, 2014
New Deck-Mounted blocks Installed
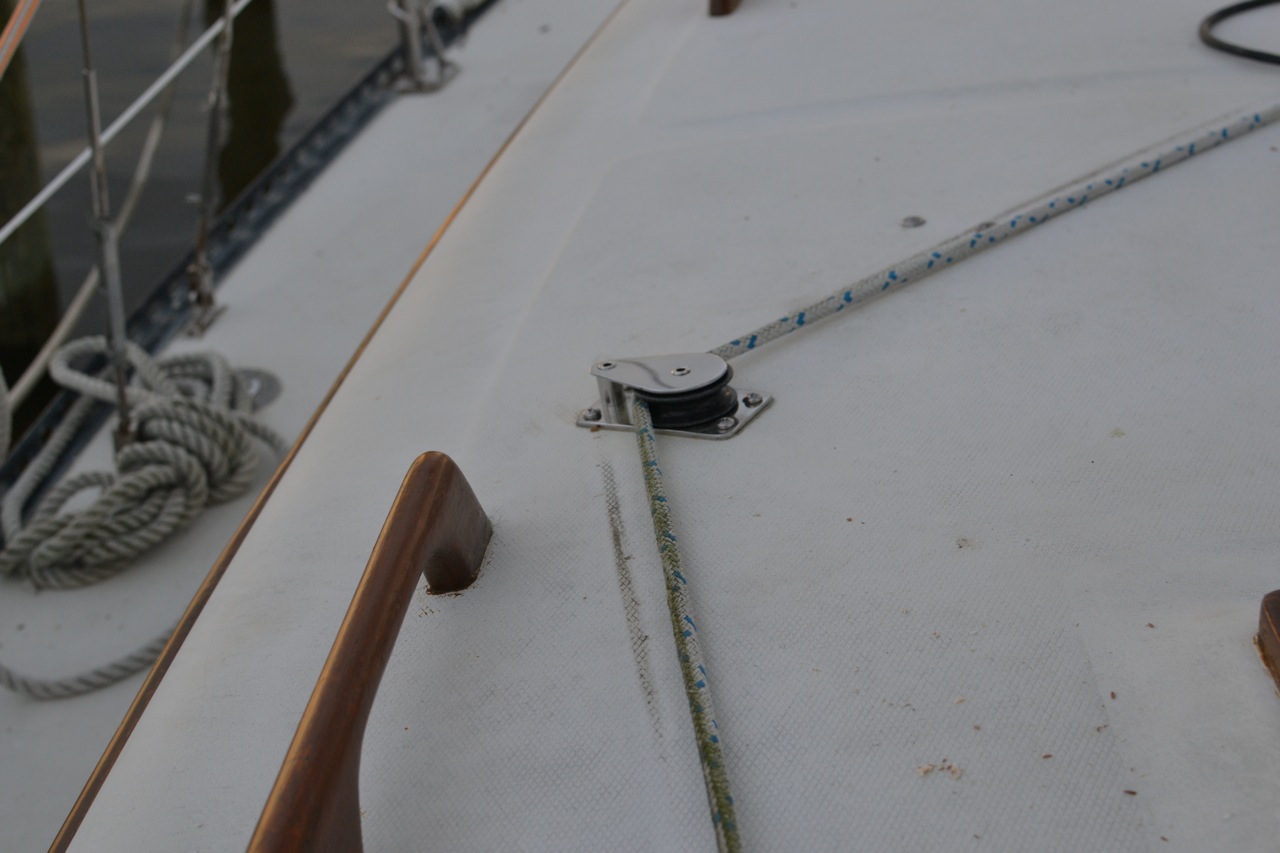
Rick renews the blocks which the running rigging blocks on s/v Cay of Sea. This is a good example of how to do deck mountings that will not leak into the core:
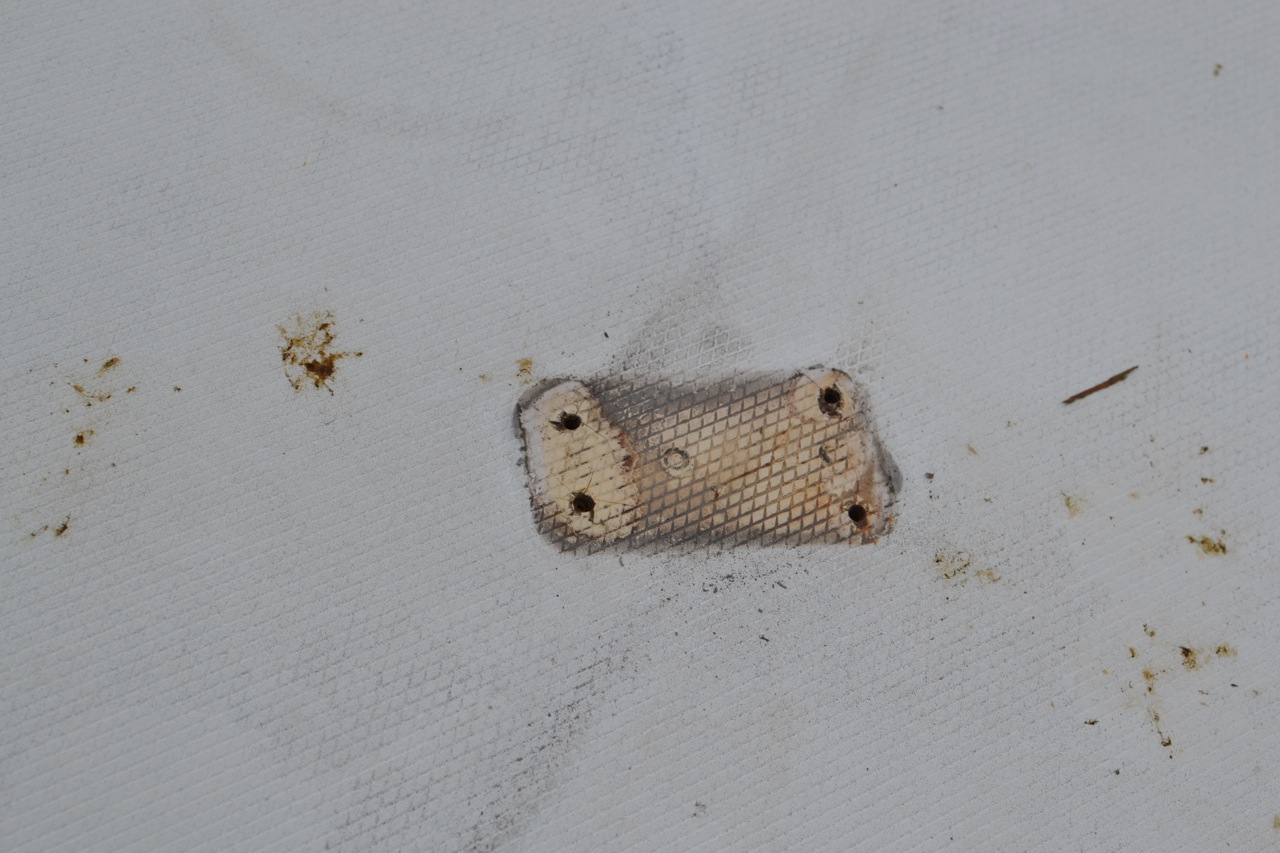
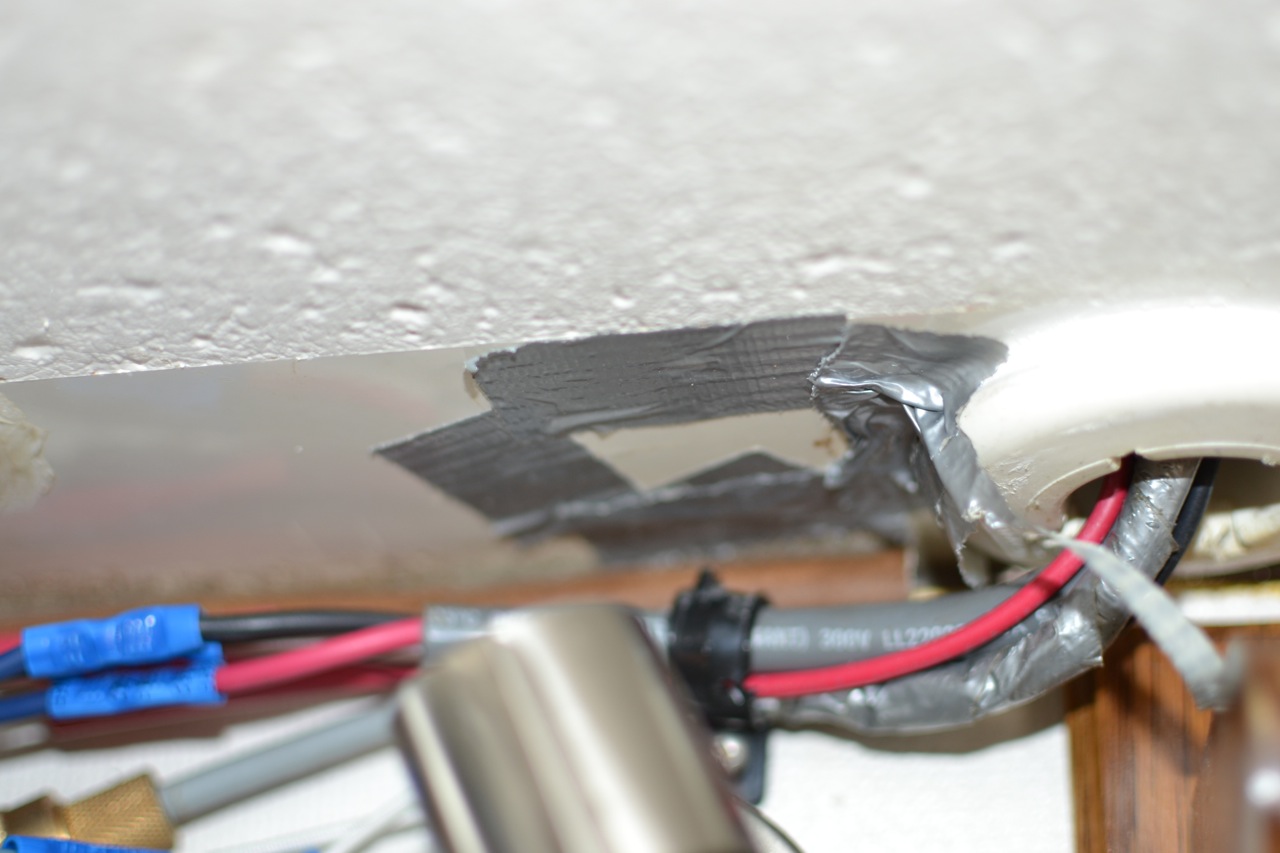
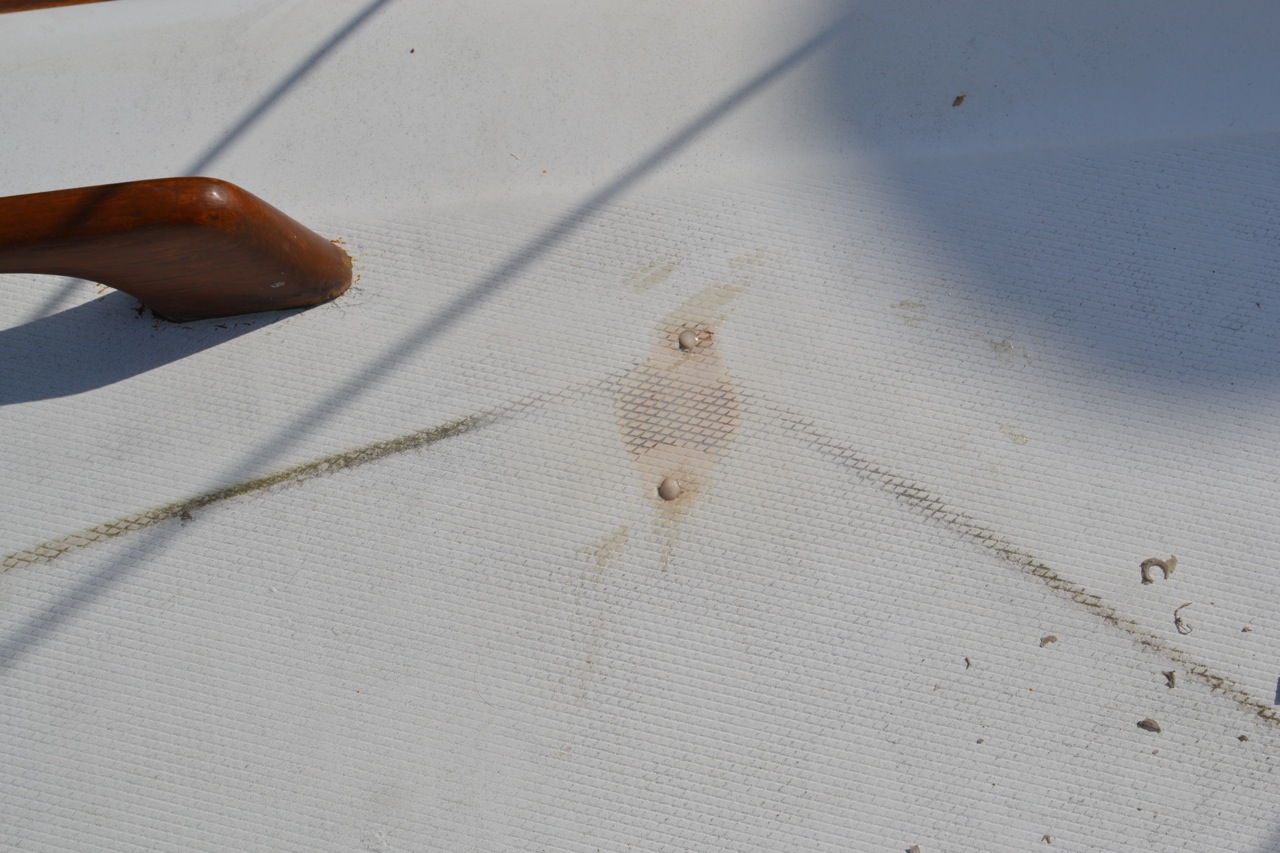
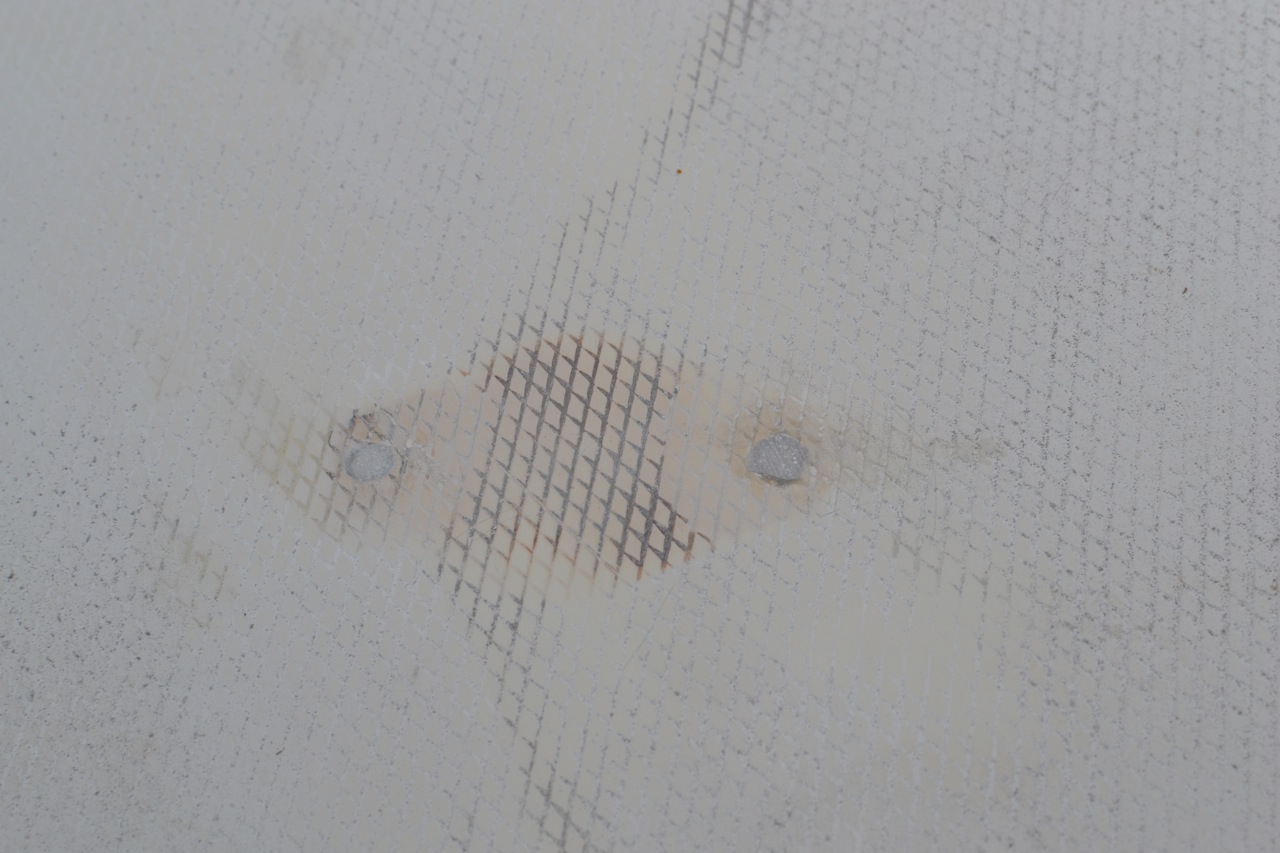
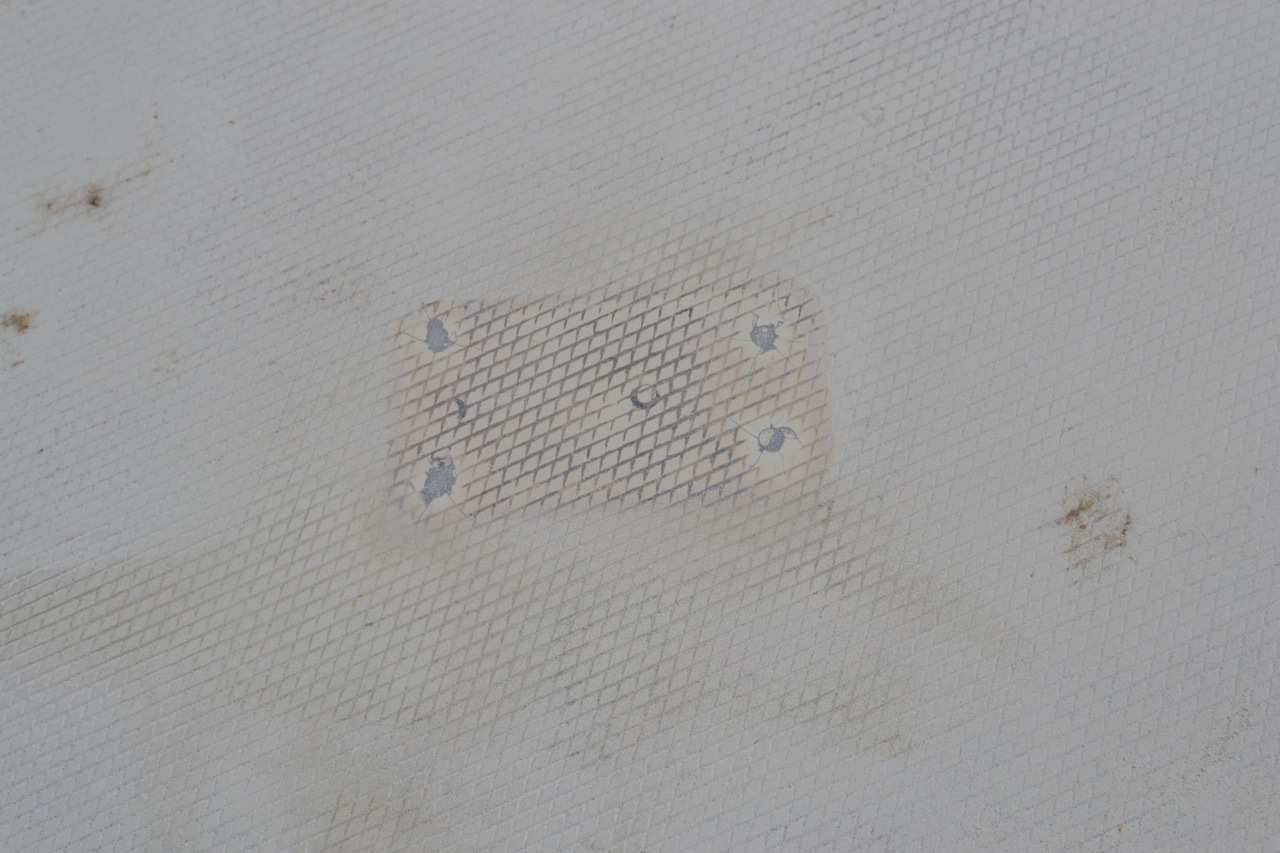
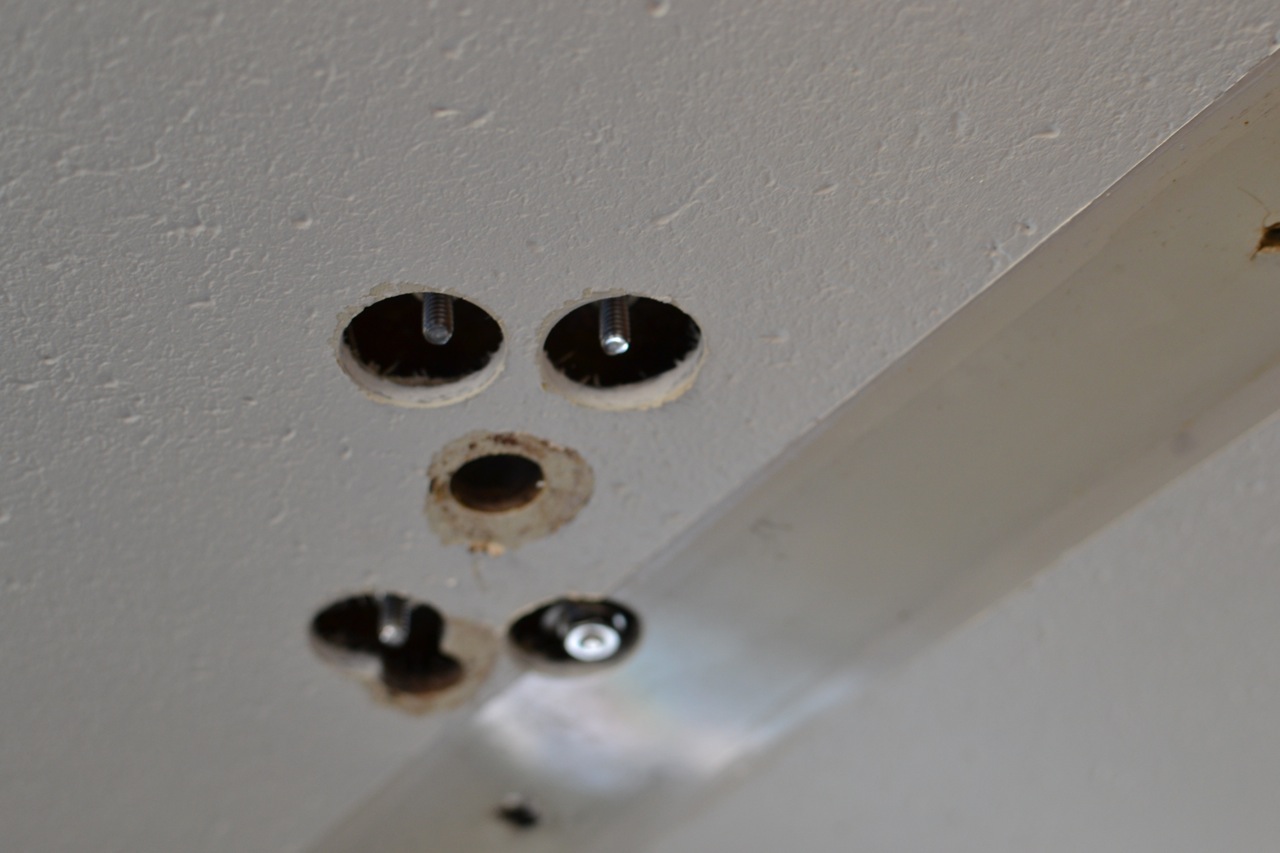
Another multi-step projected mostly completed today. Yesterday I removed the old blocks from their long-held locations on the coach roof. These poor blocks were in sad shape. One had lost its cage, another had lost half of its sheave. 3 out of 4 of them still actually turned and conveyed the line along its way, but not very well. And none of them were installed correctly – by this, I mean they were fastened by a variety of means, sealed with silicone, or fastened with stainless screws into the aluminum mast step plate. One of the blocks was actually fastened with .5″ self-tapping screws into the top skin and partially into the core. For all of that, none of the core was wet! Amazing! Here are some of those sad images. I’m embarrassed to say that I haven’t addressed it until now.
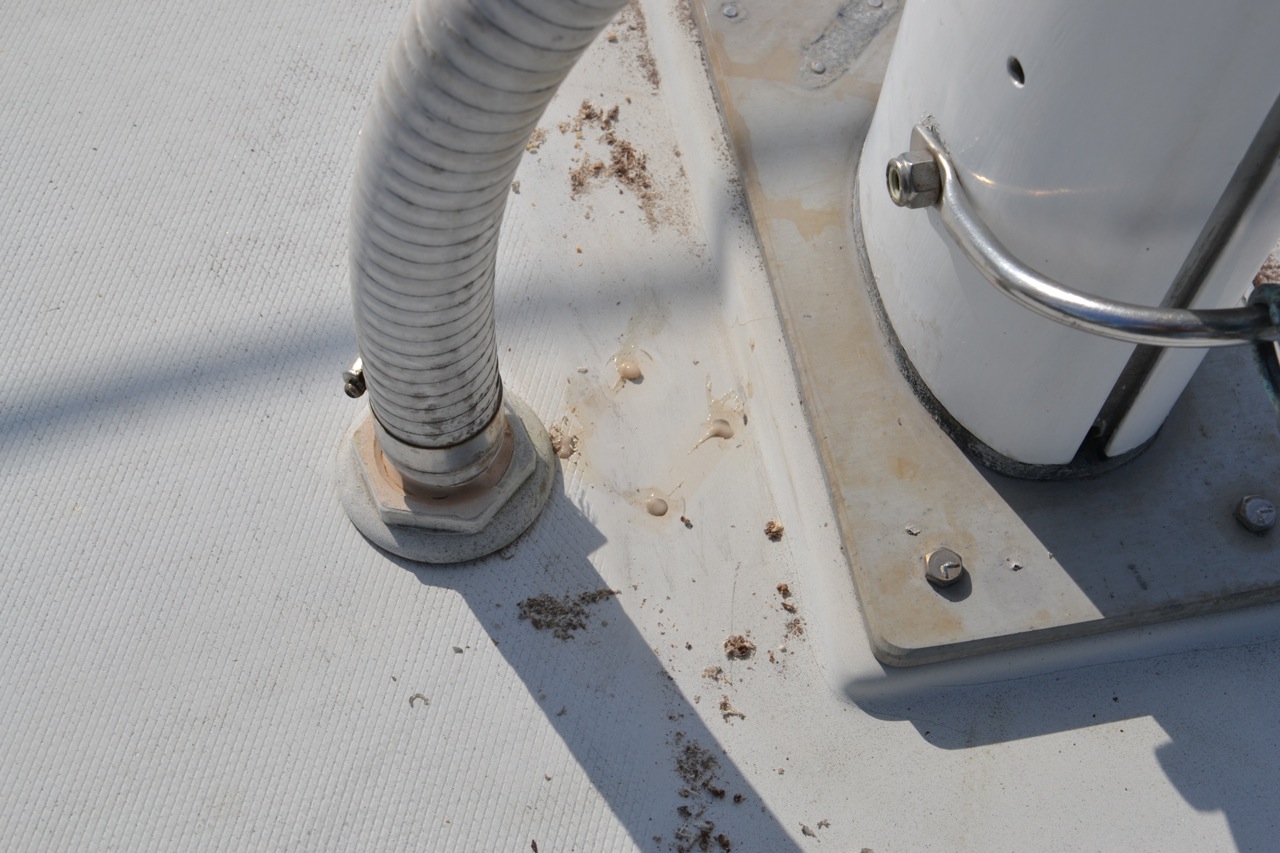
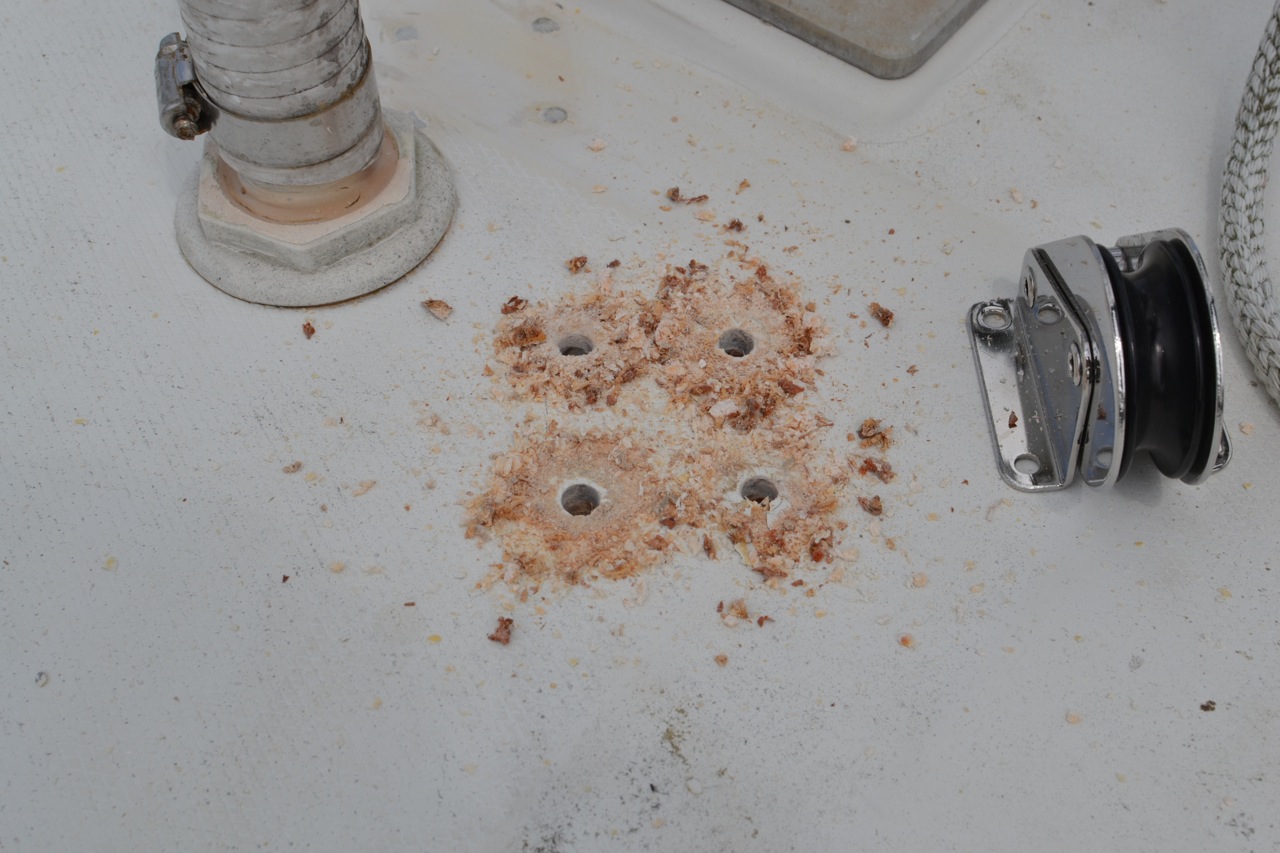
I began today by sanding the over-fills flat, then examining the halyards for placement of the blocks. I finally ended up mounting the mast turning blocks farther outboard in order to clear obstructions. Mounting them back onto the mast step plate was a non-starter. The halyards led that far from the mast looks a little strange to my eye at this point, but it is completely functional, will actually reduce halyard slap.

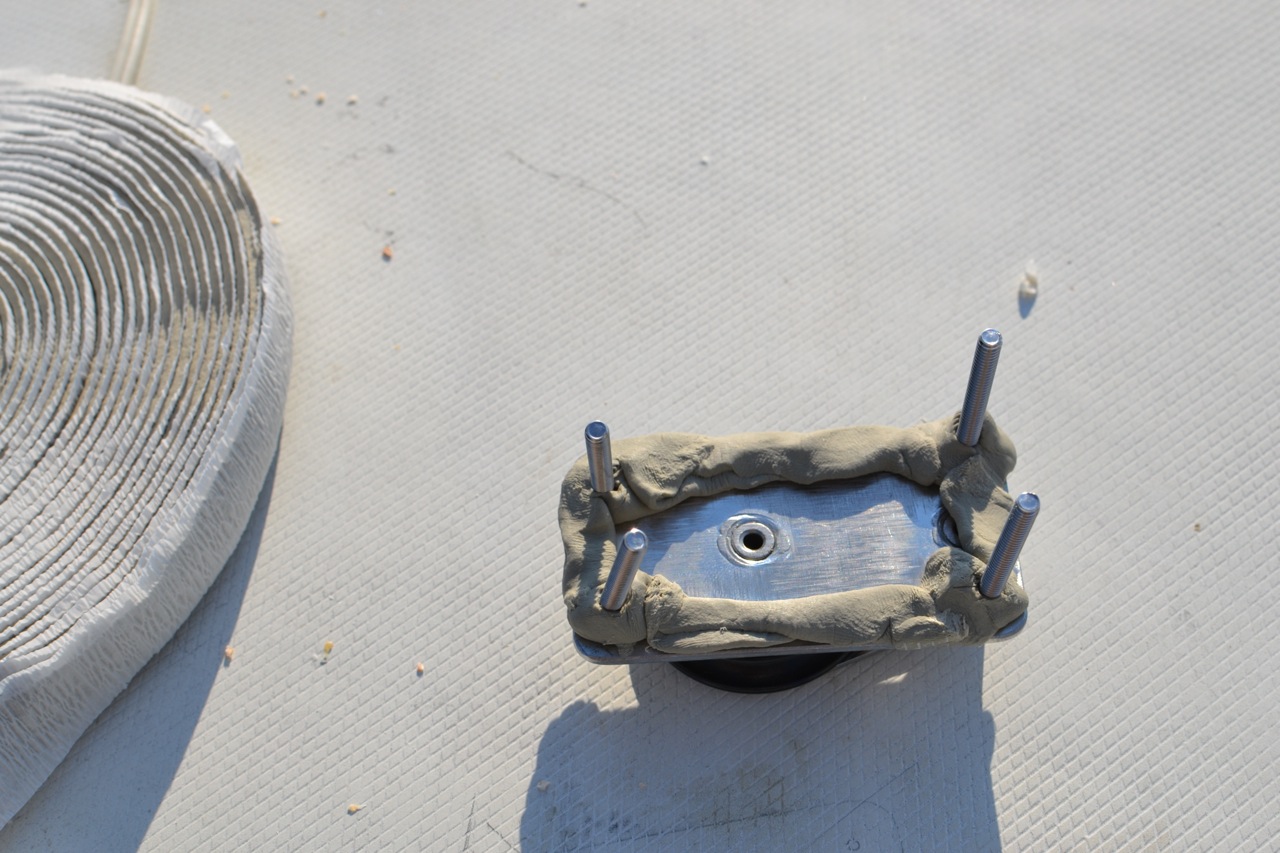
After positioning the new blocks and fairing the alignment, I drilled the new mounting holes. I first drilled a small-diameter test hole and went below to see where it came out. There are lovely teak decorative strips installed athwart across the overhead. I didn’t want to ruin any of those. After adjusting two of the block locations, I completed drilling the holes oversize, then filled them again with thickened epoxy.
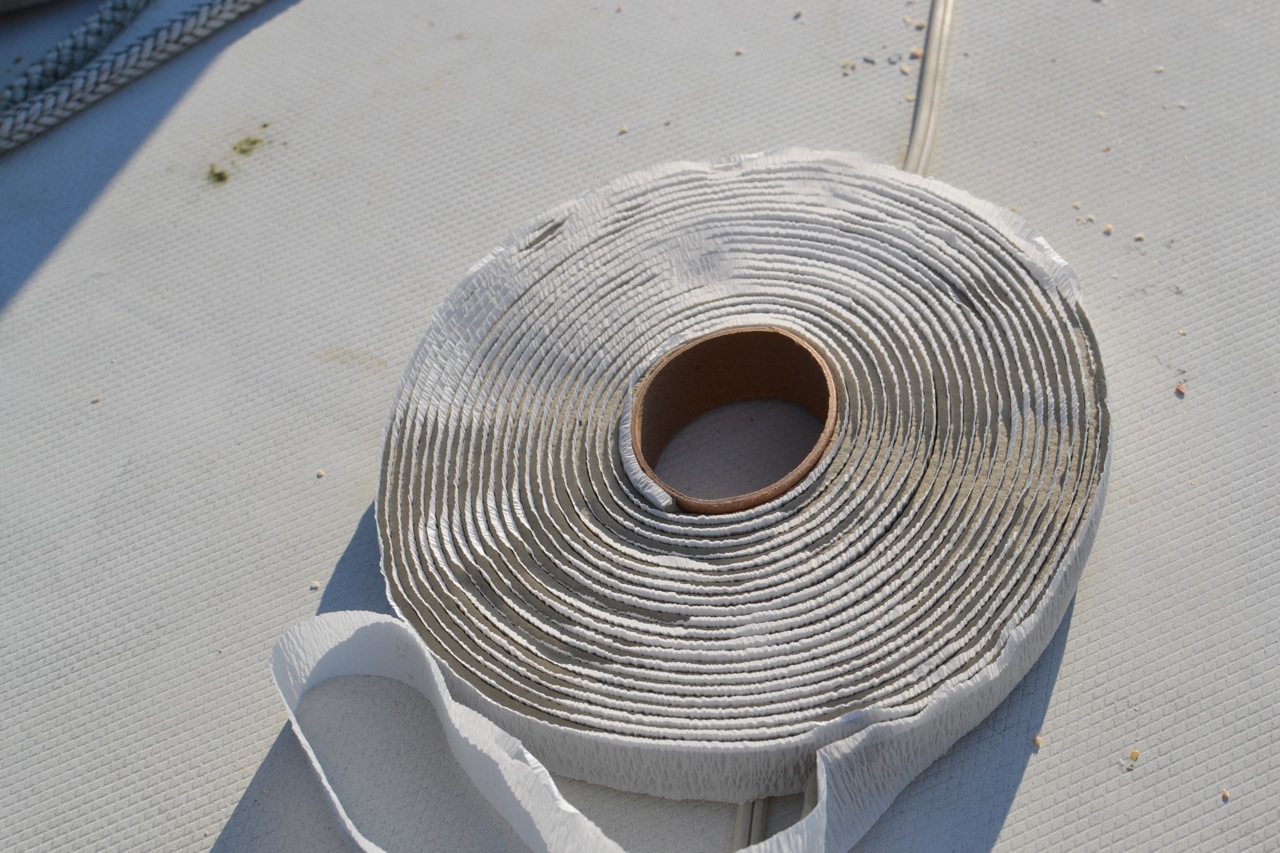
This is the first project involving deck piercings for which I’ve used butyl tape as a sealant. If the tape is as effective sealing out water as it was easy in application, I’m sold. This is usually the part I hate most about a project. Lifecaulk or any other sealant is so completely out of control, such a mess to apply and clean up, no matter how careful I am. Butyl was a piece of cake. It’s sticky, pliable, tacky, moldable, squishable, but not messy. Apparently, it lasts nearly forever. What’s not to like?
This project will really be done when I’ve fabricated and installed the cover plates.


Tuesday, September 30, 2014
Pledge Drive
I hope you have been enjoying the ongoing series of projects posted here.
This is your site. For this to work out for all of us, everybody needs to contribute - think of this as a pot luck dock party.
Come on now. All of you have a small project of one kind or another that others would be interested in seeing. Contribute to the feast:
Every posting will feature a link to your article (if there is one) and a link to your blog (if you have one). In addition, all contributors will permanently have a link in the "Contributors" box on the right side of the blog. This ought to drive some of the traffic that this site is seeing back to your site. I will not take any recent posts (unless you tell me otherwise) - that way this site will not be in competition with yours. Instead, it will hopefully serve to "reactivate" some of your older posts.
But the most important benefit you'll get is the warm feeling of having helped someone thru a problem - one that you have solved. And we will all be the richer for it.
Pitch in!
This is your site. For this to work out for all of us, everybody needs to contribute - think of this as a pot luck dock party.
Come on now. All of you have a small project of one kind or another that others would be interested in seeing. Contribute to the feast:
- Write it up and send it to SmallBoatProjects at gmail dot com
- or -
- If you have already written it up on a blog somewhere and are willing to share, just tell me where in the wide world of the Internet to find it, and I'll come and get it.
- or -
- Give me permission to "mine" your blog for projects. Anybody who is writing a blog about boating has numerous small projects buried in there. I'll ferret them out, if you let me. No, I won't put your content on here without your permission.
- or -
- Send me what you have, and I'll do the write-up, with full credit going to you as your project, of course.
Every posting will feature a link to your article (if there is one) and a link to your blog (if you have one). In addition, all contributors will permanently have a link in the "Contributors" box on the right side of the blog. This ought to drive some of the traffic that this site is seeing back to your site. I will not take any recent posts (unless you tell me otherwise) - that way this site will not be in competition with yours. Instead, it will hopefully serve to "reactivate" some of your older posts.
But the most important benefit you'll get is the warm feeling of having helped someone thru a problem - one that you have solved. And we will all be the richer for it.
Pitch in!
Thursday, September 25, 2014
New Deck & Bilge Pump Drain Manifold
What Jeff and Anne have been doing to s/v Pilgrim is not a re-fit, but for all intents and purposes a complete rebuild of the yacht. Much of their work is too big to include in this blog, but some portions are self-contained and fit well with our format. This is one of them...
The Ted Brewer designed Morgan 382, 383, & 384 series has a unique, and I believe very well designed, system of deck & cockpit drains. A 4“diameter tube with exits above the water line transverses the beam under the cockpit sole. From the exterior of the boat it is possible to look through the tube and out the other side. Morgan owners refer to this drain as the “torpedo tube“.
Two, 2” id cockpit drains feed vertically directly into the tube. Port and starboard deck scuppers feed into the tube via a manifold located in the engine compartment. Pilgrim’s manifold was a tired, poorly constructed mess that grew new limbs to address additional plumbing needs.
Pilgrim's dubious drain manifold
A single strategic hack saw cut excised the manifold.
All the remains is the 2" id tube that feeds directly into the "torpedo tube".
Armed with a sketch of my vision for a new manifold, I headed into the hardware store. Amazingly the Beaufort Ace Hardware had everything I needed to fabricate the new manifold.
Dry fitting the new manifold.
The primary body of the manifold is 2” id schedule 40 PVC. The 1 ¼” id deck drain hoses attach at either end. The manifold also includes a ¾” id inlet for the small volume, primary bilge pump and a 1 ½” id inlet for the manual bilge pump.
To decrease the likelihood of down flooding and to maximize space in the engine compartment I elevated the new manifold 4” above the torpedo tube.
The new manifold is elevated 4" above the torpedo tube and supported to two eye straps
No bilge pumps are currently installed in Pilgrim – stay tuned - so temporary plugs are currently screwed into those inlets.
Bilge pump inlets are temporarily plugged.
We plan to reroute and replace the deck scupper hoses, but at present the existing deck scupper drain lines are feeding the new manifold.
Future projects will include replacing and rerouting the deck drain hoses.


Tuesday, September 23, 2014
Better Toy Storage
Aboard s/v Astraea Nate and Natalie found a great way to stow their son's toys. Not only is this a good solution for parents sailing with kids, but this would be sure to find other uses aboard as well. Read on...
We changed the way we store Sully’s toys board. They were held in boxes that would slide when the boat heeled and got in the way. Now we have two elastic nets full of toys. They’re called EZNets and are 15″ x 28″ and we bought them on amazon.com.
Sully likes his easy to access toys


Subscribe to:
Posts (Atom)


