Maintenance on a boat is a constant. Maintenance tasks are small boat projects that can provide a great deal of satisfaction. Rick aboard
s/v Cay of Sea deals here with one which you might not yet have faced...
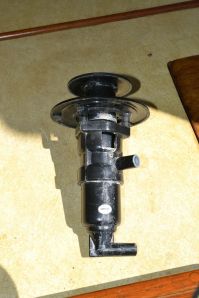 |
Whale Mk IV Tiptoe pump
|
Several years ago I stripped all of the 12-volt pressure-water system out of Cay of Sea. I did this for several reasons: I wanted to reduce my dependance on battery power; I knew that having pressurized water on board was an invitation to use more water, making stops for refills more frequent; I wanted to reduce the complexity of the on-board systems; it was also time to service the ancient electric diaphragm pump that powered the pressure system, and I either needed to make some changes in the way it operated, or needed to get rid of it altogether.
I replaced the single-circuit pressure system with two separate, discreet systems: one for fresh water for washing and showering, and one for drinking. The fresh water clean-up/showering water source is drawn from our forward 40 gallon tank (under the V berth) by the Whale Mk IV Tiptoe pump. This pump is mounted in the cabin sole near the companionway, and just adjacent to the sink, as you would expect. Our expandable capacity drinking water system is based on two collapsible 5-gallon containers that rest below the quarter berth stowage bin. These are plumbed to the galley sink through the engine compartment, and the water is drawn up by a hand-operated Whale V Pump. I have space in this stowage bin to carry an additional 10 gallons in collapsible containers. So we can carry 20 gallons drinking water and 40 gallons for other purposes. At some point before we go long-term cruising, I will replace all of the fresh water lines from the forward tank. After a thorough tank wash, that reservoir will be approved for drinking as well. Until then, we’ll keep the status quo, as the forward tank isn’t drained often enough to keep the water really fresh enough for drinking on our short cruises about the middle Chesapeake. However, 10-20 gallons in portable containers is plenty for short-range use, and easy to keep fresh.
I noticed at the end of last sailing season that we were going through 40 gallons of fresh water fairly quickly. When I investigated, I learned that the floor pump was beginning to leak at a fairly rapid rate: 15-20 drops per minute adds up to a lot of water over several days. Late last fall I ordered the rebuild kit for this pump (about $15), intending to rebuild it all winter. Now it’s spring and I couldn’t put it off anymore, so today I got to work on it.
The rebuild kit comes with an exploded view of the mechanism, which is important in order to see what parts go where, but there are no instructions regarding the process. This was a bit frustrating, as I could not figure out how to access the internal parts. I had to gently experiment on the pump body to get it apart. It appeared to be joined at the middle, but how it was actually held together wasn’t apparent from outside observation. I finally discovered that the halves are simply threaded.
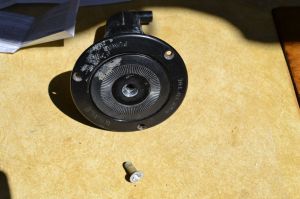 |
Center screw holds the top of the piston in place.
|
 |
Three screws hold the mounting flange on.
|
 |
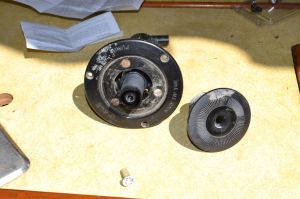
Mounting flange removed. Now, how do you get to the insides of the pump?
|
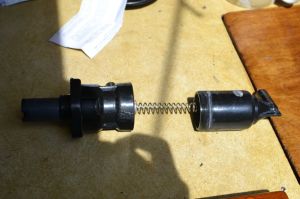 |
You can clearly see the threads on the right half of the pump body in this photo.
|
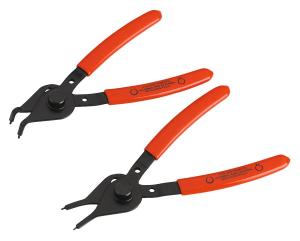
I gently flexed the pump body in my shop vice, then gently held it in place within the vice without tightening the jaws. I inserted a rod into the pump outlet and applied counter-clock-wise pressure. The threads turned readily, but I hadn’t had enough leverage with just my arthritic hands alone. With the halves separated, I was able to easily access the valves and seals. You don’t need specialized instructions for this portion – just replace with the kit what you removed from the pump. There are several rubber valves, O-ring-type gaskets, and cup gaskets which go in strategic places. One thing you should know about: There is a circlip serving as a safety for a fitting on the end of the plunger. There is no way to get this clip off without circlip pliers. Just go buy a tool for $5-10 and you will save yourself a lot of frustration removing and replacing the circlip.
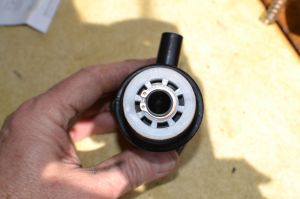 |
The assembly with a new circlip installed. It comes with the rebuild kit.
|
 |
Any other way of removing this little clip risks damaging the pump.
|
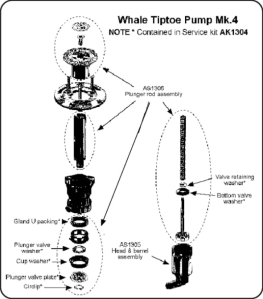 |
Here is the exploded view, detailing the sequence of assembly.
|
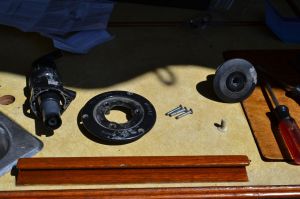
Reassembly and reinstallation was fairly easy, notwithstanding the usual frustrations of dropped fasteners, re-attaching supply and outlet lines, etc. Here it is mounted into its original location in the sole:
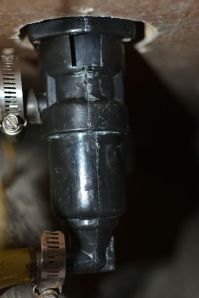 |
View from below the sole.
|
 |
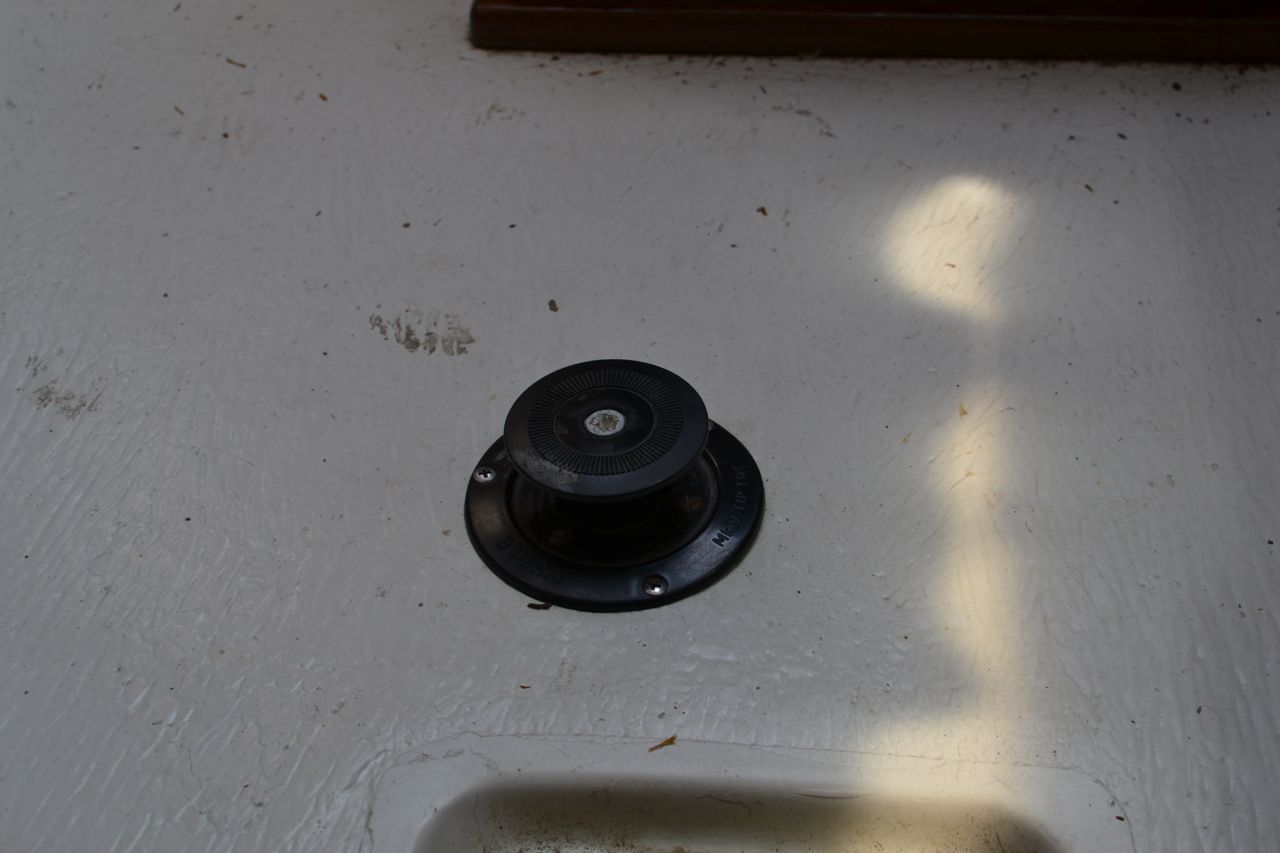
Back in it’s installed position.
|
 |
Plunger unlocked and ready for operation.
|
Perhaps there isn’t much demand for rebuilding these things – maybe that explains why I couldn’t find any information on the web for taking the pump apart. At any rate, I hope this post can help someone else as they look for rebuild information on this pump.
So why did it begin to leak after three years? Seems like it should have gone longer than that, with the light use we give it. I’m pretty sure that RV antifreeze shortens the life of the rubber internal parts. That’s why I’ve stopped using it – now I use my shop vac to dewater my systems. Otherwise, these are good, convenient little pumps.


No comments:
Post a Comment