As we transition from boating season to boatbuilding season, one realizes that one never has enough clamps. Further, if one is like your humble scribbler, one does not realize one is short of clamps until one runs out.
As the epoxy or glue is starting to set.
At midnight.
So, here's a quick and easy recipe for cheap gluing clamps. I'd like to take credit for this one, but I picked this up from Don Casey or WoodenBoat magazine or West System's Epoxyworks magazine. One of those smarter-than-me sources.
Pick up some ABS and/or PVC pipe in the diameter you like- 2", 4", 6", whatever. Hell, get a variety of diameters and wall thicknesses. $20 will buy you enough for 20-30 clamps.
Better yet, drive through a subdivision under construction with a six pack of cheap beer. Stop at a house with a plumber's truck out front. Offer to trade beer for pipe offcuts. You'll get lots, already cut to convenient lengths, and a hardworking guy gets beer, and less garbage goes to a landfill.
Win/win/win.
Take your pipe home, and split it down the middle. I set the fence on my table saw to the radius (half the diameter, for you non-math types. Diameter is the measurement across the center of the pipe, for you really non-math types) of the pipe, crank the blade up just high enough to cut through the wall of the tubing,
... and rip a split down the length of the tube.
On larger diameter tubes I cross cut the tube using my table saw. Set the fence to cut 1-2" wide slices of tube.
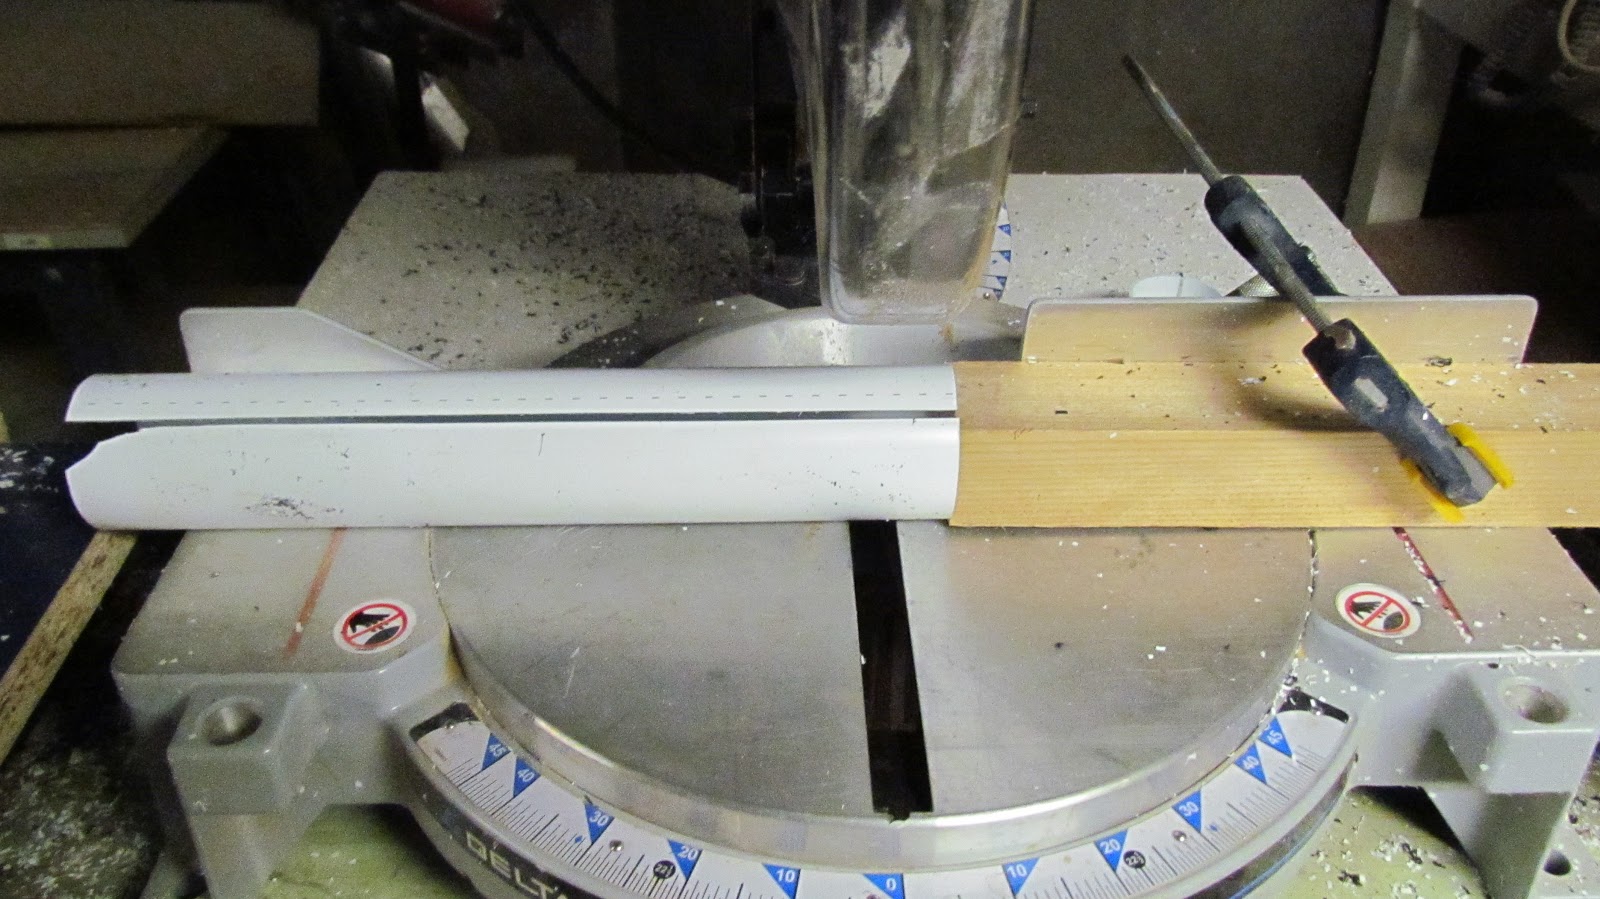
I cut smaller diameter tube on my miter saw, with a block of wood clamped as a stop at the desired thickness.
Sand any rough edges, and boom, you're done.
Thicker wall tube provides more clamping power. Thinner wall tubes are easier to manipulate single-handed.
Now go build something!
Thursday, November 29, 2012
Low-Buck Tools: 5 Minute Clamps
As usual, Brian over at Dock Six has a nifty idea. This one is for quick, easy, and multitudinous clamps. If you've ever done a stitch-'n-glue or a laminating project, you know you never have enough clamps...


Tuesday, November 27, 2012
Salon Table Access
Too often, I find myself just living with problems - not even recognizing that they exist - endlessly banging myself on things, or struggling with storage. Drew, over at Sail Delmarva, demonstrates once again an uncanny knack for recognizing problems and then solving them.
While the salon table provides worthwhile storage volume, it has always been awkward to access. Something is always on the table; dining accessories, snacks and general stuff the forward end, and a DVD player is in permanent residence on the aft end. BTW, the flat screen hinges up and the Bose computer speakers speakers can really rock the boat.
I replaced the aft access lid with a hinged section. Just pine from retired shelving unit and a cast-off piano hinge. The finger holes for lifting were drilled about 1/2-inch deep with a forstner bit, which leaves a smooth, flat bottomed hole. If we like the functionality I may either stain it to match or slice the original board at the appropriate spot. So far, we like it; we can actually use these bins. Case in point: installing this project I found a book-on-disk that had been borrowed from the public library and long since paid for as lost.
As for the hinged flat screen and the forward section, those are described elsewhere, but they look like this...
and like this....
Now, to listen to that book-on-disk....


Tuesday, November 20, 2012
Battling clutter
Mike and Rebecca aboard s/v Zero to Cruising tackle clutter in a way that puts reading materials that are needed to hand out of the way, and yet keeps them easily accessible:
I live in a small boat and I hate clutter. Those two statements together almost guarantee that I will forever be stressed out because, with a small boat, there is not a ton of space to hide the misc. bits of stuff that we need to live with, aka clutter. For example, at this very moment, within arms reach of where I’m typing this post, there are five books and two Kindles, and that’s just reading material! No wonder we’re always looking for creative storage solutions.
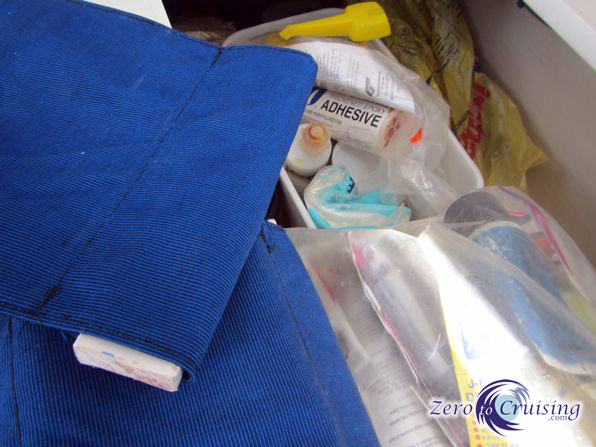
Not too long ago I came up with a storage idea that I thought would work but because it involved sewing, we put it onto the list of tasks to do when we next broke out the sewing machine. Getting the sewing machine all set up for just one little job is a PITA. Yesterday, and the day prior, was such a time though. After describing to Rebecca what I wanted, and sketching it out on a piece of paper along with some rough dimensions, she set to work. Fortunately, we still have quite a bit of Sunbrella remaining from the supply we purchased when we were back in Annapolis.
As with many boat projects, the original design ended up being modified a few times over the course of construction but we’re pretty happy with the finished product. While I had originally intended to fasten the top edge with screws, down inside the lockers underneath the seat cushions, I determined that if a block of wood was sewn into the top (we actually used a chunk of plastic material that we had on board), it would act as a stopper so that when the locker’s lid was closed overtop of it, it would remain in place. In my mind this is a big improvement as, while it is still secure, it can be removed easily and didn’t require any more holes to be drilled in the boat. Perfect!


Tuesday, November 13, 2012
Half forgotten objects
Over at Sail Delmarva, Drew has been busy with his wood working tools again...
Certain objects cry "nautical" from the first glance: A wooden ship's wheel, a brass lantern, wooden shell blocks. Not practical, though, and cliche on a modern boat. There are items we accept as functional and usual: a stitching palm, a life ring with the yacht's name, coach whipping on the wheel or tiller. And then there are half forgotten objects with real utility, in my opinion at least, underutilized.
The Finishing Bench. Still used by traditional sailmakers, a simple bench holds the implements used for roping, adding a grommet, or mending. I made this one about 5 years ago from nothing but scraps and a little varnish, a very pleasant way to spend a few winter evenings. Mostly it sits by my favorite chair, holding magazines and what ever books I'm reading, but my stitching tools and materials are ever present on the far end. Yes, I catch a pant leg on the bench hooks now and then. But whenever sail work is required I carry it out in the front yard where it serves its traditional purpose very well. Smaller projects get sewn up right in my chair, reaching back for traditional tools and materials that are kept conveniently at hand.
No directions. I just followed an old illustration and fit it to the scraps I had. I suppose they were generally built that way, from bits and pieces.
- Cleats on the underside reinforce the legs.
- Numerous holes and vertical dowels on the cutting block secure spools of thread or hold knives and fids. Some holes only go part way through, holding needles and small things.
- Dowels angled just above horizontal on the cutting block end hold scissors, palms, webbing, thread, and a small ditty bag.
- Bench hooks need to be sharp, and it is handy to have 2 different lengths. These were bent from steel tent skewers.
That first step is about 30 inches.Sea Chest. Although my boat has some cavernous lockers under the bunks and salon seating, there are never enough small lockers handy in the staterooms. Additionally, getting into the bunk is rather athletic, as the bunks are high and without steps. Additionally, a seating platform with storage blocks the way to the bunk, and it is at an unfortunately awkward height, far too high for putting on shoes. At first I built stools, but they were really too small and too single purpose. A small sea chest, fit to the space, is the perfect answer.
Though I didn't take any pictures of the construction process, anyone with the carpentry skills to make a box should be able to do just as well.

- Traditionally these were painted a muted color and only the inside of the lid would be decorated and bright. Paint best withstood hard knocks, and the interior decoration reminded the sailor that his chest was the one thing on board that was his. However, my wife liked it varnished--all of the reproduction examples I showed her on-line were varnished--and it works, I think. Perhaps I'll paint it later; if so, going from varnish to paint is more reasonable than the reverse process. Because I originally planned for paint, I made no special effort to hide fasteners; I focused on building it strong enough for regular use as a step. I think I like the utilitarian look.
- Strap hinges are traditional, but a piano hinge fits better, and I had a cut-off. I cut a recess for the hinge so that it closes perfectly, with no need for a chain and with all of the weight transfer directly to the sides.
- Be mindful of protruding hardware. While a few scratches didn't matter on a whaling ship, they do to us. For example, the handles were traditionally attached with exposed rivets, but I substituted counter sunk brass bolts. Same on the inside; nothing to snag on clothes. I smoothed all interior hardware with a Dremel tool.
- Side Relief. A characteristic of sea chests is that the sides lean inwards. The practical reasons for this only became obvious as I measured the intended space: if slammed against a bulkhead (ships move) the lid will still open and the handles are still accessible; they better resist tipping; there is less binding when push into or pulled from a tight space. The trim strip on the bottom also helps; it takes a beating and thus should secured with screws, not brads.
- Rope handles. Mine are boring. Starting with a bit of old 3/4-inch 3-strand line, I placed 2 whippings about 9 inches apart, unlaid both ends for about 3 inches, and pinched the strands between handle blocks and the chest sides (I had drilled 1/2-inch holes with the handle blocks clamped together, making half-round groves for each of the three strands), trimming the excess. Tape held the strands in in the groves while the bolts were tightened. Strong and compact enough to fit the narrow space I had to work with, but not fancy; I lack the marlinspike skills to do a proper job. However, even simple rope handles are strong, comfortable, and non-scratching.
- Square the sides up on a flat floor before screwing them together; you don't want a rocker. Likewise, true the lid to the top; otherwise the hinges will work loose in time. When working with scraps, never presume anything to be square or true.
- No latch. Didn't see the need for my purposes
- Hold down. In the stern of a catamaran the motion is never lively enough for the chest to move, but I can certainly imagine boats and places where this is not true.
Something more traditional
All from scraps. In the first example, I used a few boards that were left in the basement by the previous homeowner and a bit of left over shelf. The dowel was from a discarded seasonal decoration. In the second example, I salvaged a neighbor's old garage shelves and some line left over from a Practical Sailor testing article--the stuff we found under a dock and cleaned. The brass bolts--16 x #8 x 1 1/2"--were also left overs from a writing project--laboratory corrosion testing of gasoline anti-corrosion additives. I think that is the way these sailor's tools would have been made, from the bits and pieces. The finishing bench was free, the sea chest a $2.45 project (a bit of 1/4-inch plywood for the floor--I wanted something lighter than the scrap I had on hand). Very affordable.


Tuesday, November 6, 2012
New cabin lights
Please welcome new contributors Nate and Natalie aboard s/v Astraea! We join them mid-refit of their Cheoy Lee 41 - there have been a lot of projects there, but most have been too major to qualify as "small" boat projects. But this one is a perfect fit...
A few weeks ago I added two new lights inside the cabin. One is centerline above the salon between the head and galley, and the other is on the aft port side over the top loading freezer in the galley. I bought the two new lights at the San Diego Marine Exchange and installed them in a day.
The lights are seven inches in diameter and need a 1/2 inch thick mounting base to keep the lights off the overhead and allow for flush mounting when the headliner is installed. I cut two new eight inch square bases out of 1/2 inch thick StarBoard, a sturdy plastic board I had left over from the wet exhaust project. There is an inch wide gap cut in one side to the middle to conceal the wiring.
The terminal block is installed on the white StarBoard base with the teak light mounting
It took a full day’s work to cut the bases and install all the wiring. Having the new lights really brightens up the interior. Because they’re LED, I can have all the cabin lights on and use less electricity than one of the old incandescent bulbs!


Friday, November 2, 2012
Don't buy a wooden boat...buy a fiberglass one and add as much wood as possible.
Paul and Amber on s/v Kingsley take on some projects to spiff up the boat by adding wood. I've never heard of roasted oak before. Looks interesting...
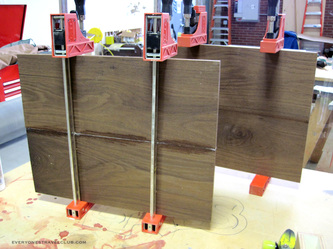
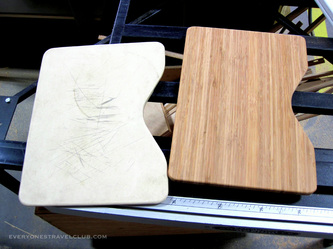
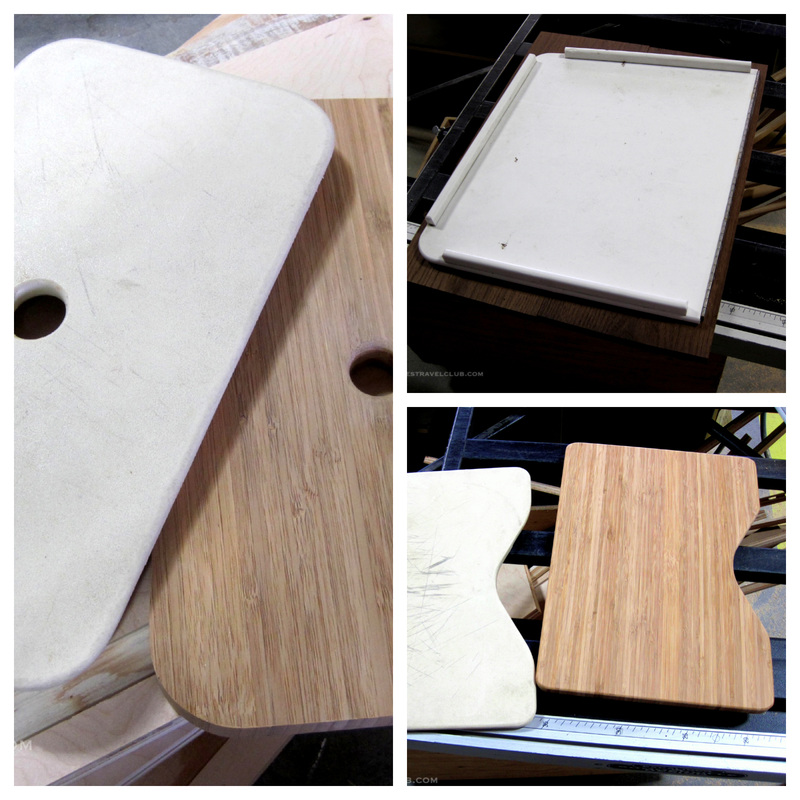
I don't know who said that catchy phrase, well, actually, I think it is just me saying it. Our Kingsley boat project of last week was heading over to my friends shop and working on new galley sink/trash covers (inside) and some new cockpit tables (outside). The orginals were made from plastic...not even a workable plastic - some composite that is equally hard to clean/paint (a.k.a. it is probably cheap).
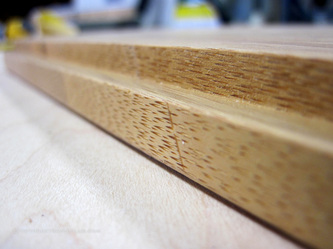
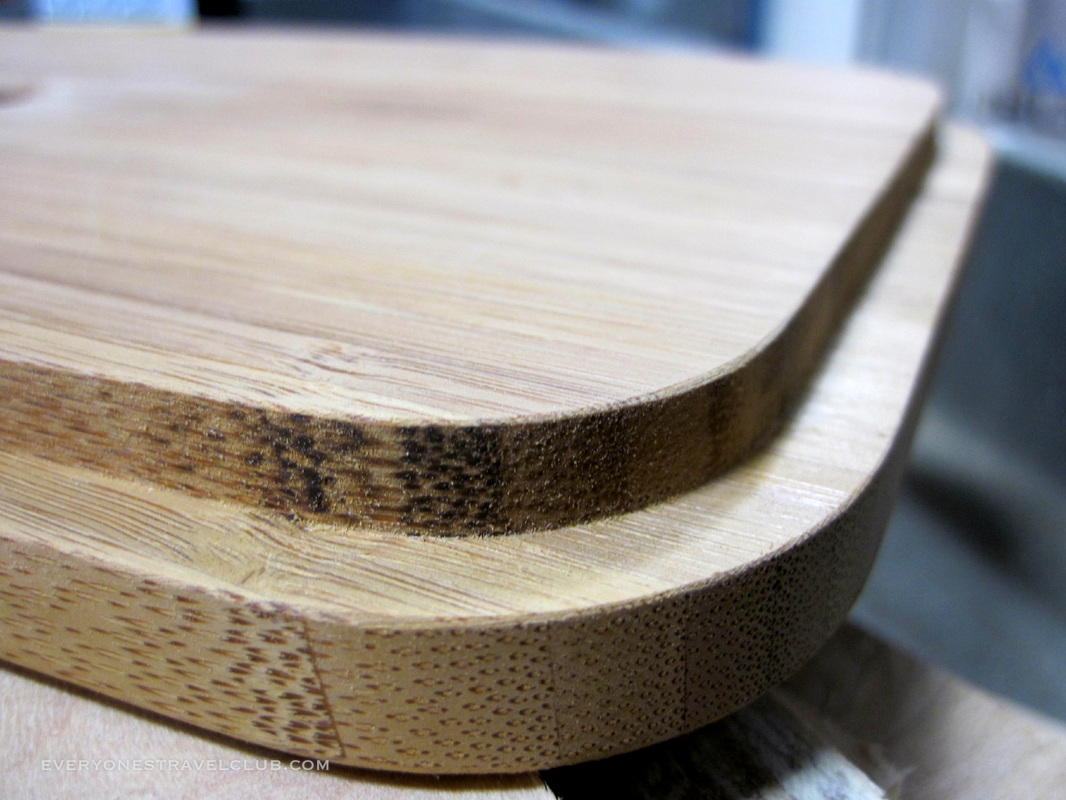
We upgraded the galley covers to bamboo and the cockpit tables (not finished yet) to roasted oak - a wood that has been literally roasted, removing water and sugars making it good for outdoor use (and cheaper than teak). I haven't installed the cockpit tables yet but I am pretty happy with our [almost] finished project.
Do you have any recent add-wood-to-your-fiberglass boat projects? Did you use teak or something different? What do you use to maintain your indoor wood shine?
~Paul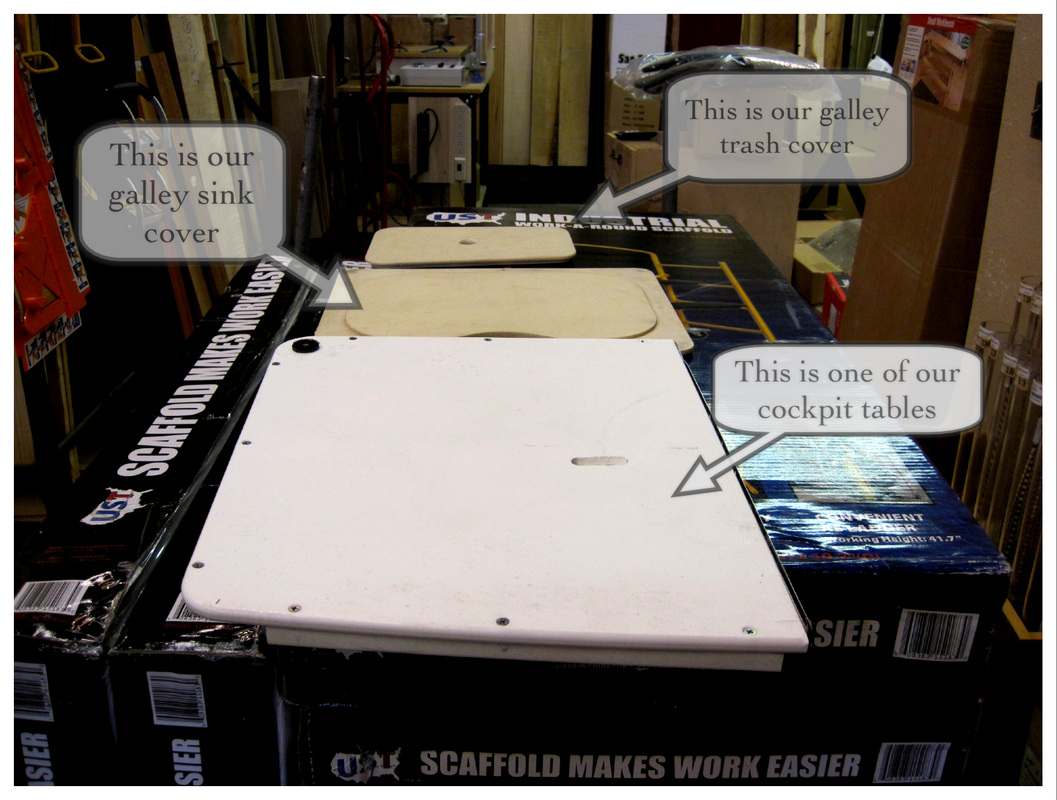
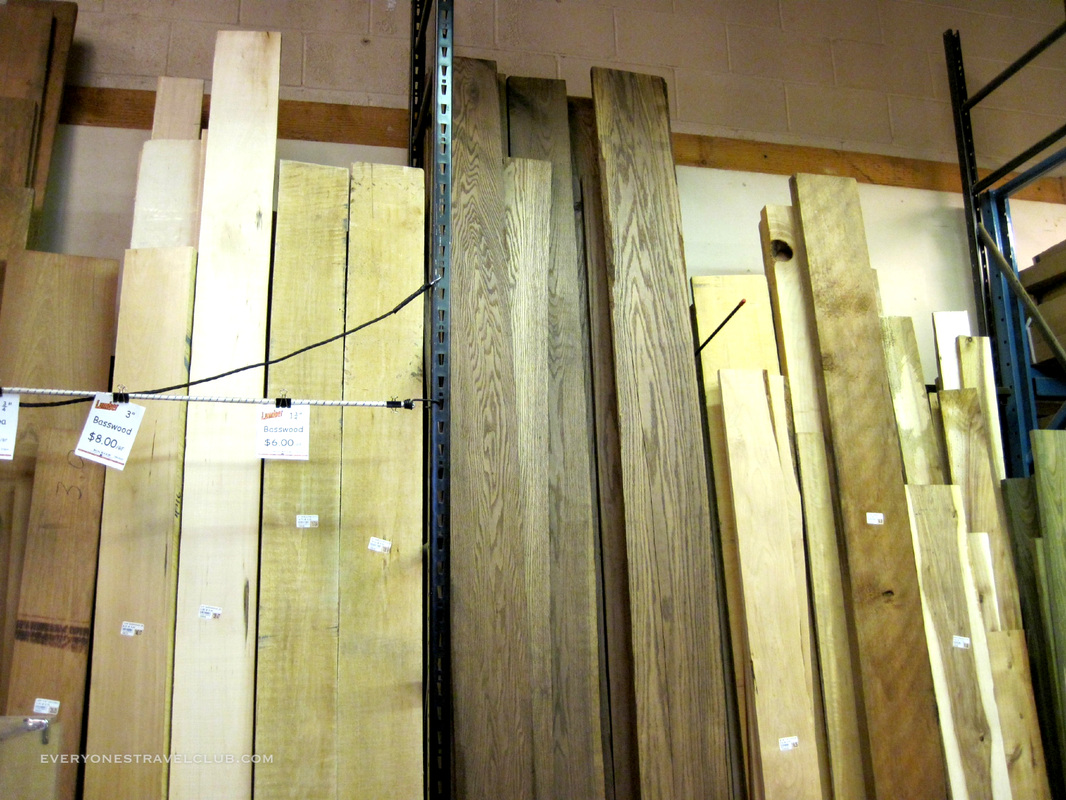
Step 1 - buy wood.
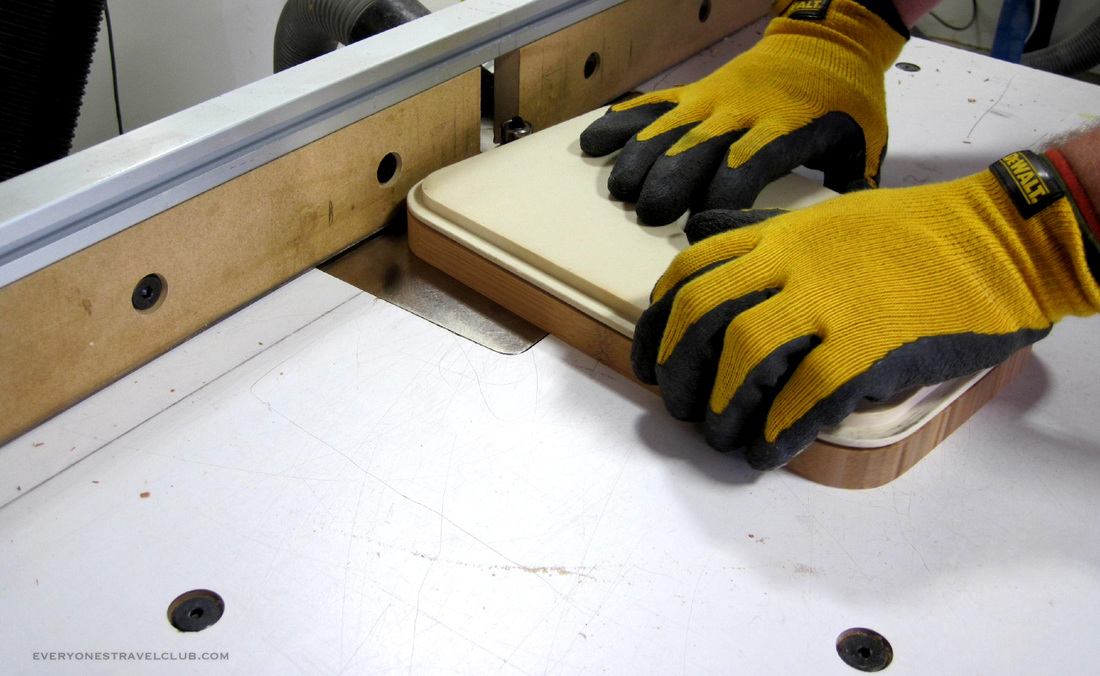
Step 2 - use old pieces as patterns
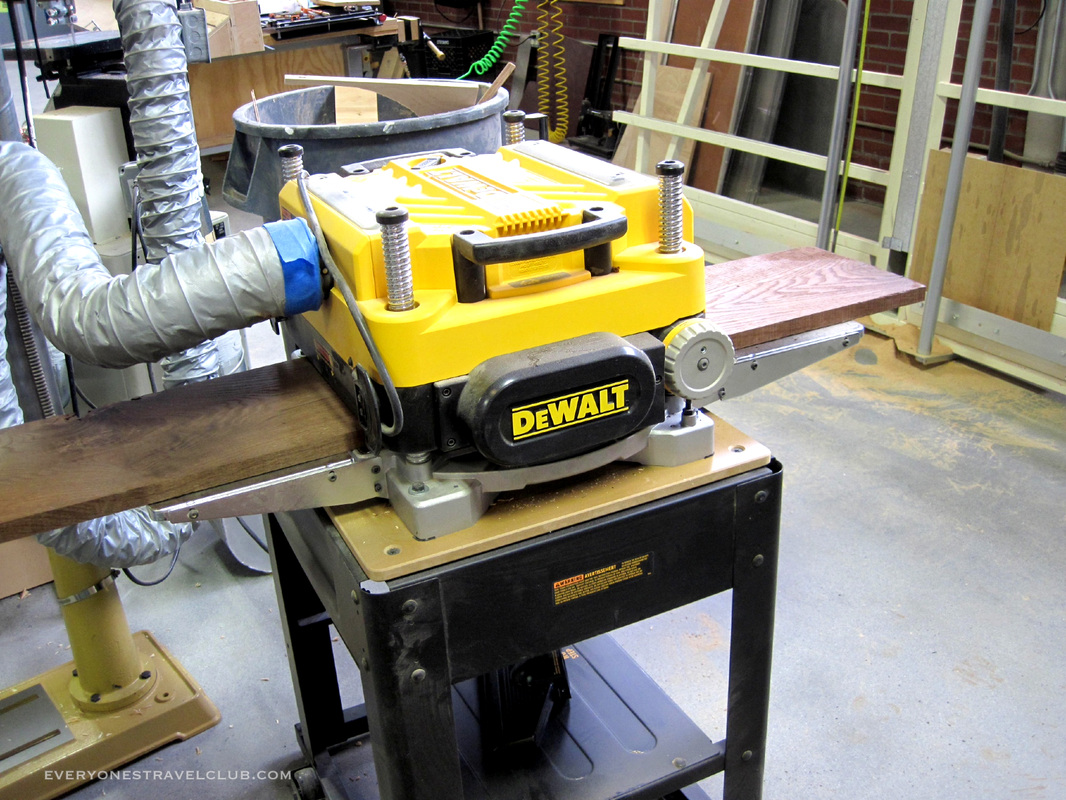

Step 3 - enjoy the fact that it will never get cleaner than this:)
Subscribe to:
Posts (Atom)


