Sometimes I think I should rename this blog “stupid ways I’ve cut plywood” or “How to Make Sawdust.” It often takes me one complete failure in order to understand how to do a project. I amaze myself.[I like the attention to detail: Rounding the corners is a critical step to get the fiberglass cloth to lay tightly around them. -Ed.]
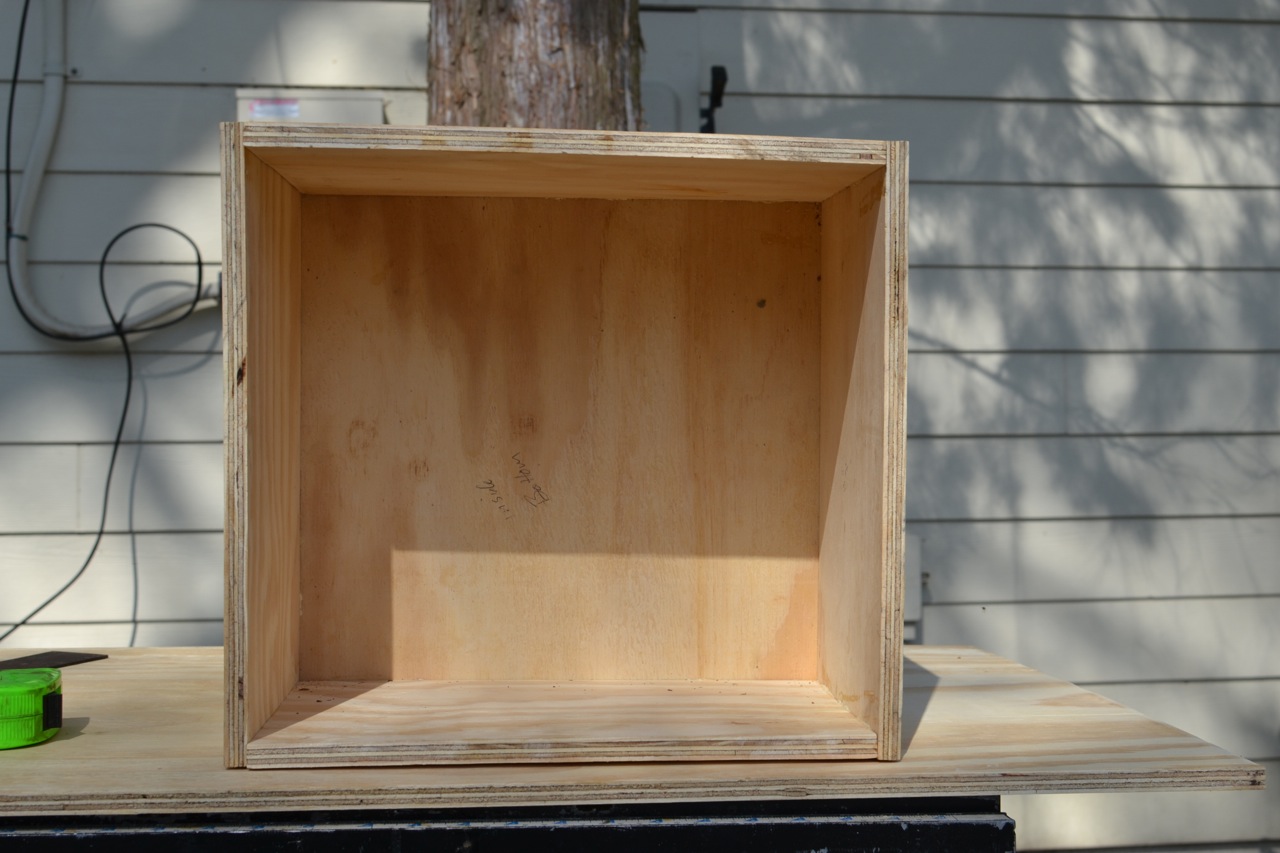
Anyway, I built a really nice plywood battery box for my new (to me) batteries. My boat neighbor was gifted a couple of gel batteries last year, and he in turn gave me his not-very-old group 29 Interstate deep-cycle batteries (two of them). It was a timely gift, because I was planning to buy a new set of batteries in very short order, and to build a new box for them. I currently have group 24 batteries – unaltered since I bought the boat 10.5 years ago – sitting loose in plastic boxes with the covers held on by a shock cord. These aren’t the original batteries – the way they are installed is original. I’ve never liked it, but didn’t change because. . . um, I just didn’t. Now that it looks like we might take longer, more adventurous trips, it seems important that the batteries are installed properly. To that end, I built this box:
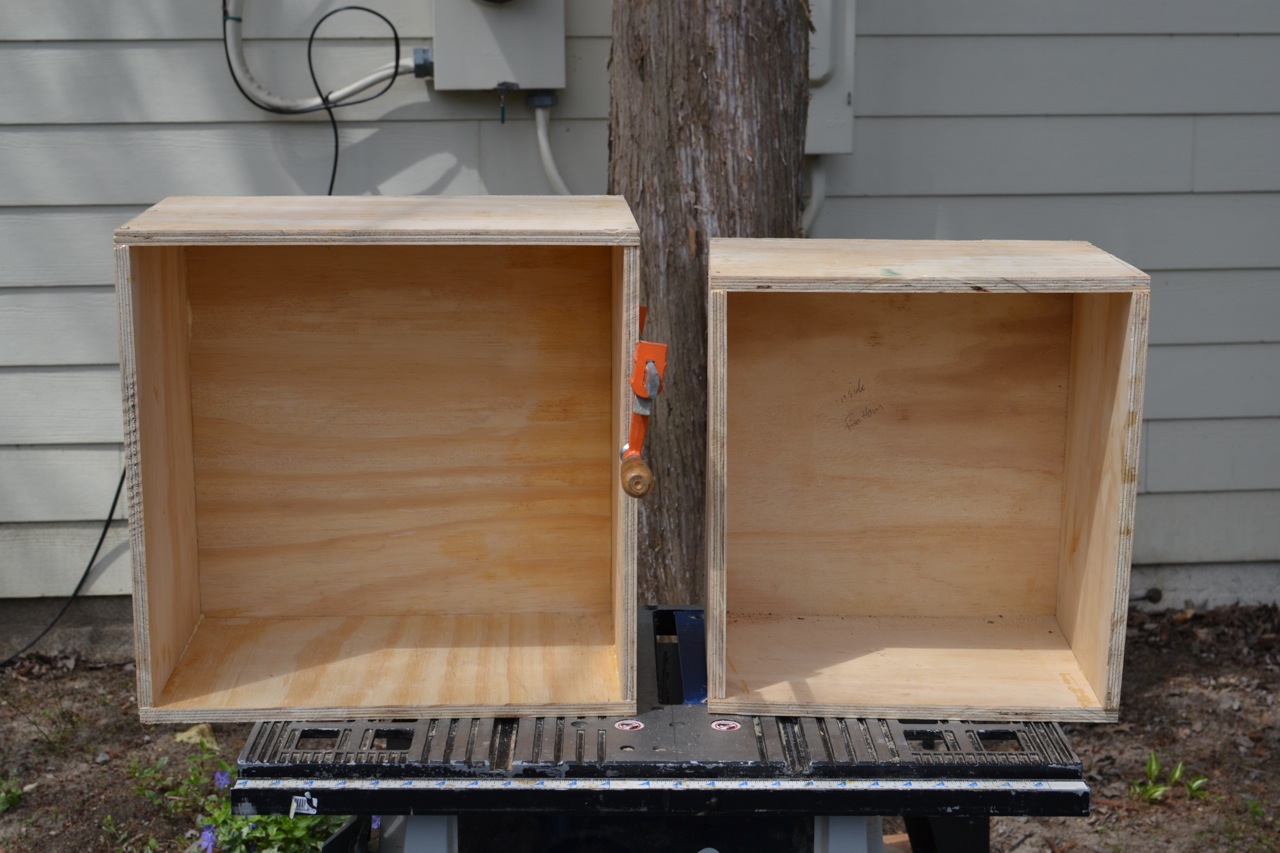
No, it is not marine ply. I don’t have a truck with which to haul a full sheet of plywood, and I don’t want to pay $95 a sheet for it anyway. I’ll epoxy and glass this box, and it will be fine. Well, not this box. You see, it’s too small. Group 29s won’t fit in there, even though I measured carefully. How did this happen, you ask? Well, never mind. Suffice it to say, that I was under the impression that the box had to be sized just so, and I indulged in a folly of false economy. But it’s a nice box. For something. . .
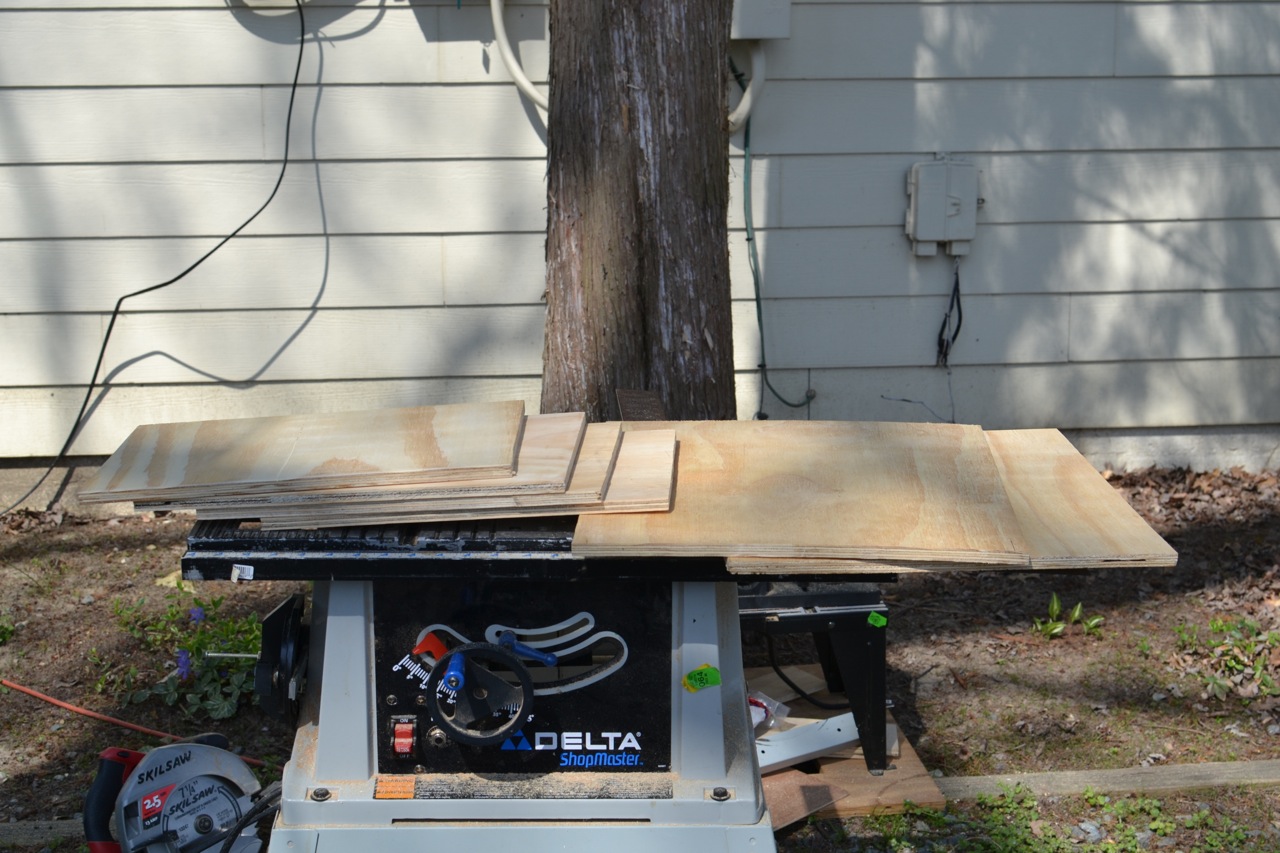
I bought more plywood this morning (Home Depot sells 2×4 pieces and they fit in the back of my car), cut it correctly (this time – numerous mistakes on the first box), and put it together this morning. By lunch time, I was letting the glue cure.
I’ll glass the box inside and out in the near future, install studs along the top edge to secure the top (with wing nuts), cut out wire relief slots, and it will be ready to install. It will be bolted to two adjacent bulkheads in the starboard cockpit locker, painted Bilgecoat-grey, and filled with batteries.
Tuesday, June 24, 2014
New Battery Box
Batteries are heavy. An improperly secured battery can become a dangerous missile in a seaway, or Heaven forbid, a rollover. Rick over on s/v Cay of Sea knows this...


Thursday, June 19, 2014
New teak grate for shower
Mike of s/v Chalice takes us thru the process he used to recreate the teak grate in his shower. Mike has all the tools... (yes, I'm jealous)
I needed to replace the shower grate as it was broken at the angle corner. I had tried to repair it, but because of the design it really was a design flaw. So I needed a new one of a different design.
What I did was lay the old grate face down (upside down), then nailed a perimeter around it real tight. This gave me the shape I needed. I would have to build the new one upside down, but as you will see, this was the easiest way.
From update _10_1_2012
I had to angle the ends of the new teak pieces so they would fit the fiberglass liner. A later picture will show this up close.
From update _10_1_2012
Initial cut and fit done. Now I just have to add the reinforcing that holds it all together.
From update _10_1_2012
Now it's done. Built completly in the jig.
From update _10_1_2012
Hard to see but I used spacer blocks to space everything out. Very easy.
From update _10_1_2012
Old Vs New
From update _10_1_2012
Oil finish so it will not be slippery.
From update _10_1_2012
The angle on the ends.
From update _10_1_2012
From update _10_1_2012
Now you can do it.


Tuesday, June 17, 2014
Gettin' Heady with it!
John continues spiffing up his Catalina 30, s/v Dulcinea. Today, his project is a complete refurbishing of the head compartment. I think his changes made a great improvement - don't you?
I had a few goals to accomplish in the Head... or bathroom... replace the ugly counter top, Put in a new Faucet/shower, hide the ugly holding tank pump out and vent hoses, and brighten the head up a bit. In the process I wanted to move the sink slightly, as I always felt it looked awkward where it was.
The ugly Head... Some sort of non-functional kitchen sprayer for a faucet, no shower, weird teak things, and head hoses... After removing the counter top, The first step was cutting out a new one, by tracing the old one, and using my Jigsaw. Then I had to figure out where I wanted the sink to be, by placing a Template I had cut out of paper, an moving it around until I was happy with where it was. Next, cut the hole out, and take the counter to the boat for a dry fit, and to trace the new Sink location.
Now I had to cut out the fiberglass --- Crap! I left my Jigsaw at home! No matter, I have a Dremel on board... it wasn't pretty, and took 10 times longer, but I got the Job Done!
Finally! got it cut out!
Now it was time put the Formica on! If you have never worked with this stuff, let me tell you, it is challenging. It is fairly flexible, but will snap, after a certain point. Handling a full sheet of this by yourself without causing it to break is next to impossible.
The Dry fit is Successful!
I found a piece that was big enough... by big enough I mean that it needs to be at least a half an inch longer all the way around....
Then I placed the counter top, RIGHT SIDE UP, on top of the formica and traced around it, extending each side by about half an inch.
All Traced and ready to cut out!
Now it is time to cut it out. for this, I used a specialized tool called Laminate Shears. If you have ever used sheet metal shears, or tin snips, this will be familiar to you. It is an odd looking tool that has two cutting surfaces.
Looking at the shears from the side
The shears from the front... two cutting surface on either side of a middle piece.
Using these is like using 2 pairs of scissors placed an eighth of an inch apart at the same time...
Cutting on the outside of the line. Just like using scissors.
This is what the result of the cut looks like...
You have to be VERY careful when using these.... they ONLY cut straight lines, well, relatively straight, and are hard to keep on course. Allow yourself plenty of excess. Also, be careful to support the waste side, as it can snap... right into your usable piece! (don't ask me how I know this...)
one side done....
All cut out!!!!
Now for a dry fit. place the Formica upside down, and place the counter top on it upside down... make sure you have room to work on all of the sides. Notice in the picture below, I wrote the word "Bottom" in big bold letters... When I put Formica on the galley.... I initially put it on the wrong side... so I learned from my mistake...
The dry fit...
Now the time had come to adhere the Formica to the countertop. First, gotta assemble the tools...
The tools: Contact spray adhesive, scraps of wood, and a Laminate roller
The next step is to put the contact Cement both on the plywood and the bottom of the Formica...
After you can touch the Cement without it coming off on your finger, you put down the scrap wood spacers... DO NOT wait TOO long, or the cement won't work. The reason for the spacers is that once both contact cement coated surfaces touch, you are DONE and it is next to impossible to separate them. so you use the spacers so you can position the Formica properly so there is overlap on all sides.
I laid down 4 spacers here
Now I can position the Formica Just right...
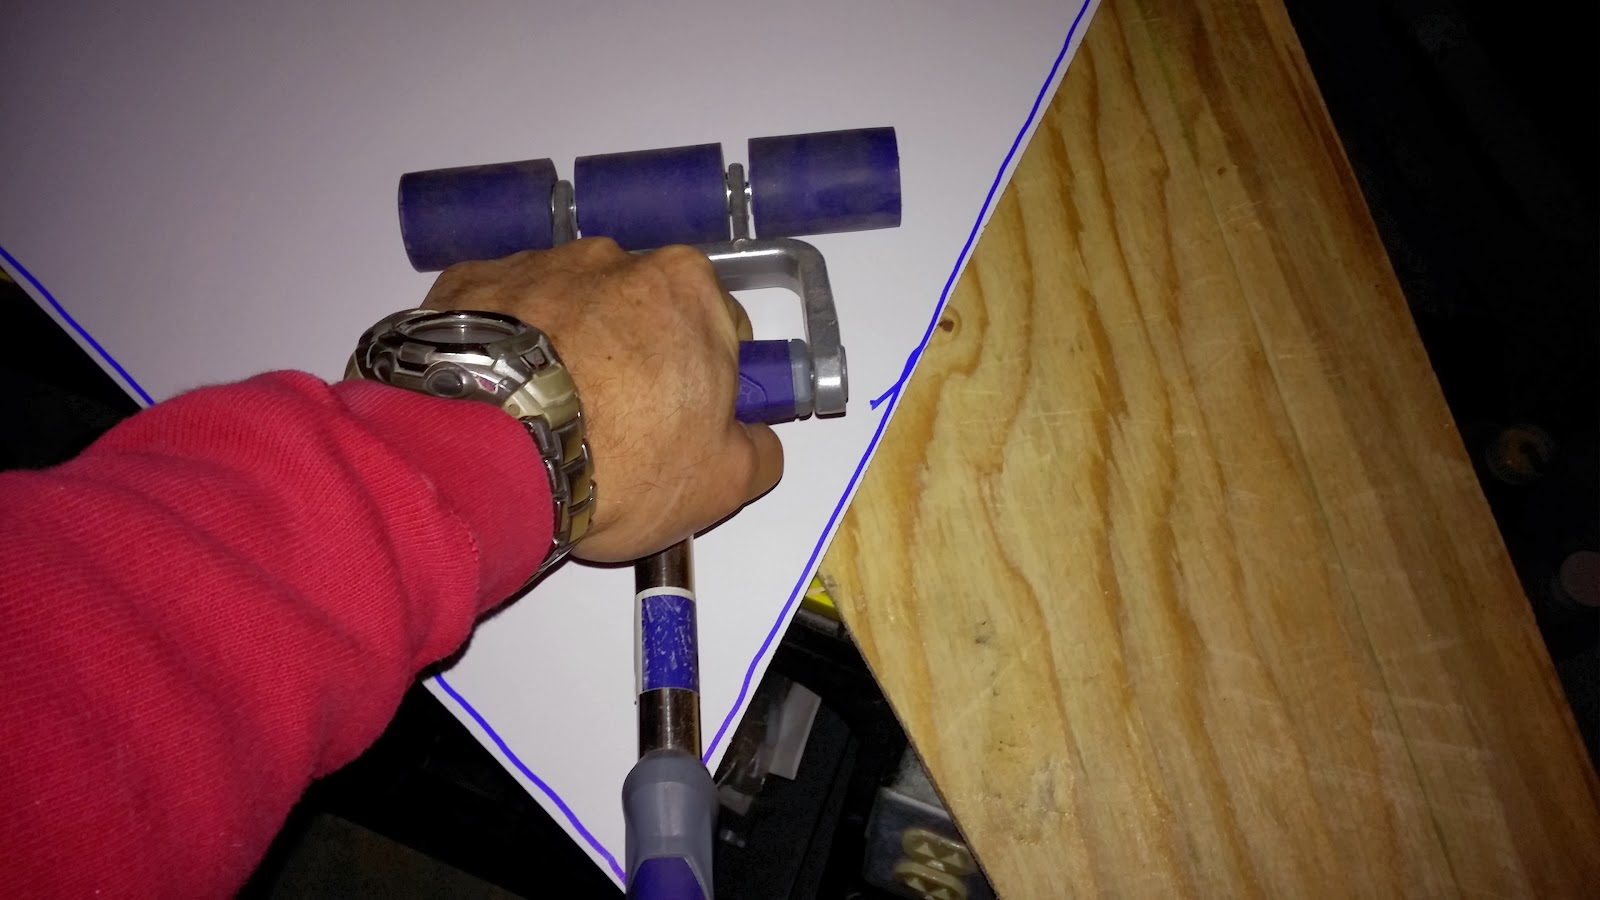
Now I am ready to go. I pulled out 1 spacer (the one on the right) and use the roller to work out any air bubble that are underneath, working from the center toward the sides. then I pull out the next spacer, and do the same for the next section, and so on.
Using the Laminate roller (Sometimes called a J-roller, because some of them are shaped like a "J"
Press down HARD and work toward the edges
2 of the spacers removed, 2 to go...
Don't roll over the edge of the plywood or this will happen... fortunately, I think this will be OK.
All adhered, ready for trimming off the excess.
To do the trimming, I use a router with a Flush Cutting bit. In the picture below you see the router (upside down) and the bit. on Top, there is a screw that holds the Bearing, which is the shiny part below the screw, and then the cutting bit which is yellow. The way this works is, the bearing rides against the plywood edge, and since the bearing and the bit are the same diameter, the bit will cut the Formica flush with the plywood.
Then it is just a matter of going around the edge to trim the Formica. There are smaller routers, Aptly named, Finishing Routers, that do this job a little easier...
Now I just needed to cut out the hole for the Sink. To do this, I need a starting hole. So I used a Forstner Bit...
Then it was a matter of putting the router in the hole, and going around the inside of the hole.
The Starting hole...
almost cut out
All trimmed, ready for the Fiddles!
Now I needed a Faucet, after all, what is a sink with out a faucet? Useless! I wanted to have a Single hole faucet, as I had very little room to install it. I decided to use this one from Scandvik. It was a little expensive, but I think it will be worth it in the long run, and will look and work a LOT better than that kitchen sink sprayer that was in there before!
First you have to position it, and it helps to have a Brother in law to point out that unless you had it off center a bit, you wouldn't be able to operate the cold water tap.... Thanks Bro!
Then cut out the hole with a hole saw....
Cut the Hole
Then install the Faucet using the manufacturer's Directions...
Install the water supply....
Install the Sink.....
And Voila! a New Head! Kinda....
Then Just install the mounting bracket for the Shower head, and it looks like this!
Now, tell me true, Which head to YOU prefer?
Before
After!
Nice, bright and no ugly hoses Visible! Note the cover I made for them on the left... That will be a topic for another post....


Subscribe to:
Posts (Atom)


