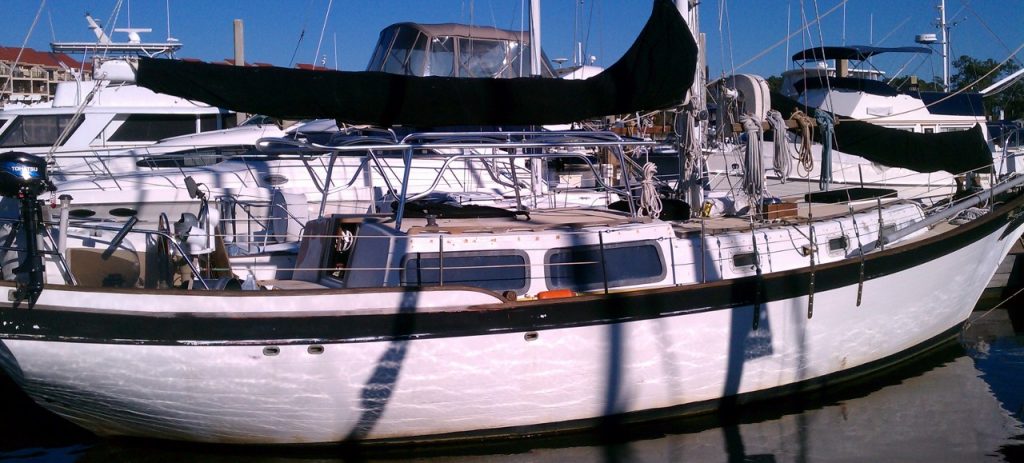
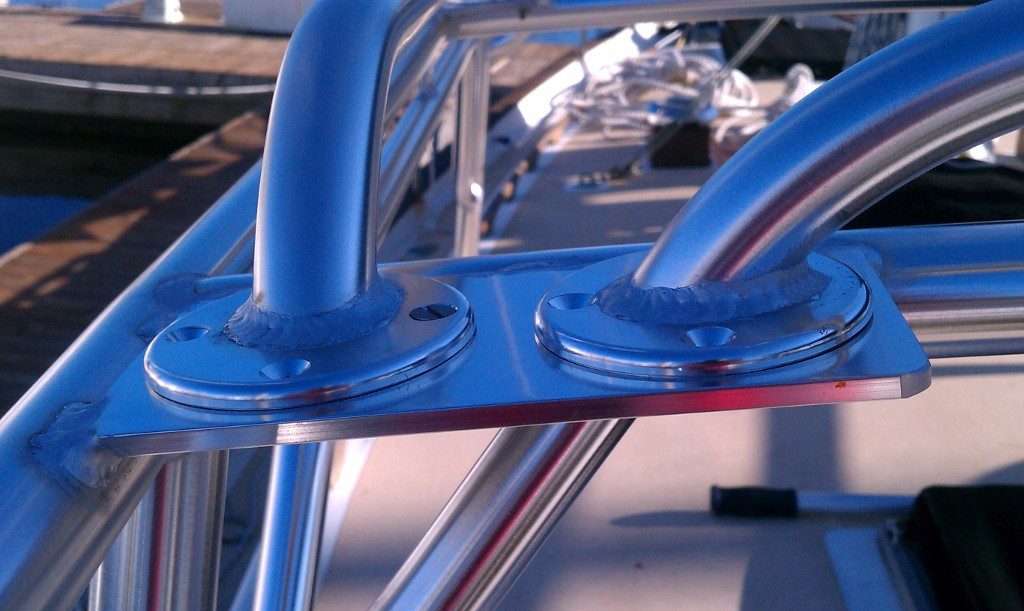
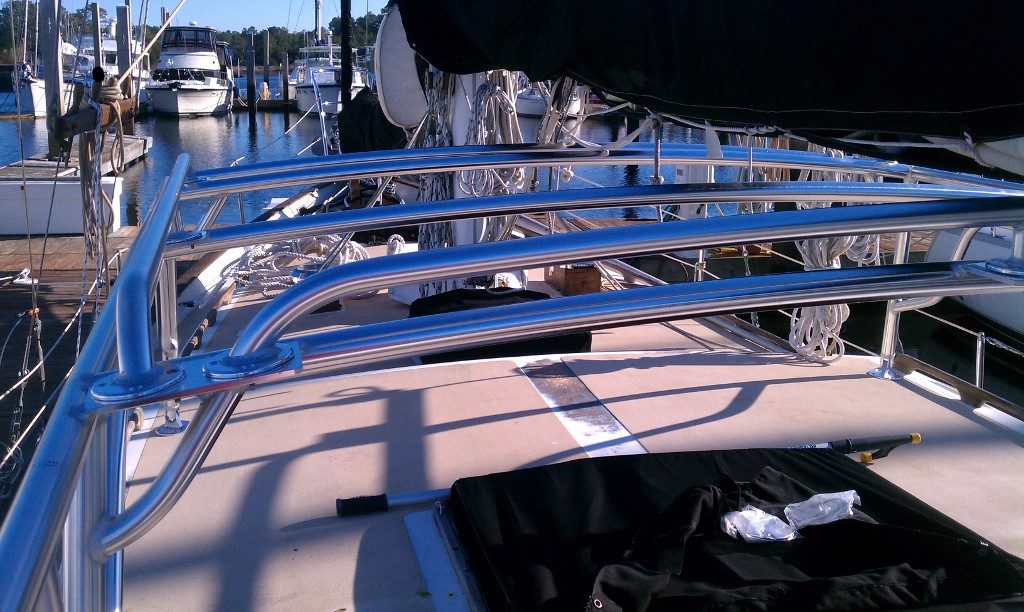
When we bought Galapagos we were kind of enthralled with our Lofrans electric windlass. It’s a love affair that continues to this day and because we love her, we want her to live in a nice place. Long ago we noticed that her locker on the foredeck had seen better days. It looked to me like there was wood rot underneath her foot switches and a couple of times when we pulled up anchor, Mike saw the floor of the locker move a little bit. This gave us pause.
So it came to pass that we decided we better get to it and refurbish that part of the boat. This has been one of those projects that takes much longer than you’d like, simply because there are a lot more parts to it than you think, and because Mike still works for a living. That leaves the weekends. And me.
Mike pulled the windlass off and carried her home to take her apart and make sure all of her parts were shiny and new looking and give her a general going over. He can write about that part soon. The windlass has always worked great and we want to keep it that way considering that pulling up anchor by hand on this boat, even given the hand ‘crank’ we can use, would cost a lot in terms of energy, time, and effort. Whatever needs to be done to keep this windlass in good shape is time and money well spent.
When we examined the wood under the switches it was clear that there was not only rot, but that there was a lot of it. If it were not for the fact that this entire locker is hell for stout, we would have had a bigger job on our hands. The wood in this area is about 10” thick meaning you can have a lot of rot before things start getting serious. That also means that after I removed all the rotted wood, we still had plenty to work with. We decided we did not need to remove the entire floor (thank you, gods of windlass lockers!) and that we could fix the area with a series of epoxies, from the liquid kind that soaks into wood to give it new structure, to the kind you smear on like wood putty.
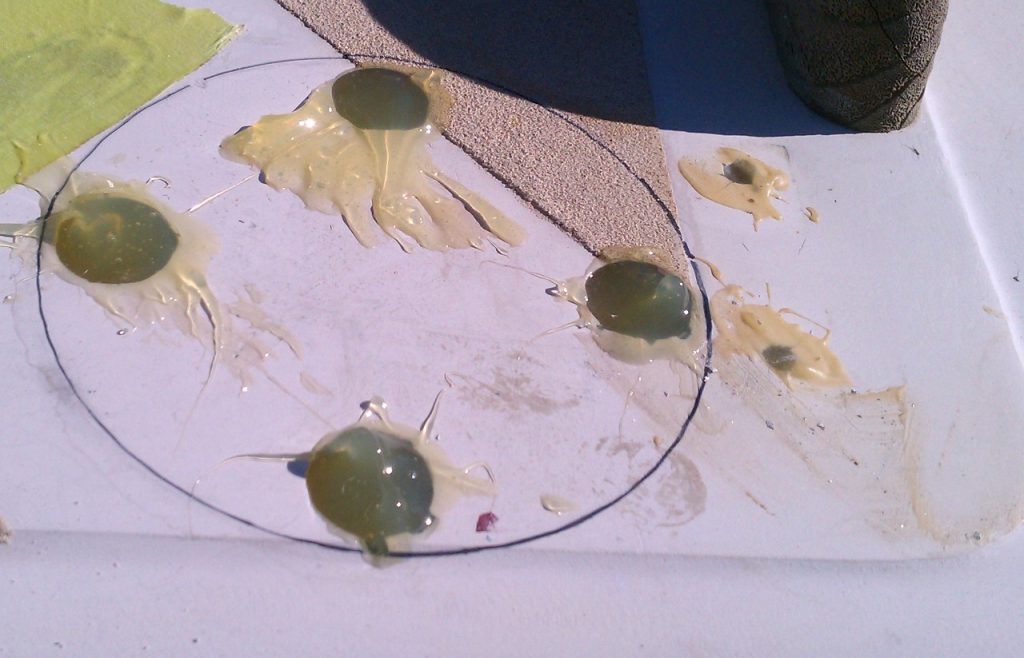
After drilling holes all over the place to make sure we found all the rot, and a good thing we did, too because water came out of some of the holes, we waited as everything dried out in the hot summer sun. Then, over a week or so we mixed batch after batch of System Three End Rot liquid epoxy and their wood putty version called Sculp Wood. When we ran out of the End Rot stuff, we used the straight System Three liquid resin epoxy. We poured the liquid stuff down into the holes and let it seep into the surrounding wood on the topside. When that was cured, we poured in more. We added fiberglass fibers to thicken the paste and troweled it onto the inside of the locker from below, filling in gaps left by the wood we removed. It was a long process that involved a lot of boat yoga, waiting, and sanding in close quarters.
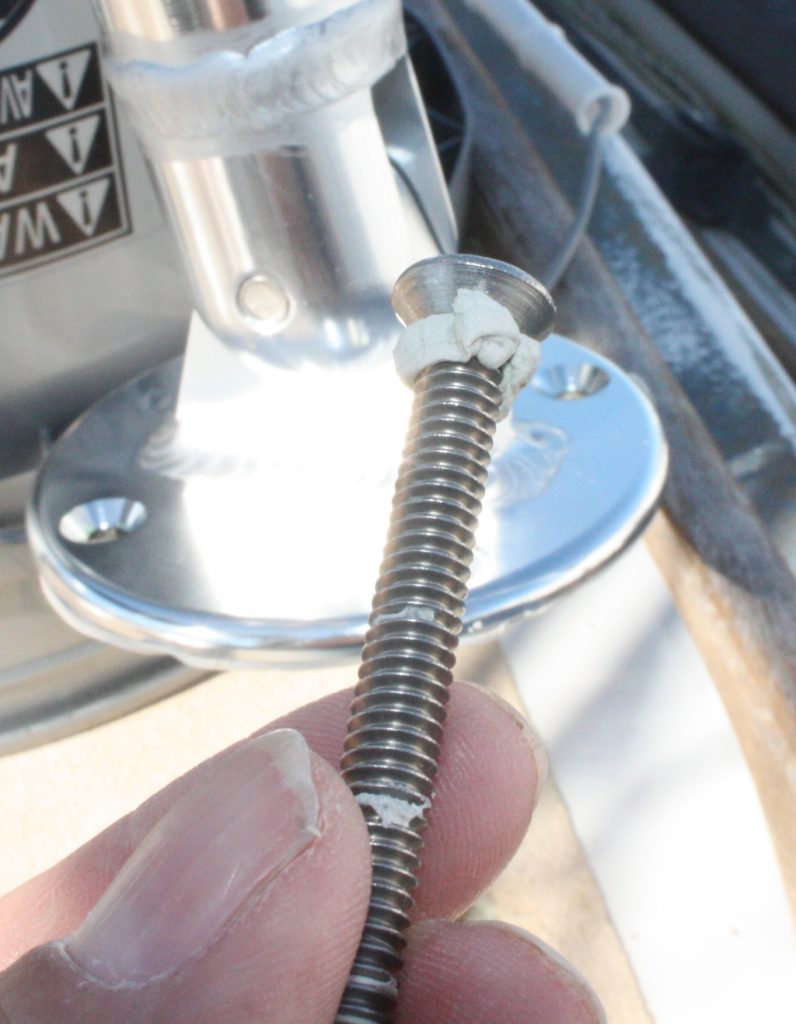
You may be wondering how rot got involved with this windlass locker in the first place. Two reasons became apparent. Let the first reason be a cautionary tale about being sure you are bedding your screws with butyl tape or the equivalent if they are going to be exposed to water. On our two foot switches, the screws holding one switch onto the wood were bedded with something that protected them from water. The screws on the other side were not. So one side had rusty screws, proving that water was ingressing in that area. The wood around that switch was where the rot started and it spread from there. Of course, it’s probably been 20 years or more since those switches were installed. Let’s keep things in perspective here.
Second, the drainage in this locker was poorly designed in our opinion. I don’t know about you, but I don’t think that drains that are above the level where water stands make sense. Think about it. In your sink, the drain is installed slightly lower than the bottom of the sink. That’s because water runs…..down. Not up. So a drain that stands proud of the surface will never, due to the laws of the physical universe, drain all the water out. Standing water is a bad thing, especially if it is close to electric switches installed with unbedded screws. Voila, rot.
So Mike decided to redesign the drains making them much simpler, and making them drain correctly. You know how when people are married for a long time they start thinking alike? We both came up with the exact same idea independent of each other. When that happens, it’s a go. So instead of reinstalling the drains as they were, he filled in the hole where they would be set, cut off the top of the drain that was too high, then drilled out an area and epoxied the drain directly into the hole. Then he attached the hose. It’s not going anywhere and it drains really well now. Plus with all that epoxy the wood will stay protected long after we’re dead. We are considering this simple solution for some other areas of the boat.
When all the epoxy was cured, he sanded everything smooth on top and on bottom. I followed behind him with two coats of bilgecoat, since this area is protected from UV rays unless the locker is open. Although I didn’t bother with a photo yet, the inside of the locker has a nice smooth ‘ceiling’ now. Our windlass will be much happier in her newly refurbished digs. And we have a locker that will see another 25 years in good shape. Stay tuned for part two, where Mike fills you in on the insides of the windlass. Or something like that.
Tuesday, February 28, 2017
Windlass Locker Refit: Epoxy is Your Friend
Rot is insidious. It sneaks in quietly, eating away at the structure of your boat. Mike and Melissa on s/v Galapagos discovered the rot monster eating away at their anchor locker - this is how they defeated it:
Labels:
anchor,
deck leaks,
s/v Galapagos
Tuesday, February 21, 2017
Sailor, and now Author
Drew, a frequent contributor to Practical Sailor and to this blog, has branched out - he is now a published author! Aside from making a few bucks to cover his time and effort in producing these books, Drew is paying it forward; he is giving new and less-experienced sailors the benefit of his extensive experience.
Drew, as an engineer (disclaimer: as am I), has a precise, unambiguous writing style. But he will also wax poetic, in the fashion of a man who has carefully examined his own motivations.
What is rare in the sailing genre is that Drew, again being an engineer, does not shy away from experimentation. He does not accept "everyone knows" without actually testing it himself, rigorously. What Drew reports is derived from first person experience and experimentation. If he says it, he's tested it, and you can believe it.
So far, there are four books in the bookstore:
- Keeping a Cruising Boat on PeanutsPDF, Pending 2017 Kindle, about 400 pages
- Rigging Modern AnchorsPending 2017, TBD, about 250 pages.
- Singlehanded Sailing for the Coastal SailorKindle, 143 pages, PDF, 154 pages
- Faster Cruising for the Coast Sailor
PDF, 183 pages, Pending 2017, Kindle, about 200 pages
To provide a little view into what's included, here is the Table of Contents from Singlehanded Sailing for the Coastal Sailor:
- Acknowledgments 4
- Preface 7
- Part 1: The Singlehander
- Chapter 1: The Reasons We Go Alone 11
- Chapter 2: The Costal Philosophy 14
- Part II: Preparations
- Chapter 3: Docks 21
- Chapter 4: Sailing 24
- Chapter 5: Safety 41
- Part III: Practices
- Chapter 6: Sailing 63
- Chapter 7: Safety 74
- Chapter 8: Living 80
- Chapter 9: Kids 85
- Chapter 10: Summer 87
- Chapter 11: Winter 88
- Summary 100
- Glossary 102
- Appendix I: Annual Inspection 103
- Appendix II: Tethers and Jacklines 108
- Appendix III: Rainwater and Water Filtration 122
- Appendix IV: Climbing the Mast, Ladders, and Falling 136
- Appendix V: Extension Ladders and Webbing Ladders 141
- Appendix VI: Stropes 148
Labels:
books,
philosophy,
Sail Delmarva
Tuesday, February 7, 2017
Valkyr’s Hard Dodger
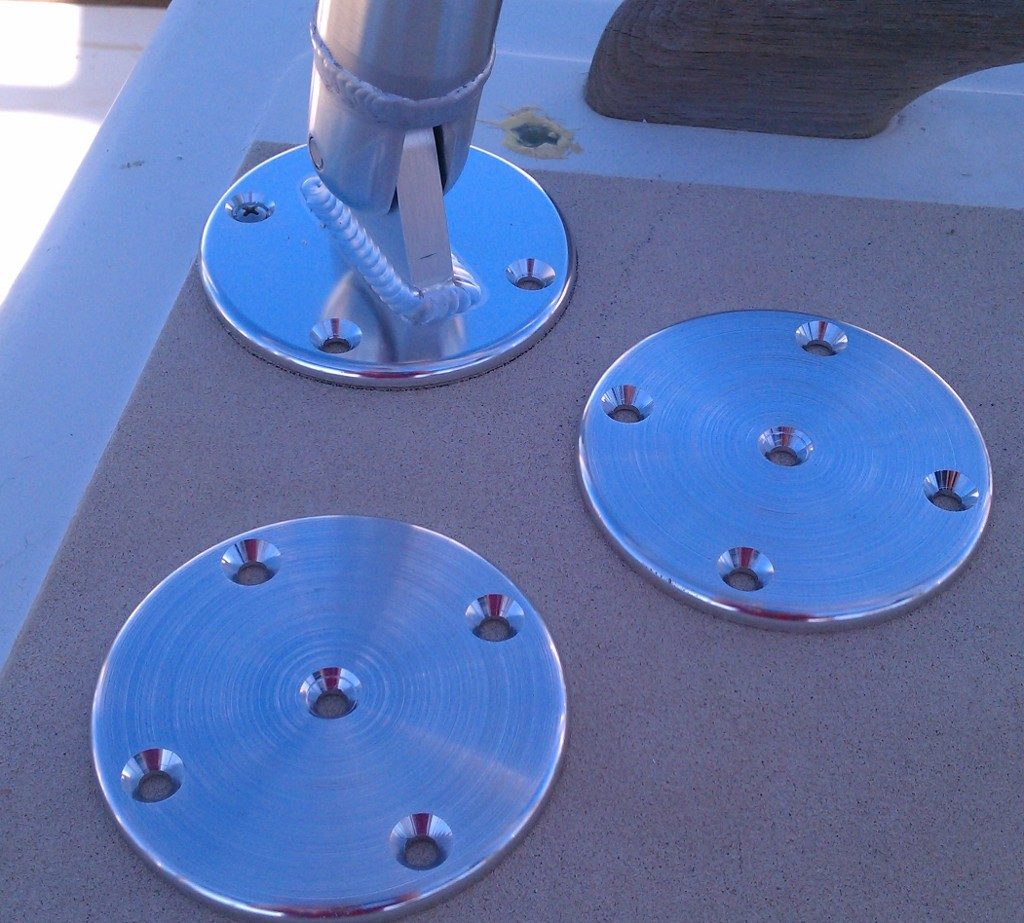
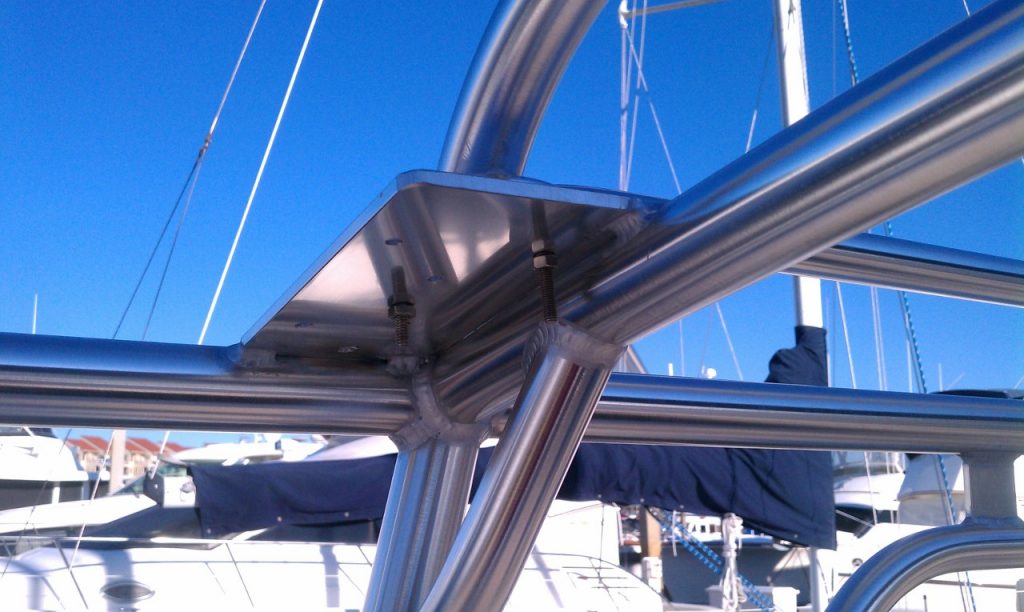
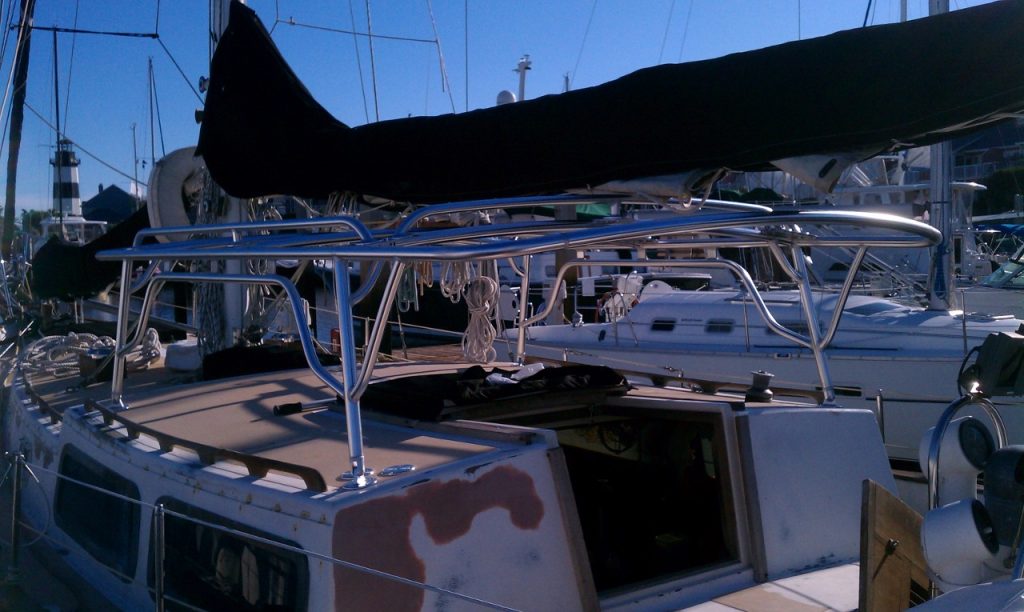
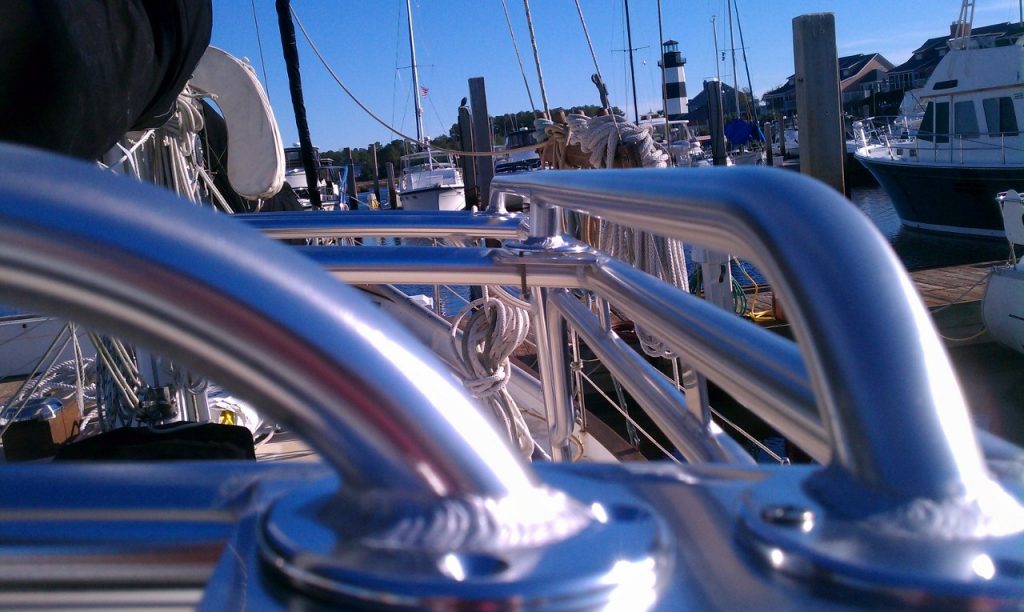
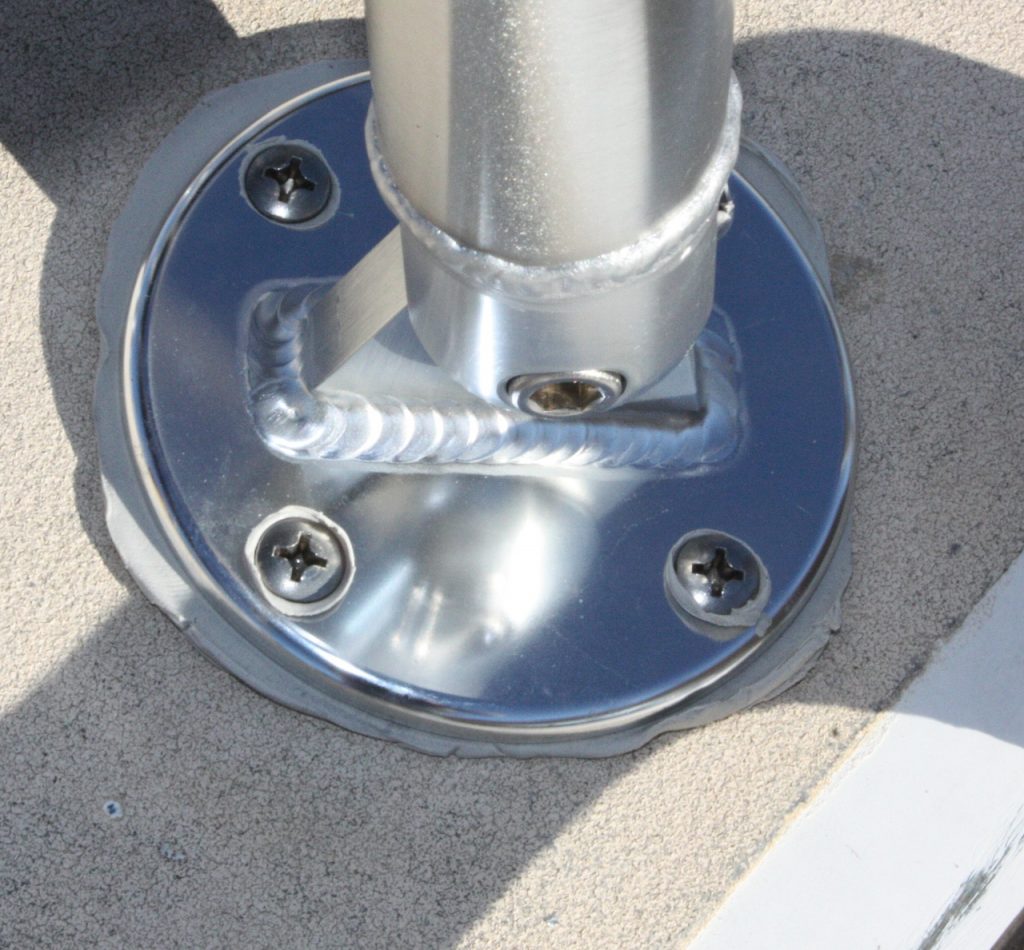
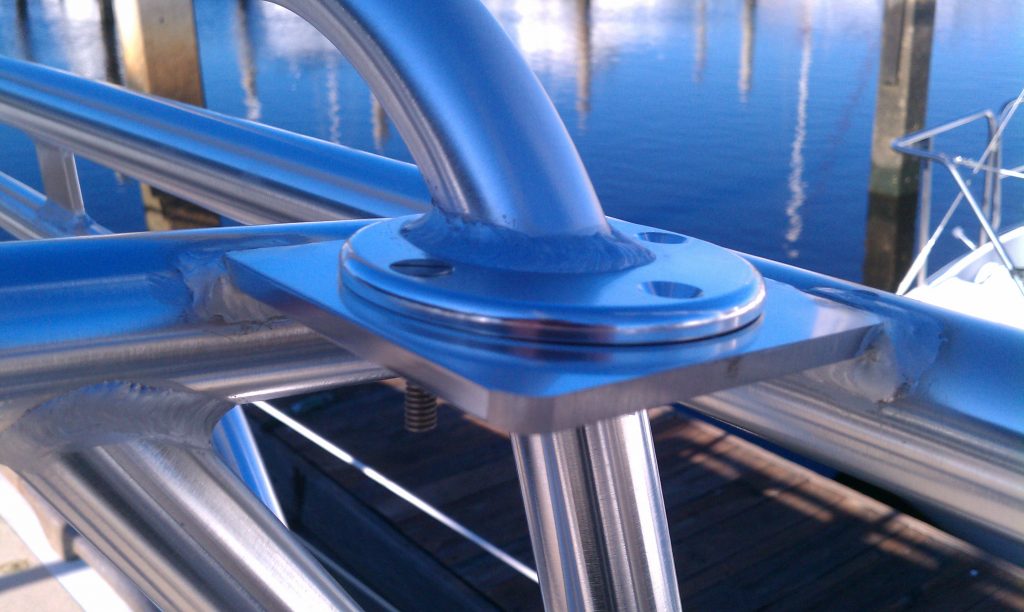
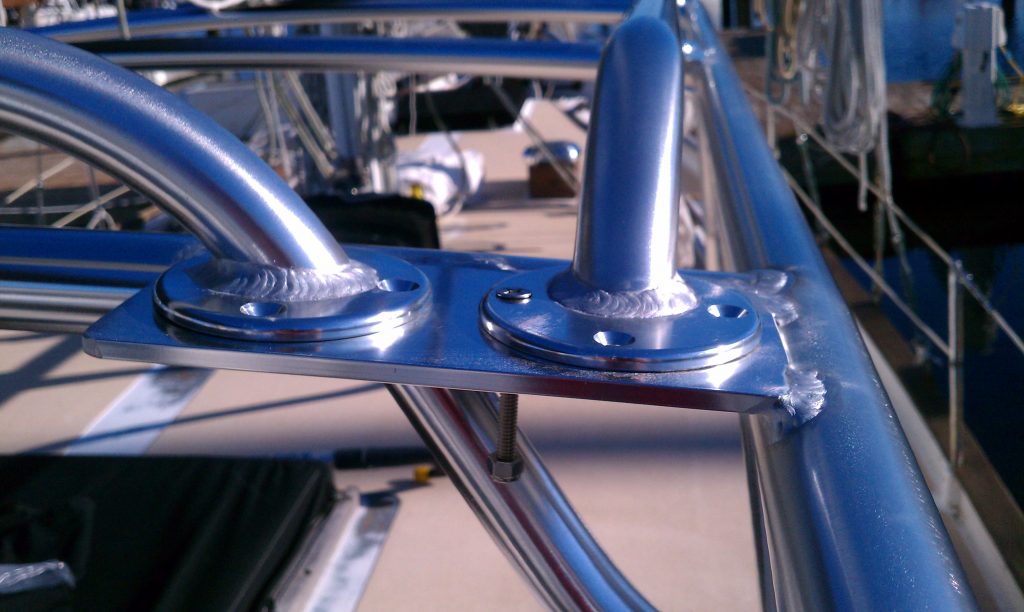
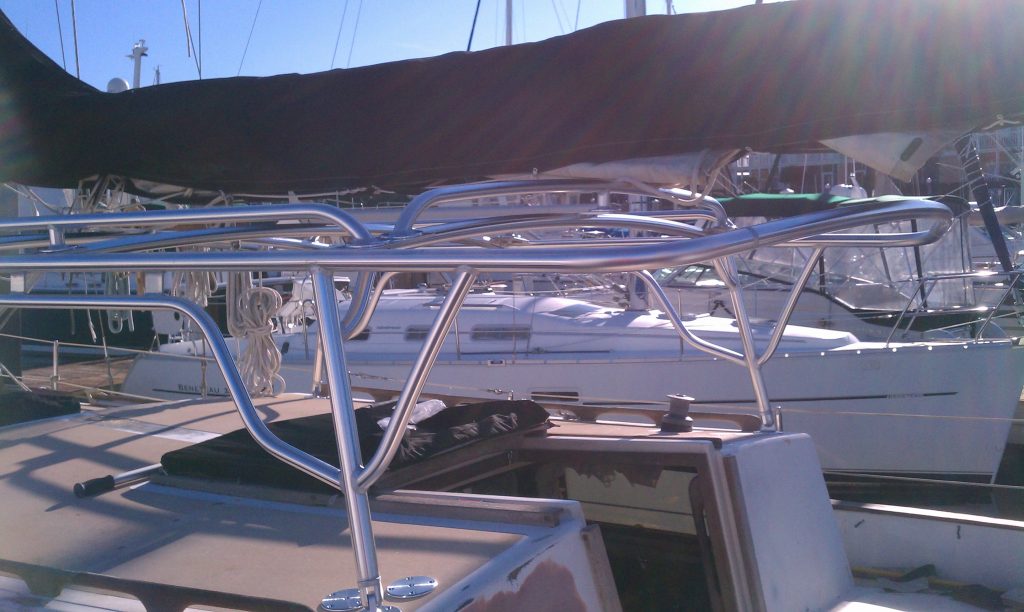
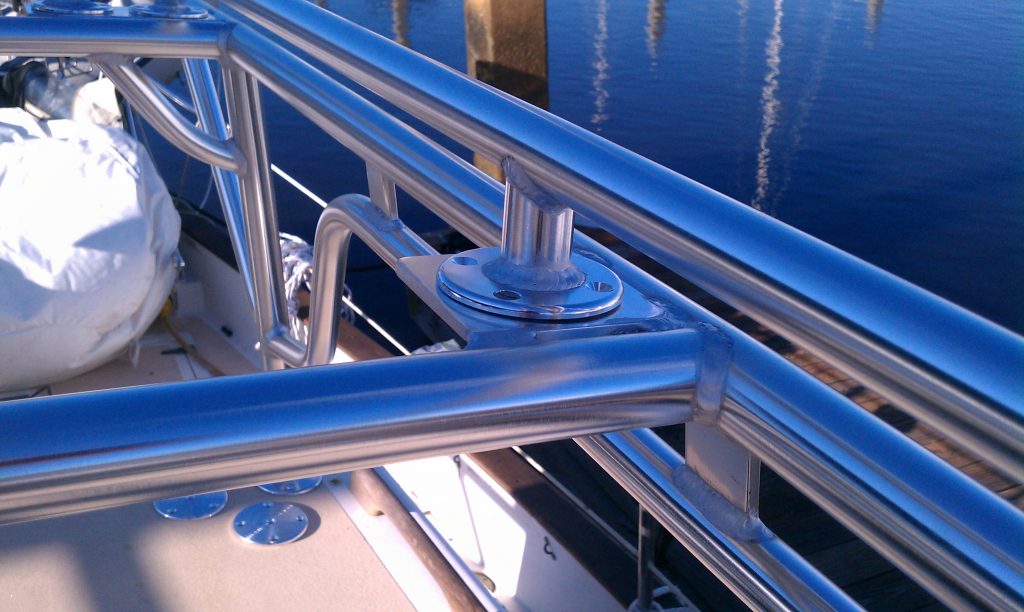
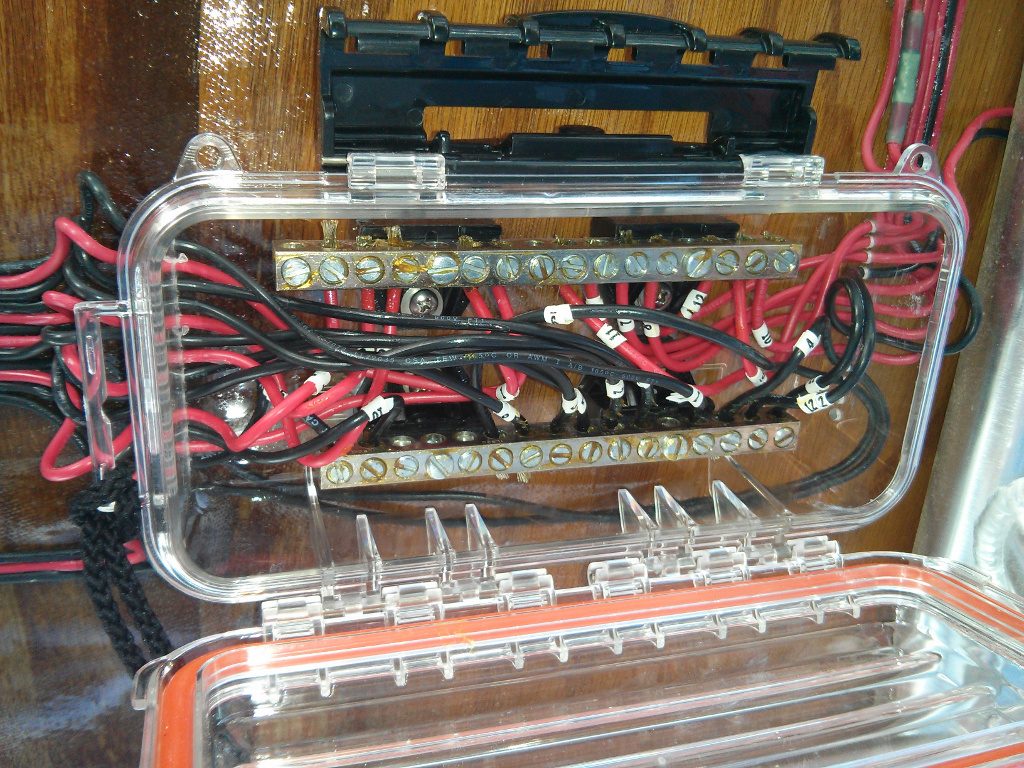
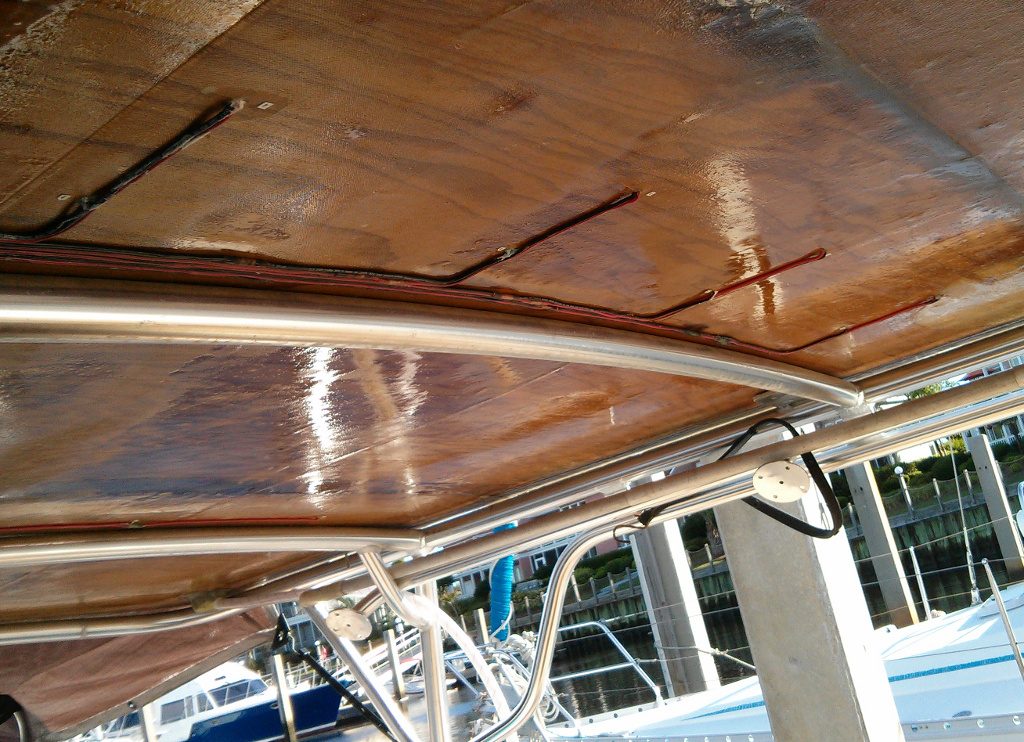
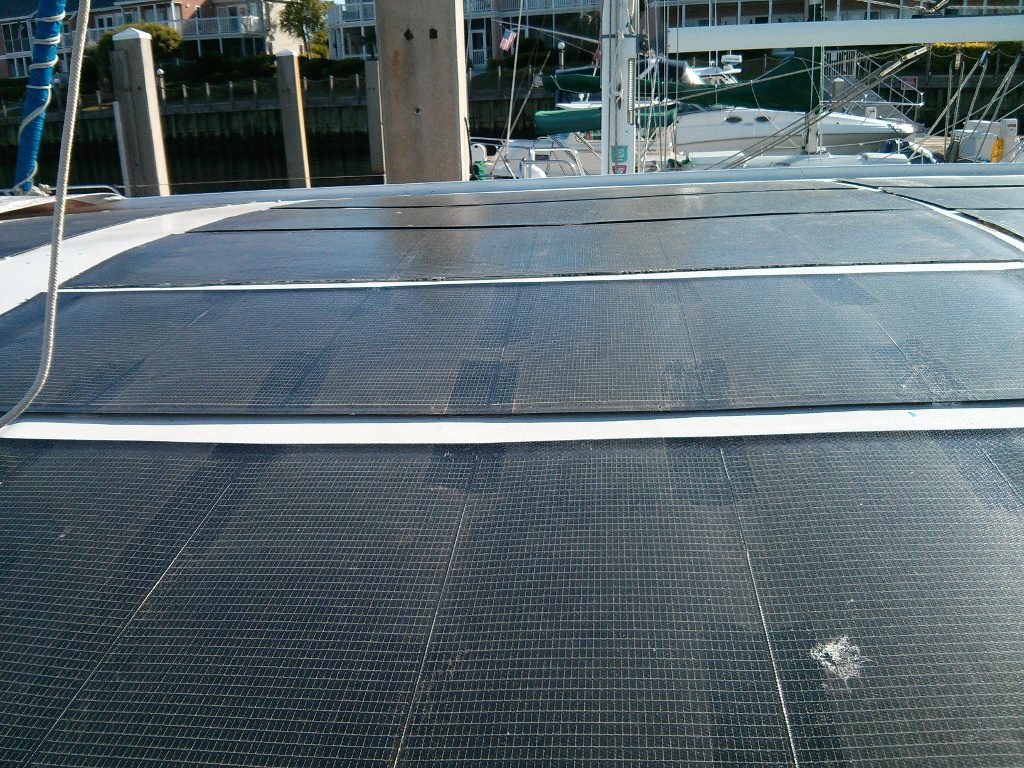
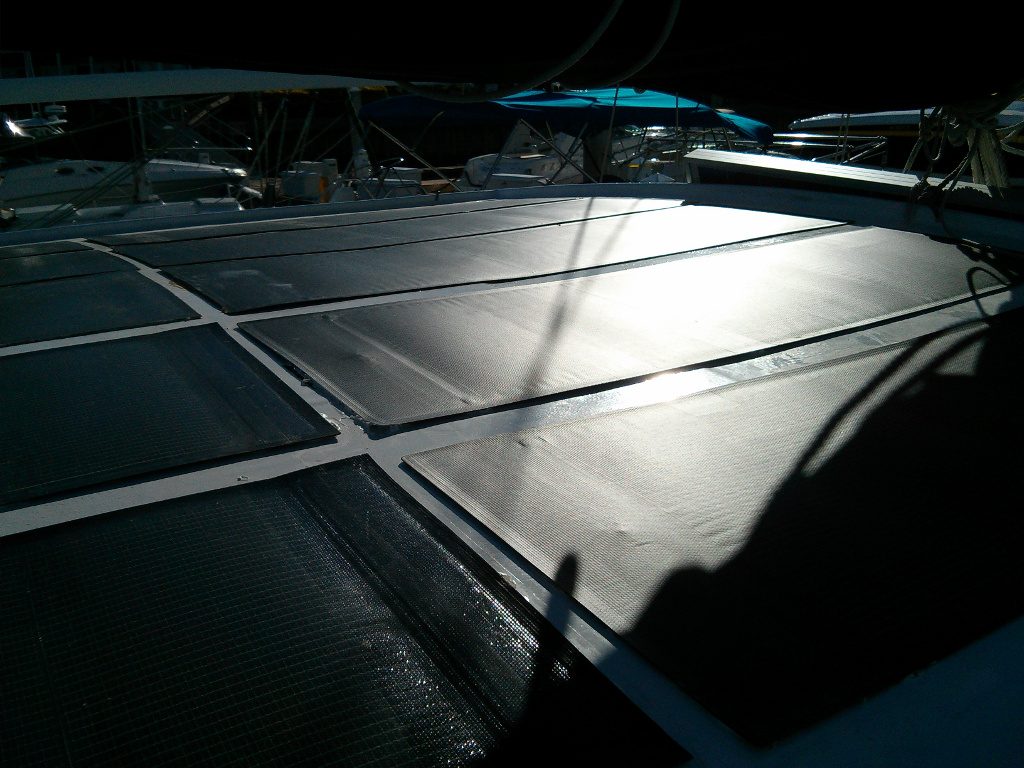
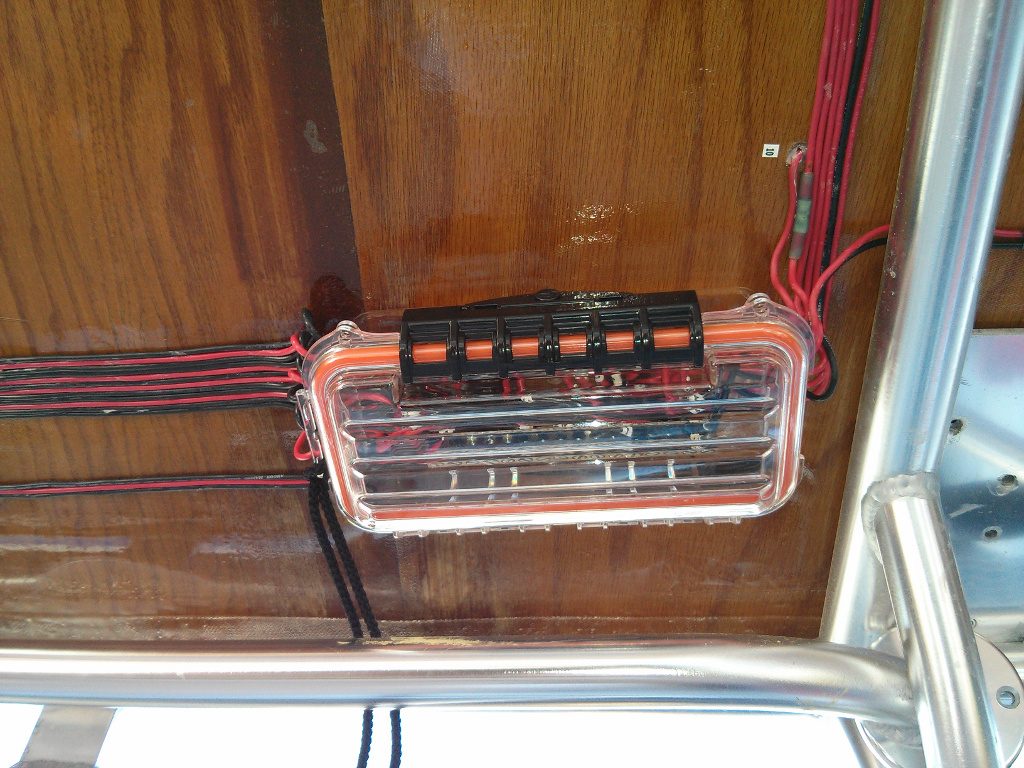
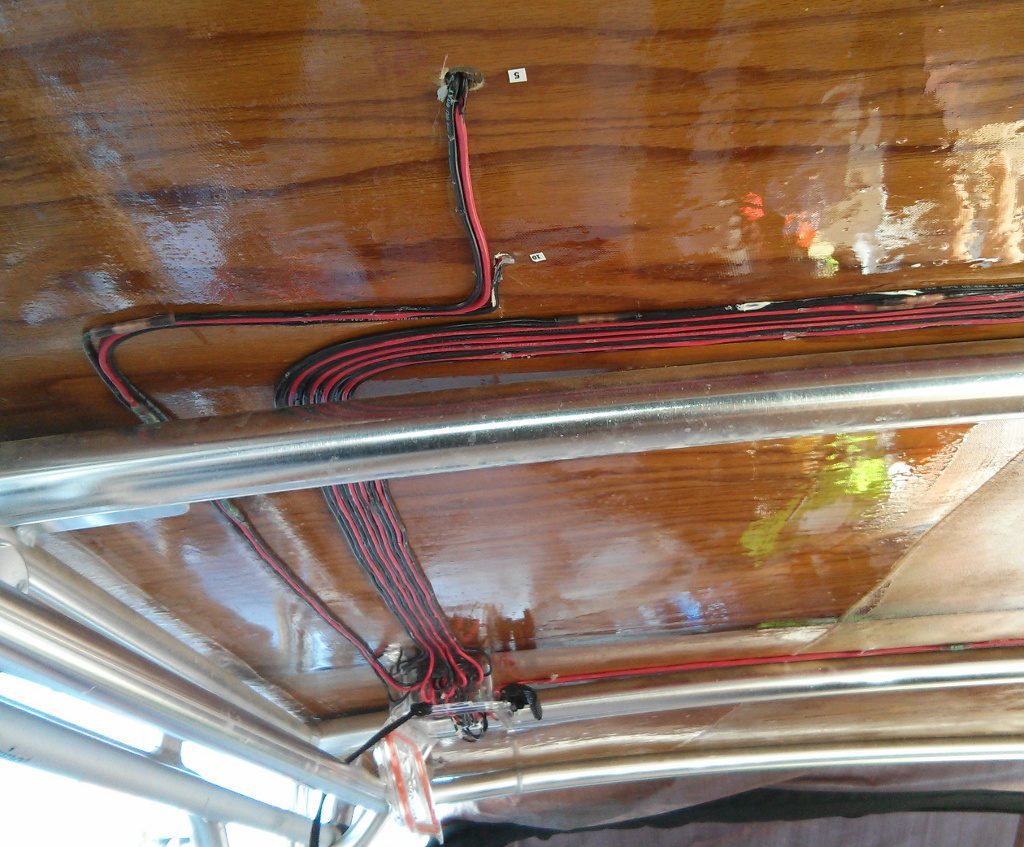
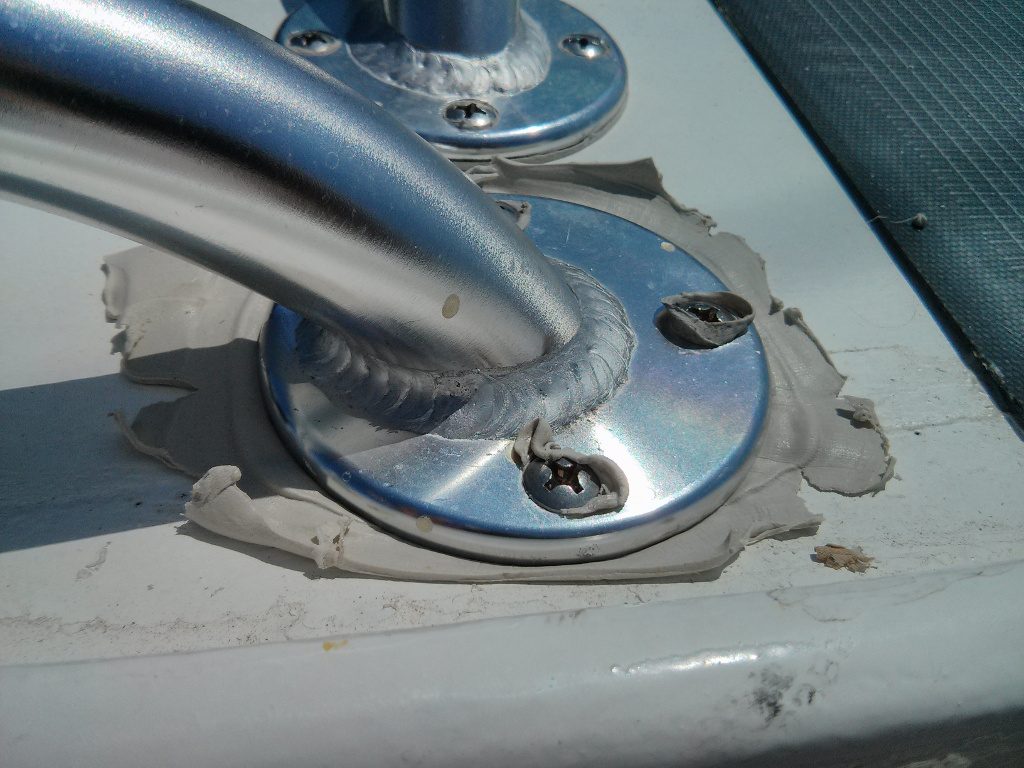
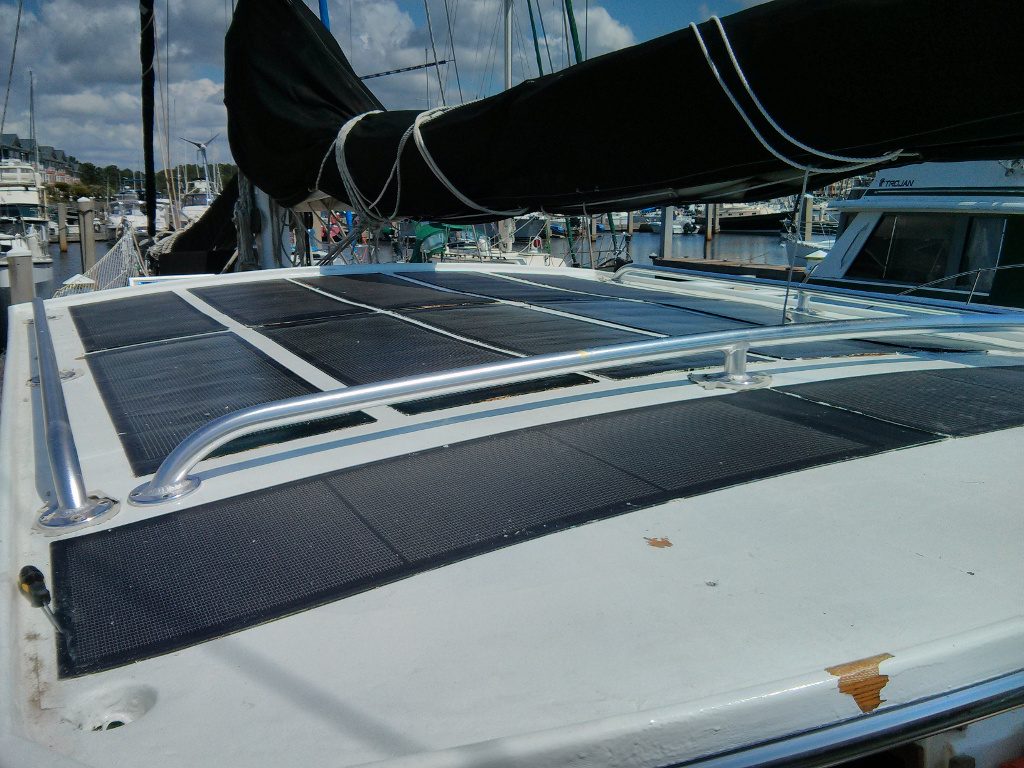
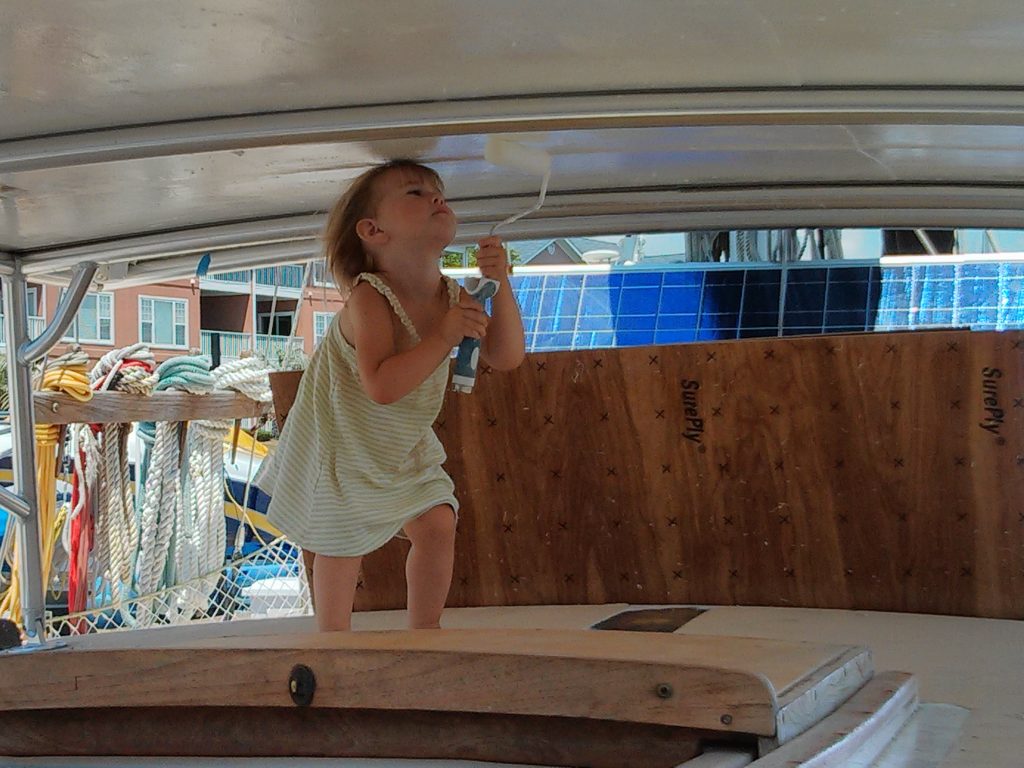
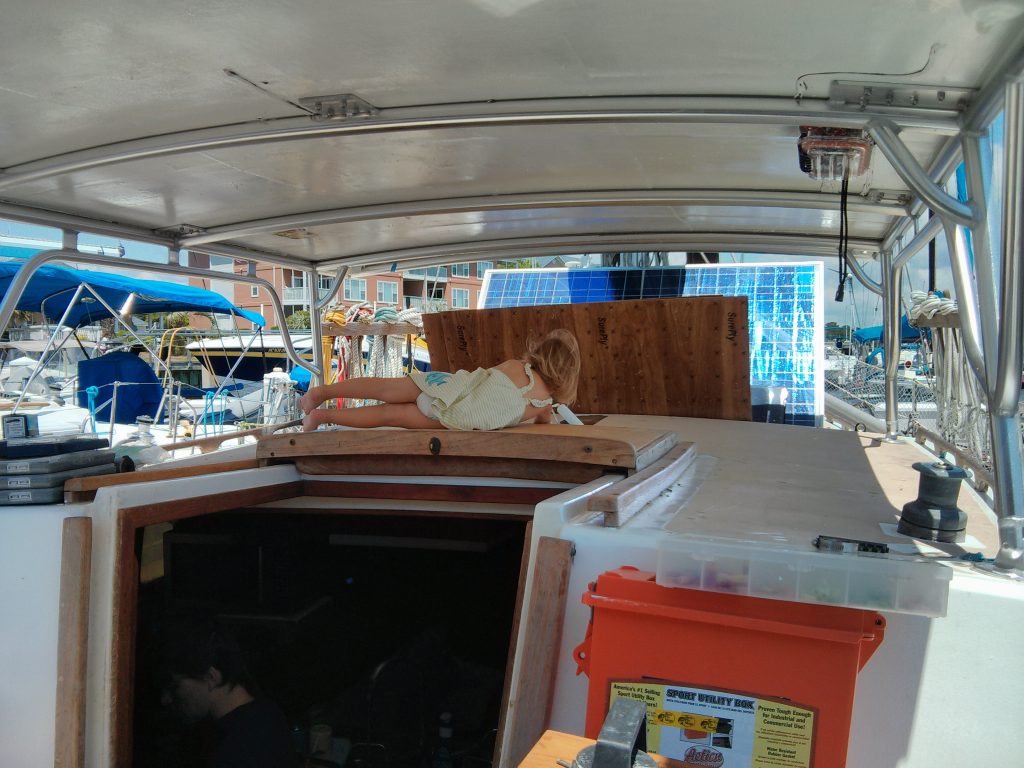
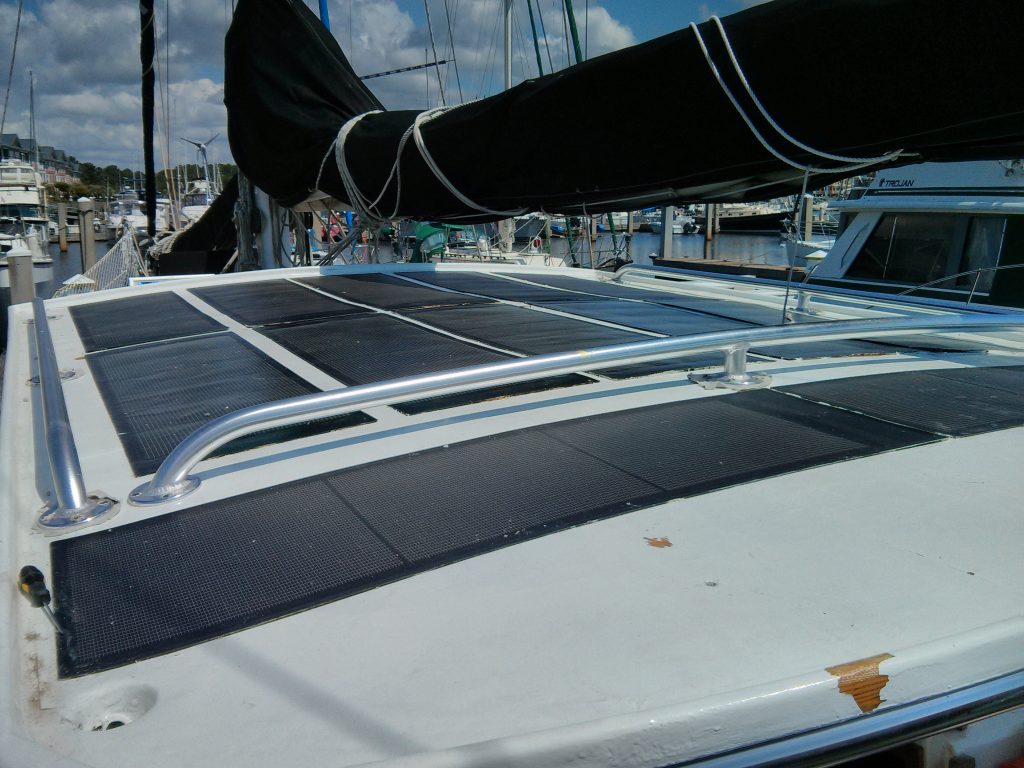
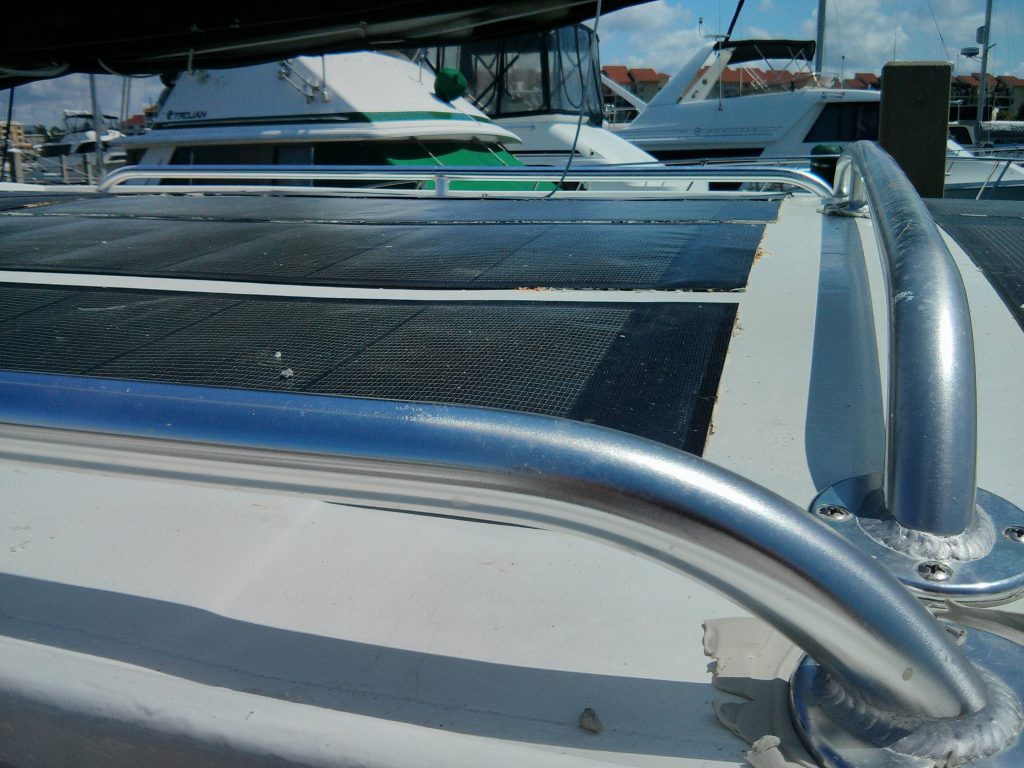
Scott aboard s/v Valkyr needed more solar power to run his A/C (he is in Florida). And shade is also a very nice thing... So he took on the project of making a hard dodger to support all those new solar panels. This is not strictly a small boat project, but shows some excellent construction techniques. Enjoy!
So I thought I had posted pictures of Valkyr’s hard dodger long ago but it seems that I didn’t. These are not the best formatted pictures but should help to give an idea of what I did.
Labels:
carpentry,
cockpit,
deck,
s/v Valkyr,
solar
Subscribe to:
Posts (Atom)


