Tuesday, April 30, 2013

Boom gallows

Out on s/v Janna Petr and Jana tackle a project that probably shouldn't qualify as a small boat project, but it shows what you can do if you set your mind to it: Building a boom gallows.  Read on...
We have a new, large roach mainsail, which significantly overlaps the topping lift and little bit the backstay too. After few trials, playing around with topping lift and pondering our options, we decided that we will make ourselves a boom-gallows. We wanted it for a long time anyway.

We were about to make a dodger, but the gallows idea got in the way and the dodger project was postponed. It didn’t take too long to convince ourselves that we are a tough bunch and that like the many other cruisers before us, also we will cross the oceans without the unsightly roof above the companionway.

20130315-102343.JPG
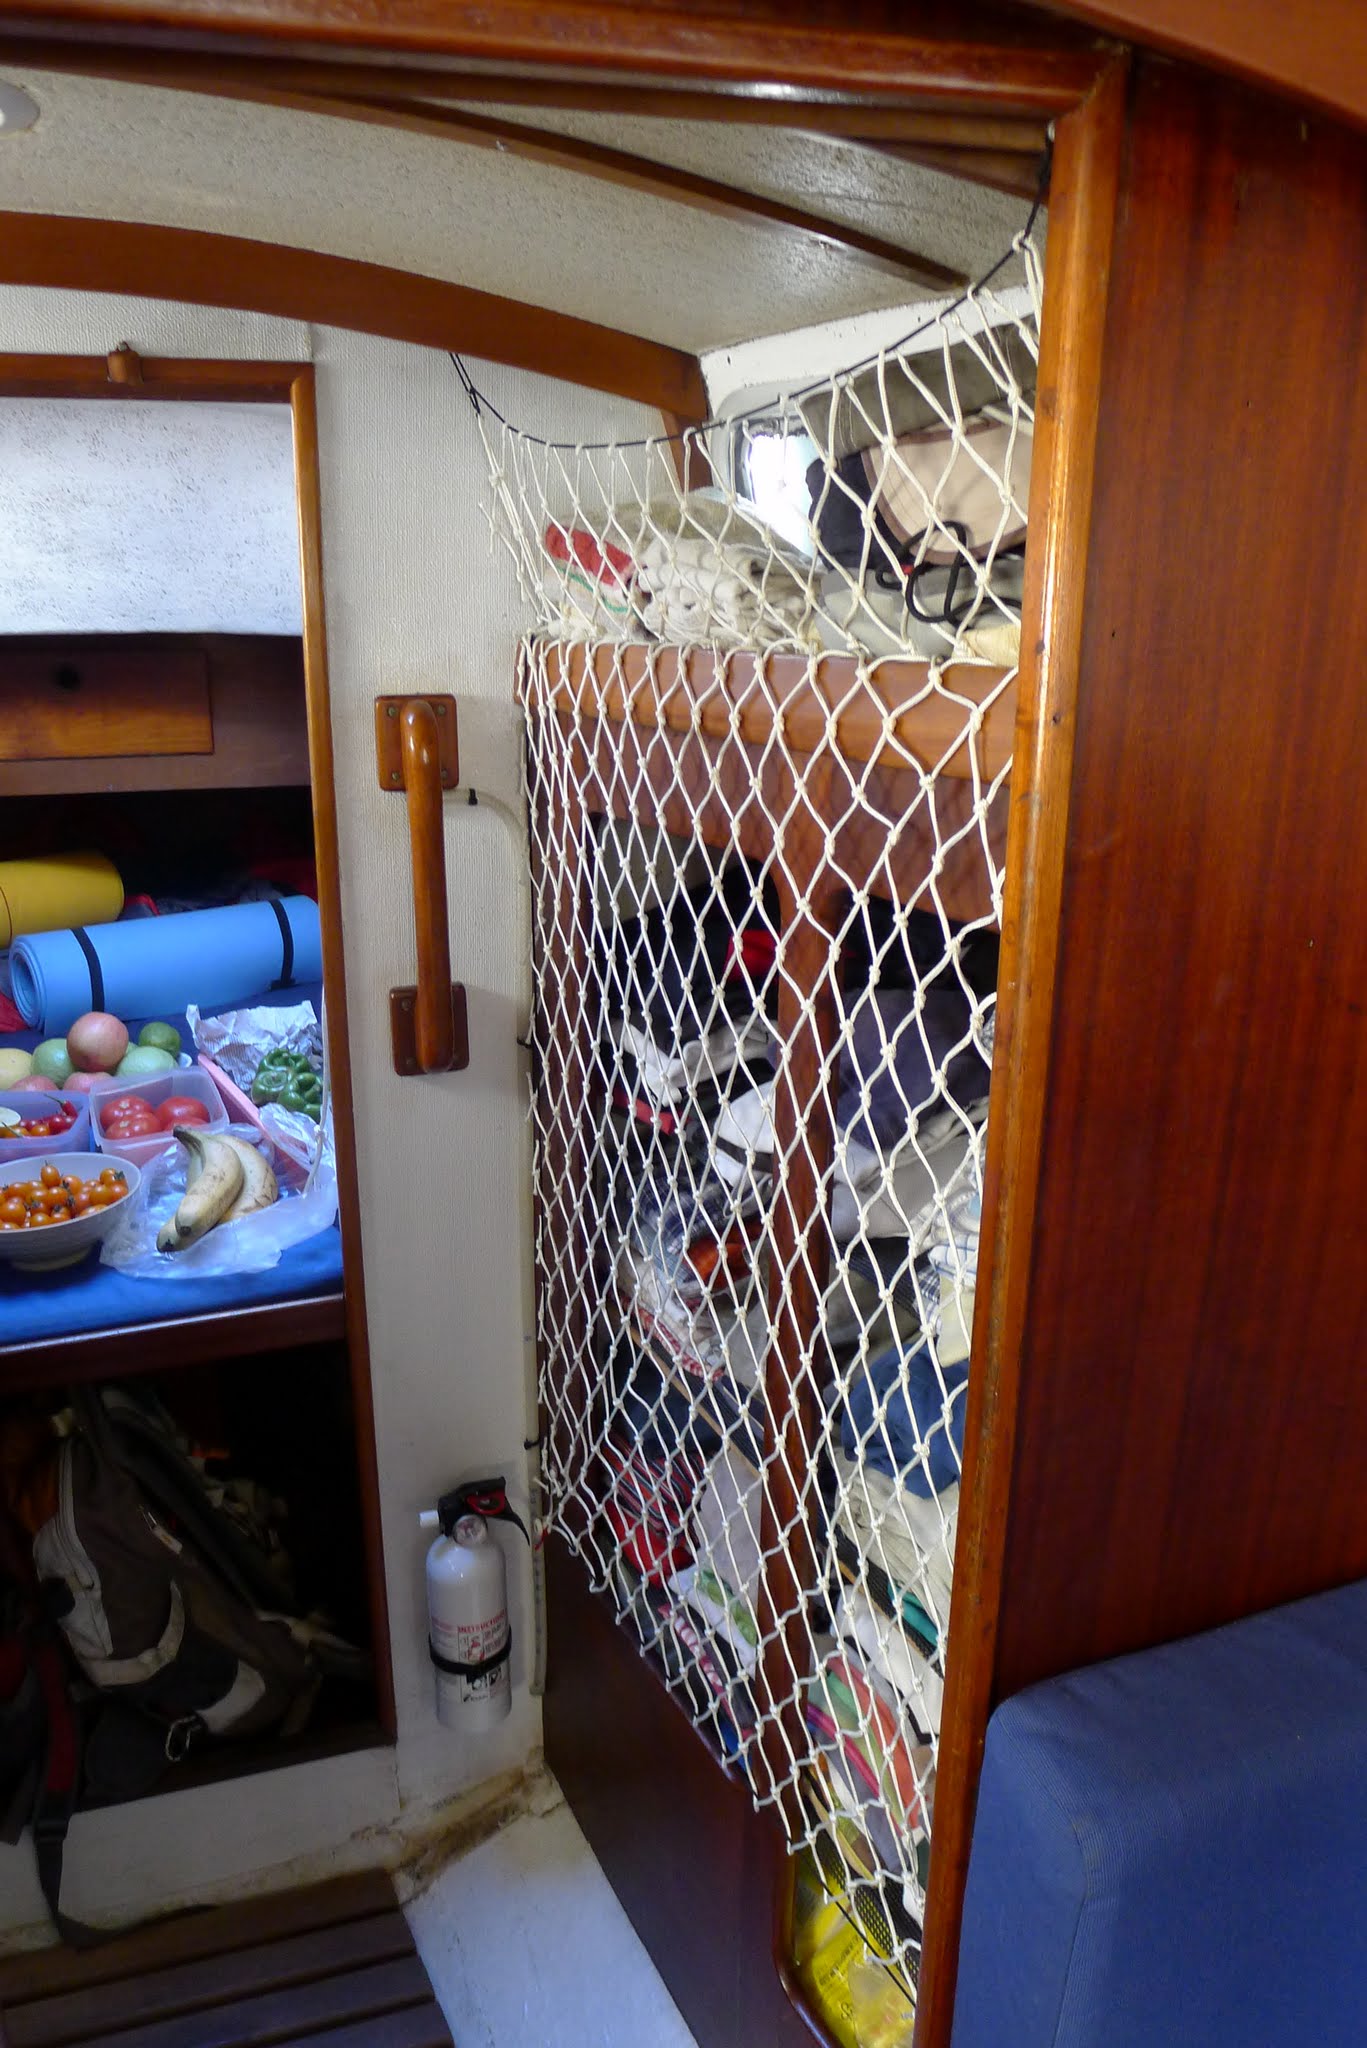
Three hits were enough to make me
put up a signal flag for a day or two
before I learned to use our new space


While at Xingda fishing harbour we tied together both halves of our dinghy mast to the coach roof and put the dinghy boom between them to get some idea about the dimensions our boom-gallows must fit into. Trouble is that there are no right angles and the boat is far from being symmetrical. After an hour or so of jumping around with a tape measure and a protractor, we came up with a simple design, that we passed onto our SS man (as in stainless-steel), with whom we discussed couple of details.

When we got the supports and the teak timber, we were just in the middle of making a new non-skid on our deck.

When the day came, I was nervous. Drawing up the design was one thing, but now we actually needed to drill the boat and mount that thing so that it looks straight.
First of all, I have realized that the angle of the cockpit wall on starboard and port are about two degrees off. I did measure twice, what twice, I measure five times, but only on one side… Well, it won’t be as straight as intended.

In the end it turned out quite well. Only the forks that hold the teak timber are visually slightly off – yes they were supposed to be horizontal, but life ain’t always fair either, right?

Now it’s all done and I have even passed the initiation by thumping my head to the gallows couple of times when entering the companionway. Jana’s shorter so instead of the gallows themselves, she bumps her head into the boom on the side of the cockpit. But she has learned her ways now as well and we are both happy.

The handholds that the gallows provide are just marvelous. Boom sits calmly even in the constant waves that passing ferries, fishermen, harbour police and pilot boats create. We have also took our topping lift to the stern, where it goes through a block on the pull-pit and is tied to a cleat on the starboard. It can be easily worked with a sheeting winch and we will use it to hoist the dinghy.

20130314-095538.JPG
Massive drill bit for massive bolts


20130314-135512.JPG
First support at place


20130314-135522.JPG
Cutting a bolt is always better then buying too short


20130314-142706.JPG
This is what it's gonna look like


20130314-160458.JPG
Cutting the notches for the boom


20130314-162150.JPG


20130314-162158.JPG


20130314-171544.JPG
Cutting the notches for the boom


20130314-181700.JPG


20130314-182132.JPG

Thursday, April 25, 2013

Don’t drop that nut!

Over on s/v Zero to Cruising, Mike has a new take on an old mechanic's trick - how to keep a fastener attached (temporarily!) to a tool for one-handed use...
Yesterday we had plans to make a quick run in to Basseterre, the main city here, to stock up on groceries. Alas, quick was not meant to be. When I went to fire up the engines prior to raising anchor, I found that our port engine was on vacation. Sigh. A fair amount of troubleshooting went on following that discovery. Perhaps I’ll write about that later. What I will say is that, at one point, I removed the carburetor and the most difficult part of that job was trying to get the two main nuts back onto the bolts when I went to reinstall it. I really didn’t want to drop the nuts in the water. Seriously!

4-stroke carbs are definitely more complicated
than 2-stroke carbs!

After a few tense moments fiddling with the nuts, trying to squeeze my fingers into a space too small for them to fit, I remembered a tip that our friend Kirk shared with me, illustrated in the following pics. Of course, when he described the trick, he suggested using grease. As I didn’t have any immediately handy yesterday, I improvised with toothpaste. Guess what? It worked perfectly! I would recommend that, if you decide to use toothpaste too, you wash all of it off your tools and parts when you’re done. I have no idea what the long term effect of toothpaste is on metals.


Tuesday, April 23, 2013

Sewing new bug screens for hatches

Aboard s/v C'est la Vie, Jeff and Anne regard sewing as a "purple" job.  Today, it's Jeff's turn...

Our existing hatch screens, made by Anne over 7 years ago, grew threadbare.  So now it is my turn to sew the hatch screens.

With all the Outward Bound Staff departed we utilize the large spaces in the Sunset Island Lodge as work areas

The west end of the dining room converted to sewing loft.

Having ample space to lay out projects is incredibly helpful.  For this endeavor a portion of the dining room became the sewing loft and the salon floor a space to draft out patterns.

I utilized plastic sheeting for the pattern material.   Patterns represent the "no-see-um" screen portions of the hatch covers.  Due to it's light weight I find the screen difficult to work with so patterns assist with the layout and cutting.

Basic geometry - a framing square,
straight edges, a 3' piece of string,
and a tape measure were used to
create the patterns.    

Fortunately C'est la Vie's two hatches are square.  The center hatch frame measures 22" x 22".  To leave ample room for operating the hatch, I created the pattern based on a 24" square.  The forward hatch measured 20" x 20" thus I used 22" for the pattern.

Each hatch screen consists of two panels of "no-see-um" material.  The curved section wraps around to form the sides and back of the cover.  The rectangular  section follows the arc of the leading edge of the hatch as it moves from a close to open position.

Two patterns - the upper two panels
are for the smaller forward hatch. 
The larger patterns in the foreground
are for the  center hatch.

I use two sided tape to join and test the patterns.  Satisfied with the fit, the patterns are laid atop the screen and weighted down to hold the pattern and fabric stationary and wrinkle free while cutting.

Ready to cut the screen.   Battens, straight edges,
and a square are used to hold the fabric & 
pattern stationary while cutting.

Attempting to cut clean edges on the screen is futile.  I hide all the edges of the screen in the finish product.

For joining the screen sections prior to sewing, I use two sided basting tape (I gave up on pins a long time ago.)

Joining the two screen sections with basting tape.

The screen material is too flimsy to securely hold stitches.  My solution is to use 1" nylon webbing as binding tape on the screen to screen seams. This method has the added benefit of hiding those rough edges on the screen.

Finally time to begin sewing.

We own a Sailrite LZ-1 and purchased a 1" binding tape attachment along with the machine.  This attachment is a must have in my opinion. Similar attachments are available for most machines.

To more easily differentiate between to hatch screens, I used yellow binding tape on the center hatch and blue tape on the forward hatch.

Filling tubular webbing with lead cast net weights.

Tubular webbing filled with lead cast net weights serves as the ballast in base of the hatch screen. The lower edge of the screen and the weighted webbing are hidden inside a Sunbrella base.

The long sunbrella base sections.  

Since the sunbrella is a heavy fabric and the base sections are simple in shape, I did not create patterns for these pieces.

Sewing the base proved more complex than I originally speculated. Initially the two sections of the sunbrella base were sewn onto each side of the screen (i.e. interior & exterior.)   Next I tacked one end of the weighted tube onto the sunbrella base.  Finally I joined the two bottom edges of the base.

Test fitting the final product.

Can't say I'm eager for a buggy night at anchor, but at least we are a bit more prepared.

More images from this project are available in the Hatch Screens - Spring 2013 photo album.

Thursday, April 18, 2013

Mind that windlass handle!

s/v Siempre Sabado has a manual windlass.  Keeping the handle to that windlass handy to the windlass and yet still keeping it aboard would seem to be conflicting goals.  Steve and Lulu show that they can both be met:
When we first got our boat, there was a mystery piece of canvas onboard.  It was about 2′ long,  only about 2″ wide, open at one end, and with a pair of sort of flanges along one of the long sides with snaps so the two flanges would snap together.  It was anyone’s guess what the heck this thing was.  We looked at all kinds of stuff on board to see if we could figure out what it was for.  The only thing that fit into it was the removable windlass handle.  But canvas covers on boats are usually to protect something from UV degradation, not something the galvanized steel handle was likely to suffer from.  So what was it for?

One day, I got the bright idea to try snapping the flange around a lifeline up forward and using the thing as a sort of horizontal holster for the windlass handle.  Well, it was a perfect fit.  I’m still not sure if that’s what it was originally intended for but if it wasn’t, it should have been.  Keeps the handle off the deck and out of danger of being kicked or washed overboard.

unsafe stowage
That’s the handle sitting between the teak deck
and the bulwark, the thing with the black hand grip.

The main problem with the “holster” was the snaps.  Even when they’re made for marine use, snaps eventually get corroded to the place that they no longer come apart, or, if apart, will not snap back together.  And, sure enough, that’s what happened.  At least I assume that’s what happened.  For some reason or another, we removed the holster some time ago and I can no longer remember for sure why or where the heck it is.  Since then, the rope tether that was on the windlass handle chafed through and for a long time now, the handle has just been riding loose on the foredeck.  And, although we’ve never had a problem, once you see the potential for a problem, if you don’t fix it, you’ll be kicking yourself mightily when the problem eventually happens.  I’ve always meant to have a second handle made but, so far, never have so I’d better take care of the one I have.

Lulu put a bunch of Sunbrella scraps together and sewed up a holster during our trip from Santispac to Punta Chivato last week.  Today, I installed the grommets and hung it from the lifelines.  I need to come up with a prettier way to attach it than with the “clothes stops” that I’m using now, but they’ll work until I come up with something better.

safe stowage


I also rigged up a tether so, even if I were to get all fumbly-fingered, the handle should stay attached to the boat.  The handle stows all the way in the holster and can be removed just by pulling on the tether.

handle holster


The tether is long enough allow the handle to be used while still attached to the lifelines.

handle safely tethered


I think I’ll still get another handle made anyway,  just in case.
(And those are some nice examples of marlinespike seamanship out there on the end of the bowsprit in that last picture!  Is that ocean plait?)

Tuesday, April 16, 2013

Adding NMEA GPS Location to a VHF Radio

Over on s/v Astrea, Nate introduces his VHF to his GPS...
It all started when I turned on the Furuno RDP-149 NavNet VX2 chartplotter and Icom 504 VHF radio for the first time. I noticed the radio said “No Position No Time” and it was right next to the chartplotter that gets its position and time from its GPS antenna. I want our location to be inputted in to VHF radio so if I need to press the distress button an automatic call can go out to the Coast Guard and our position will be automatically transmitted. It’s also nice that our position will be displayed on the radio so it’s easy to tell buddy boats where we are, or for a less emergent situation like a Securite or Pan Pan call.

So, a little about making the right connections. There’s a protocol called NMEA that allows maritime electronics to communicate. All you have to do is figure out how to set up and connect the equipment and it should work. I read the manuals and did a quick internet search and found that it’s easy to connect my radio and chartplotter together using two wires so the chartplotter can feed the radio time and position data.

I downloaded the chartplotter manual and VHF manual from the manufacturer’s websites.

Icom M504 radio NMEA wiring from the online manual

Wiring data for the Furuno Chartplotter
Wiring data for the Furuno Chartplotter NMEA connection on Data 4

NMEA works like a momma bird and a baby bird (feeding data instead of regurgitated worms). For my setup the momma bird is the chartplotter feeding (transmitting) data to the VHF radio which eats (receives) the data. I used the chartplotter’s TD_DT connection on pin1 of the Data4 jack to transmit the data to the inner conductor of the NMEA IN lead on the VHF. The only tricky part was fining out what “NMEA IN (-)” on the VHF should be connected to on the chartplotter. I guessed that it should connect to the SHIELD/GND and it worked. As soon as I touched the wires the GPS position and time were instantly transmitted to the radio!

Testing the setup from the chartplotter

Testing the setup with twisted leads

Now there's location showing up on the radio display
Now there’s location showing up on the radio display!

I soldered the connections and put heat shrink on my custom wiring to make it professional. The leads are secure in the back of the chartplotter so I won’t buy the $65 Furuno cable. If this installation was outside or in a splash zone I’d buy the waterproof Furuno cable, but it’s far enough under the companionway I’m not concerned about water intrusion.

The connection on the back of the radio all covered up
The connection on the back of the
radio all covered up and ready for daily use

After reading more in the Icom manual now I want to connect an AIS to provide ship position information on the chartplotter. All in all the project took me an evening on the boat after Sully went to sleep.
[Editor's note: See also this guide to NMEA wiring published by Paul over on Boat Projects, especially if you have both NMEA 2000 and NMEA 0183 devices.]

Thursday, April 11, 2013

You have got to be kidding

Does your boat have solid tubing all the way from the bow to the stern? Then perhaps this post is not for you.  But if instead you have actual lifelines, then you need to hear what Mike & Rebecca on s/v Zero to Cruising have to say:
Yesterday, Rebecca and I were walking the beach and as we navigated along the sometimes slippery rocks, we kept our eyes open for any bits of treasure that may have washed up on shore. The other day we found a good fishing Yo Yo (hand real) while yesterday, I spied a bright pink clothes pin (clothes peg). I mean no offense to anyone who might have purchased such an item but at 4 for $14.99, I think these seriously belong in the “more money than brains” category.

The pink pin is stupid expensive, not to mention the fact that
it only works on rails and not on lifelines.
 
Clothes pins are one of those items that would-be cruisers sometimes agonize over, assuming they spend too much time on internet forums and not enough time sailing. Rest assured, marine chandleries will be all too happy to trade you your money for marinized versions. We, fortunately, never fell prey to this. We have used several dollar store varieties over the last few years and have come to find that the basic wooden version that your Mom used to use fit the bill just perfectly. They are cheap, they don’t fail due to UV exposure like their plastic cousins do and, they’re cheap. Did I mention that already? Of course, they aren’t quite as pretty as the 4 for 15 buck variety so, if that’s a concern of yours when displaying your underwear for your boat neighbors to inspect, you might want to try the big buck versions instead.

Tuesday, April 9, 2013

High Tech Towels

Scott on s/v Valkier recommends these hi-tech towels:
We were having space storage issues with our regular towels as well as them staying damp forever.  I did a lot of reading of reviews on a lot of brands of the new high tech towels and finally came down to the Discovery Trecking brand.  They were very expensive and the only reason we ended up getting them was a gift card we got.  We bought 5 of them and it is all we have used now for the last 6 months or more.   We purchased the largest size they had and it is huge. I probably would have tried the next size down if I had known how huge these are.  Remember I’m saying that as a 6’2″guy.  In retrospect I would now spend my own hard earned money for them.

The Good
  • 5 of these take the same amount of storage space as one of our cotton towels did.
  • Even as big as these towels are you can fold/roll one up small enough to stick in a pocket.
  • These towels are also the silver treated anti-microbial kind that don’t grow mildew.
  • We just wash and dry them with the rest of the cloths and they seem to take it just fine.
  • Using them is a bit different than a normal towel.  They sort of stick to your skin as your trying to wipe yourself off and end up kind of just rolling over your skin.  You get used to it and I think it works as well if not better than normal.  It’s kinda freaky amazing how dry they will get you with just a single swipe.  If you give three or four really good rubs to your head it leaves your hair very dry also. :) assuming you have short hair like me I guess.

The Negative
  • The negative is the cost. They are expensive comparatively. We bought our very nice thick cotton towels from a guy selling them in at a flea market for 2 dollars each. You can get cheap wall mart towels for 4 or 5 dollars. I just hope these last for years seeing we laid out about 130 dollars for all 5 of them.

Conclusion

So far we are very very happy with these towels. They dry us very well, they dry out very fast, they haven’t ever gotten a mucky odor and they take up very little space.  Here is a link to where we bought them on amazon.  Given the free shipping they ended up cheaper from there than anywhere else at the time we bought them.

Discovery Trecking Towels

Thursday, April 4, 2013

Anti-gravitation equipment

Petr and Jana aboard s/v Janna implement a simple solution to keeping things properly stowed:
I’ve spent yesterday fighting the power of gravity, the adverse consequences of the centrifugal force and the malignant inertia.

Few years ago – yes, we are already counting our life with Janna in years, this was autumn 2009 – when we converted the original small wardrobe and wet locker into much more specious wardrobe shelves, we knew right away that we will need something to prevent our precious garments to fall out. It was obvious that they will fall out and they did. Not too often, though. Actually they stood put in many hairy conditions, so we didn’t feel too bad about postponing what should’ve been done much earlier.

P1020637.JPG

When a gale’s-a-blowing and the boat is tossed around by the elements, the last thing you need are your undies all around the cabin sole.

After a short discussion, we decided to go for a net. Simple and efficient and above all cheap! And it doesn’t look too bad either. On the port side opposite to the wardrobe is a space where the toilet used to be and where we tend to throw bulky and light stuff. We put a net there as well. Now it’s an official storage. The net is stretched on a bungee cord.

Our home is yet cozier.

P1020632.JPG

Tuesday, April 2, 2013

Wire strippers

A little while back, Drew posted an article on crimpers.  As usual, any article about tools featuring one I don't have sets me off in a bout of tool envy.  Like as not, it will cause adamant rationalization, and finally result in a trip to a place that sells the tool in question.

Drew's article is no exception.  I have been doing my crimping with a pair of pliers-type crimpers that I bought more than 30 years ago to crimp the 10-gauge 220V power terminals on a submersible well pump that would be installed 100+ feet below the water surface.  Now I'm gonna have to make that trip to the tool store.

But turnabout is fair play.

I noticed in Drew's article that he uses a pair of those stamped sheet metal wire strippers.  Like the pliers-type crimpers, these are OK, but there's a better tool choice:


These things are just wonderful.  They:
  • Strip any common-sized wire
  • Self-adjust to the wire size and insulation thickness
  • Require only one hand for operation (great in tight spaces)
  • Produce repeatable strip lengths

To use is simplicity itself.  First, set the little red stop to produce the strip length you require.  Insert the wire:


Squeeze the handles, and voilà!  The wire is stripped to the desired length without nicking the conductor.


No tool is perfect.  Here are a few caveats to go with this one:
  • I'd say the upper size limit for this is probably 10 gauge wire, maybe 8 gauge if the insulation is thin
  • With very light gauge wire (28 gauge), sometimes one of the conductor strands departs with the stripped insulation
  • If you are stripping nylon-coated wire (TFFN/THHN), you will likely have to strip it once for the nylon coating and once for the insulation.
Now get thee to a tool store!
Related Posts Plugin for WordPress, Blogger...