It all started when I turned on the Furuno RDP-149 NavNet VX2 chartplotter and Icom 504 VHF radio for the first time. I noticed the radio said “No Position No Time” and it was right next to the chartplotter that gets its position and time from its GPS antenna. I want our location to be inputted in to VHF radio so if I need to press the distress button an automatic call can go out to the Coast Guard and our position will be automatically transmitted. It’s also nice that our position will be displayed on the radio so it’s easy to tell buddy boats where we are, or for a less emergent situation like a Securite or Pan Pan call.[Editor's note: See also this guide to NMEA wiring published by Paul over on Boat Projects, especially if you have both NMEA 2000 and NMEA 0183 devices.]
So, a little about making the right connections. There’s a protocol called NMEA that allows maritime electronics to communicate. All you have to do is figure out how to set up and connect the equipment and it should work. I read the manuals and did a quick internet search and found that it’s easy to connect my radio and chartplotter together using two wires so the chartplotter can feed the radio time and position data.
I downloaded the chartplotter manual and VHF manual from the manufacturer’s websites.
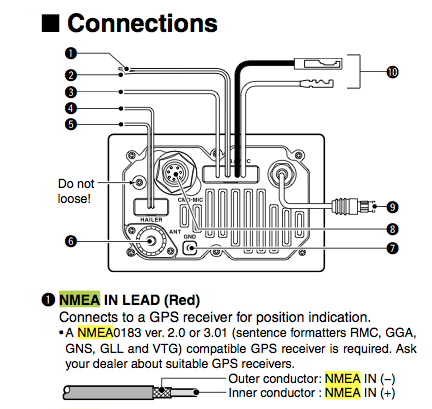
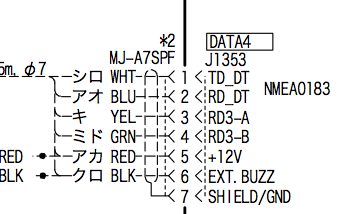
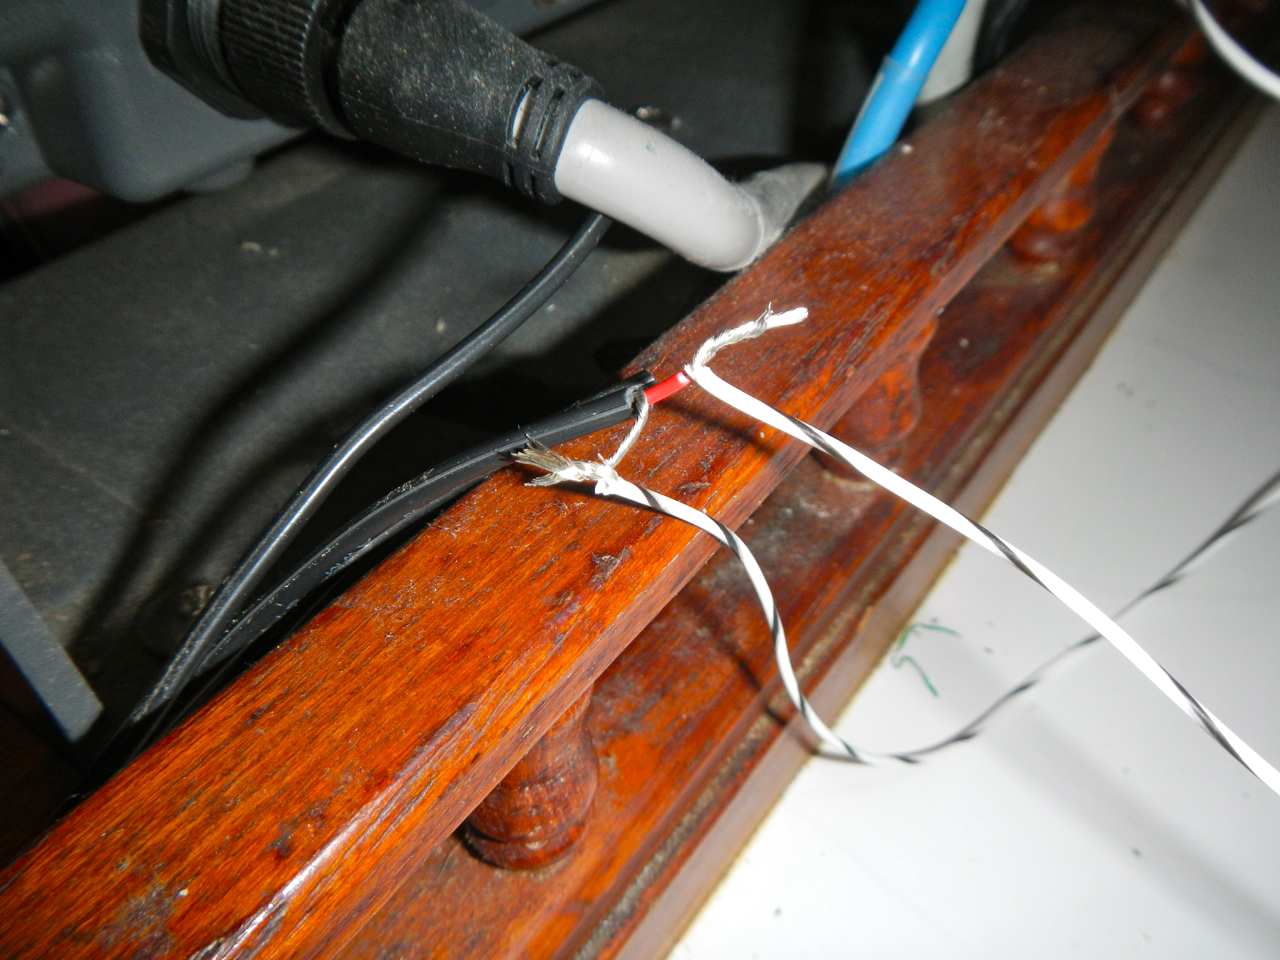
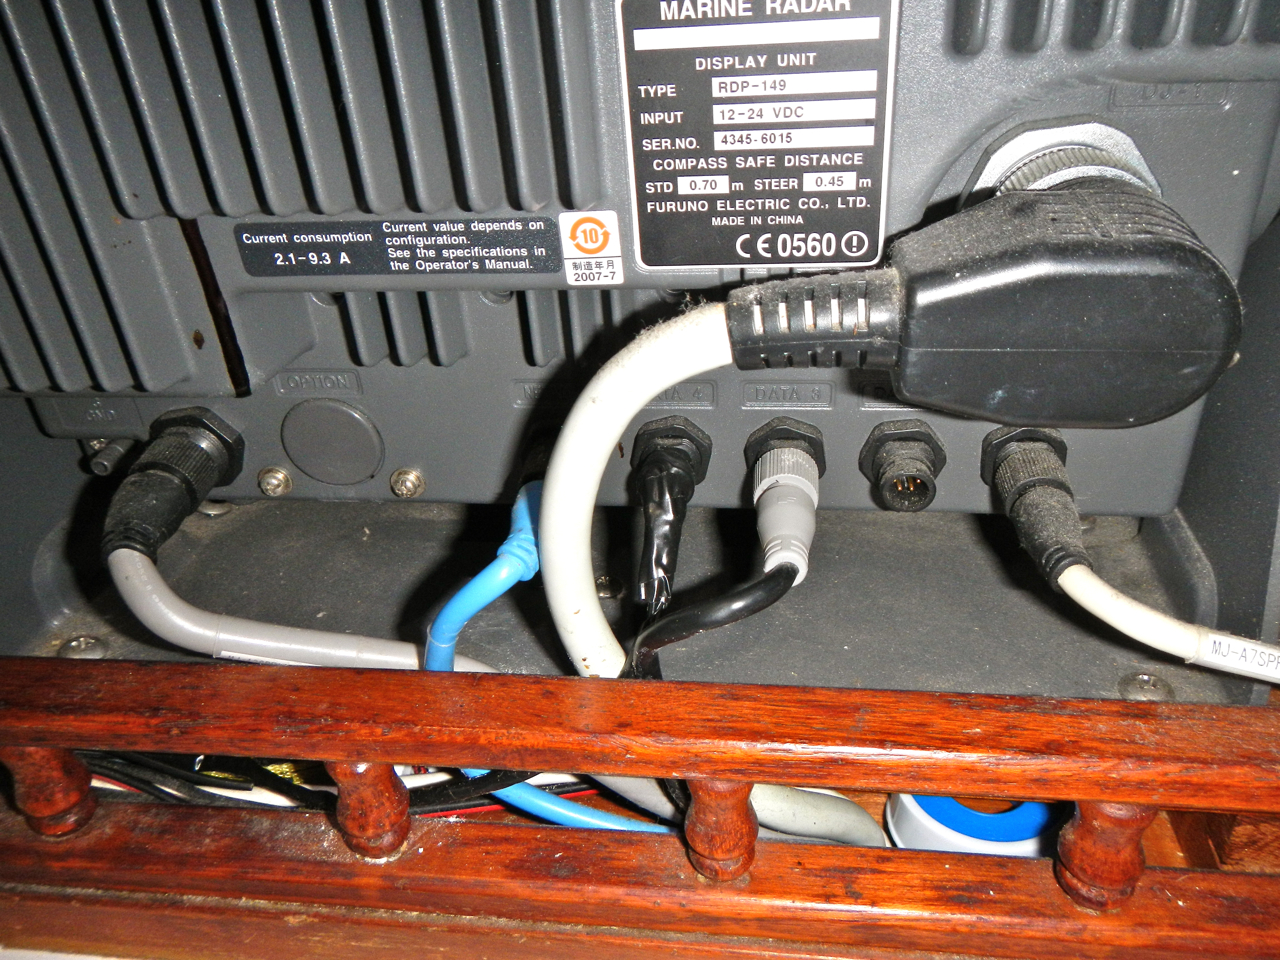
NMEA works like a momma bird and a baby bird (feeding data instead of regurgitated worms). For my setup the momma bird is the chartplotter feeding (transmitting) data to the VHF radio which eats (receives) the data. I used the chartplotter’s TD_DT connection on pin1 of the Data4 jack to transmit the data to the inner conductor of the NMEA IN lead on the VHF. The only tricky part was fining out what “NMEA IN (-)” on the VHF should be connected to on the chartplotter. I guessed that it should connect to the SHIELD/GND and it worked. As soon as I touched the wires the GPS position and time were instantly transmitted to the radio!
I soldered the connections and put heat shrink on my custom wiring to make it professional. The leads are secure in the back of the chartplotter so I won’t buy the $65 Furuno cable. If this installation was outside or in a splash zone I’d buy the waterproof Furuno cable, but it’s far enough under the companionway I’m not concerned about water intrusion.
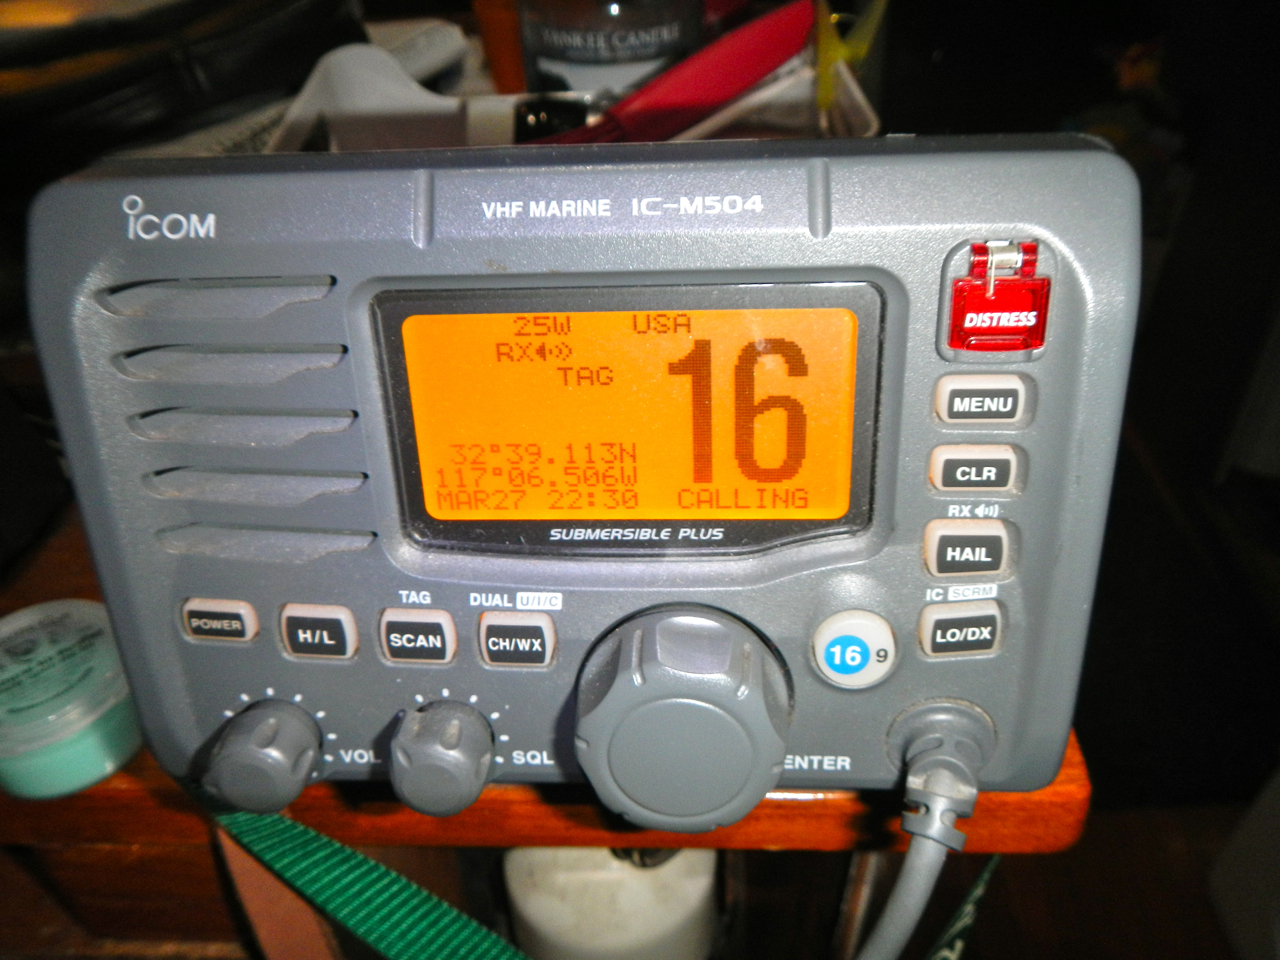
radio all covered up and ready for daily use
After reading more in the Icom manual now I want to connect an AIS to provide ship position information on the chartplotter. All in all the project took me an evening on the boat after Sully went to sleep.
Tuesday, April 16, 2013
Adding NMEA GPS Location to a VHF Radio
Over on s/v Astrea, Nate introduces his VHF to his GPS...

Subscribe to:
Post Comments (Atom)


No comments:
Post a Comment