Hatch boards (AKA 'wash boards') are a pain. They are large and heavy - dangerous potential projectiles in a seaway. Very few boat manufacturers provided storage for them when they are not in use in the companionway. But over on
s/v Cay of Sea, Rick has finished his hatch board storage project - here is one way to address the manufacturer's shortcoming...
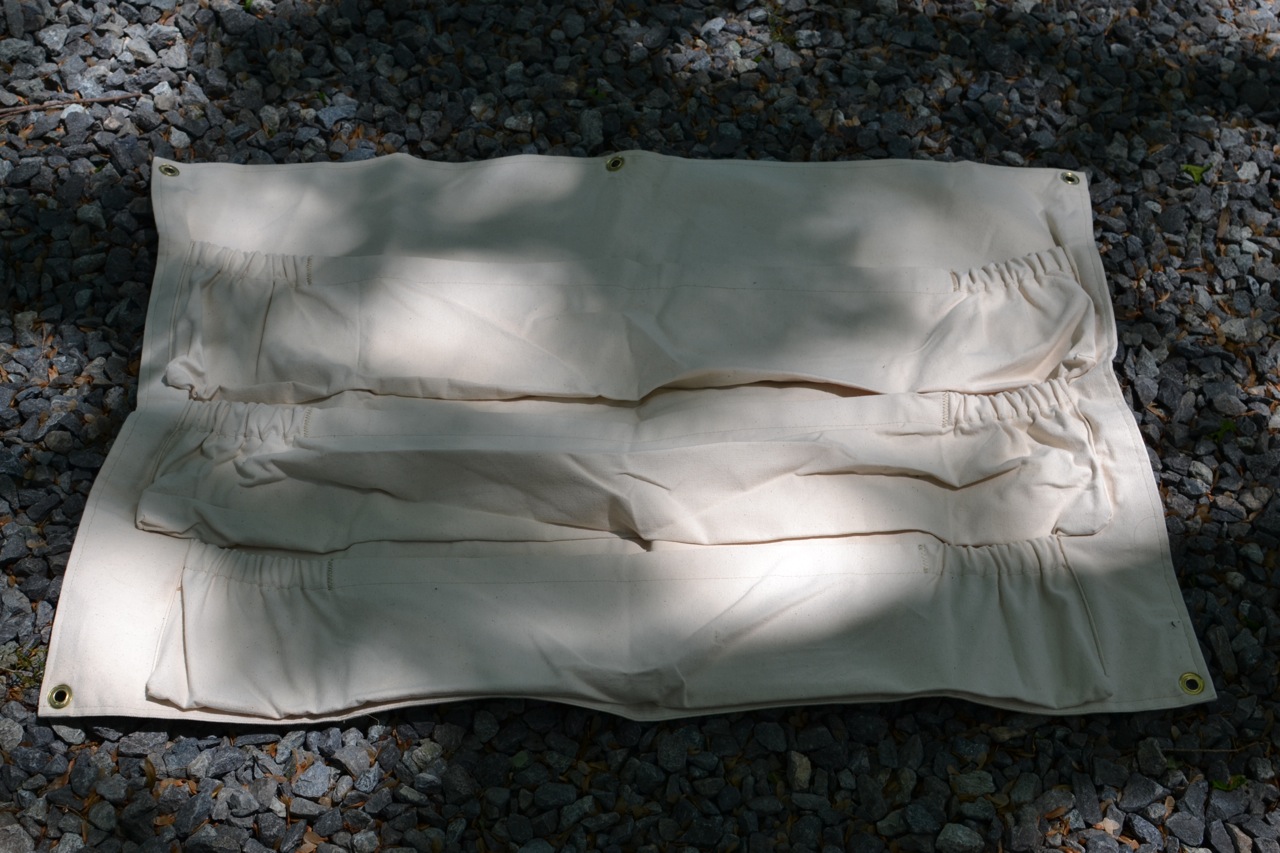
In January I showcased the drop board storage my talented wife sewed and gave me for Christmas. Now five months later, I have finished the installation, and it works perfectly. I am so pleased with how this turned out, and how convenient it has made stowing the boards. They occupy almost no extra room when stowed, are easy to stow, and easy to retrieve.
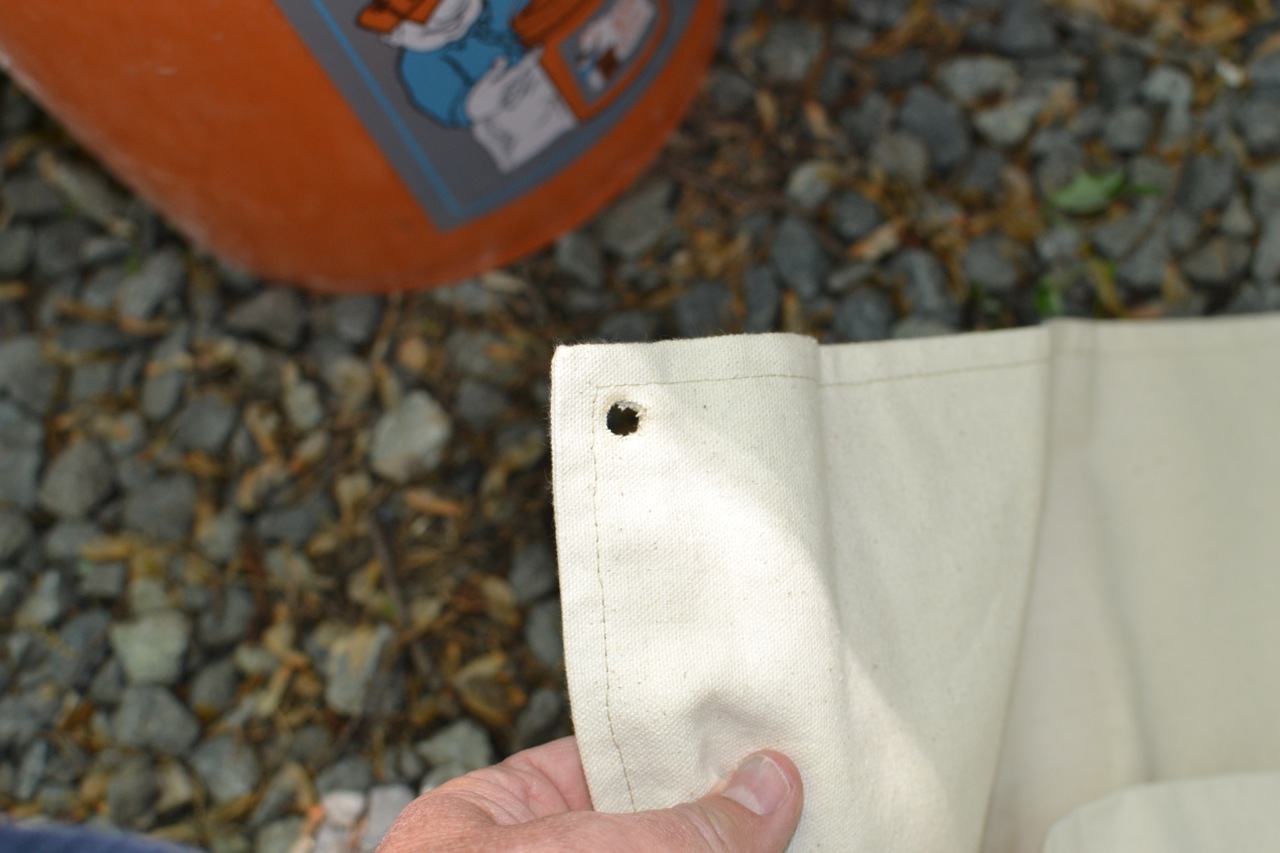
All the sewing and needle work was finished for Christmas, but the pockets still needed a location and mounting system, as I detailed in the previous post. To that end, yesterday I fitted brass grommets (3/8″) to each corner, plus an extra grommet in the top middle to prevent sagging.
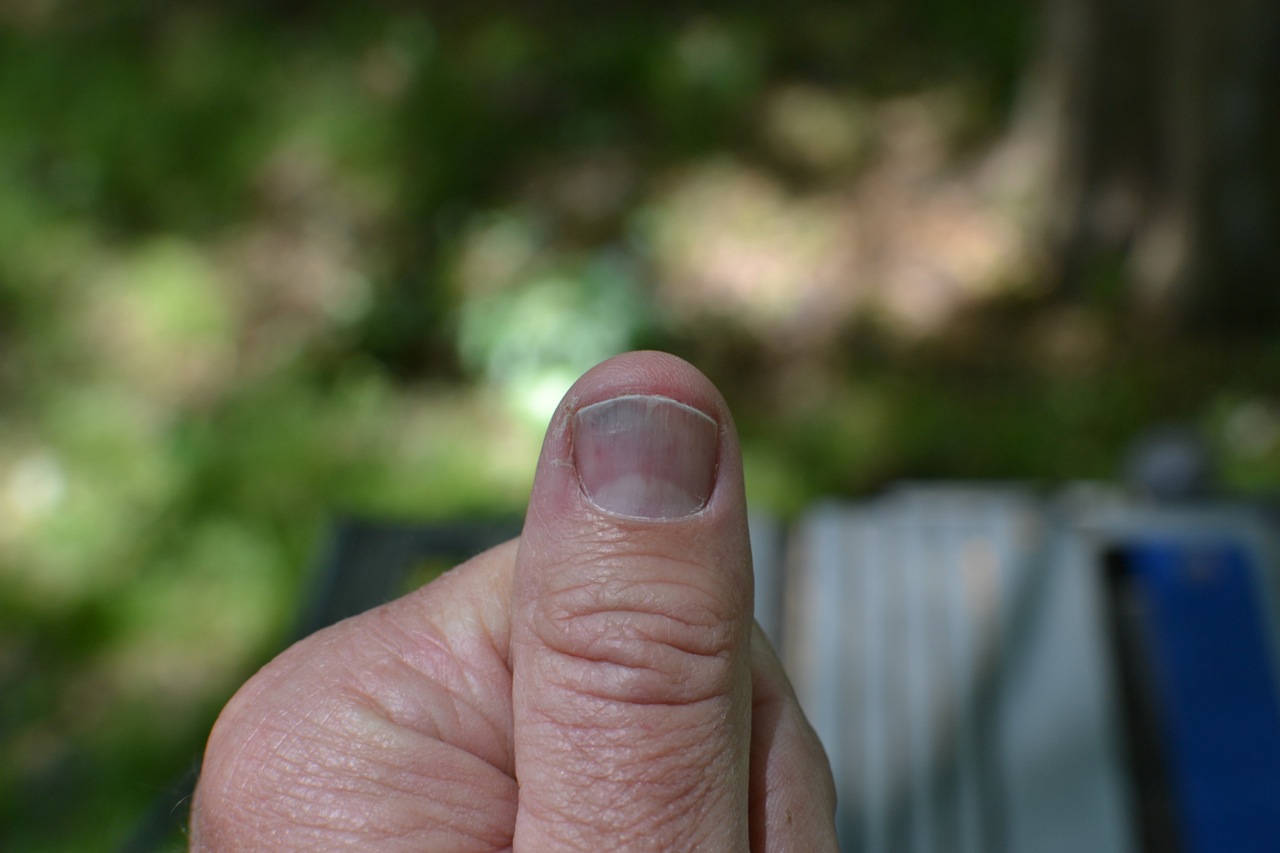
That paragraph makes it sound easy, and truthfully, it wasn’t really difficult. What was difficult was learning that I have to hold the grommet tools in place with vice grips, because it really hurts when, holding the tools between thumb and forefinger, I smash my thumb while using the cutting tool. But on a philosophical note, this little injury has served to remind me that “it’s not a boat project if I don’t experience pain somewhere. . .” The other thing that really hurts about this, is knowing that I’ve done this before. Sigh. . . it’s difficult being me.
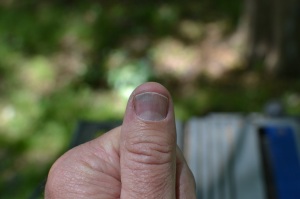 |
Ouch. That really hurt.
|
So how does this work? The grommet kit comes with the two-part grommets, a material cutter, and setting tools, as shown below:
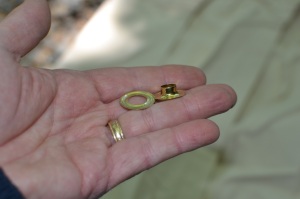 |
| Two-part grommet. |
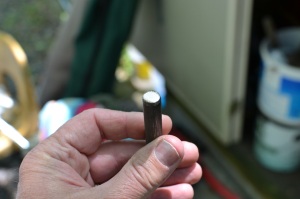 |
| Cutting tool. This end is sharp. |
 |
Base for setting the grommets. The piece with
the flange sets on top of this, flange side up. |
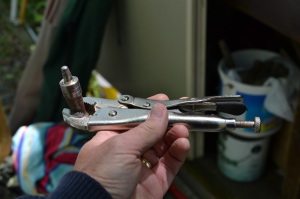 |
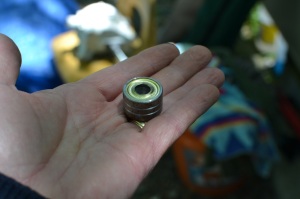
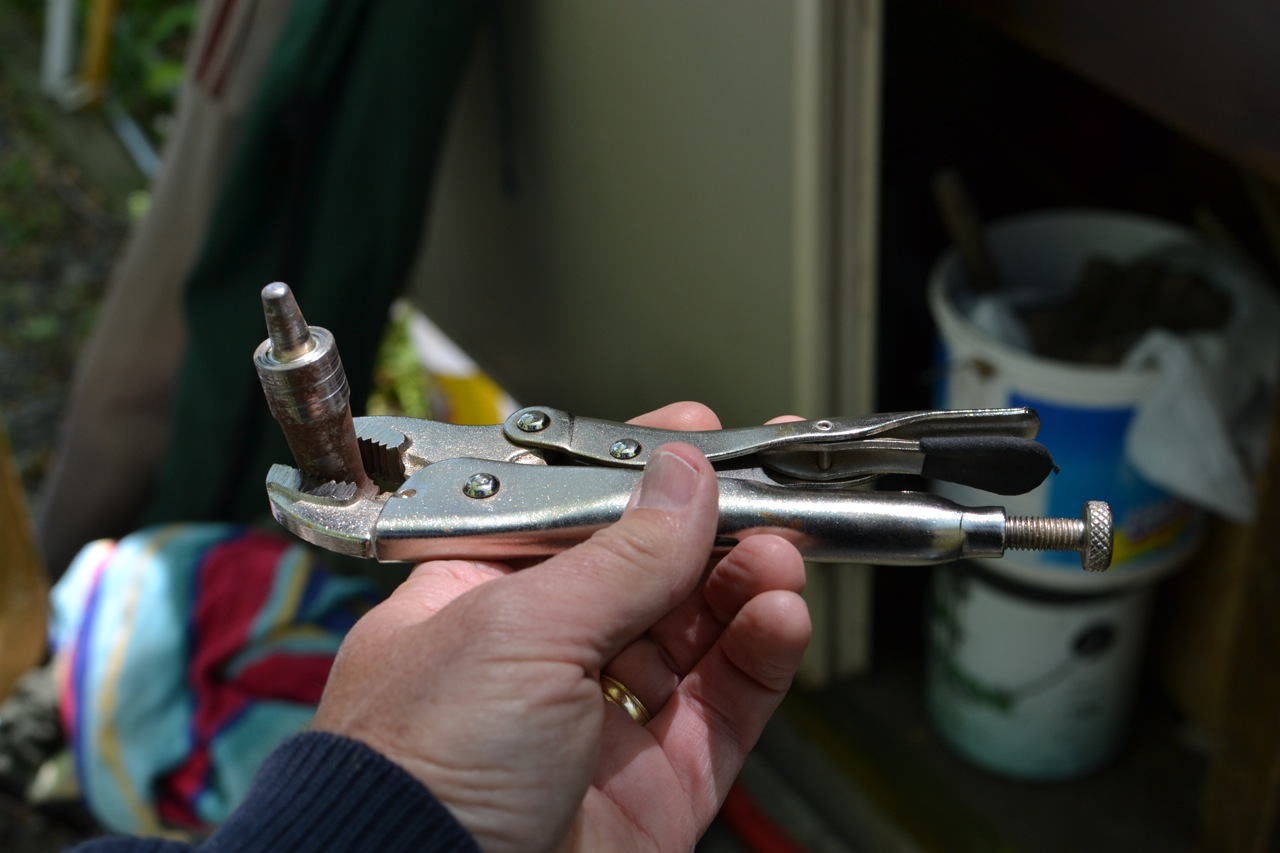
This is the other half of the setting tool. It sets
on top of the grommet collar and is driven
through the material and grommet halves.
The shape of the tool clamps the grommet halves
together. Note that I have clamped it into vice-grips
for safety. |
Using a wood backing board, set the cutter into the area of material where a grommet is desired. The backing board must rest on a surface that has no bounce or give. Then using a hammer, drive the cutting tool through the material (and usually the backing board too) to cut a perfectly round-shaped hole.
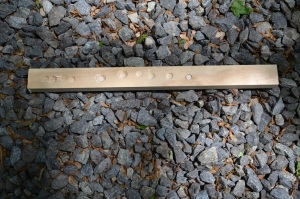 |
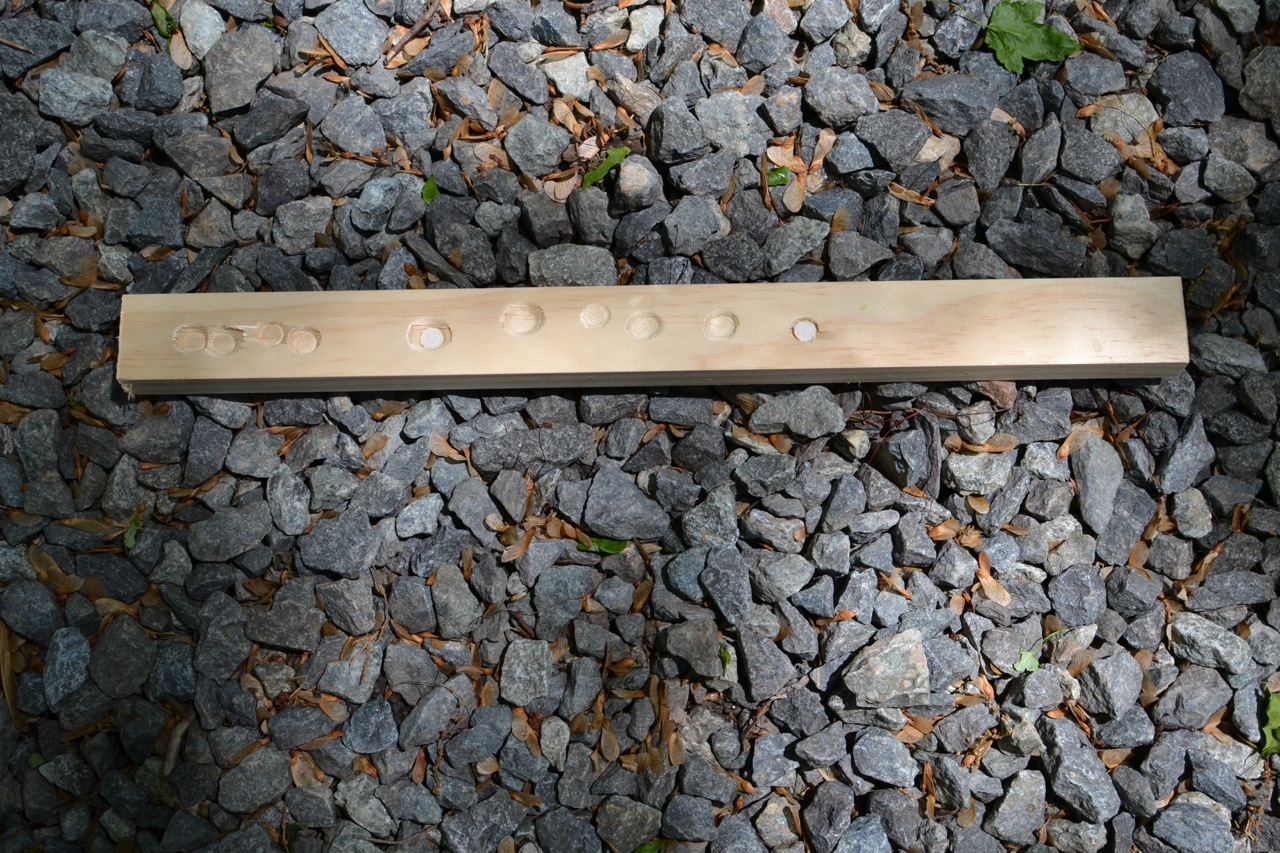
Here’s the backing board I used.
Set the material on it and drive the cutting tool
through the material. Watch out for your fingers! |
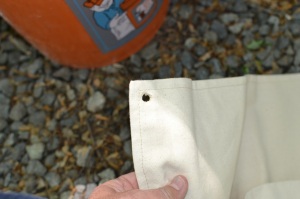 |
Perfectly round hole.
I have done this with knives, scissors, and red-hot
implements, but this thing gives a perfectly shaped
hole each time. |
Now set the base on the solid surface, place the grommet half with the flange on top of the base (flange facing up) and place the recently cut hole over the flange. Now place the ring half of the grommet over the flange (on top of the material). Place the setting tool inside the flange and drive it down with a hammer (again, watch your fingers).
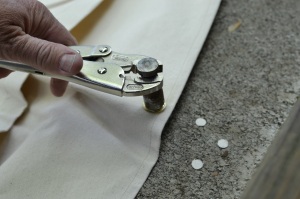 |
Base on bottom; flange half on base; hole over flange;
ring half on top of material (over flange); setting tool
into flange and drive down with 3-5 good whacks.
See the vice-grips? I’m getting smarter.
Pain promotes learning. |
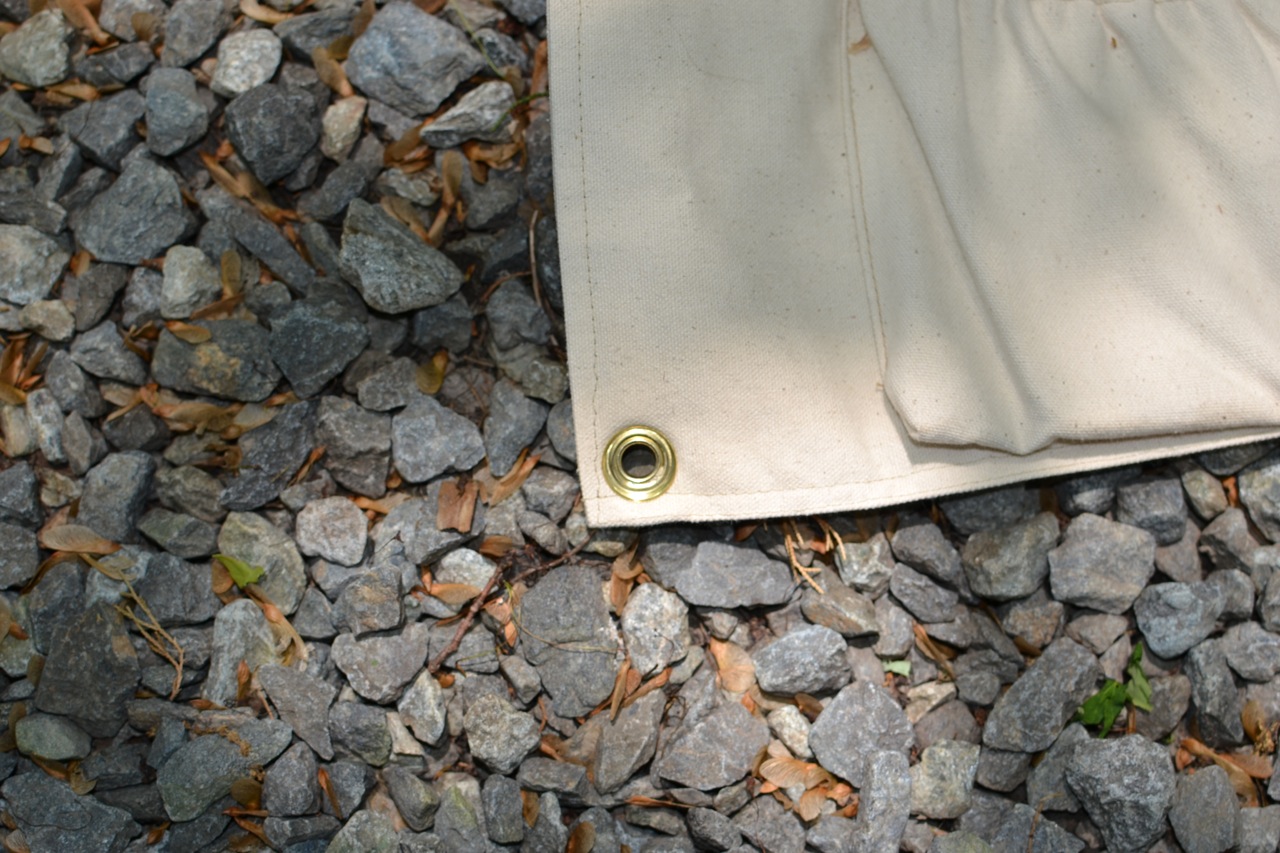
The result is a brass-reinforced hole.
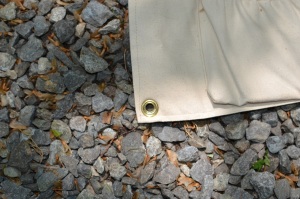 |
This grommet took about 90 seconds to install from
start to finish – not including thumb injury and
time out for ice treatment. |
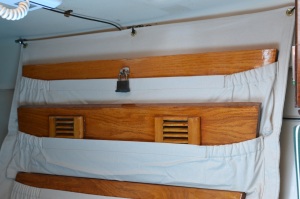
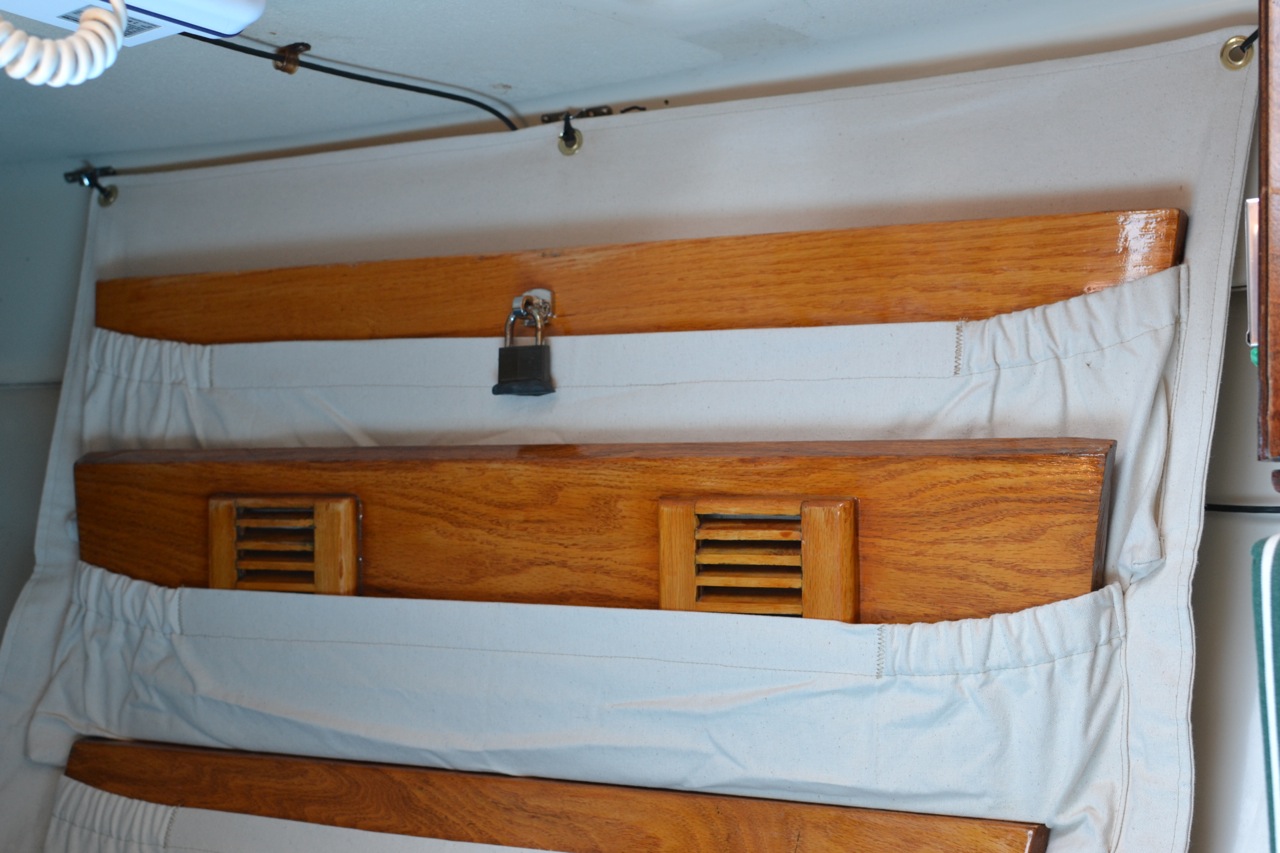
On the boat, I installed strap eyes on the outboard side of the quarter berth: three top, two bottom. I set them to pull the top pretty tight, and attached the pockets with zip ties. This was fast and easily adjustable.
 |
| Sorry about the shadows. |
 |
| Mounted at top. |
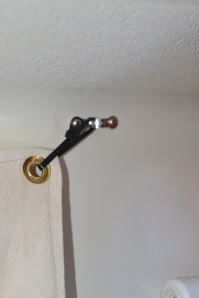 |
| Strap eye and zip tie. |
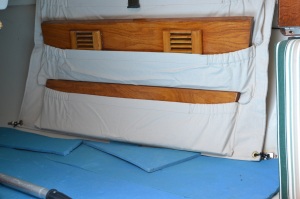 |
Secure at the bottom. On a port tack in choppy
conditions, if not secured, the bottom could
bang around as it fell away from the hull. |
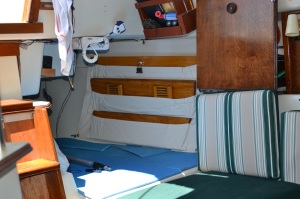 |
Final photo.
This has really un-jumbled the quarter berth and
solved the question of where to put these things. |


No comments:
Post a Comment