Jeff and Anne aboard
s/v Pilgrim are doing some major structural work. A part of that is fitting some repaired and some new bulkheads. Here Jeff demonstrates a time-honored technique for duplicating the curve of the hull on the bulkhead, a technique called "templating":
As part of our refit we are relocating the raw water intake & strainer. Originally the through hull and strainer were located in on the port side under the cockpit locker. We are moving them to the starboard side under the quarterberth deck. We believe the through hull valve and strainer will be more accessible on the starboard side. We are also creating a new mount for the starter battery under the forward end of the quarterberth.
 |
| The original layout of the quaterberth deck and access panel. |
To ensure no salt water from the strainer or through hull ever finds its way to the starter battery we are fabricating a divider in the locker that will be fiber glassed to the hull.
Providing adequate egress to the work area and future relocation of the access panels necessitated removing the forward third of the quarterberth deck.
 |
| Forward third of the quarterberth deck cut away. |
Transferring the location of the divider onto the arc of the hull took some creative measuring techniques. The line drawn on the hull in the image above marks the position we wish to install the divider.
To create a template that matched the curve of the hull I used scrap lumber and hot glue. The process began by clamping a 1X4 horizontally across the deck and in line with the future divider. Then, using 1/8” plywood I glued three vertical strips down to the hull.
 |
| Creating a template using scrap wood, tin snips, hot glue, and clamps. |
Using tin snips to trim the plywood, I created a piece that connected the three vertical strips near the surface on the hull. I then attached on small pieces that contacted the hull at approximately 2 inch increments.
 |
| The small pieces along the bottom make contact with the hull at a single point. |
Once completed I removed the template from Pilgrim and headed over to the shop.
In the shop I transferred the outline of the hot glued template to a piece of 1/8” plywood.
I connected the dots free hand with a marker.
With the outline transferred to the plywood, I used a bandsaw to cut out the template.
The 1/8” template made a couple trips back and forth between the bandsaw and the quaterberth to achieve a good fit.
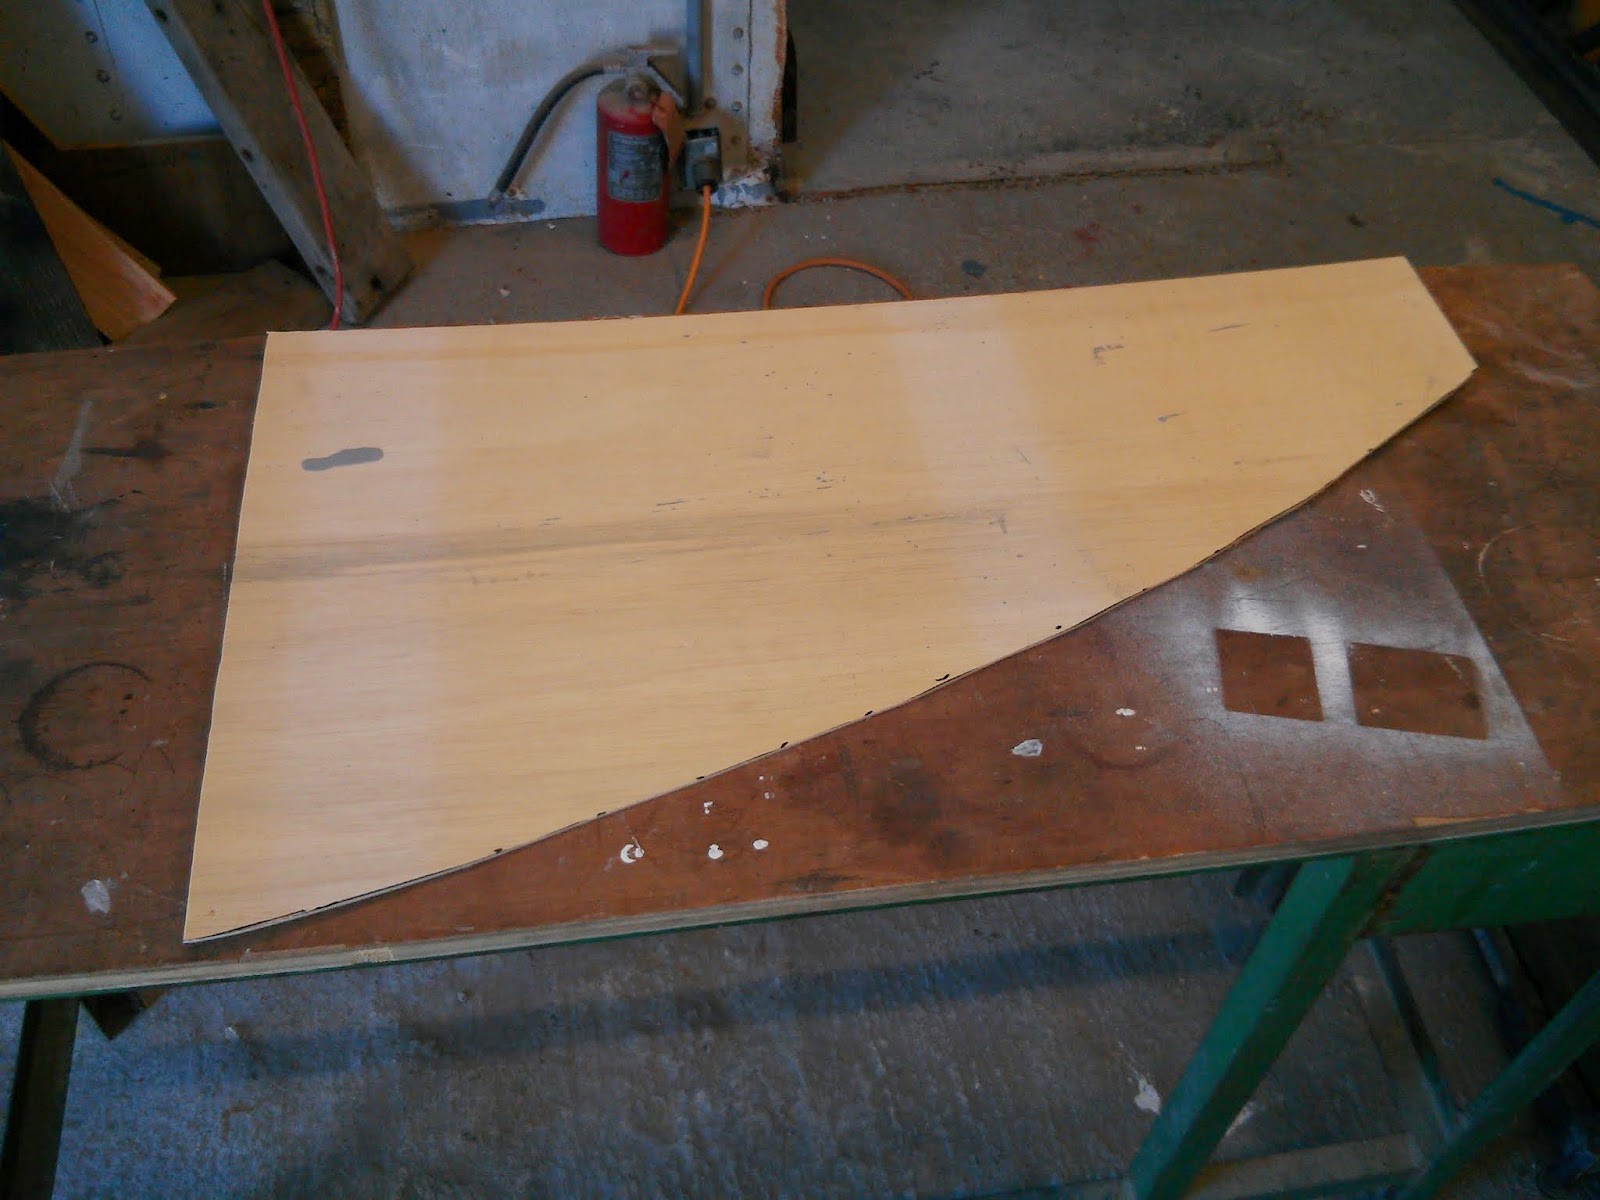
Once pleased with the fit, I transferred the outline of the 1/8” template to the ½” plywood that will serve as the divider.
The final piece fit precisely on the first attempt.
t |
| Test fitting the 1/2" plywood Divider |
The aft (upper in the image above) space will house the raw water intake. The forward space will house the starter battery and serve as storage for a tool box.
 |
| Using 1/8" plywood to experiment with the location of locker dividers. |
Time to create templates for dividing the space up again… tool box on left. battery on right.


No comments:
Post a Comment