Is your non-skid tired? This can be a safety issue. Petr and Jana aboard
s/v Janna face up to it and re-do the non-skid on their decks, and they have some tips for you:
Not much has happened in the last few days, i.e. nothing worth telling a story about. We were concentrated on one thing only (not to mention translating of course): creating a new non-skid deck.
We were little reluctant to get into it, because we knew it will be slow and nasty work. The first phase for sure, because first we had to sand the old non-skid, which on our boat is a molded gelcoat. It’s 39 years old and especially the front deck was almost flat and was turning into a dangerous skating rink when wet.
We are planning to paint the whole boat, step by step, but it was imperative that we do the non-skid before our crossing to the Philippines, because most likely we are up for a bit of wave action. The north of South China Sea is well known for it.
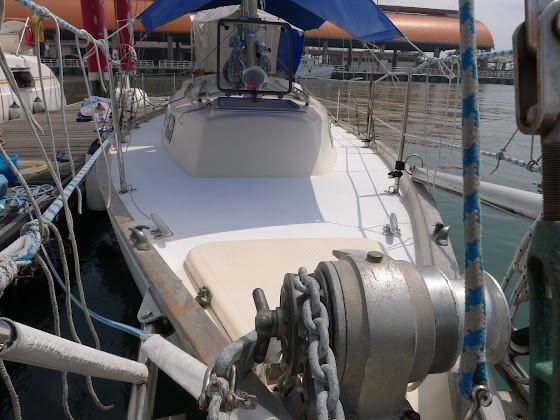 |
| The whole boat will soon be white as a snow |
Sanding the fiberglass is a nasty business, because the fine glass powder gets everywhere and when you get it on your skin it itches like hell. I wrapped myself as well as I could and Jana sealed herself inside the boat and worked on our next translation project.
First thing one has to do is to wash the surface properly, get the dirt and grease off, because experts say that you could work it into the fiberglass when sanding, which would prevent the paint to stick properly.
I spent the morning washing and waiting for the deck to dry. In the afternoon I sanded the non-skid on our deck. Took me about three hours. Not too bad. The next day I went over it again and fixed few spots I missed before.
Then we found out we have a problem. The deck was full of little holes, probably caused by improper wetting of the fiberglass mat when the boat was build. We had to fill these. Not to mention that the International boat painting guide suggests to seal old gelcoat using an epoxy primer, because it could contain microscopic holes which could trap moisture and result into blistering of the paint. We were lucky enough that they had stock of Interprotect in Kaohsiung. In the meantime we have filled the holes with Interfill. Then painted over with two layers of Interprotect and one layer of Perfection Undercoat.
Then the main step. Put on a coat of Perfection topcoat and disperse Intergrip into the wet paint using a sieve. There was naturally quite a wind so that plastic crystals were flying everywhere. Next you let the paint cure and vacuum the deck to get all the Intergrip that didn’t stick to the paint away. Or blow it away. We tried to brush it away too, but that does not work very well.
Finally we put another coat of Perfection and waited for the result. The next day we realized that the texture is actually quite coarse, too much for our delicate bums. Thus we put on another coat, which made it little better.
Few points for those that decide to follow the same path:
- Surface preparation is important. Interprotect will fill some tiny holes, but not very well. We tried to fill the holes that we missed when filling with Interfill as much as possible, but the hole usually remains visible. Next coat of Interprotect helps a bit and so does Prefection Undercoat.
- Intergrip is quite fine, you need a fine sive or it will just fall through. Also the crystals sometimes stick together creating much coarser “stones”. Had we realized that soon enough, we would have sieve them first. These are no good on the deck.
- Intergrip has to be spread very evenly and the cover should be a little thick, otherwise you’ll be left with spots where the Intergrip is sparse, which doesn’t look too great. We were worried that we don’t have enough Intergrip in the beginning and thus our deck does not have a very even texture. But it does not slip at all.
- Intergrip should be distributed as soon as possible, the paint dries quite quickly and then it doesn’t stick that well. We had about 25 degrees and we had to move fast.
- We used foam rollers which didn’t last very long. Regular hair roller worked quite well. But for topsides we will probably stick to foam.
- We also tried to mix the Intergrip into the paint and roll the result. It’s not very easy to work with it, but it’s possible to achieve quite good texture. Sieve is much better, even though it’s messy.
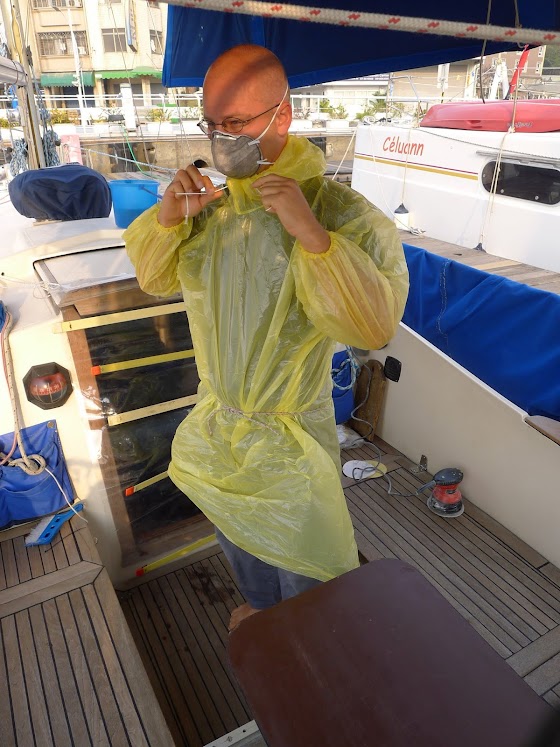 |
| Getting ready for the itchy job |
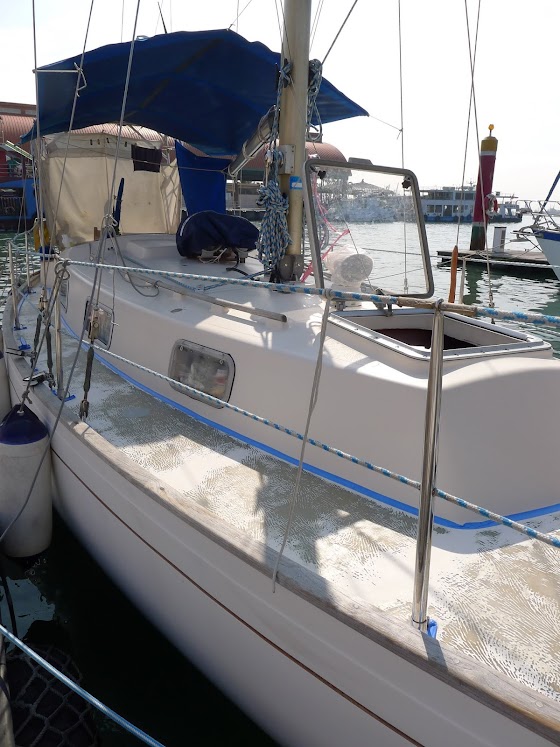 |
| Deck sanded flat down to fiberglass and gelcoat |
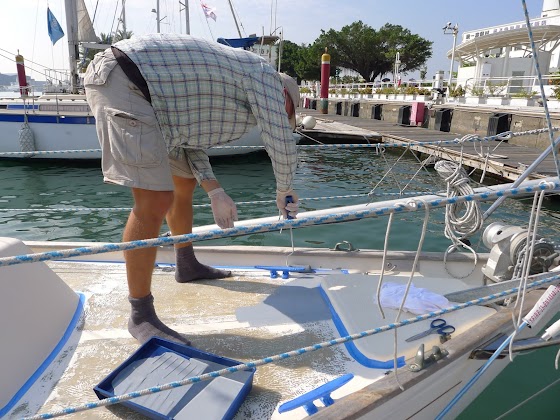 |
| First coat of epoxy primer |
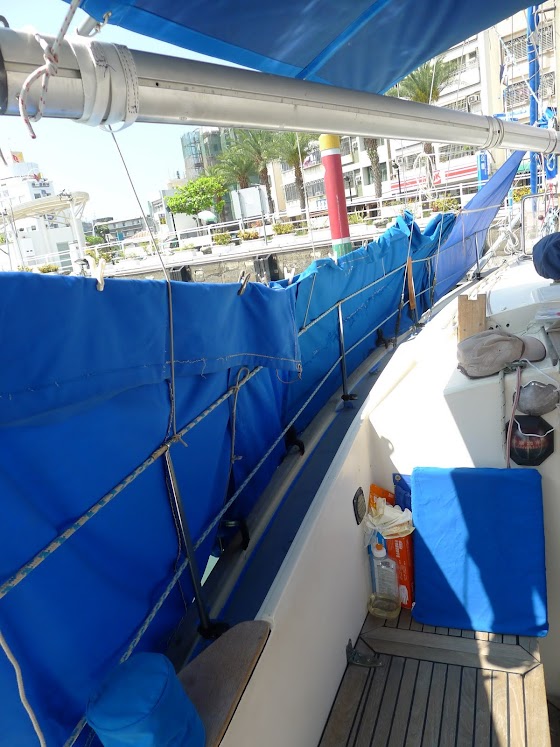 |
| Painting a hot surface is discouraged |
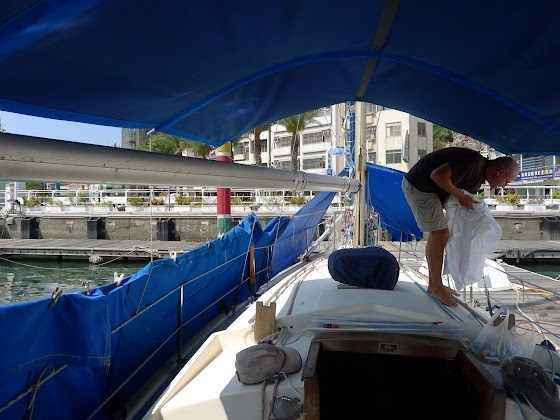 |
| We covered the deck with every piece of canvas we could find |
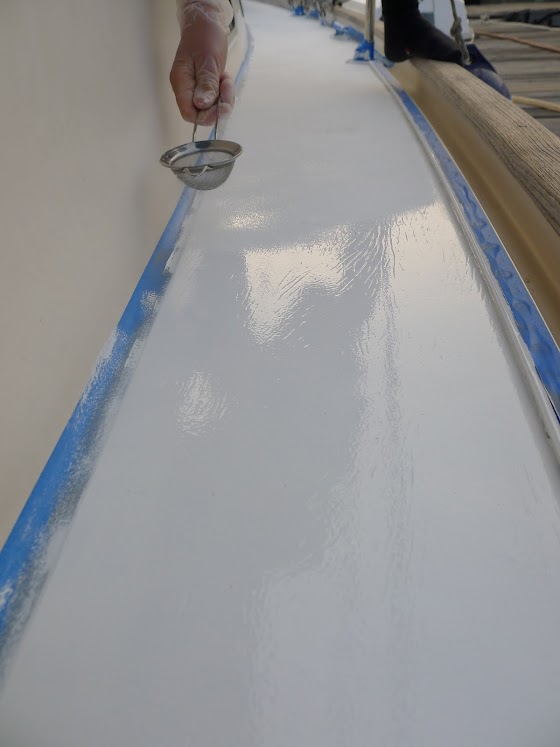 |
| Jana sowing Intergrip |


No comments:
Post a Comment