And today, thru the modern miracle of the InterTubes, we get to zoom ahead in time to see the completion of Rick's Operation Locker on
s/v Cay of Sea. I encourage you to use
this link to follow the entire project from start to finish. Meanwhile, here are the final steps:
This is always the exciting part for me. How does it look, fit, work with the rest of the interior? Did I calculate right? Did I blend the stain correctly to match the other woodwork. Will it solve problems or create them? Does it do what I hoped it would? The only way to know is to install and use it. But sometimes the installation can be a challenge.
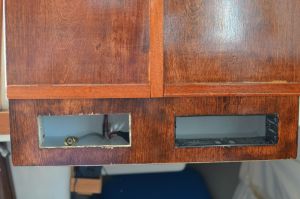
I visited my local hardware store for fasteners of sufficient size. Then offering up the cabinet to the designated space, I marked, drilled, straightened – all those things we need to do for installation. I was a little concerned that the cabinet squared up to the space correctly, and looked visually straight and level. Then after installing the fasteners, I was satisfied with the all of that. In fact, I was elated. Until I took a closer look, and discovered that somehow, the doors had managed to get uneven in the way they meet together.
 |
| How did that happen? I know I built it square, and went to pains to get the details correct. |
 |
| Shouldn’t be too surprised that the doors don’t meet at the bottom if they don’t meet at the top. |
Where did I go wrong? Well, as I thought about it, I realized that the right-hand side of the cabinet (port side of the boat, actually) is hindered from lying flat and true to the bulkhead by the curvature of the overhead. I had trimmed that corner of the locker, but not nearly enough. As I backed out a few mounting screws from the port side, I discovered that I could put the locker back into square by pulling out the bottom corner on the port side. What I needed then, was a shim behind that corner. I rummaged through my scrap box for a couple of appropriately dimensioned scraps, and made the adjustment with them. After that, longer fasteners were required (I moved that corner away from the bulkhead more than half an inch) so after another trip to the hardware store, I secured the locker permanently to the bulkhead, and now it looks like this:
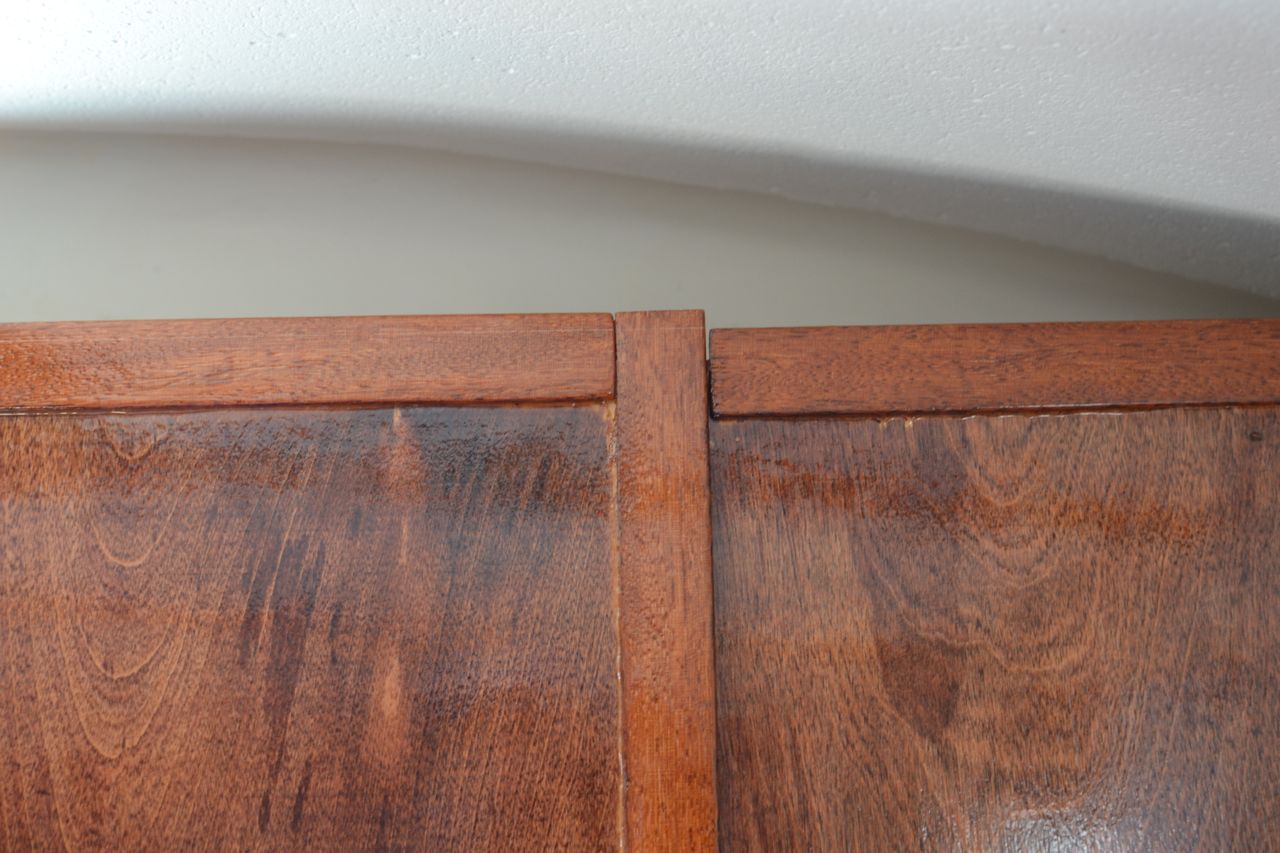
 |
| Doors meet square again. See the overhead curvature on the right of the photo? It keeps that corner of the locker from laying flat against the bulkhead. |
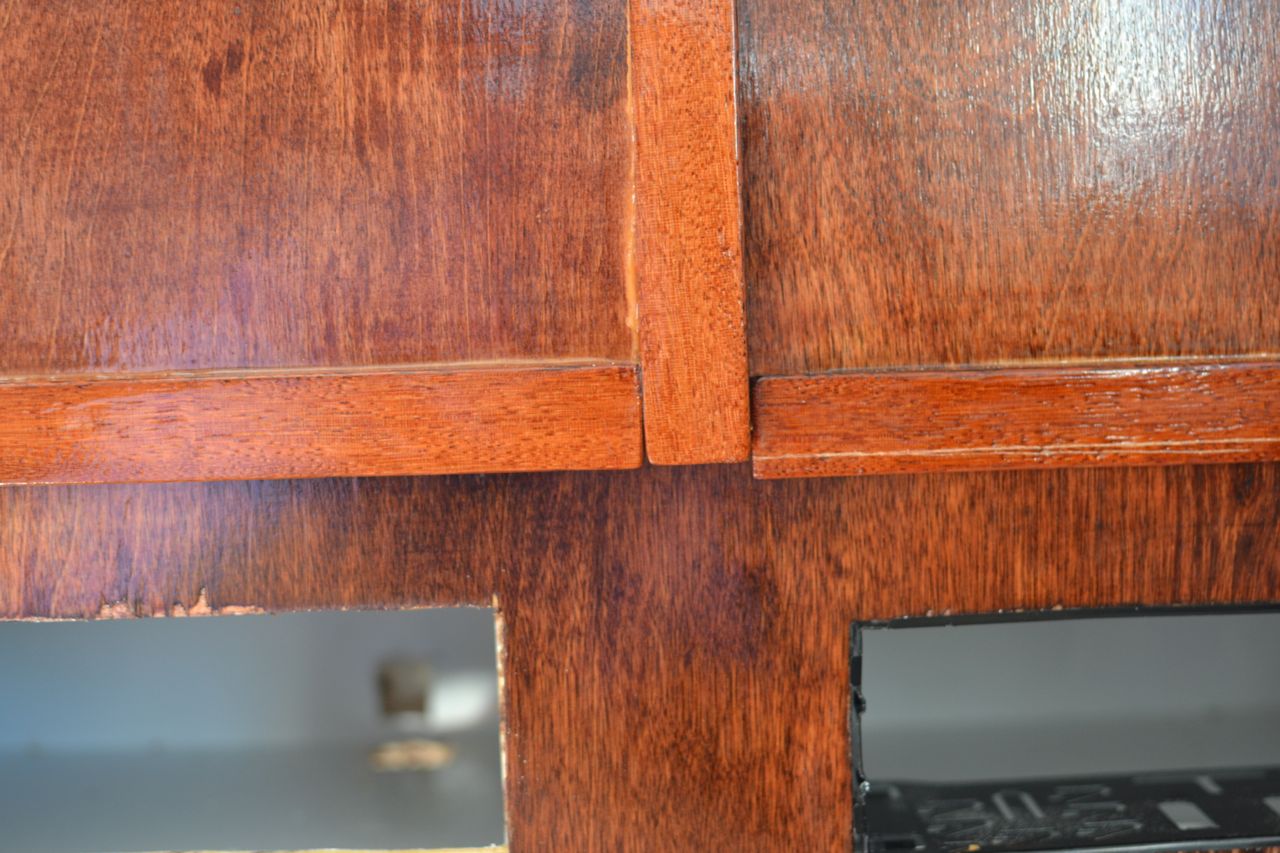
 |
| . . . and the doors meet squarely at the bottom too. |
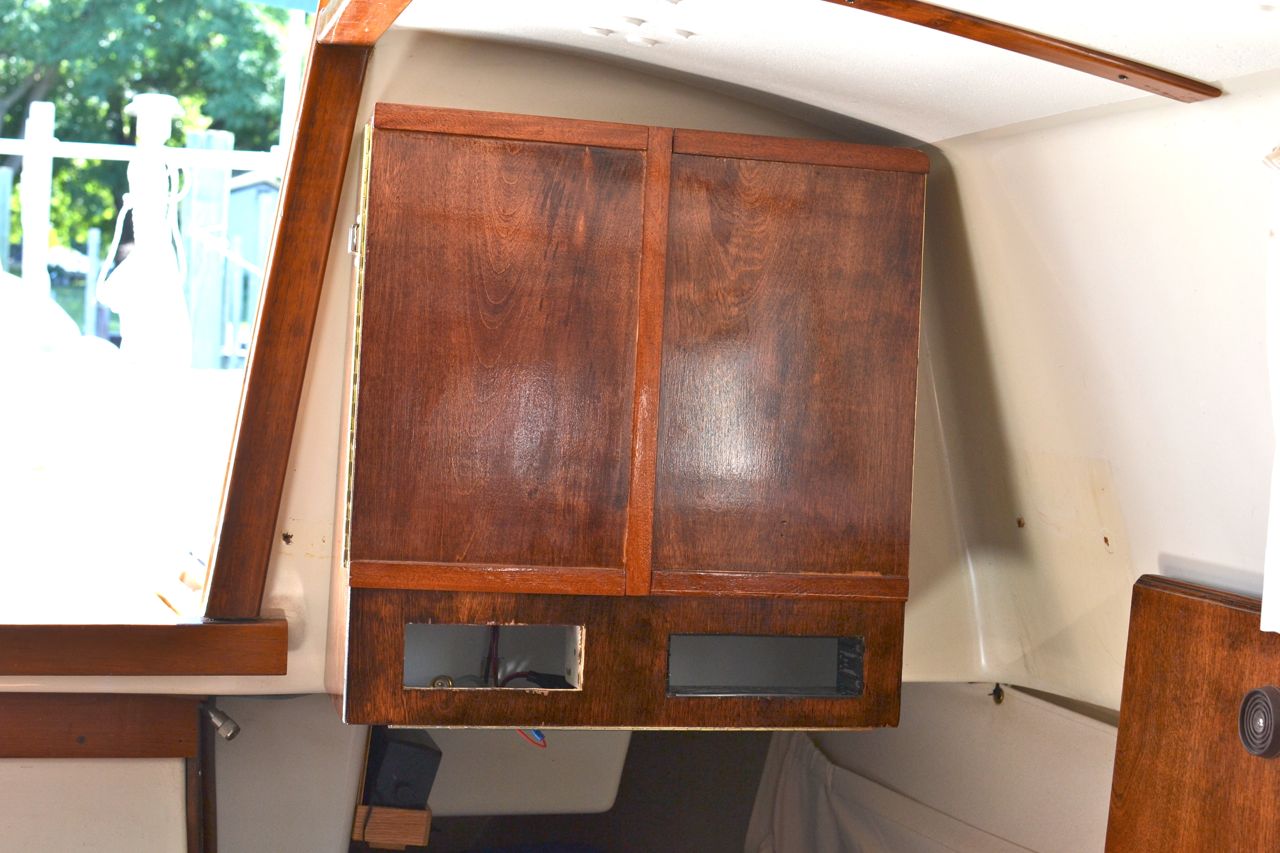
So the next step is to install the radios. Straightforward with the VHF. I ran the wires and antenna cable into the cabinet. No problems. The AM/FM/CD player was another story. Nothing difficult about the mechanical or electrical connections – I just didn’t understand how to connect it all. It’s been 20 years since I installed a radio like this, and I didn’t realize that the memory wire must be wired. Not wanting to have a constant draw of millivolts to the radio, I didn’t connect it directly to the battery. In fact, I didn’t connect it to anything. I didn’t realize that the radio wouldn’t power up without having it connected. I thought it was faulty. My slip neighbor plugged it into his wire harness (he has a similar radio) and of course it fired right up. As we talked about it, he mentioned that he wires the direct battery wire (memory wire) with the regular power wire. Ah, now I get it. So I’ll try again tomorrow. Anyway, final photos of the locker installed follow:
I’ll post Interior photos of the shelves with gear stowed after radio installation is successful.
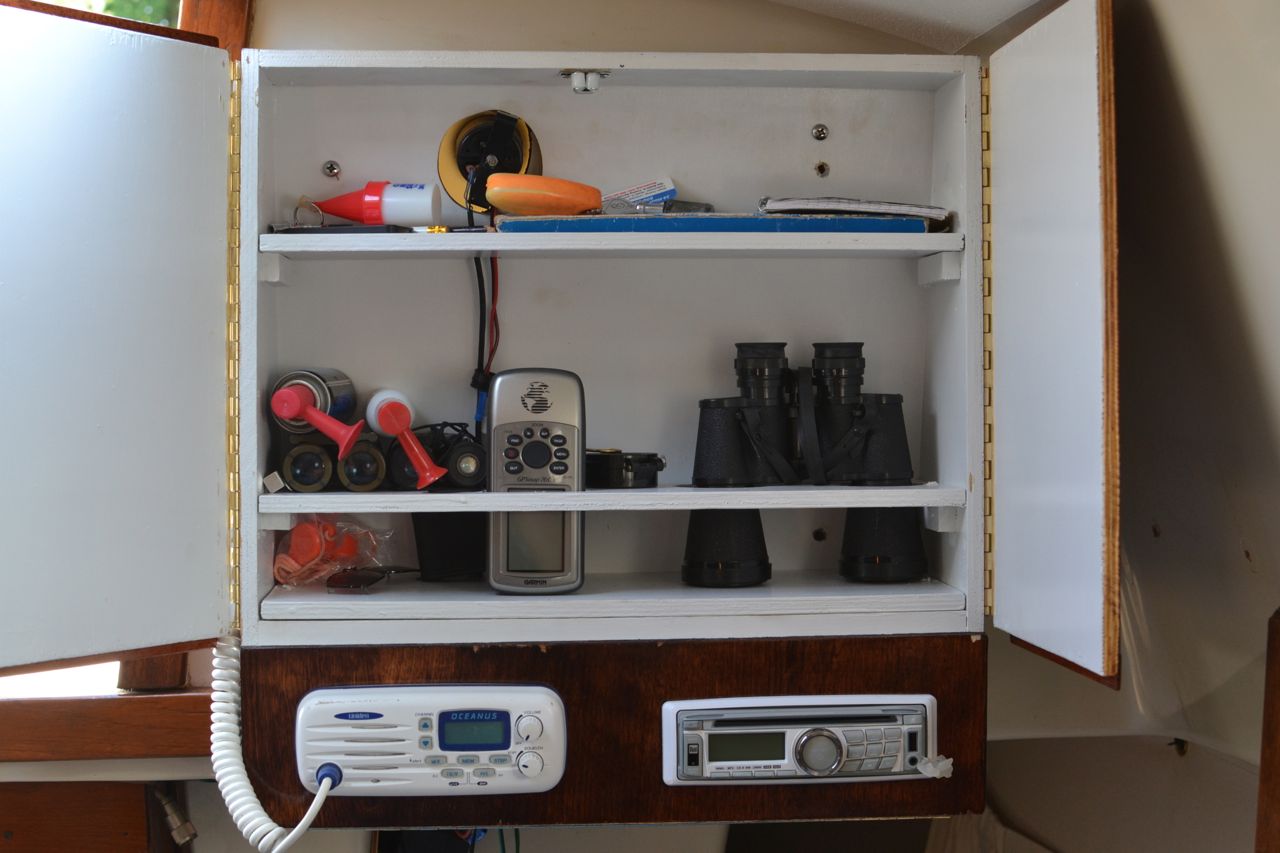
Short post on this, just a photo really. I wanted to show you the “populated” inside of the locker. It’s already messy! Not really, but it could benefit from a couple of hooks for keys and a pencil/pen rack, which is just a block of wood drilled with 5-6 holes to hold writing tools, screwed to one of the doors on the inside.
And here’s the photo:
 |
| Inside view |
Next little project is to mount my multimeter/volt meter bracket and wire it into the electrical system. This link will take you to the previous post that relates to it.


No comments:
Post a Comment