Over on
s/v Cay of Sea, Rick has begun a project to create a storage location for items commonly used while under way. Tho this qualifies as a "small" boat project, Rick has done an outstanding job of documenting the many decisions needed for it and the construction progress. In fact, he created a total of 8 posts detailing the process - too many to incorporate here. I encourage you to use the link above and follow the project in detail. Meanwhile, here is the beginning:
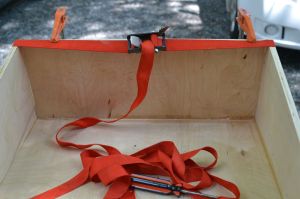
As I pursue my ideal of “a place for everything, and everything in its place” I’ve finally addressed the need for a navigation, or operations locker. This locker will contain most of what is needed to pilot the ship. While chart stowage needs to be addressed separately, the little bits and pieces of piloting tools need to be contained much better than they have been. Accordingly, I set out to pattern and build a locker for these things: hand-held GPS, hand-bearing compass, pencils and pens, log book, binoculars, dividers, parallel rules, ship’s documents, engine keys, and VHF radio. I began with cardboard. . .
 |
| Design is complicated by the forward-sloping companionway bulkhead. |
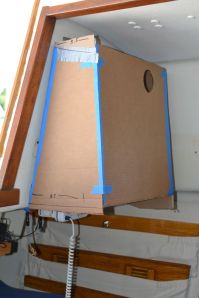 |
| This first mock-up was too big. It overwhelmed the saloon. |
I spent a good while debating if I should follow the curve of the bulkhead on the port side, or just build a rectangular shape. As I got into the project, I’m glad I chose the rectangular shape. It’s complicated enough trying to get a front face that is perpendicular, rather than sloping forward like the bulkhead.
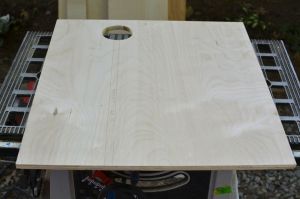 |
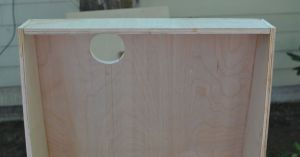
| The back piece |
The back is pictured above. I know, there are similar holes in the front of the mock-up – I was just recycling cardboard at that point. The hole is in the back to accommodate the depth sounder head. The chase for cabling is marked on the board in pencil.
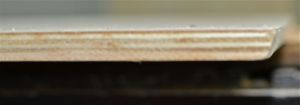
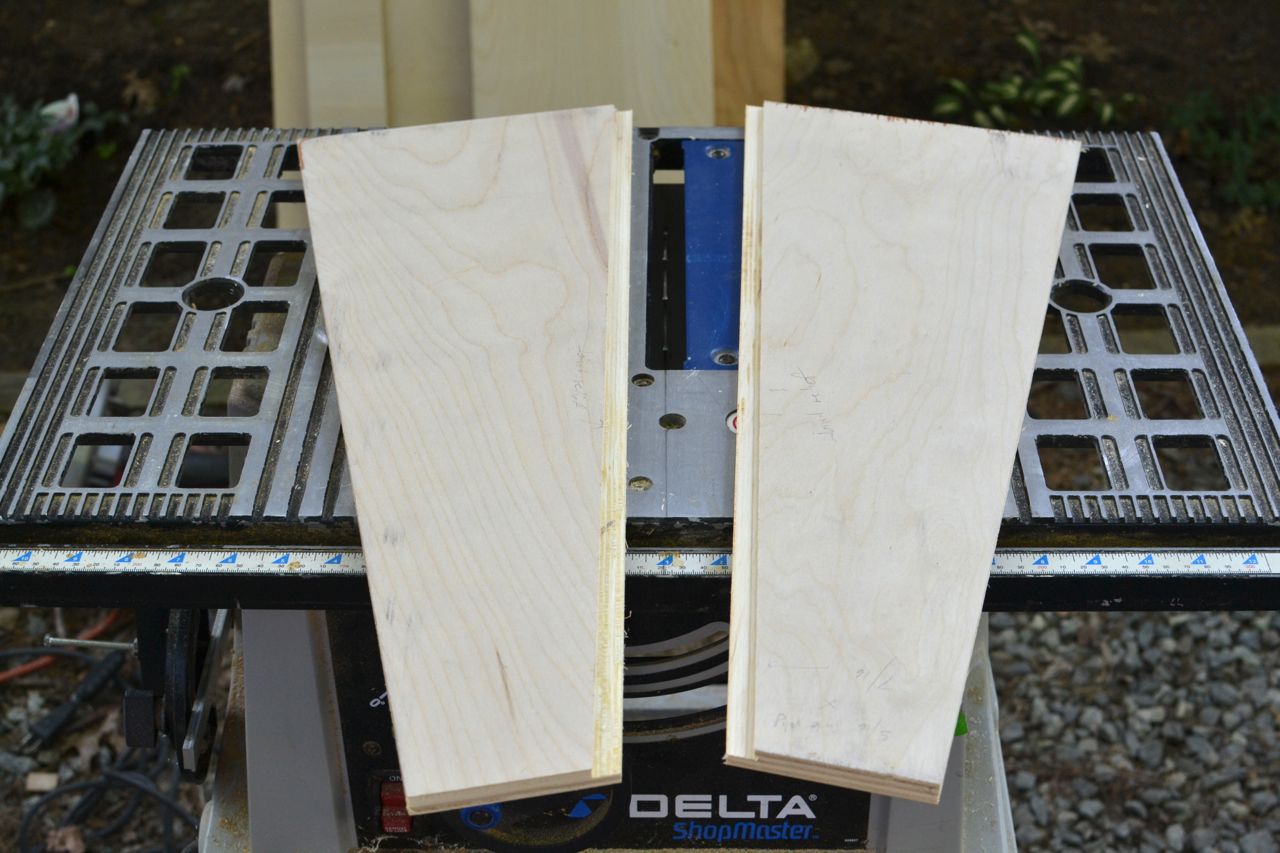
Attempting to do a neat job, I’ve cut rabbets in the side pieces to hide the end grain of the birch ply.
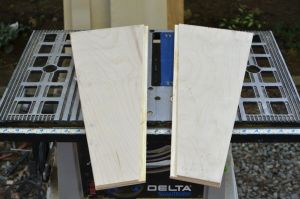 |
| One must pay attention carefully in order to cut the rabbets on the correct side of the piece. I managed to do it right this time. |
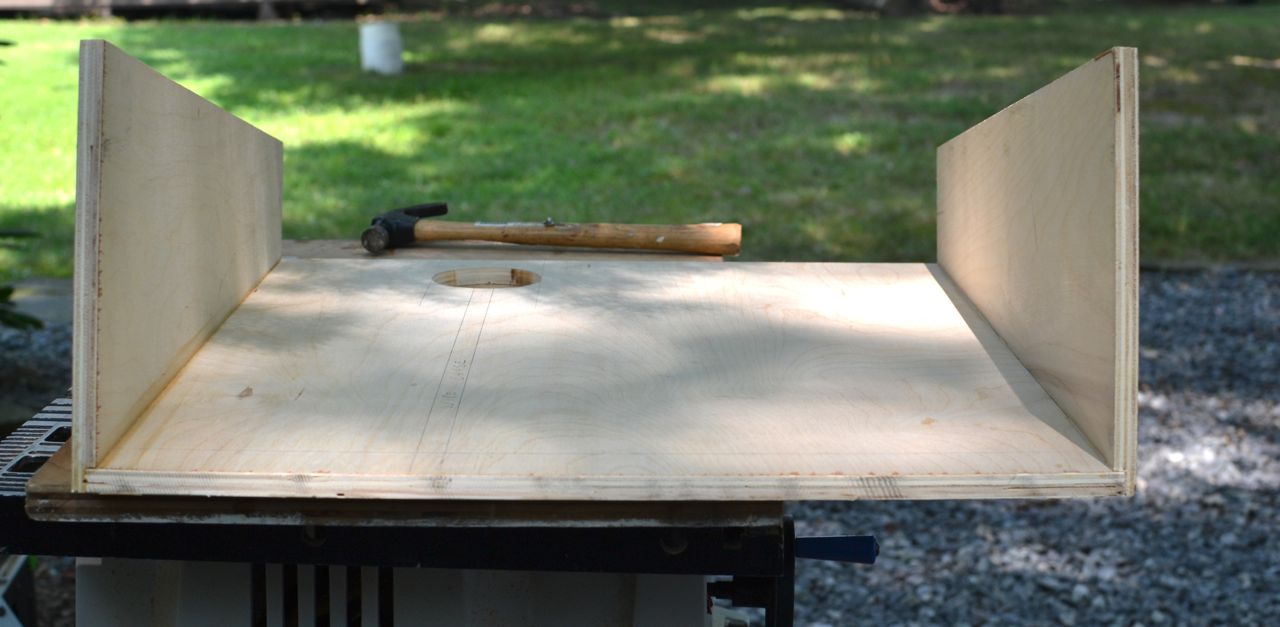
 |
| End shot of the rabbets after attaching to back |
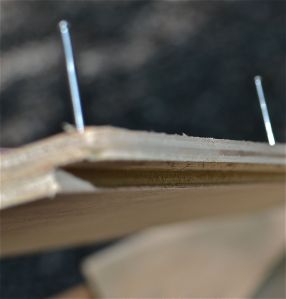 |
| Here’s a fuzzy photo showing finish nails set into pre-drilled holes in preparation to glue the sides onto the back. |
 |
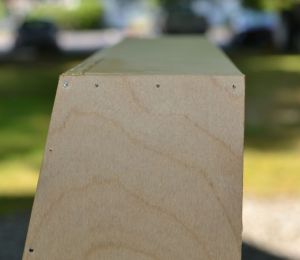
| The top and bottom edges of the back piece were beveled to achieve the angle required to have the top and bottom pieces parallel to the deck – not sloped. |
The beveling was difficult, due to the fact that my tools don’t do this easily. I think there was a way to do this with a plane, but I’ve never tried to plane the end grain of plywood. It didn’t seem like the best way to proceed. This bevel was cut with a hand-held circular saw. If I built more than one locker like this, I would know to do the initial cuts at the correct angle of bevel, and avoid recutting to achieve the bevel. However, unless I completely make a mess of this locker, it will be a one-off sort of project. I’ll know next time I build something that requires a bevel. . .
 |
| Adding the bottom. |
I cut two pieces for the bottom, and completely missed the dimensions the first time. The photo above represents the second (successful) attempt. It’s always best to cut the dimensions a bit large, then trim to fit. I learned that just yesterday! This piece was glued and clamped – no nails due to the 1/4″ dimension of this piece.
 |
| Top fitted |
 |
| Again, hiding the end-grain of the plywood. |
I cut and fitted the top. Several times. Just couldn’t seem to pay attention to my measurements. Anyway, I finally got it right. I’ll set all the nail heads on the sides and fill them before applying a finish.


No comments:
Post a Comment