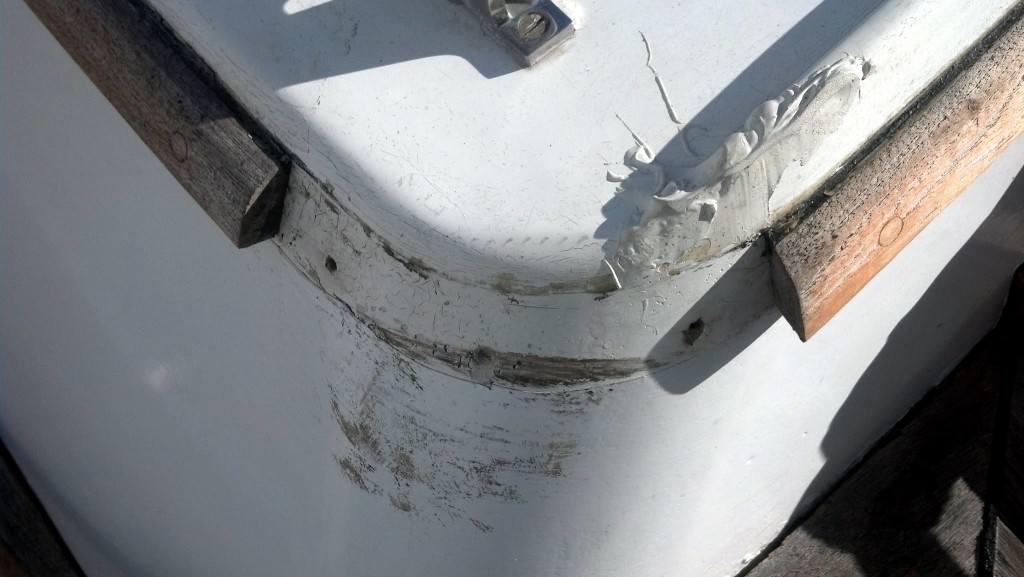
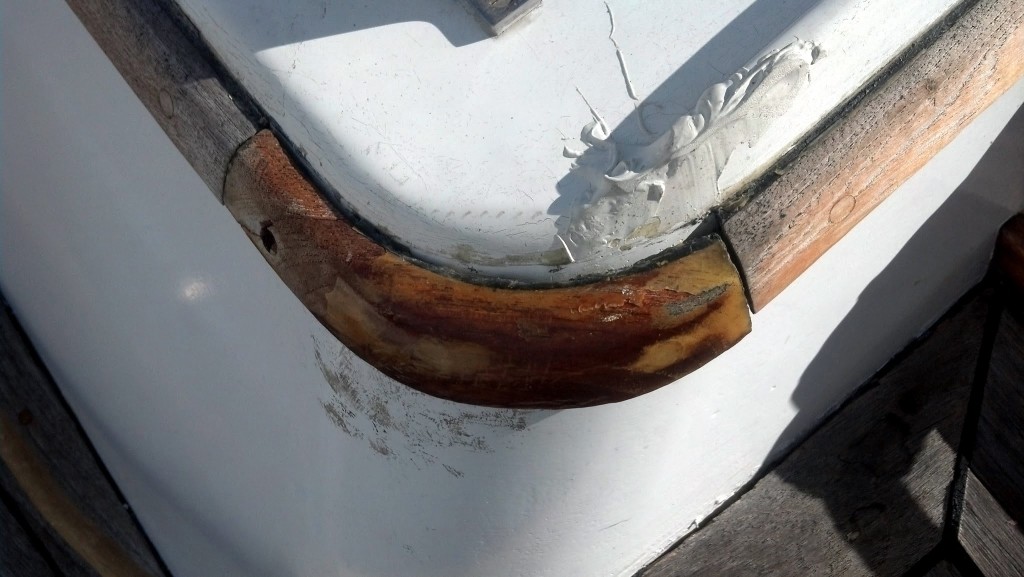
There’s a corner of trim that I’ve been putting off replacing. I broke it off a long time ago when I removed the holding tank.
First I rough fit the piece to get an idea of how it goes in and to see if there was any other collateral damage. I found that the screws that held it in had sheared off so I had to drill them out to make it fit properly.
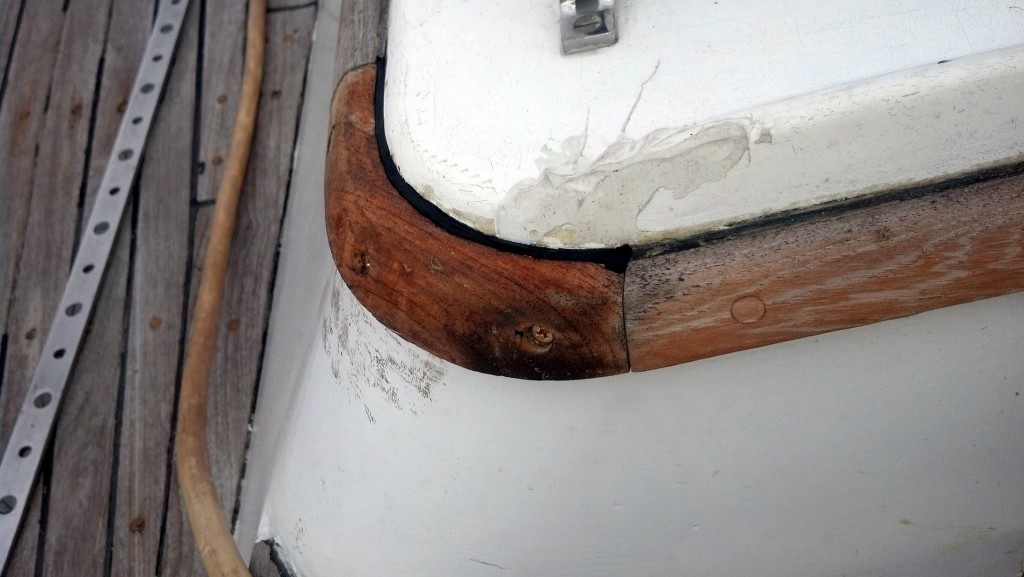
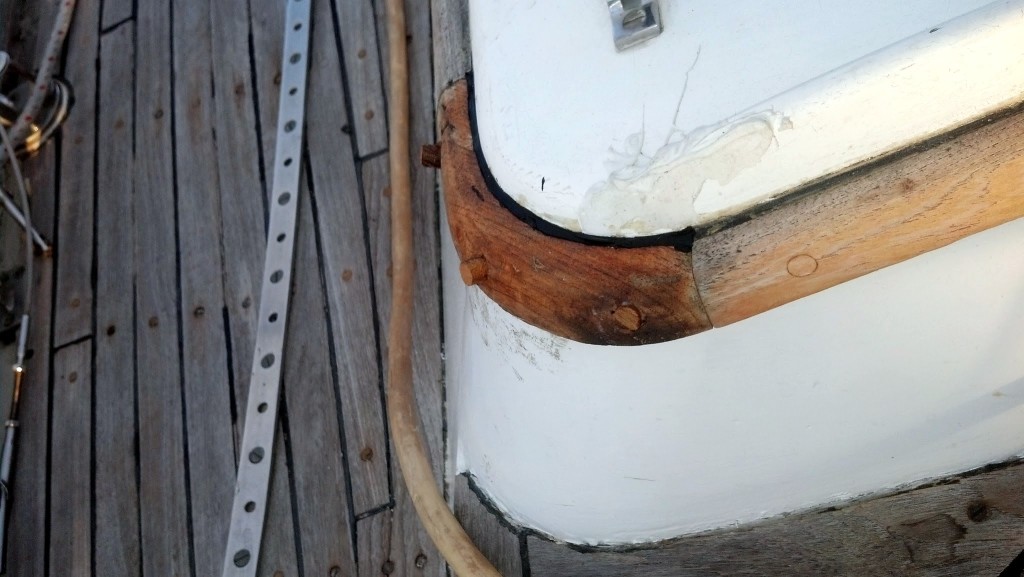
Then I stripped the old varnish off with a heat gun and scraper. I then sanded the inside and outside and cleaned it with isopropyl alcohol. After the alcohol evaporated I put teak deck sealer on the inside of the edge piece and screwed it on to the cabin. Next I taped across the top edge of the wood and cabin and applied teak deck sealer over the top edge to keep water from penetrating between the wood and the cabin.
Finally, I put glue on 3/8″ teak plugs and gently tapped them in over the screw holes. When it comes time to varnish I’ll use a chisel to cut the plugs off and then will sand it fair with the rest of the wood.
The entire project took only two hours. I don’t know why I put it off for so long!
Thursday, January 10, 2013
Repairing wood trim
Over on s/v Astraea, Nate shows us how he properly does a little repair work. The critical items which might be omitted by novices are the use of alcohol to remove the teak oils from the surface of the wood, and the use of the polysulphide to seal the back of the piece:
Labels:
carpentry,
maintenance,
s/v Astraea
Subscribe to:
Post Comments (Atom)


No comments:
Post a Comment