"Yes, I'm workin' all the time..."
-Rush
The stages of New/Old Boat ownership:
Stage 1. Admiration stage- admire how much roomier (or prettier or shinier or faster or just plain better your New/Old Boat is than your Old/Old Boat.)
Stage 2. Installation stage- Start installing stuff. Begins approximately 7 minutes after the onset of Stage 1.
Stage 2 never, ever stops.
If you have bought the right boat, the first stage never stops, either.
Having lived with and aboard NextBoat for almost 3 months, much Low-Buckness, and some Mid-Buckness, has ensued.
For those of you still following along, (thanks!) you know the story. For those who just stumbled into this meandering morass of a blog, here’s the short version:
We owned a boat, wanted a slightly bigger boat, found a bigger boat, bought a bigger boat, sold the slightly smaller boat…
Now we are pouring money and time and effort into the slightly bigger boat.
And enjoying every minute of it.
The upside of NextBoat is that she had been well maintained by two previous owners. The downside is that there were few upgrades, and some gear that we consider necessities was missing entirely. Like, oh….
A compass.
Didn’t have one.
Apparently, never had one since new- the binnacle was as smooth and unblemished as a baby’s transom.
We'll come back to that later.
So, after peering into the purse and seeing the present paucity of pennies, (prolonging our perpetual pondering of whether we are presently poverty stricken or penurious,) providence presently allowed us to press the button on a plenitude of purchases, provided by the profits of this profligate’s penmanship.
In other words, I got paid for some scribbles. Cool.
So, with cash in hand, we got all Bugs Bunny and Road Runner on the boat.
(Okay, come on, I can’t be the only one who remembers the theme to the “Bugs Bunny and Road Runner Hour”? Come on, sing it with me, “….On with the show, this is it…”)
er...
*turns the Obscure Weirdness dial down to 7*
A flurry of mouseclicks and credit card approvals and straight-up hand-to- hand cash transfers later, we had a whole bunch of new stuff to stuff aboard our new ride.
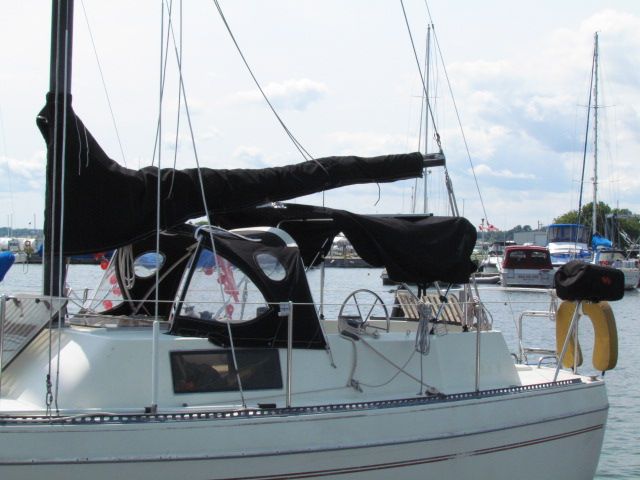
SWMBO is a ginger, and with a redhead’s propensity to burst into flames upon exposure to sunlight, she immediately noted that NextBoat lacked cockpit canvas of any sort. A shadeless boat with a redhead aboard is an unhappy boat for all aboard. Luckily, a beaten and battered and unused-by-the-previous-owners dodger was included in the purchase.
It needed help.
The skipper of
Cyclone sold us a languishing bimini from his currently-for-sale S2 8.0A, and with a little cutting and sweating we soon had a comfortable cockpit.
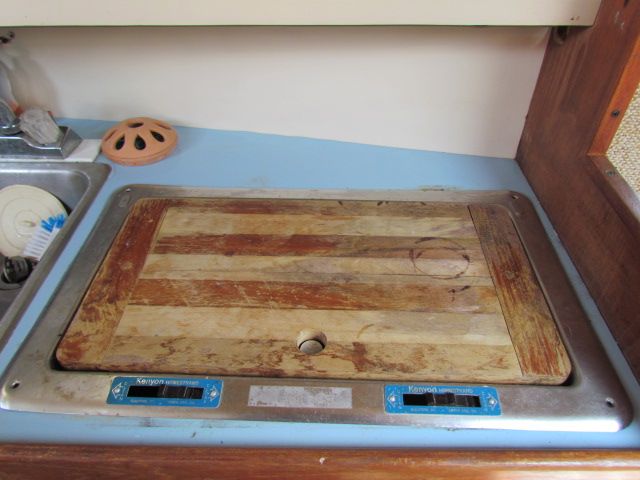
The stove that came with the boat had to go. Kenyon Homestrand pressurized alcohol stoves may have worked just fine when new, but 30+ years later….
… not so much.
The scary quotient, however, had increased considerably.
After following the less-than-simple lighting instructions, ( Pump tank of flammable fuel, tunr burner valve to introduce flammmable fuel to burner, close burner valve, light flammable fuel, let it burn out, then reopen valve and relight ) we inevitably faced a *WOOF* of ignition, resulting in burners with flames that had only one setting- Total Conflagration.
Seriously, the few attempts at using this DeathBlaster stove to create Two Burner Tastiness resulted in singed entrees trailing the faint odor of burnt eyebrows.
A quick click to
Binnacle.com got us a great deal on a Cookmate non-pressurized alcohol stove. Under $250, including shipping.
Installation took less than a half hour, and the result is incredibly satisfactory.
Great temperature control, easy to light, and the burner capacity is measured in weeks, not hours. 6 weeks of regular use have borne out the value of this investment.
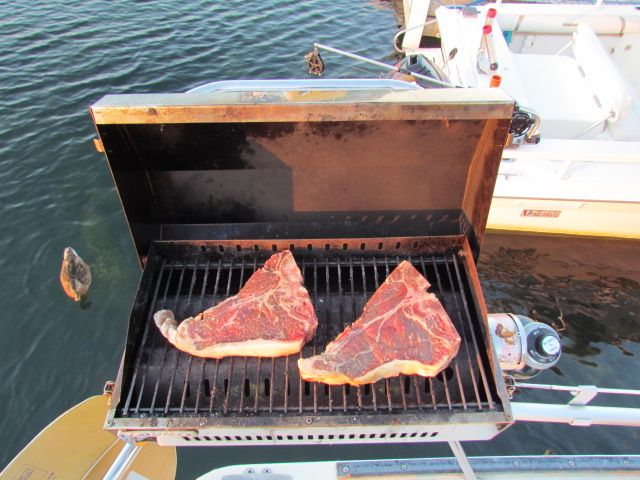
Further, we have upped the culinary ante by permanently installing the Kuuma Stow-n Go propane grille we bought during our first season aboard
Whiskeyjack, but rarely used.
We have used this grille more this season than in the past 6 seasons combined.
Which means we are using more propane.
Which presents another challenge: Storage.
The one drawback to this center cockpit layout is that it eliminates all cockpit storage- no lockers, or lazarettes or cubbies on deck at all. I had no desire to store 1 lb. propane cylinders in the cabin, so a solution was required.
A quick trip to
Home Hardware netted 2 feet of 6" PVC pipe, an end cap, a cleanout, and a couple of hose clamps. Less than $25 later, we were able to store 3 propane bottles on deck safely.
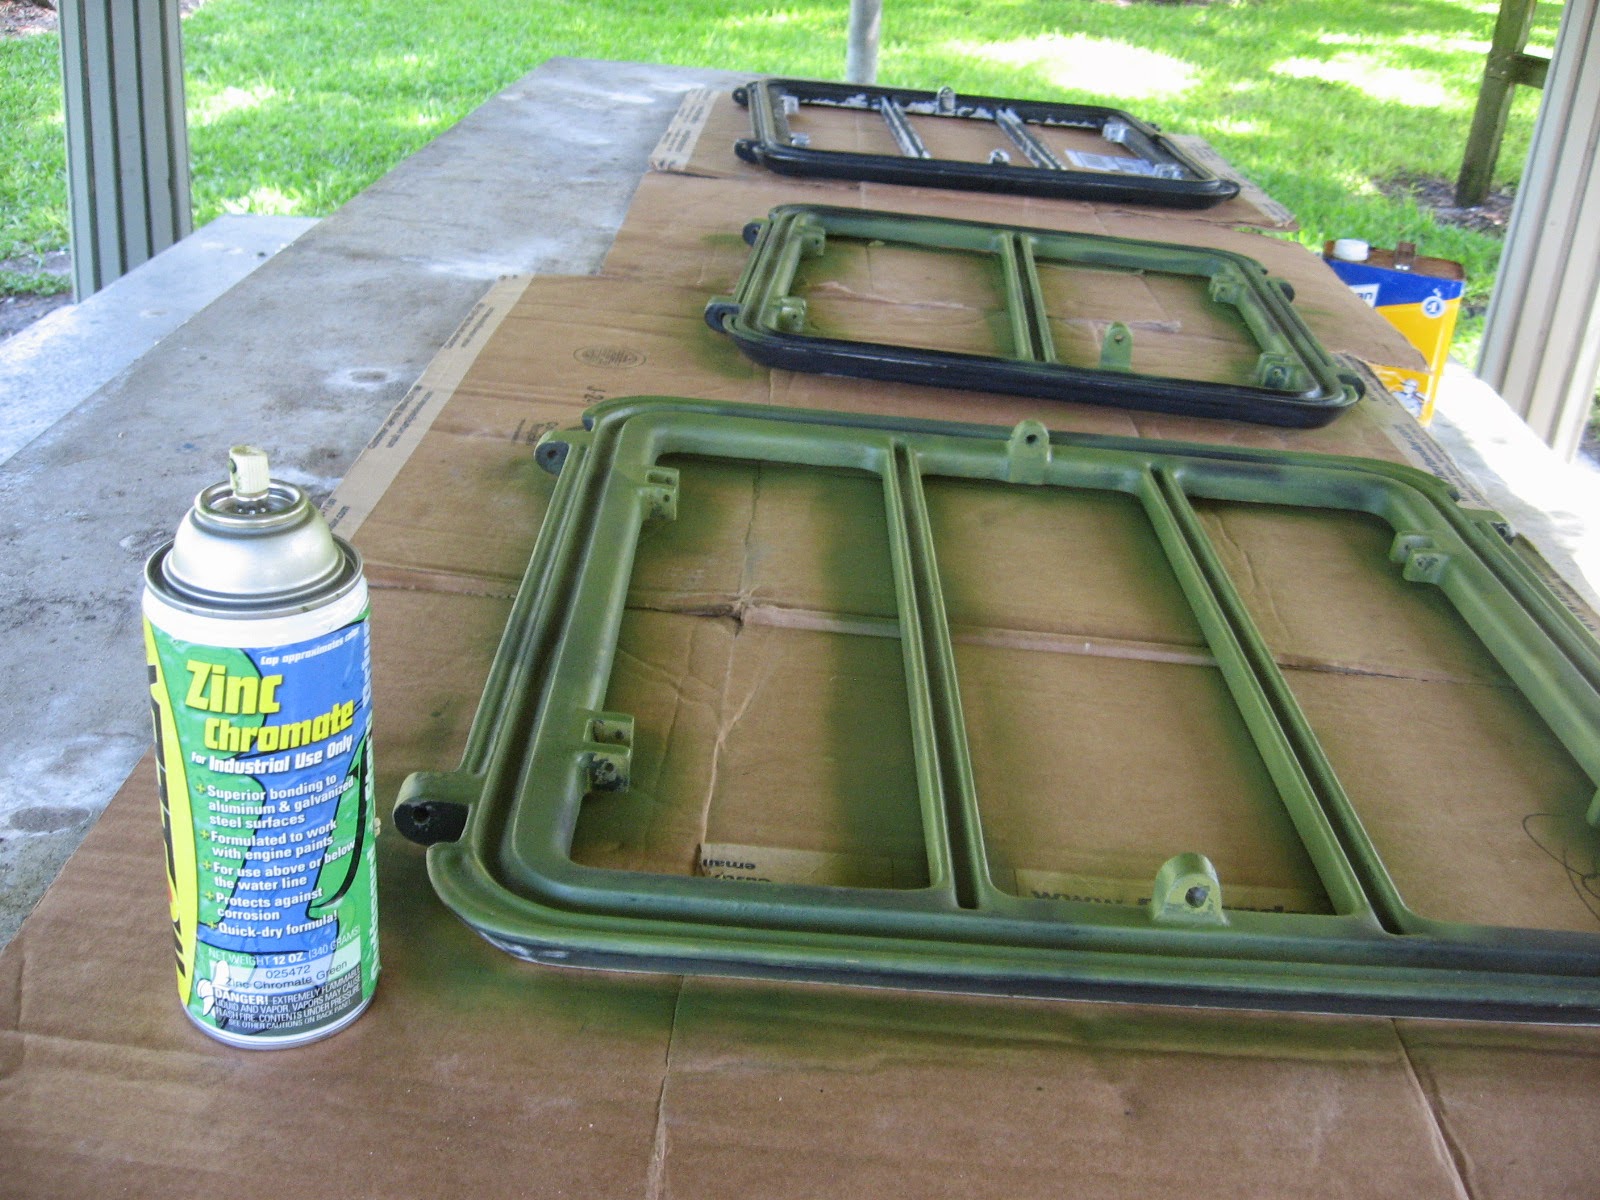
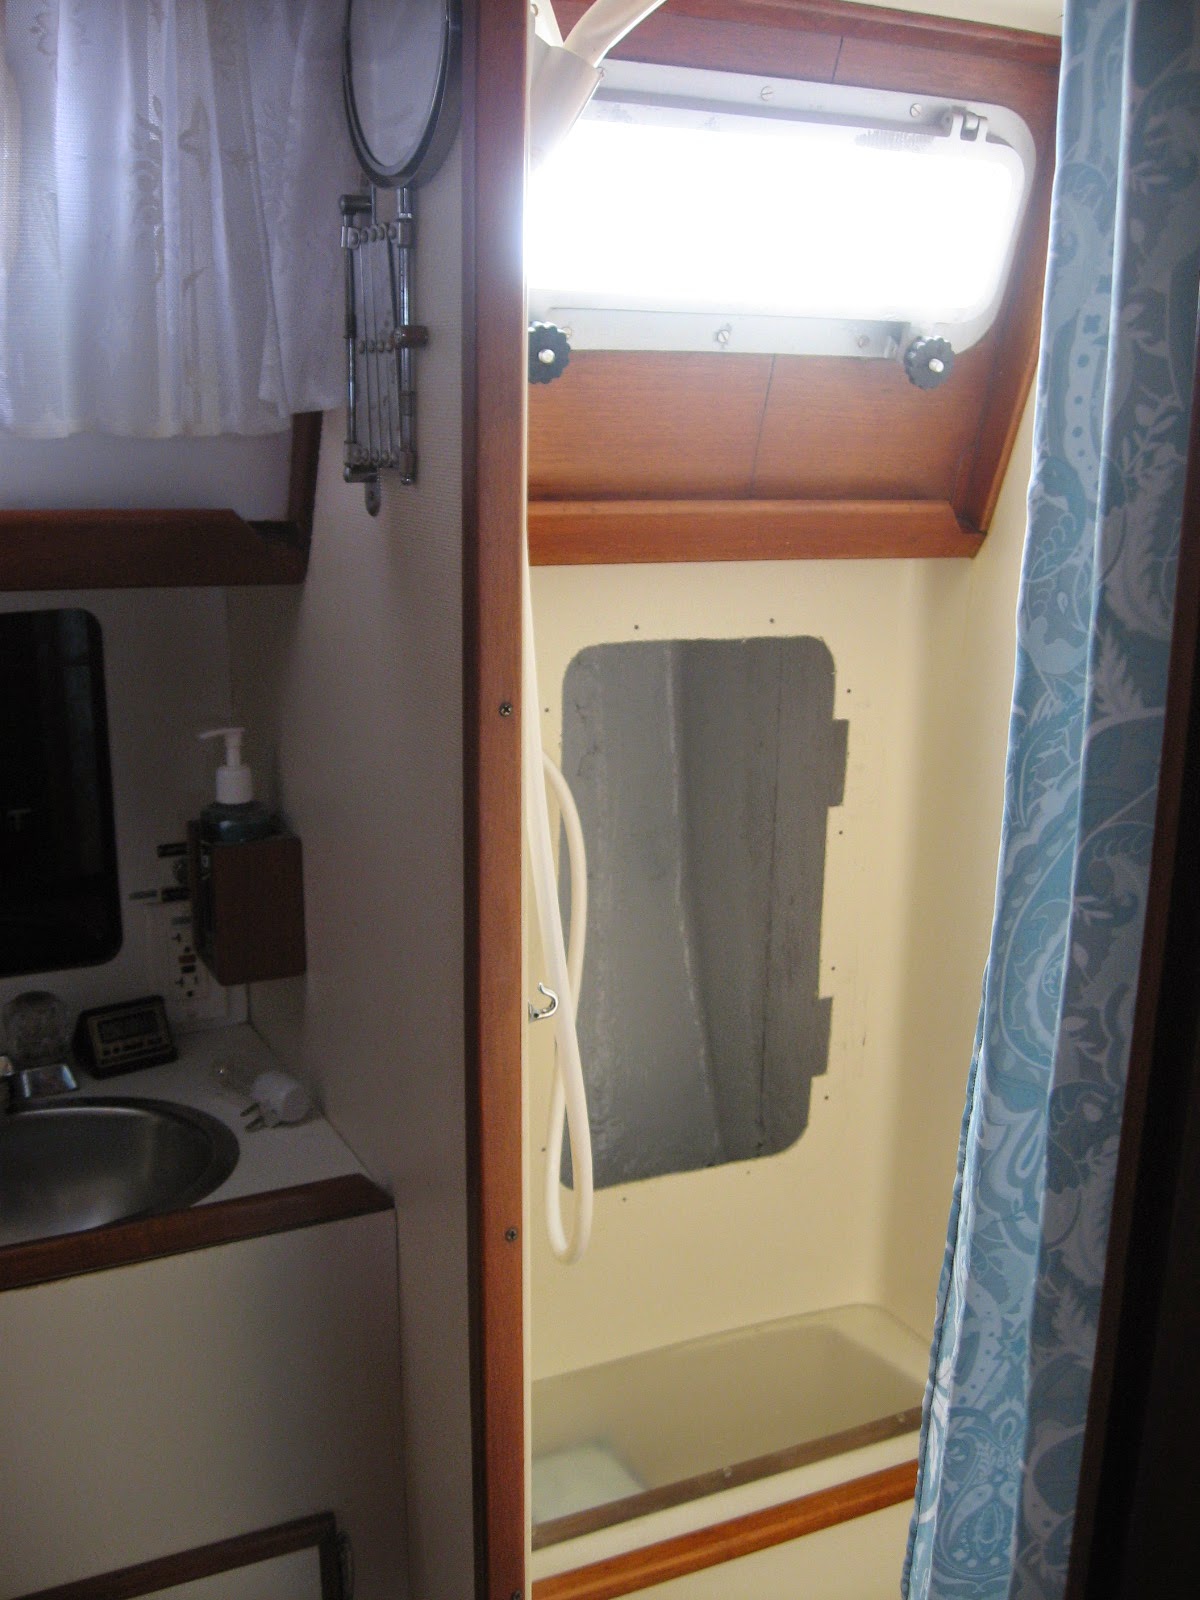
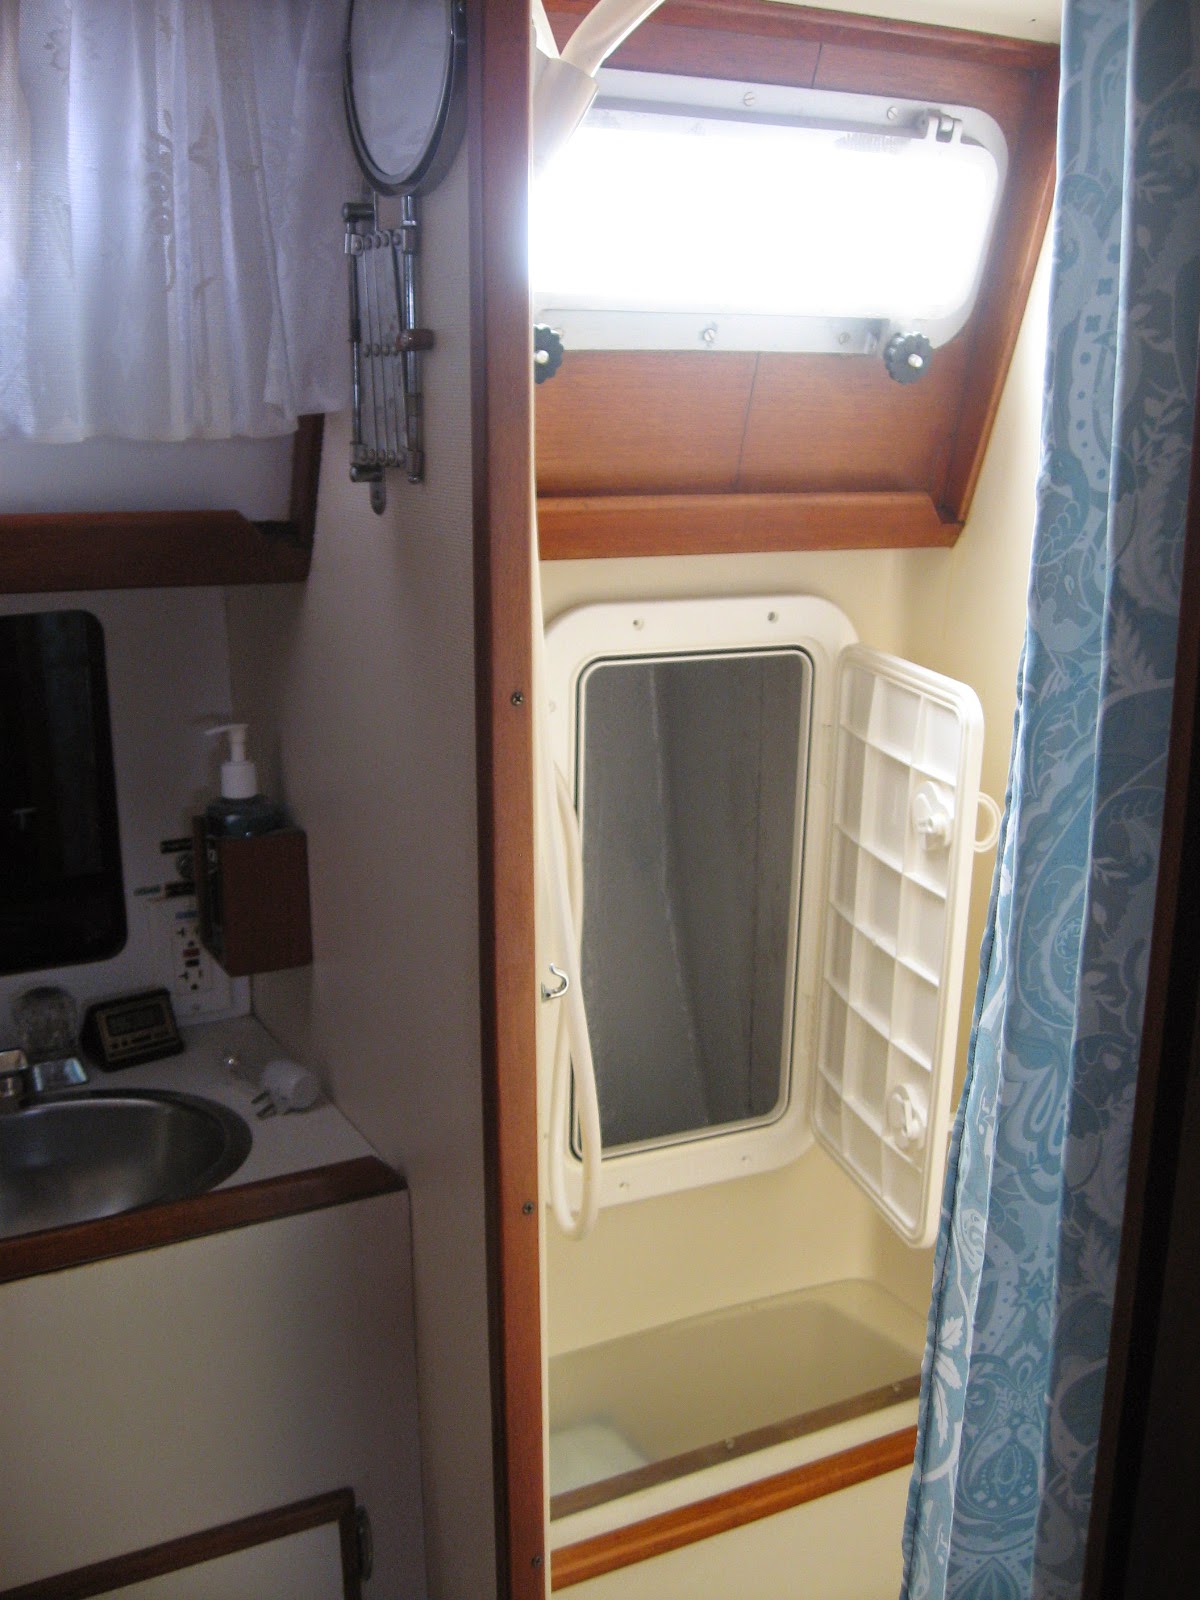
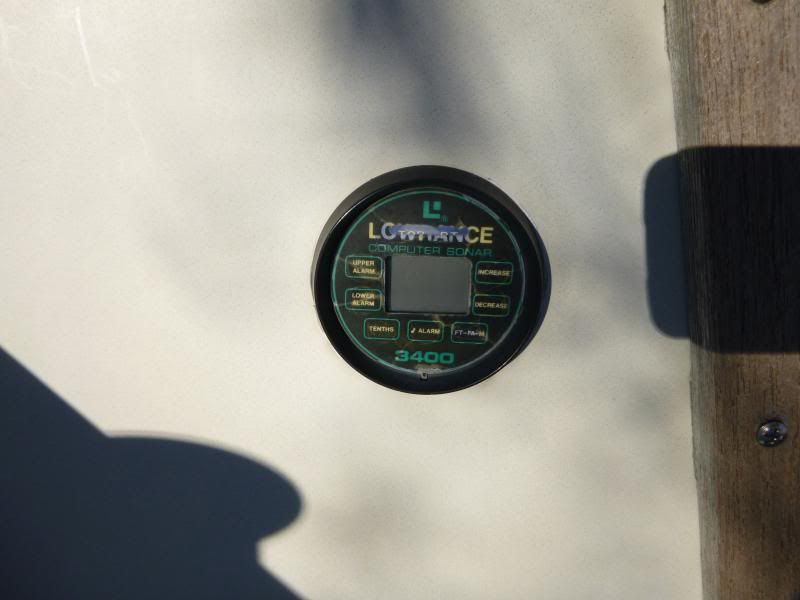
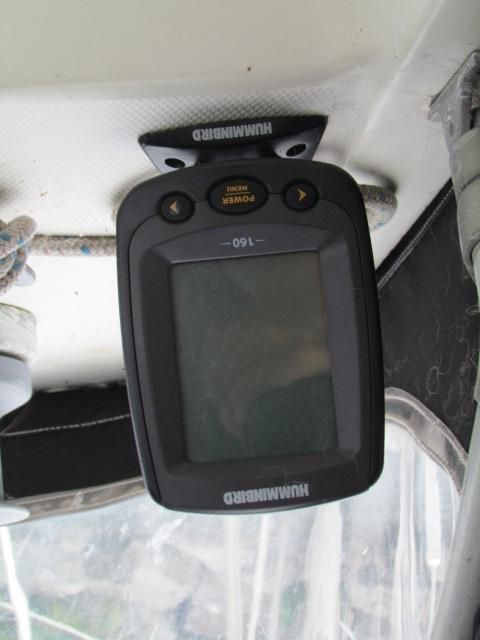
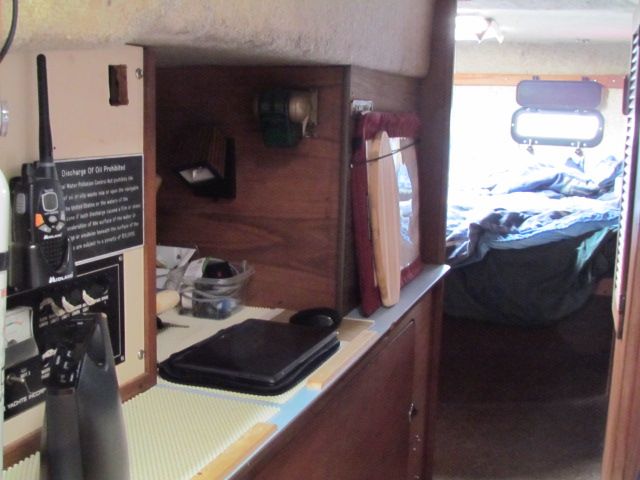
So, back to that no-compass thing: The existing cockpit instrumentation on NextBoat consisted of an inoperable Lowrance depth gauge.
That’s it.
A quick trip to
Dovercraft Marine netted us a Humminbird 160 fishfinder for $80. Some headscratching on where to locate the transducer and how to route the cables and roughly an hour or so of sweating and drilling and and wiring later, we not only had depth display, but water temperature as well.
Back to that absence- of -cockpit- storage issue:
I picked up a couple of these mesh map pockets a half decade ago, and finally got around to using one! Very handy for books, sunscreen, sunglasses, all the stuff that would otherwise end up in the way.
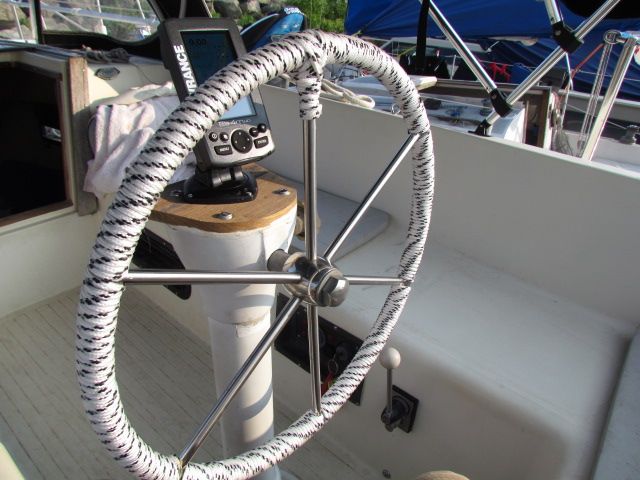
With depth out of the way, time to deal with the compass issue. I opted to go with a small handheld compass as a backup to a small Lowrance chartplotter at the helm, from
Radioworld.
I LOVE these things. Lowrance "Gold" plotters include a 2 gig Navionics chart card, and the plotter we had on
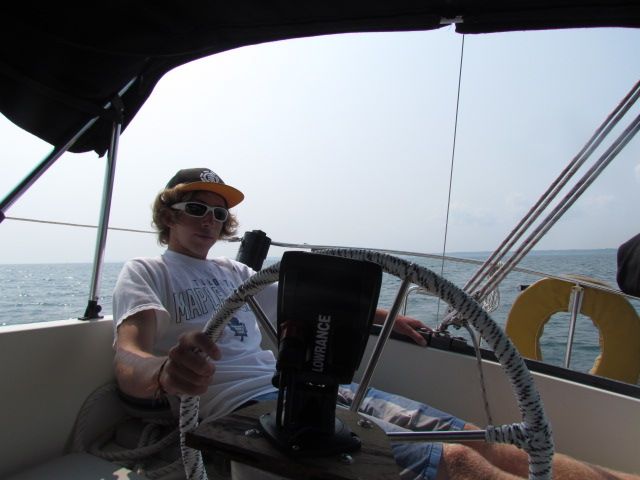
Whiskeyjack never let us down. The seated helm position on NextBoat makes the 4"ish screen size practical, and, though small, the screen is easy to read, the controls are intuitive and the menus easy to understand. The included mount swivels and tilts, making it viewable from anywhere in the cockpit....
...even if you are a slacker teenager, as Jordan demonstrates:
$250 well spent.
$3 worth of 1/4" line and an hour or so of time dressed up the wheel...
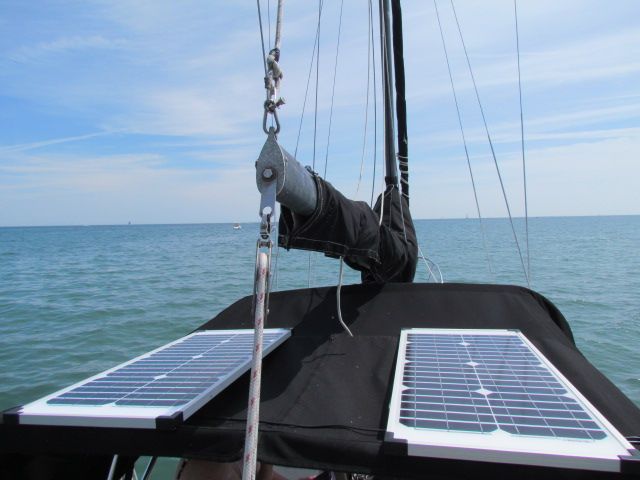
All of this new electrical gear requires improved electrical charging management- Two $99 40 watt solar panel/ 7 amp charge controller kits from
Canadian Tire were installed to charge the battery bank. When docked, or flat water motoring, the panels live on the bimini-
When the wind picks up, they migrate to the aft deck. An upcoming project is to sew pockets into the bimini to secure these lightweight panels up there full time.
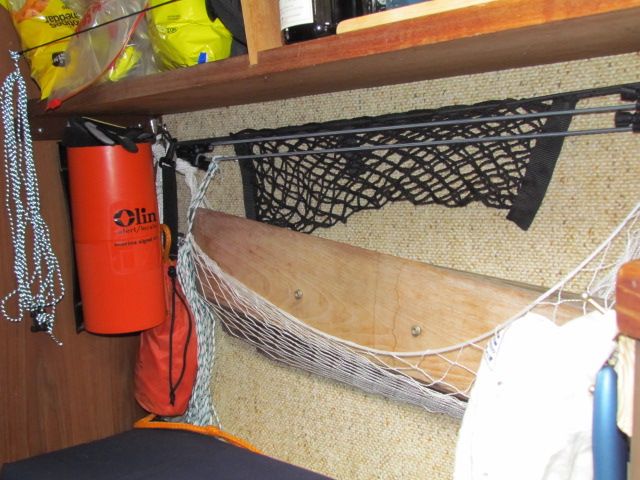
Down below, hammocks were hung and bungies were strung and non-skid mats were laid to keep everything that has a place, in it's place.
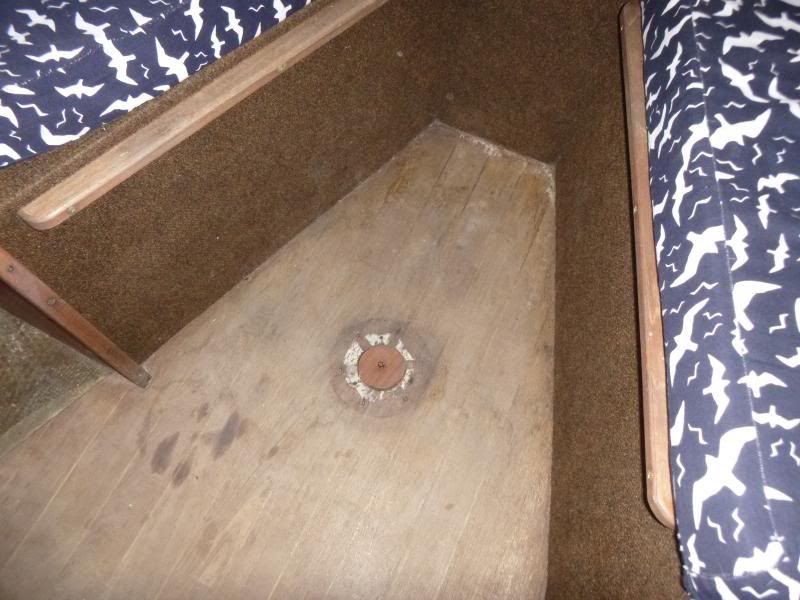
The settee-berth did not have a table, although there was one installed at some point in the past:
A while back some of the stuff that James was clearing out of his boat shed ended up in my boat shed. Among the assortment of stuff was a table base and post. a little plywood and edgebanding later, we now have a salon table:
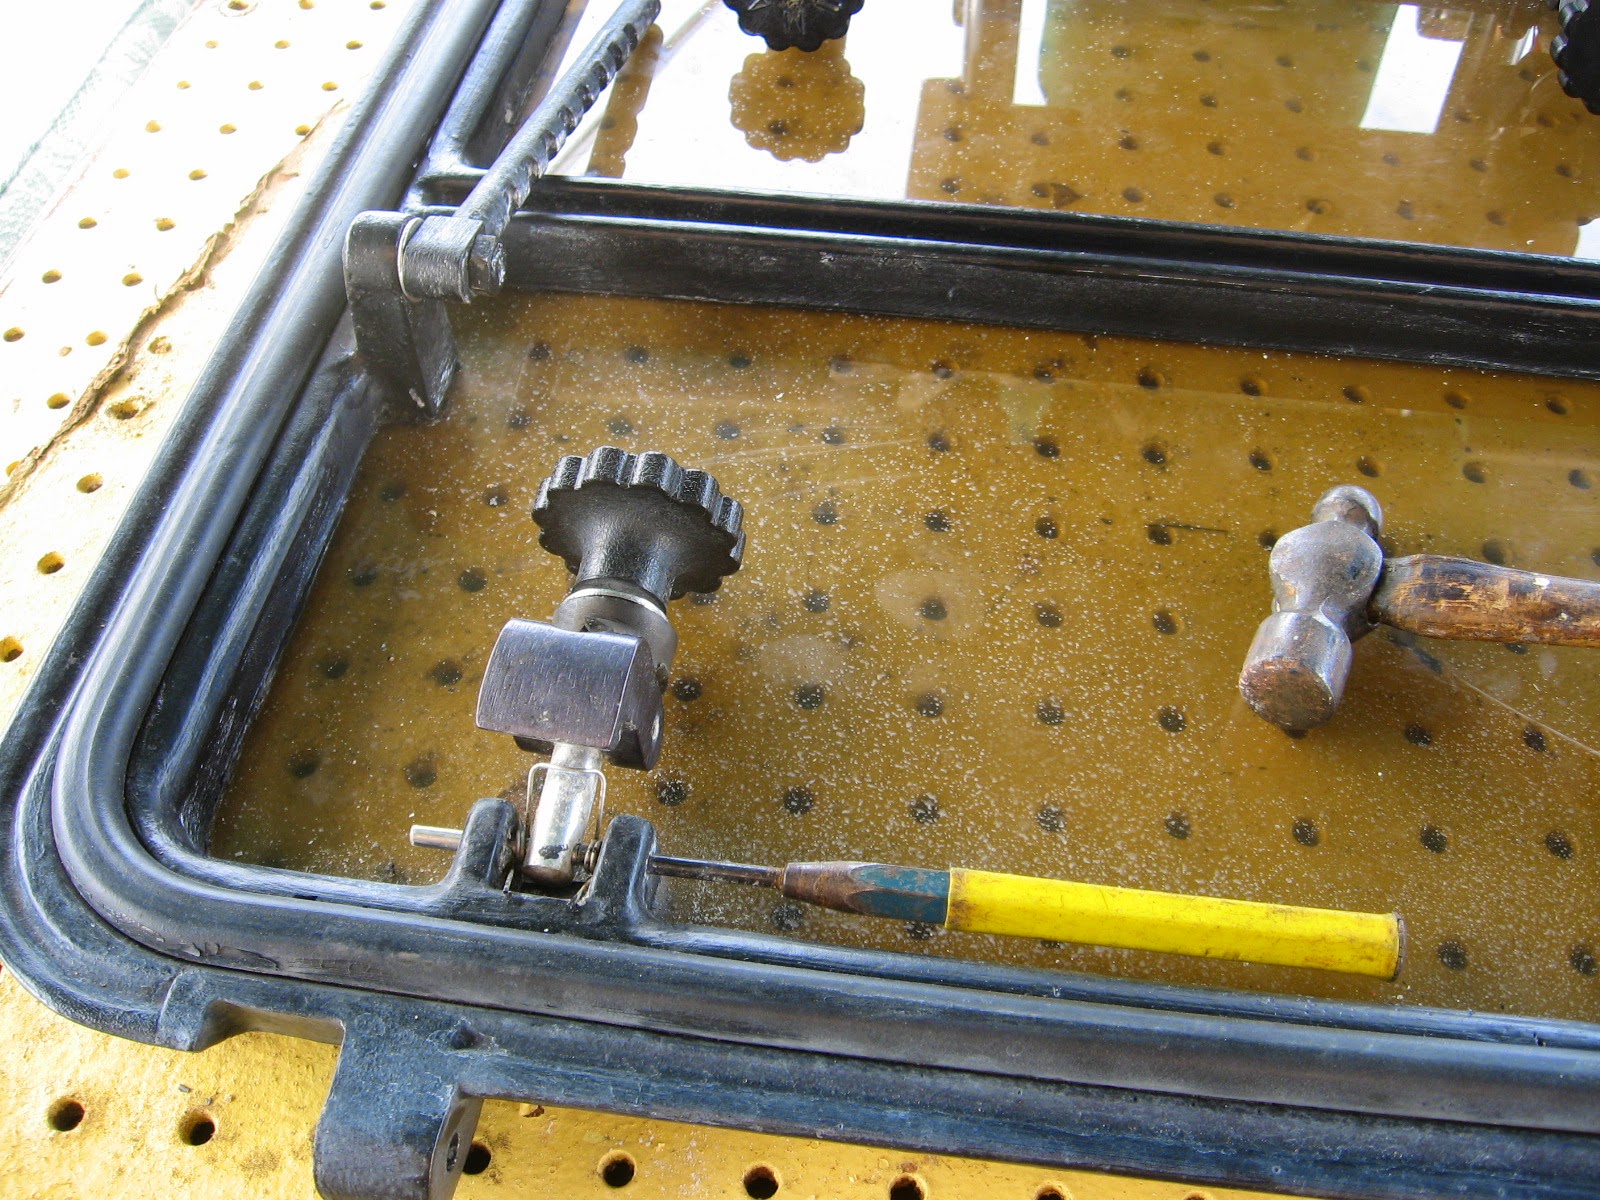
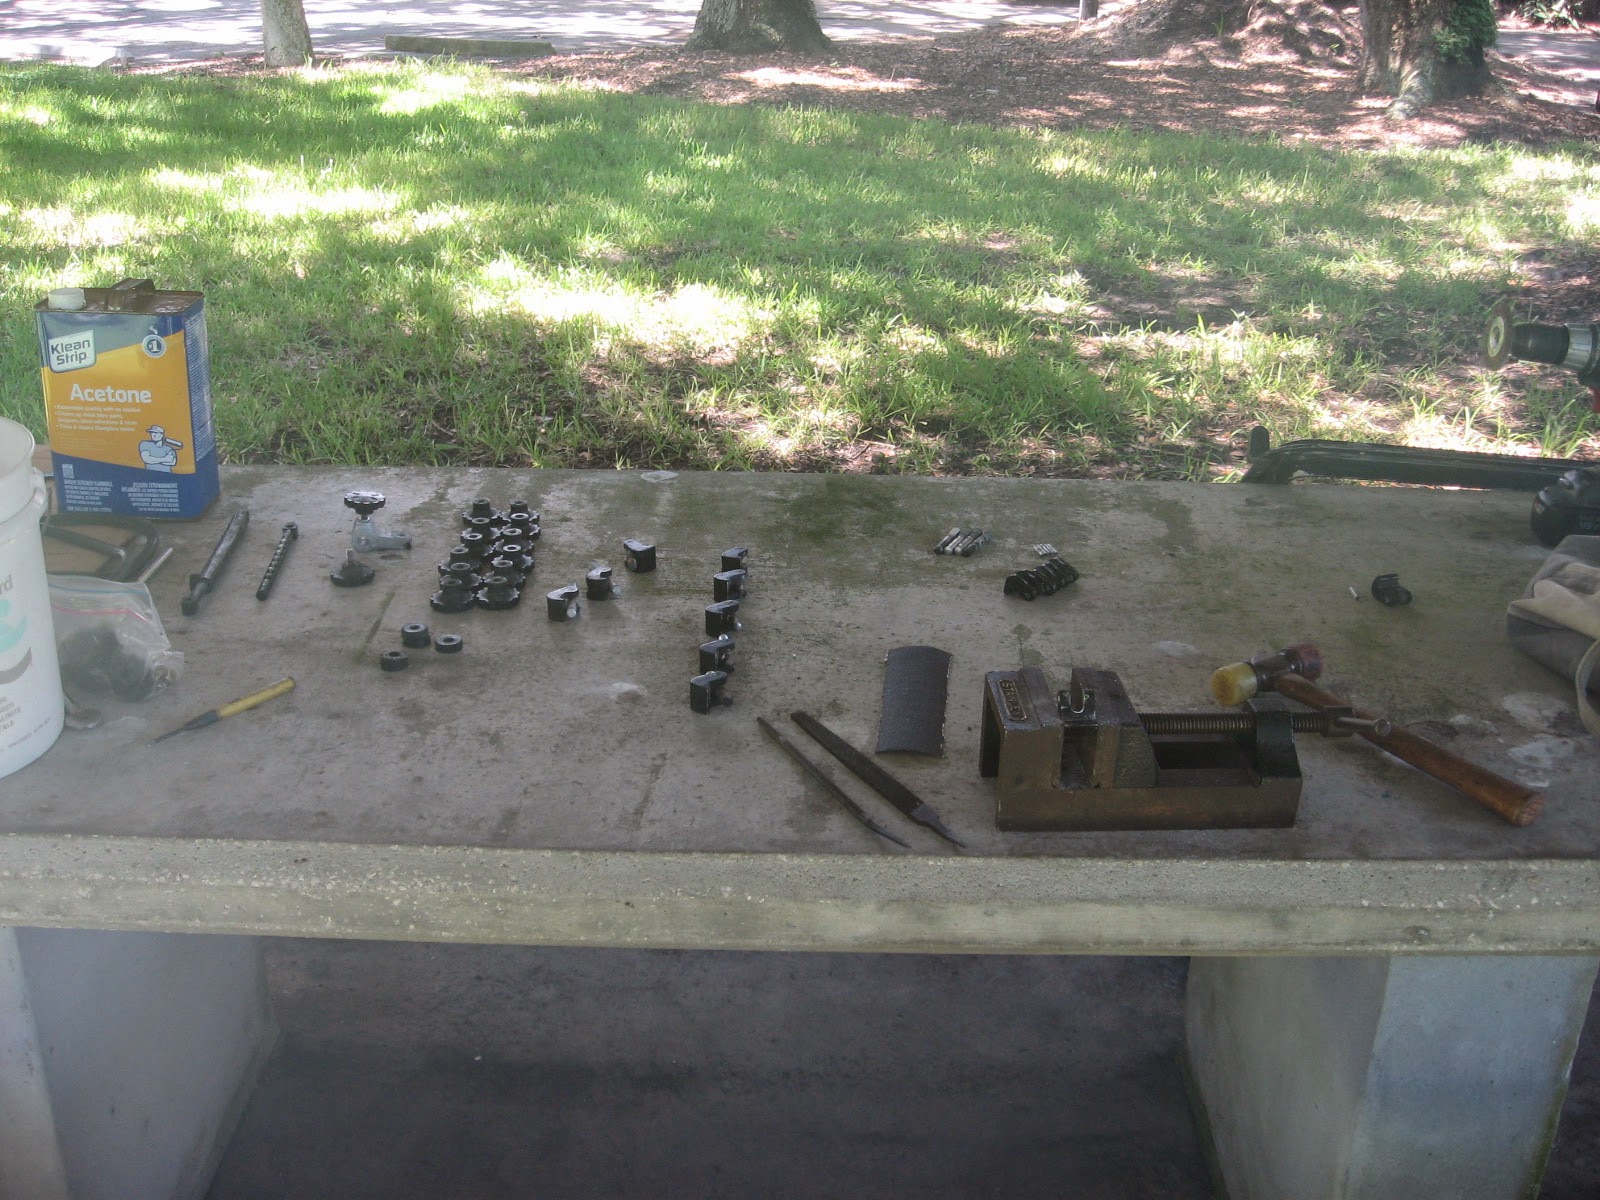
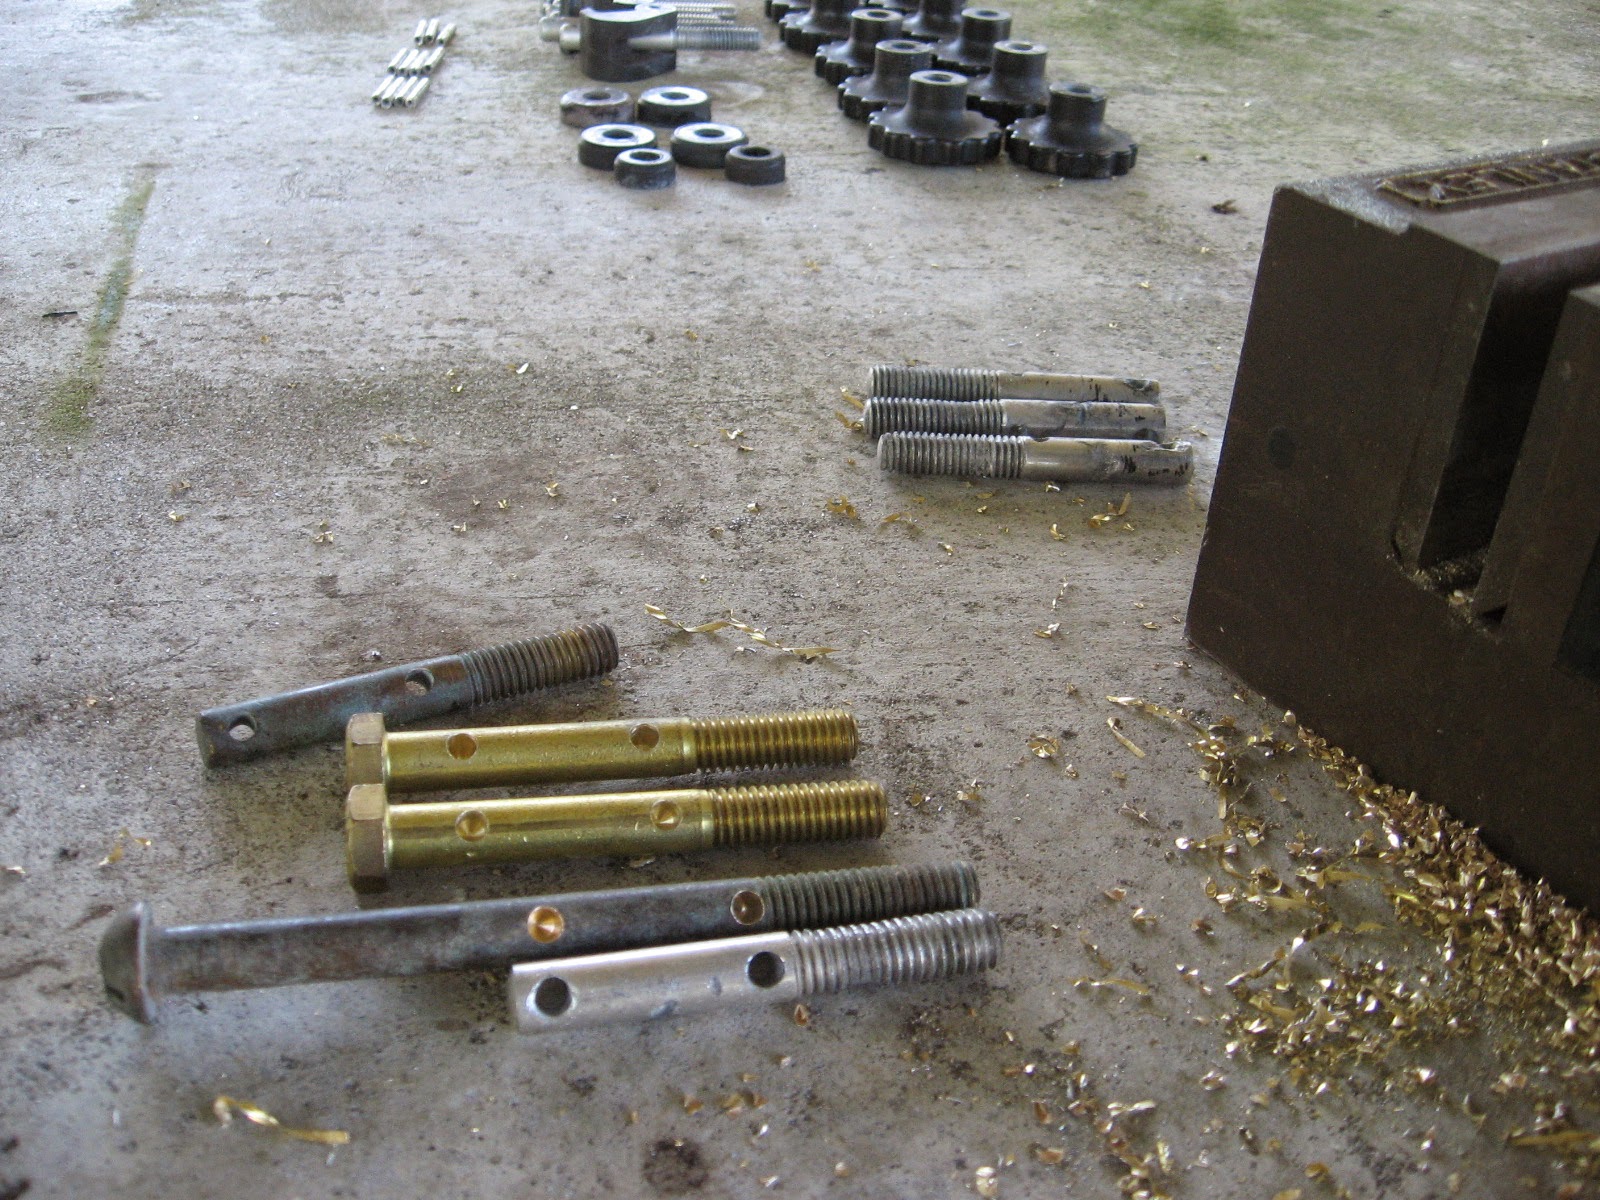
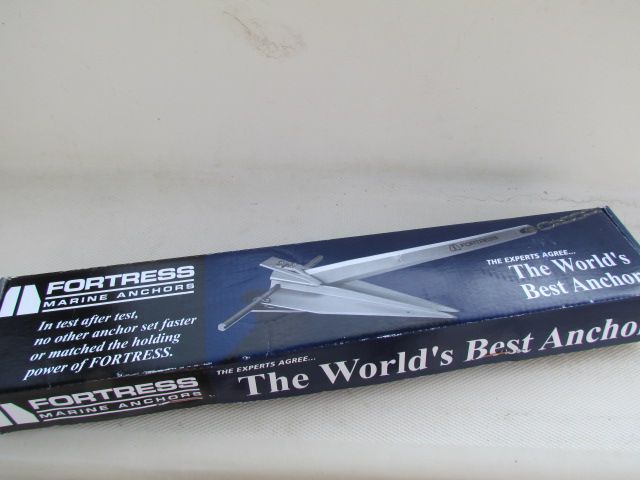
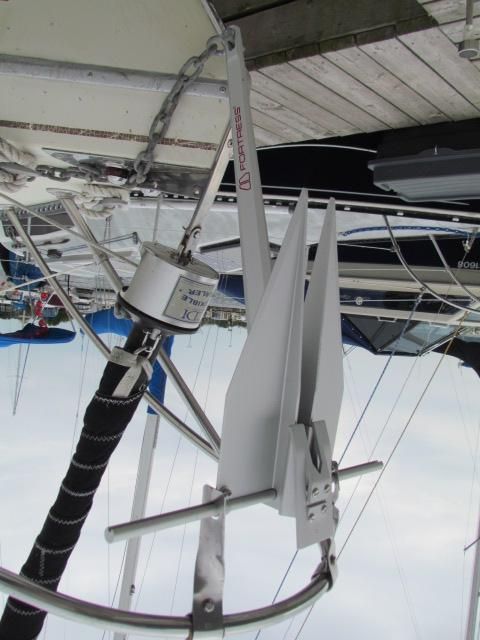
We managed to bend the shank on the anchor that came with NextBoat, and decided this was an opportunity to reduce weight on the bow and make anchoring a less strenuous task for the crew on the foredeck, by replacing the current steel anchor with an aluminum Fortress anchor....
...which requires assembly.
slightly larger flukes, slightly longer shank, half the weight of the previous anchor should make anchor launching and retrieving easier.
We'll let you know how it goes.
Last but not least, a quick little project with a big "why didn't they do this from the factory?" factor:
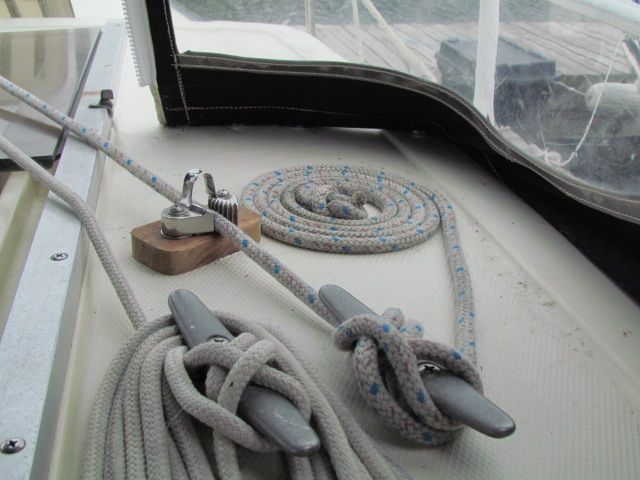
There are no clutches on the cabin top, and the only cleats are horn cleats...
which leave much to be desired when it comes to tying off halyards. You get a couple of wraps on the winch to get a full pull on the mainsail halyard, only to lose tension when you try to secure the halyard around the cleat, leaving you with a baggy sail.
We installed a cam cleat ahead of the horn cleat. No more baggy sails for us!
We also ran the mainsail reefing line to the coachroof, enabling us to reef the main without having to leave the cockpit.
Finally, we made life easier for the mutts. We carpeted the companionway ladder, to make it easier for them to climb/descend.
Ellie demonstrates that she now has ample room to run around.
Lots more projects ahead, lots more work to do, but, she's getting there.
She is becoming a home.
"Talk the Dock!"