Hatches & Cabin Top Projects – Week 2
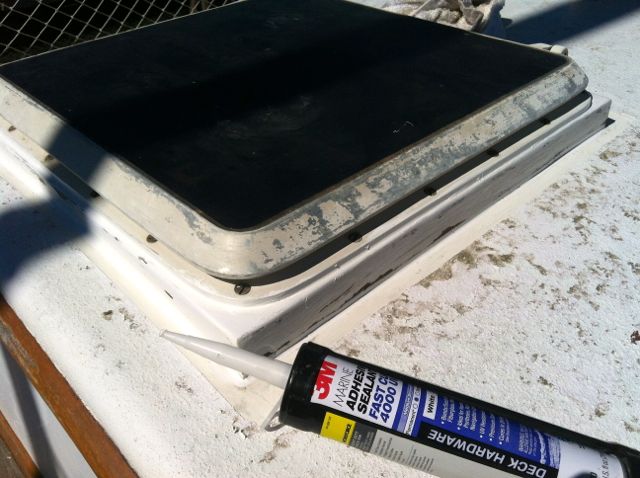
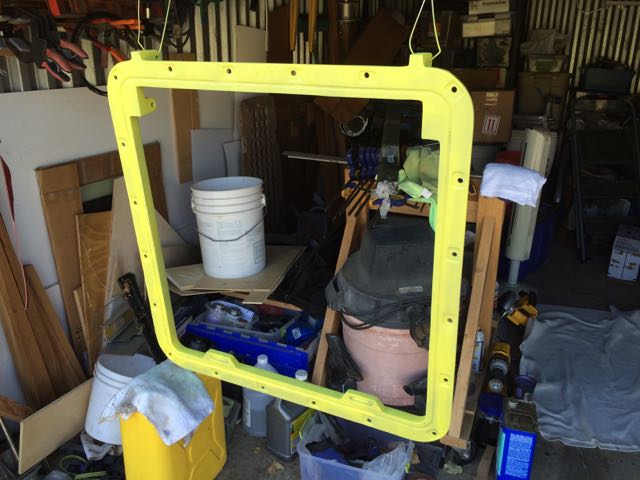
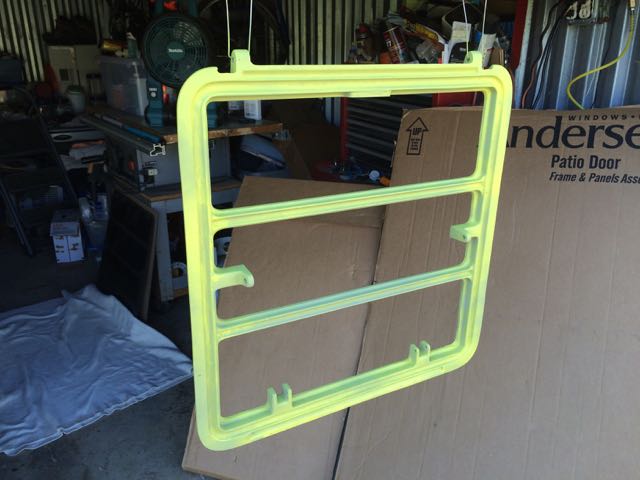
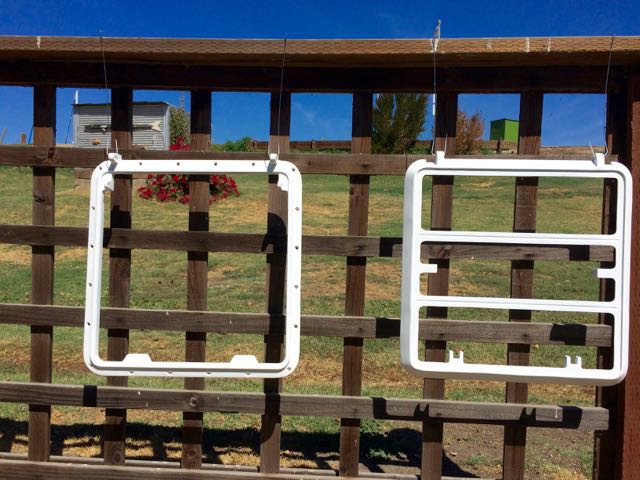
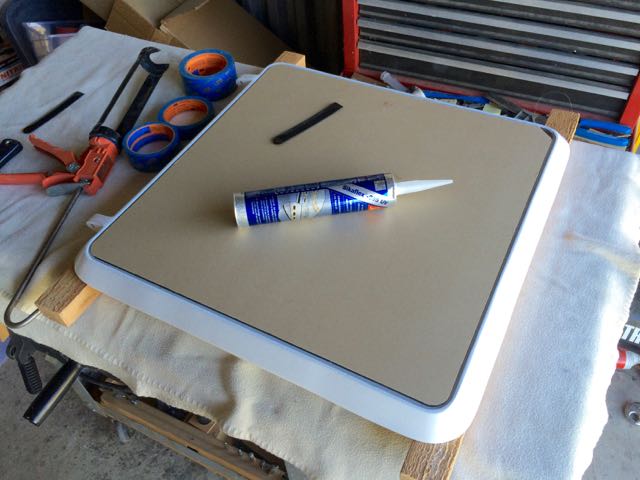
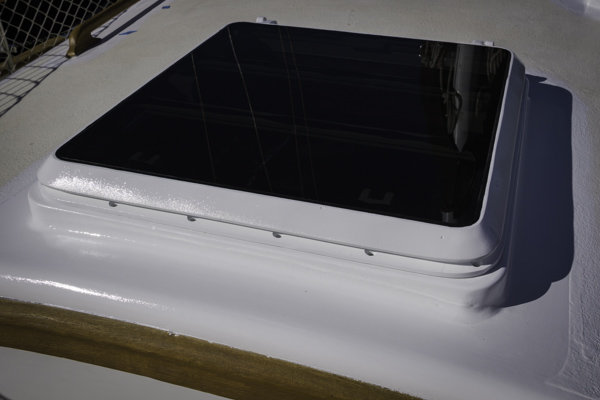
In typical boat-project fashion, refurbishing the two overhead hatches has taken way longer than expected. Rich managed to get both Bomar metal hatch frames off the boat without bending them too much. He removed the old glazing, scraped out the weather-stripping, and attempted to remove the old paint with mechanical means, but it was just too tough. Sand blasting all the old paint off was the better option and after 3 days we finally got the frames back from the sand blasting guy. Rich used an entire can of zinc phosphate primer on one hatch, ran to West Marine for a second can and finished the last hatch last Friday.
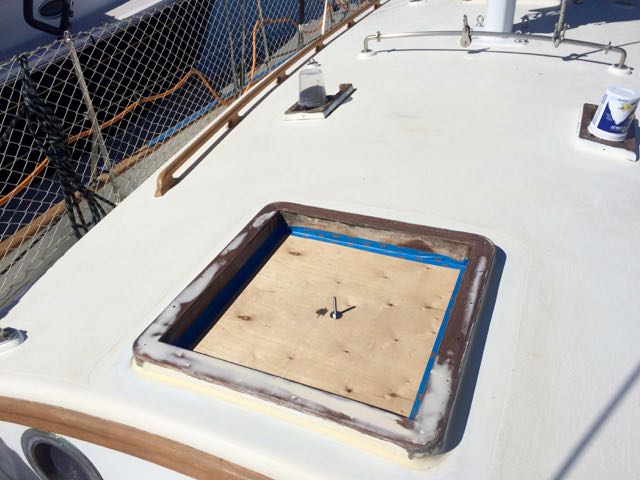
Last Saturday Rich spent spraying Interlux Primkote on the metal hatch frames and faring in the wooden hatch frames on the boat with epoxy. Those things should never leak again (fingers crossed). I picked up trash in the morning for the annual Coastal Cleanup day. It’s always so disappointing to find so much trash right near the water. It makes you wonder what is wrong with people.
Interlux Primekote
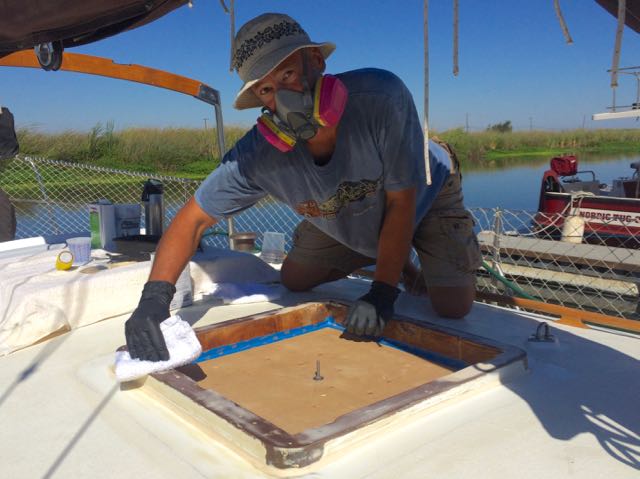
Last Sunday we lightly sanded the Primekote on the cabin top that Rich put on last summer. We just had to sand it enough to give the next coat of Interlux Perfection something to hold on to. Next, we removed all unnecessary tools and the traveler from the boat. Then we washed the boat and scrubbed the cabin top really well. What a dirty mess it was; not only from our work on it, but also from the neighboring farmers who are harvesting and planting again. Finally, late in the day, Rich painted the Interlux Primekote on the two wooden hatch frames.
Interlux Perfection
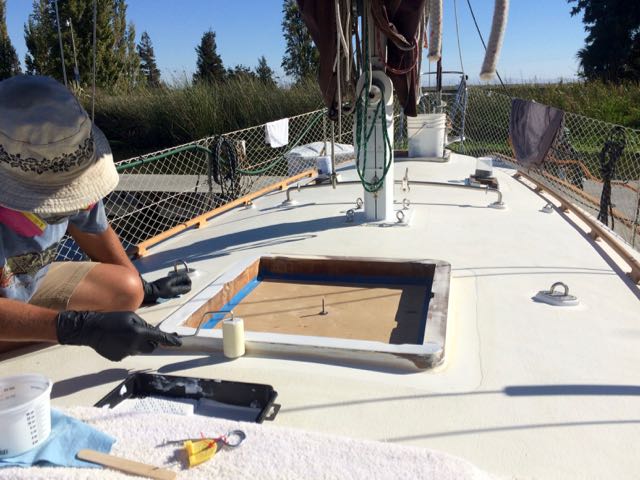
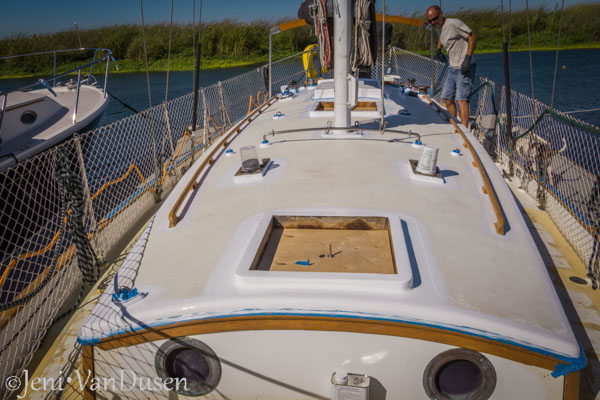
Monday I went to work and Rich prepped the boat for painting the shiny Interlux Perfection on the parts of the cabin top that won’t get non-skid. The mornings have been dewy so Rich had to first dry the boat off. He taped off the teak trim, teak handrails, and other deck hardware then wiped down the cabin top with solvent. Late in the day he started the first coat of Interlux Perfection and finished just as the sun went down. When he started peeling off the masking tape, it was clear that the paint had creeped under the tape on the teak, even though he used the super special masking tape that’s not supposed to bleed. He spent another hour or so with a putty knife and rag scraping paint off the teak.
Tuesday morning was a drier than it had been. The paint looked pretty good, but Rich decided to give it a light sanding before painting on a second coat of Perfection. Wednesday morning we woke up to rain on our faces at 4:20 in the morning. The paint from the day before was fine, but Rich had to spend the day in the shed due to weather painting the first coat of Perfection on the metal hatch frames.
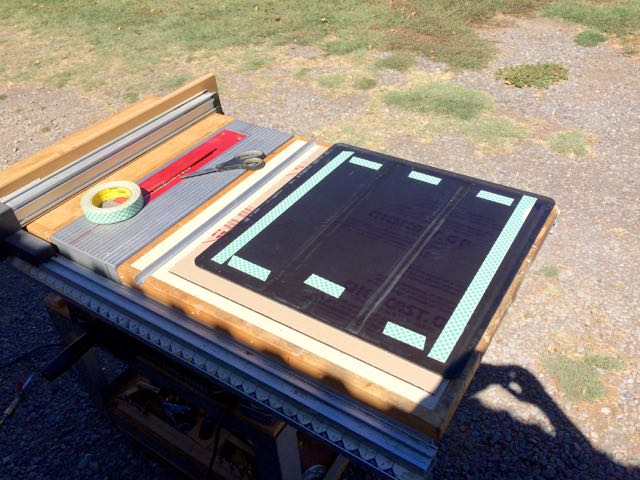
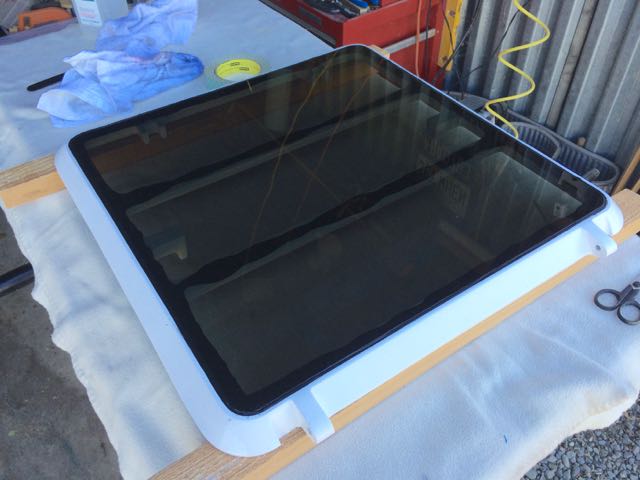
The whole week went by in a blur. On Friday Rich installed the new Lexan lenses into the metal hatch frames. Saturday morning we were determined to finish the non-skid on the cabin top. I started off masking the white areas that Rich painted on Tuesday. Rich came over to give me a lesson in masking and when he ripped off some of the tape I had put down, some of the Perfection came up on the tape (ALARM BELLS SOUND!)
We stopped everything to caucus and decide what to do next. We had to fix the big ding in the paint from the masking tape and Rich also pointed out some other areas where the paint didn’t brush on as smoothly as he’d like. Plus there were a few drips and sags; nothing major, but enough to sway me to decide that we had to do a touch-up coat of Perfection. We did a 180 and started masking the teak for another coat of Perfection.
I also talked Rich into spraying the Perfection instead of brushing. Spraying is Rich’s preferred painting method, but it was windy this week and it would have been too difficult to spray. Plus there is a really nice, and expensive powerboat in the slip next to us. The last thing we need is to get over-spray on their shiny gelcoat.
So with the teak and other bits masked off, Rich sprayed paint while I held a large piece of cardboard to block the wind. We didn’t spray the entire boat, just the areas that needed touching up; mostly under the grab rail and along the forward edge.
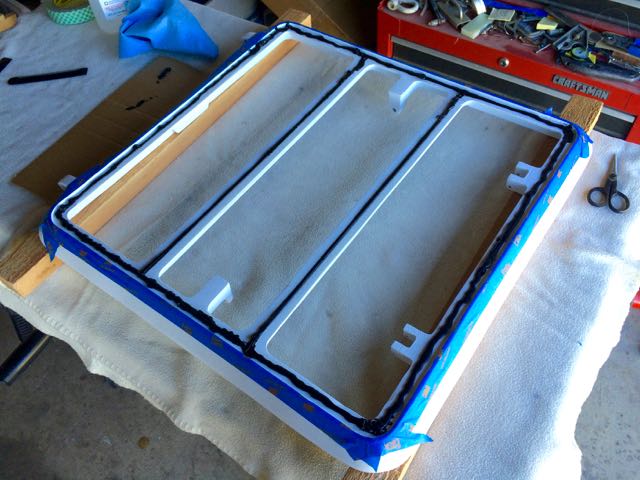
Late in the afternoon on Saturday, we started installing the hatches. Rich had to drill out the holes in the wood frame that he had epoxied over. He used 3M’s UV4000 sealant to secure the metal hatches to the wooden frame. Lastly, he installed the metal pins for the dogs that hold the hatches closed.
So we didn’t get the cabin top completely painted before Rich starts his new job on Monday, but the weather should be good next weekend and we’ll try again.
Tuesday, May 16, 2017
Hatch Rennovation
Aboard Tayana 37 s/v Ramble On, Rich & Jeni continue their re-fit. Here, they refurbish their two Bomar hatches and their mounts...
Labels:
s/v Ramble On,
ventilation
Subscribe to:
Post Comments (Atom)



No comments:
Post a Comment