Climbing a mast is arguably the most dangerous thing you can do on a boat. Before you take on this task, you should go over the task(s) to be accomplished at altitude and make detailed preparations. Rick on
s/v Cay of Sea shows us how:
I installed new deck hardware back in May of this year in preparation for a rigging project. The original idea was to ascend the rig, drop the headstay to the deck, build a new stay then climb the mast again and install it. But there were things to do before I would go up the mast, and one of them was replace the worn out deck hardware through which the line passes.
The second item in preparation was to replace the halyards. I researched the ageing characteristics of the StaSet X line that I use for halyards, and it was obvious that the line was plenty strong, even after 7 years’ service, to support my weight. But I wanted a comfort factor that the old line wasn’t going to provide. New line for halyards was called for. The final crippling of my standing rigging as a result of having the steel wire come out of the spreaders kicked me out of procrastination mode, and I ordered the line. About the same time, I noticed an area of chafe where the main halyard passes over the masthead sheave. So it was time to replace halyards, and now I have no guilt over being wimpy about going up the rig with new line.
 |
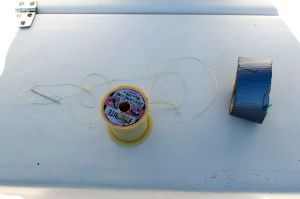
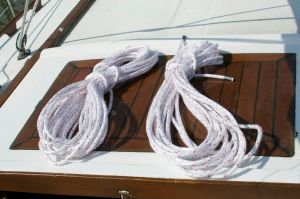
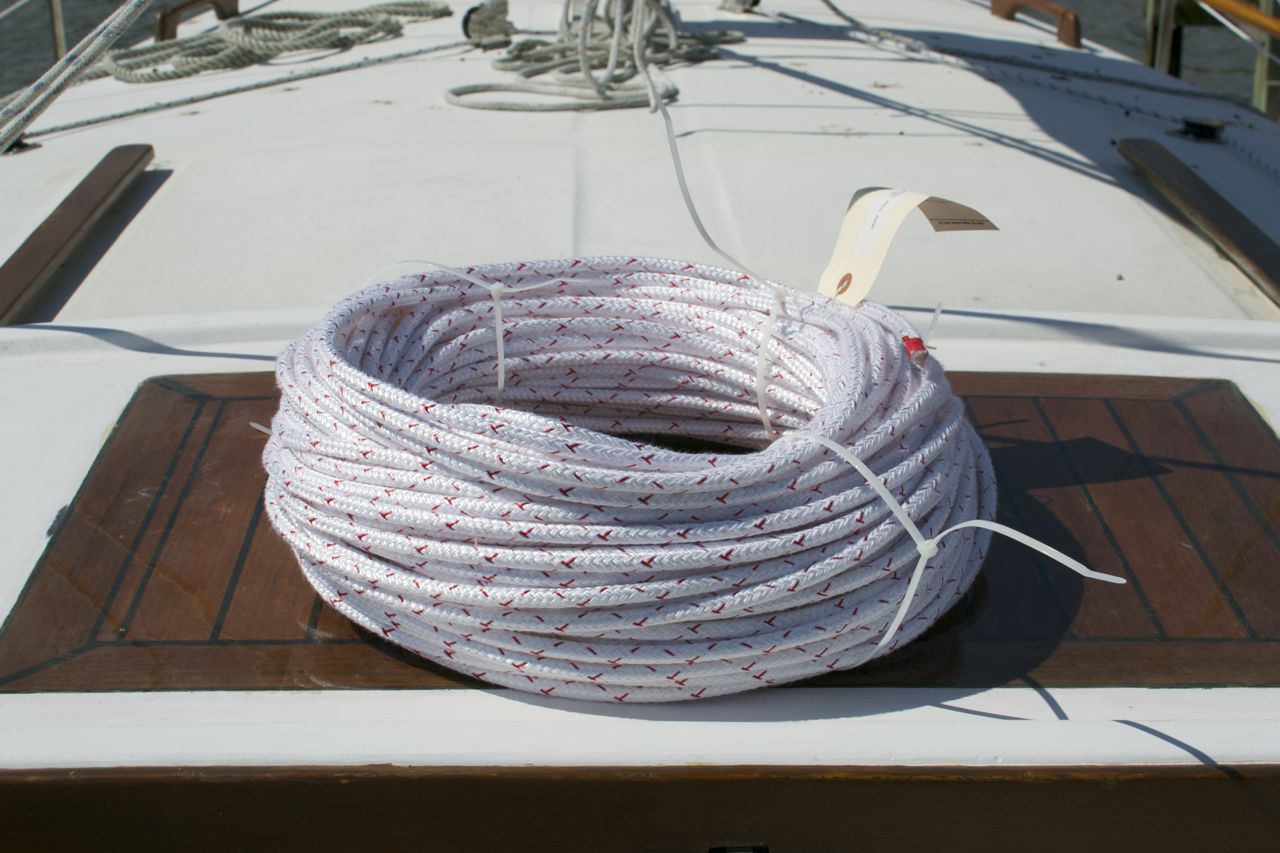
| 300 feet of 5/16 Sta Set X. |
I ran the new line up the mast today. I sewed the new line and old line together at the ends, then covered the seam with duct tape, so it wouldn’t catch in the sheaves at the masthead. When connected and smooth, I simply pulled on the old line until I had new line in my hands.
 |
| Tools for installing new halyards: sail repair needle, heavy nylon “squidding line,” and duct tape. A pocket knife is useful too. |
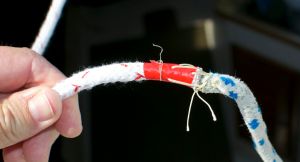 |
| Line ends sewn together. This makes a strong attachment that won’t let go. I wouldn’t trust tape alone. |
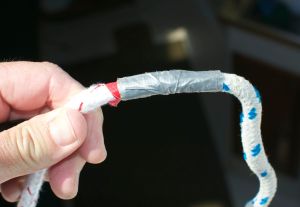 |
| Seam covered with duct tape. |
Tomorrow is the day, at least for Part I. I spent an hour today figuring out exactly what I’m going to do up there, organizing supplies, tools, and procedures.
Supplies
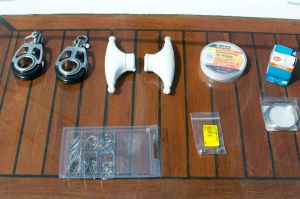 |
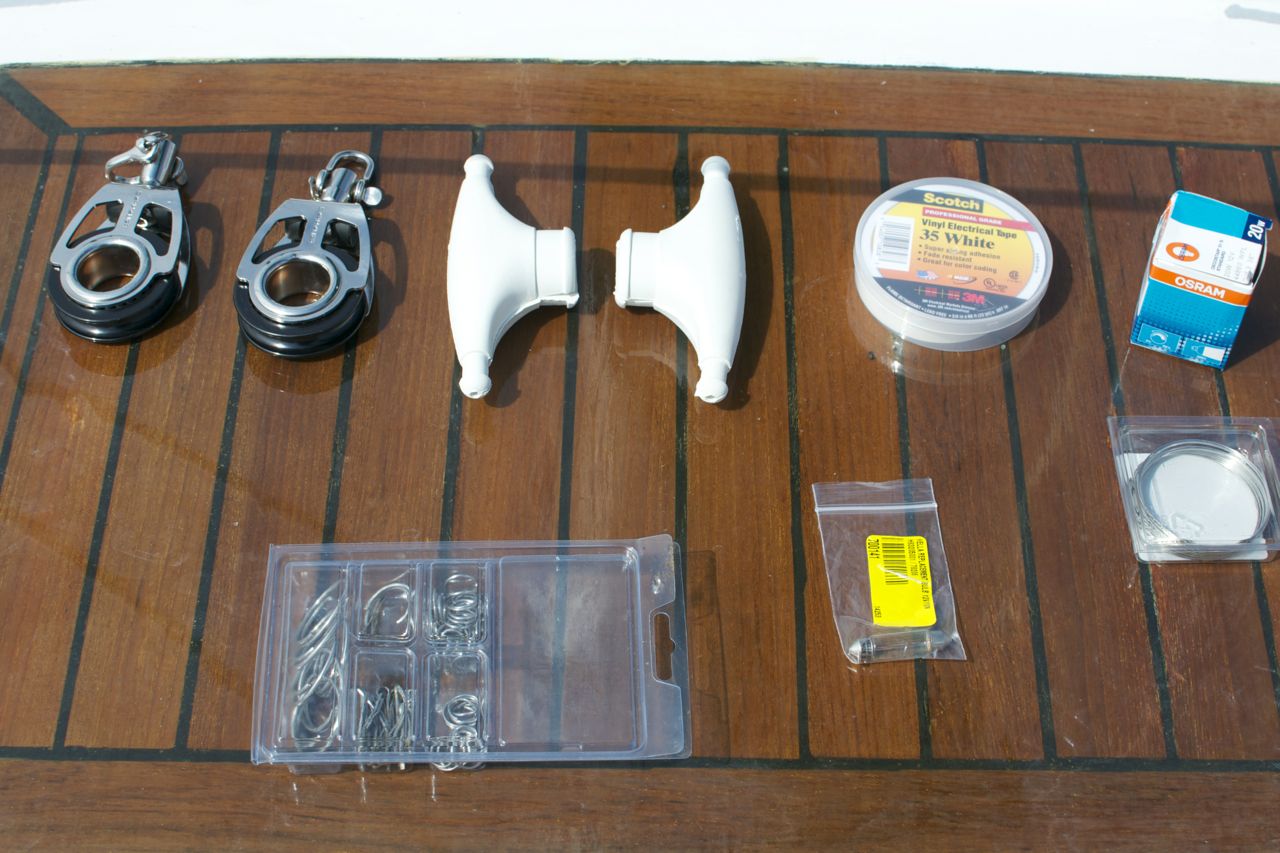
| Seizing wire, spreader boots, rigging tape, ring and split pins, deck and steaming bulb, 2 halyards, 2 new blocks. |
 |
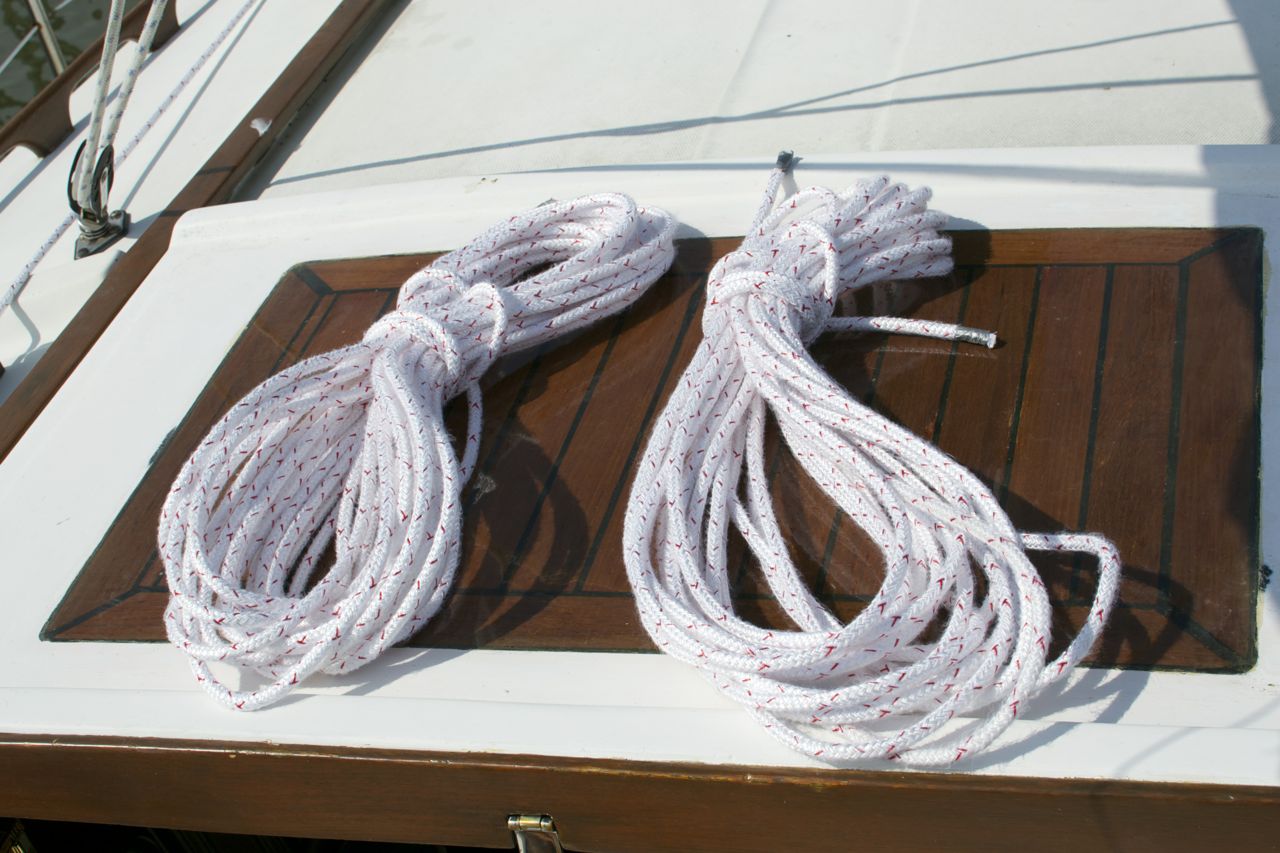
| New 70′ halyards. Had to measure 4 times before I started getting the same length of line consistently. Then cut entire length (140′) in half. |
Tools
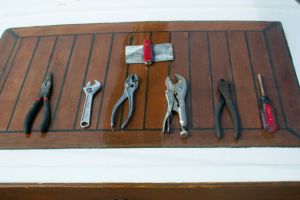 |
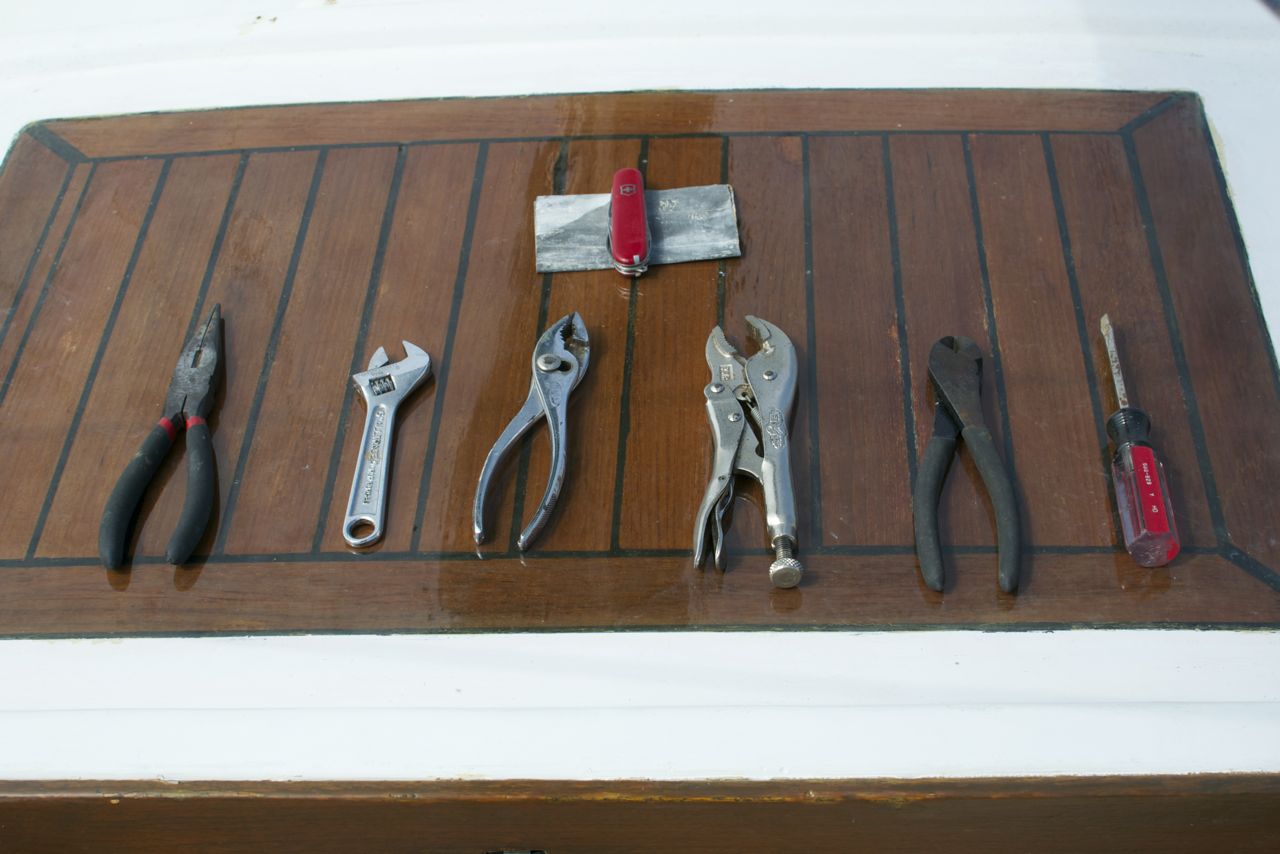
| Essential tools. Piece of material under the pocket knife is emery cloth for polishing 12vdc light contacts. |
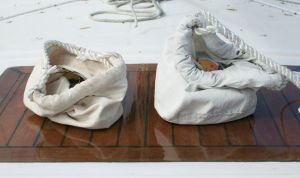 |
| Canvas buckets to the rescue: Tool bag on left, supplies on right. |
Order of Work
- At spreaders:re-slot cap shrouds and wire/seize in place
- install spreader boots
2. At Steaming/Deck Light
- Replace bulbs and test while aloft
3. At masthead
- Attach new blocks, tape shackles/circular retaining pins
- Rove new line through blocks.
- Use one new line as temporary headstay
- Attach other new halyard to harness as safety line (another deck helper tends this line)
- un-attach old spin halyard
- un-attach furler/headstay and lower to deck
- Check fit of old (original) stay to hardware for match
- pin size conflict at stemhead leaves doubt that masthead hardware matches
- Visually inspect all fittings
4. Descend to spreaders and inspect all fittings.
Already done
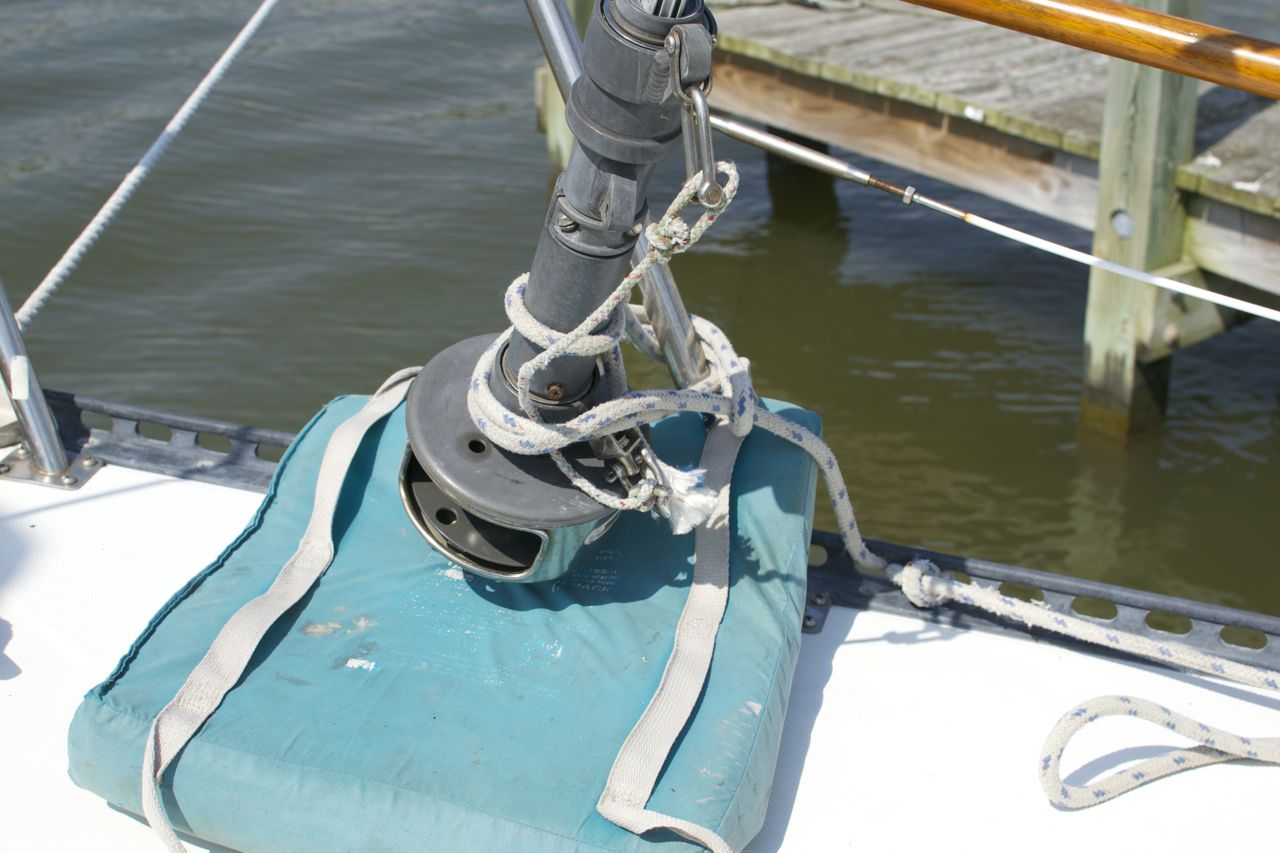
Un-attached furler from stemhead, and secured to rail. Attached old spin halyard to bow pulpit for temporary headstay.
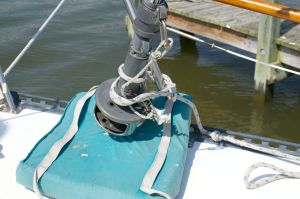 |
| Old furler secured to pulput, removed from stem. |
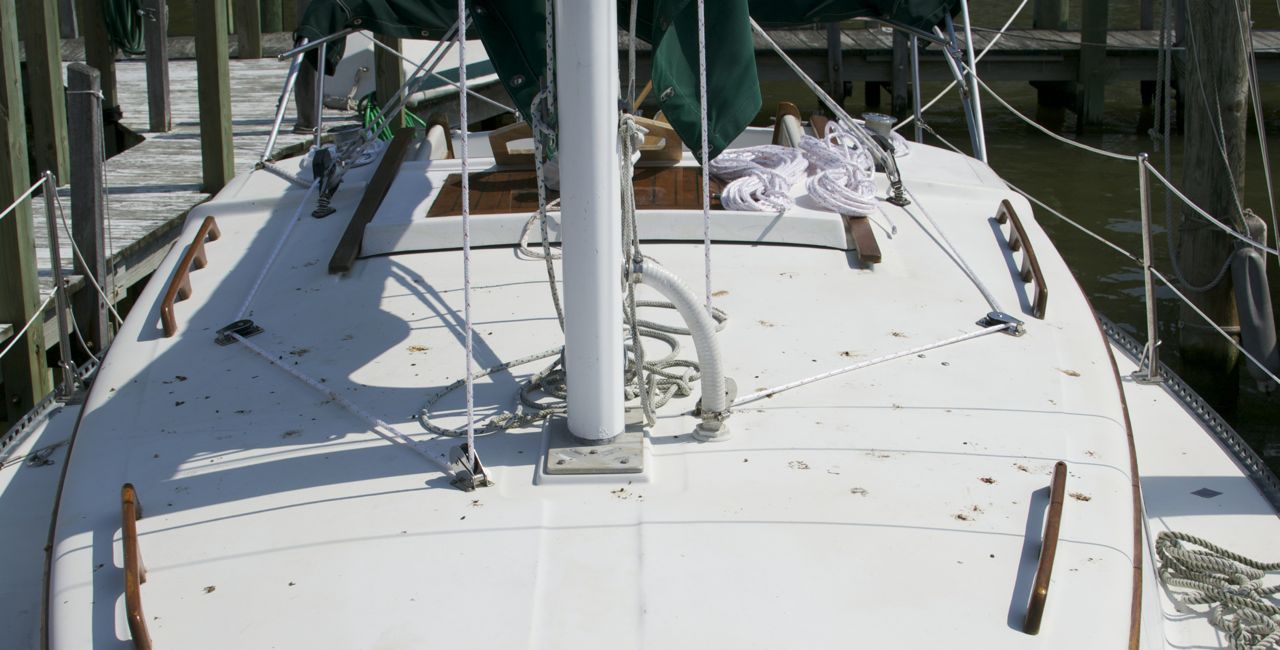
 |
| Final Photo – is this where we got the term “poop deck?” Birds have been doing me wrong! |


No comments:
Post a Comment