As those who have been following along know, I am replacing some thru-hulls and relocating others, so I am left with six holes through the hull that need to be filled/repaired well enough that I can sleep well knowing they will never pop out. I do not claim to be any kind of fiberglass master but after reading and examining multiple ways to make this repair.....this is how I am doing it.
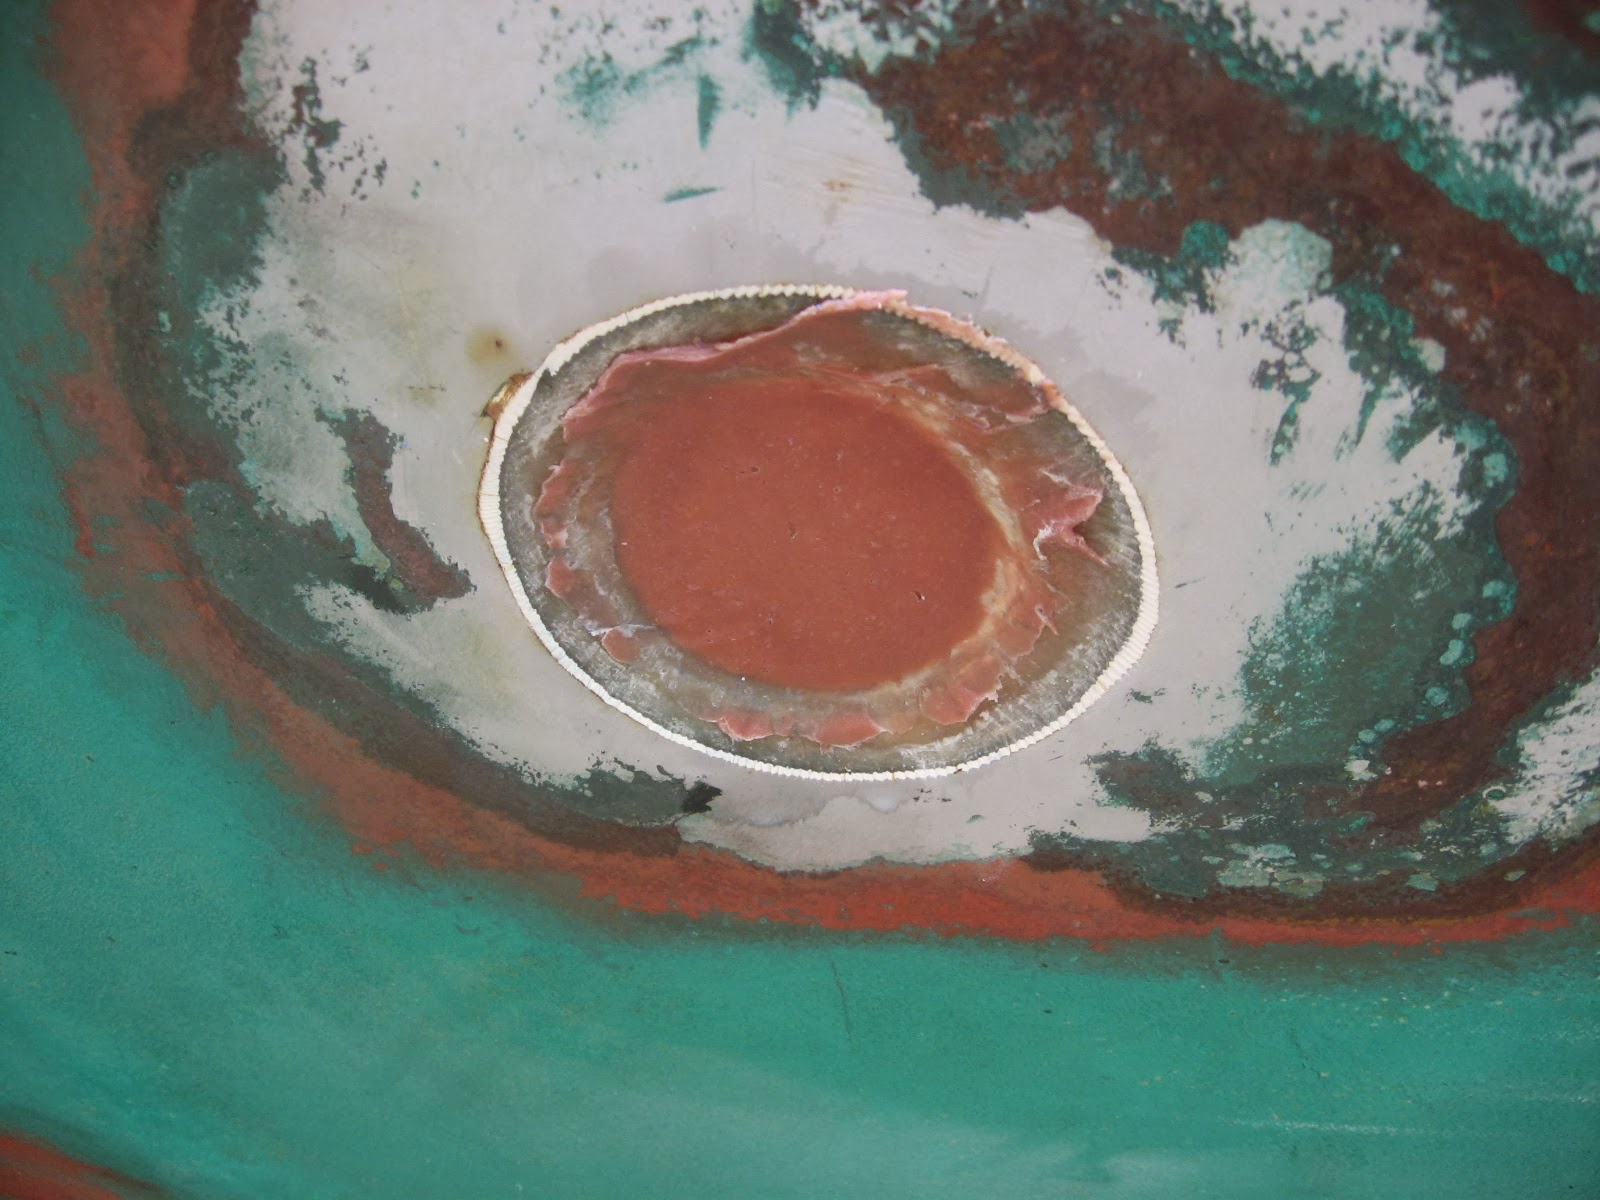
Here is a hole left from a 1 1/2" PERKO sea-cock, I have three of these and three from 3/4' sea-cock. I ground from the outside to within an 1/8" of breaking through. Then, what I have no pictures of is that on the inside of this hole I then ground another taper around the circumference although much smaller than what is on the outside.
Then with a wax paper covered disc of an appropriate size, I mushed some thickened epoxy up into the hole and then scraped the inside flush . Sorry the pictures are missing so many details here but....
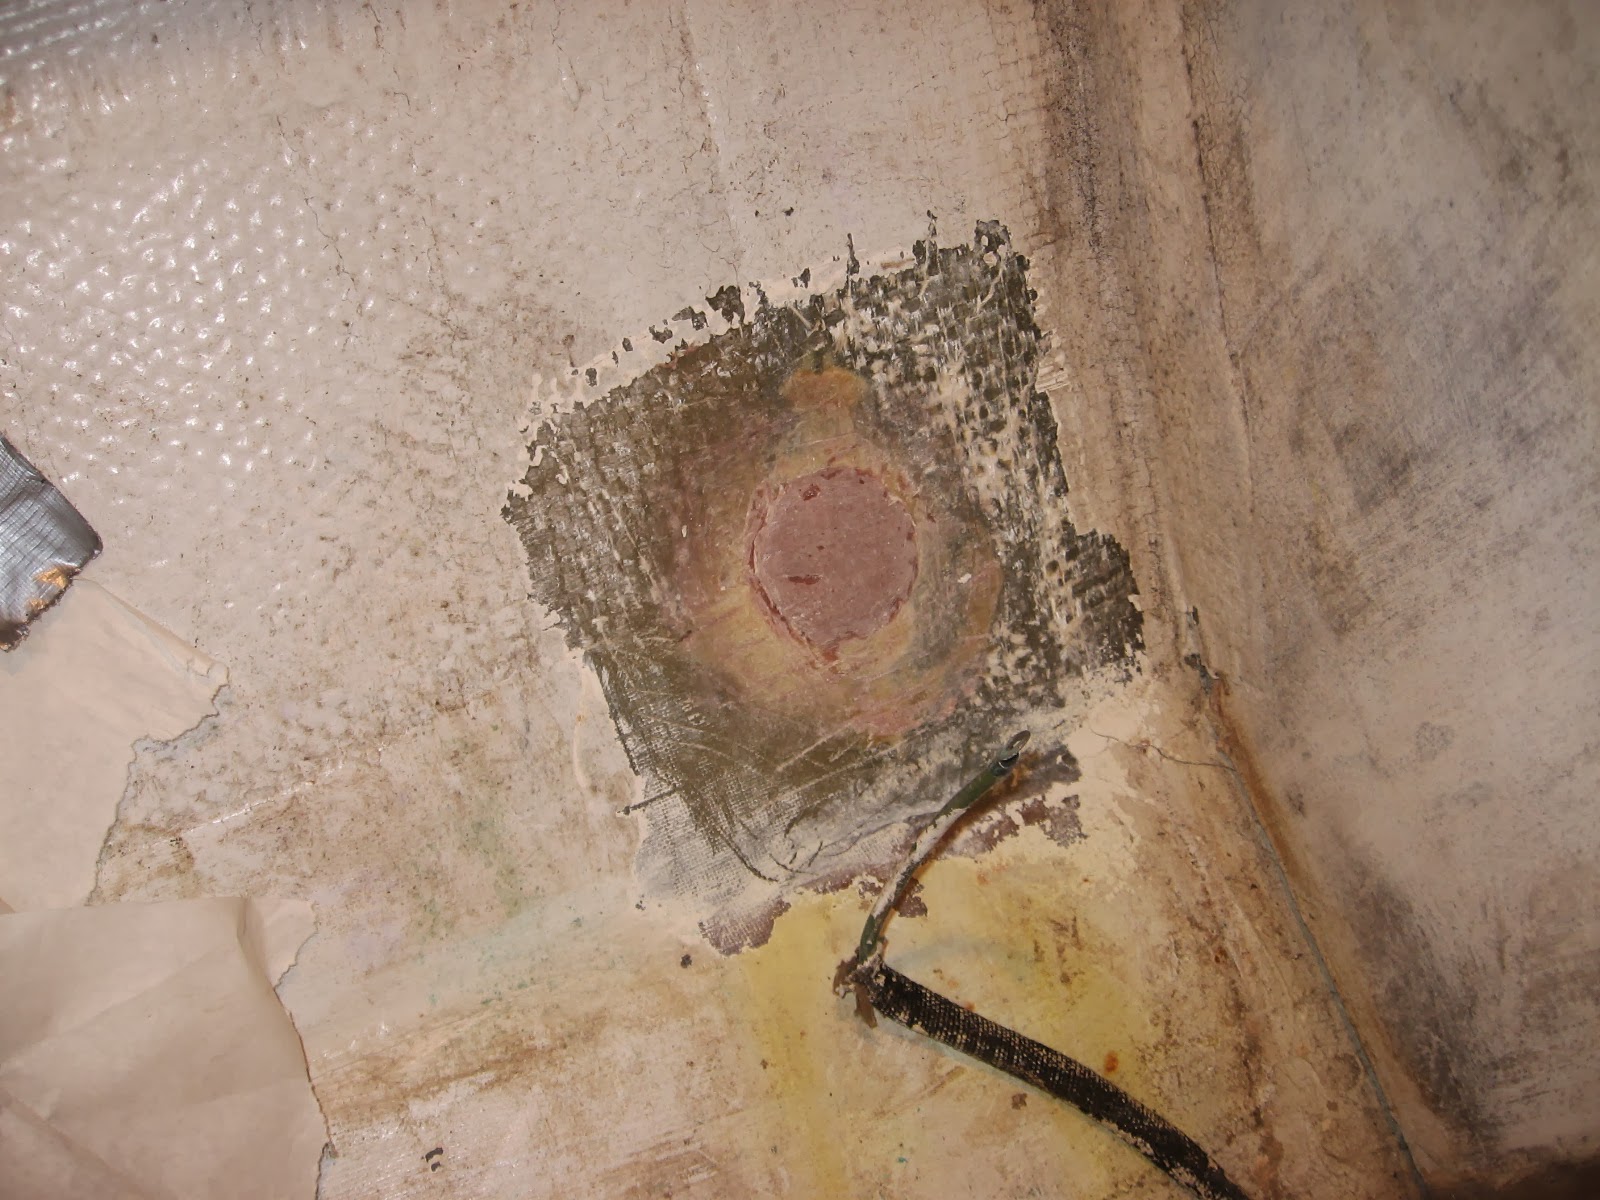
...what is really left is a puck type plug being held from both sides of the hull. It can neither punch in or punch out. The hardened epoxy puck is kinda shaped like this...> <.....looking through the cross section of the hull. It just so happens that this inside picture of the plug is the worst looking of the bunch. Looks really don't count here, quality does.
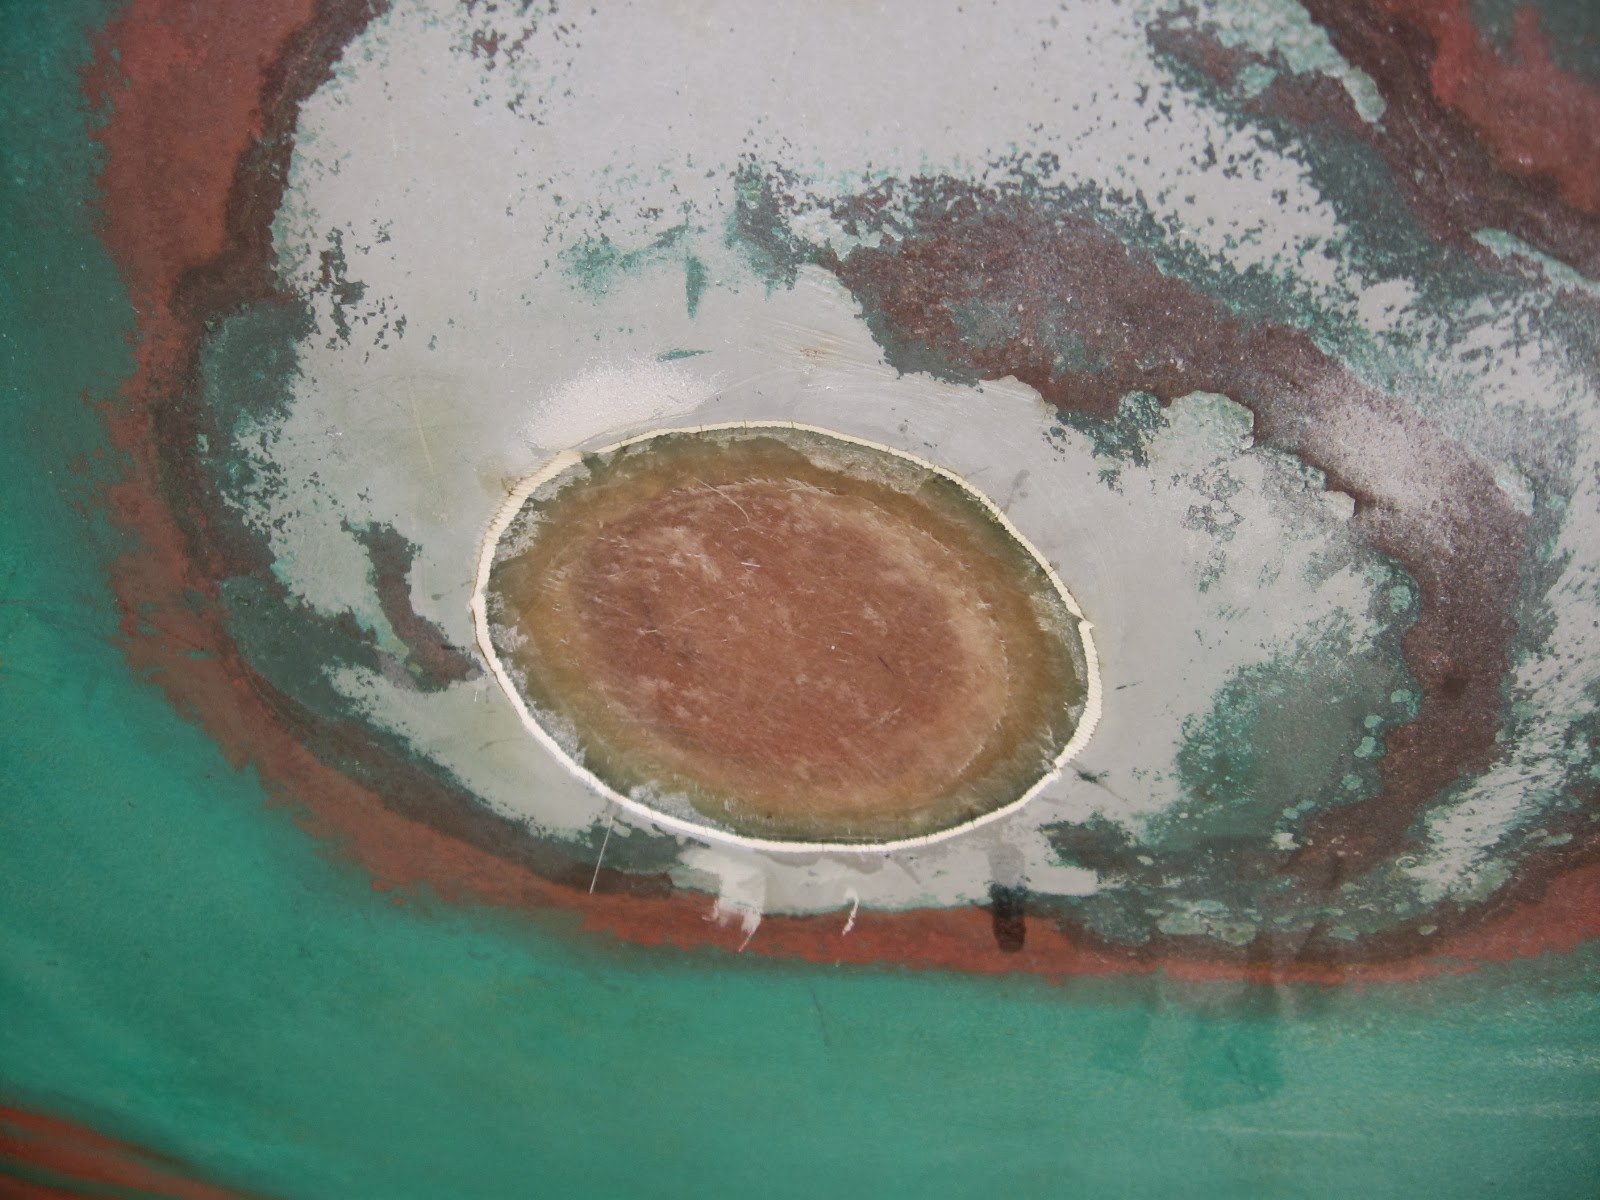
After it set , I ground and cleaned the inside and outside ready for the fiberglass matt to be used as filler.
I cut multiple size discs in about 1/2" increments to wet out and fill the exterior holes. Each overlapping the next getting bigger as it fills.
This shows three consecutive layers being filled into the exterior.
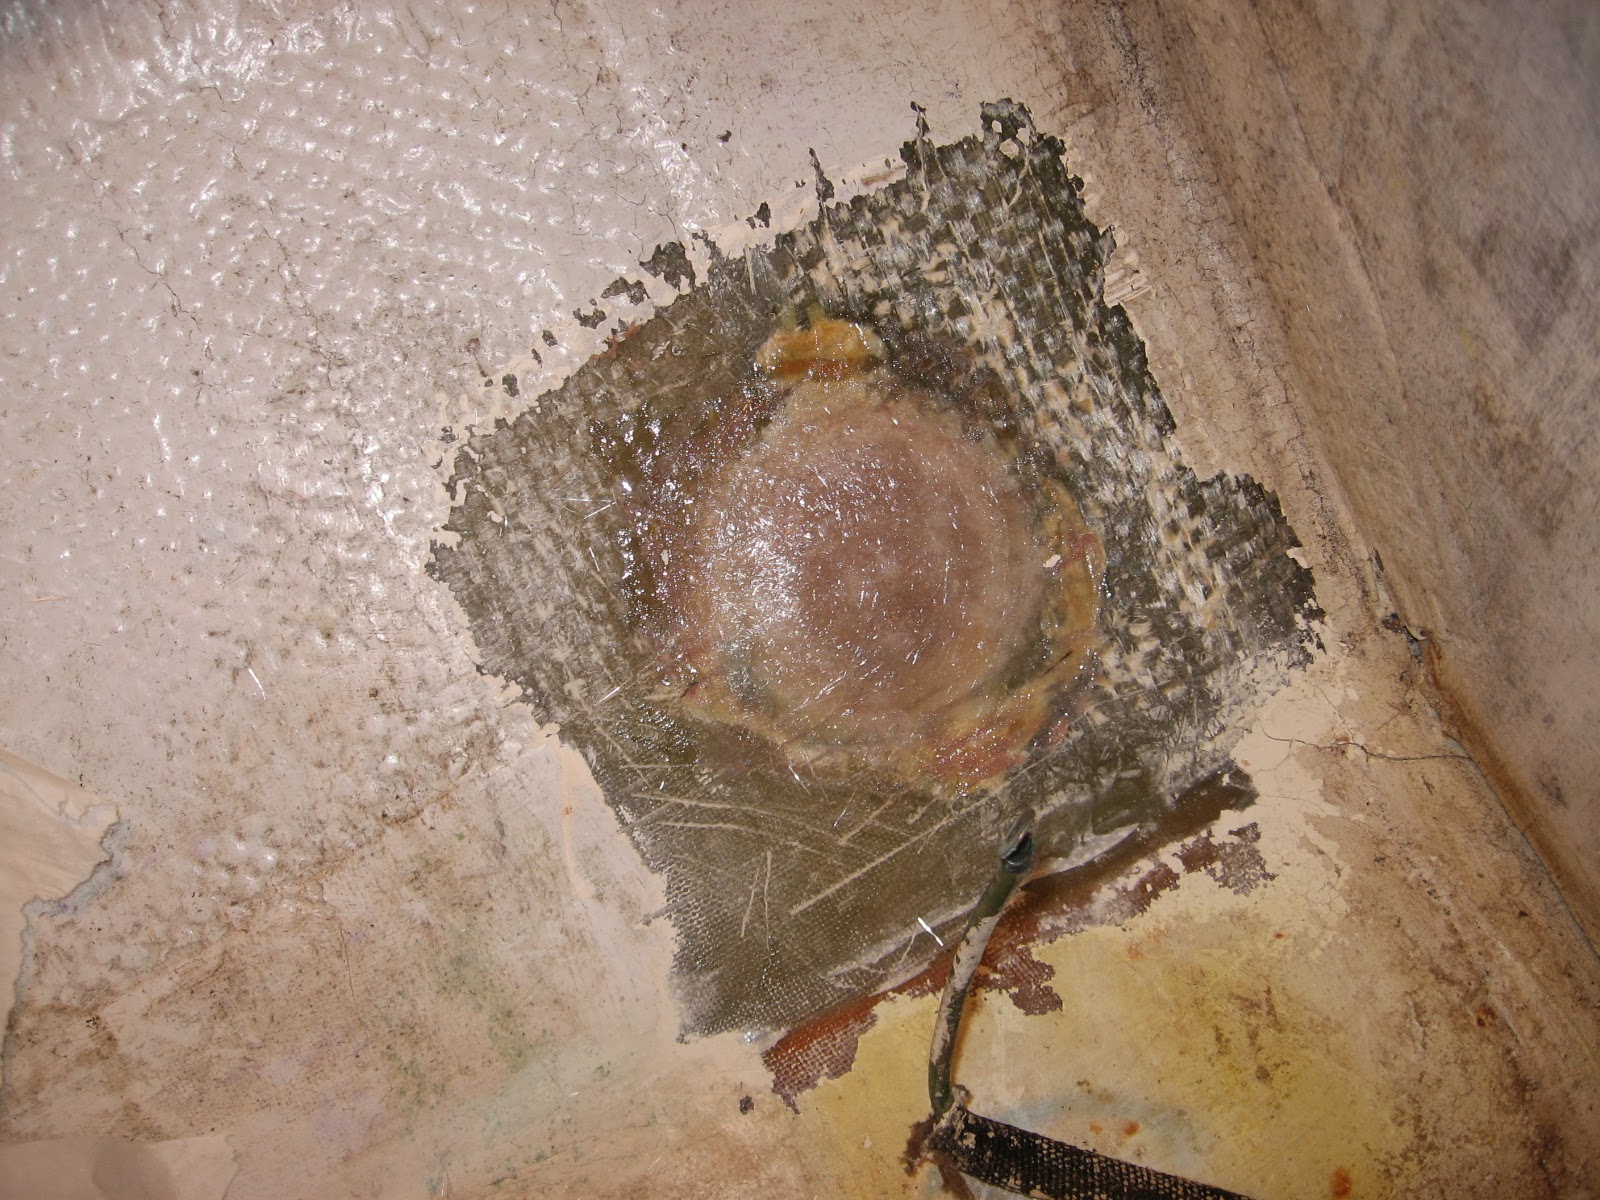
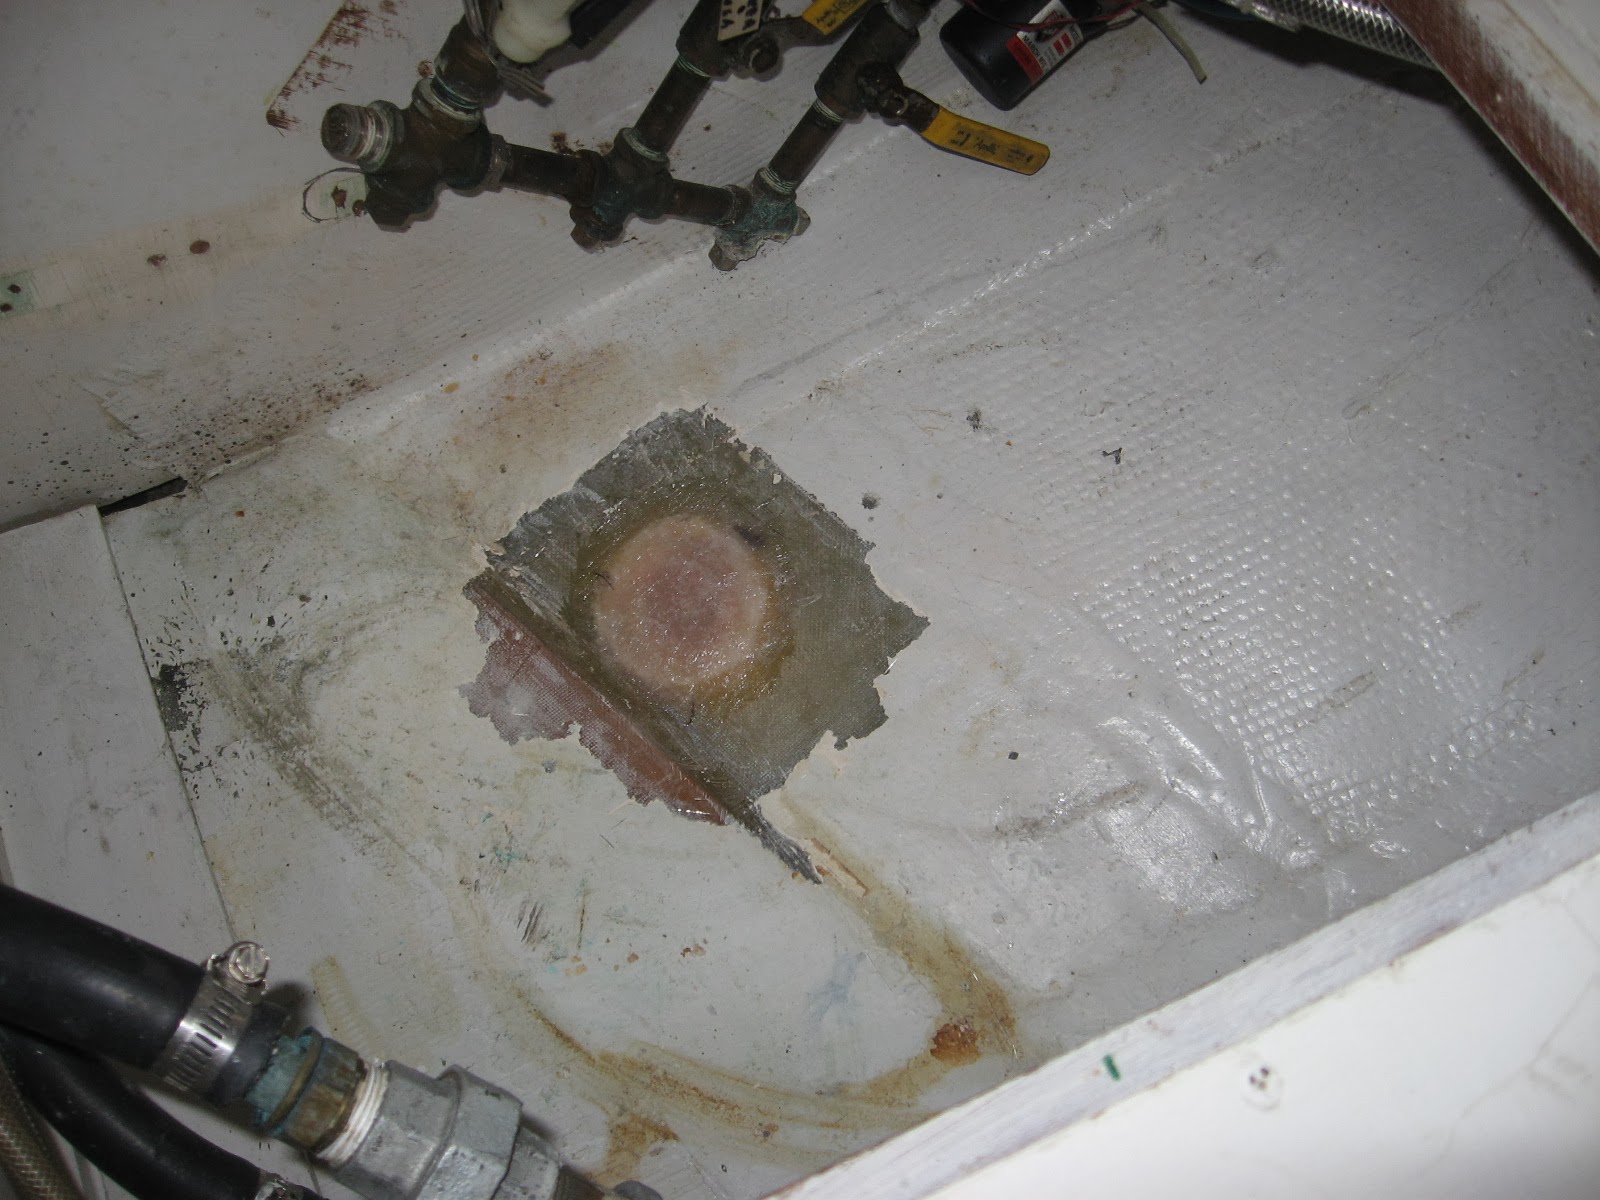
This shows the same size three layers layed directly over the plug from the inside. Th finish the inside next I will lay two or three more consecutive layers spread out to rectangular shape thoroughly cleaned to bare fiberglass. (note: I am using west epoxy for this repair)
These interior patches should without a doubt be enough even if the exterior somehow broke free. This might be way overkill of a patch or I might just have my head far up the nether regions of my backside in regards to a "proper" fiberglass repair. Either way....I'm going to be OK with this patch.
I'll have more pictures for the finishing up in due time.
Tuesday, March 25, 2014
Filling Big Holes
Ken & Vicky, who live aboard s/v Painkiller show the technique they used to close off holes in the hull left when unneeded thru hulls are removed. It's a little bit of a departure from the normally advertised technique...


Subscribe to:
Post Comments (Atom)


No comments:
Post a Comment