Over on
s/v Cay of Sea, Rick has been busy constructing a new engine room cover. Today we see how he constructed it (and thanks for the shout-out Rick!). This is Part I of a two-part series - watch for Part II later.
The old engine compartment cover doesn’t fit since I enlarged the compartment access. Motoring across the creek from the boat yard underscored for me how important it is to have that hole covered up, preferably with a cover that would absorb engine noise. My goal for the engine compartment cover was just this – fill the hole, muffle the noise.
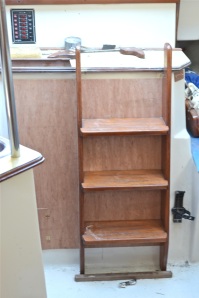
First, a photo of the old cover for reference:
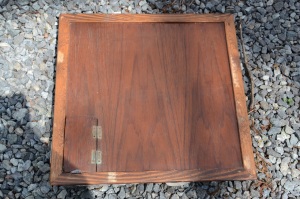 |
Nothing special, really. The 1-inch mylar-backed
foam insulation that covers the back of it is in
bad shape. I was never happy with how the edges
sealed the air space, and the door was difficult
to get my hand through. |
The old cover fit okay, but was never flush to the outside of the compartment. So there was open air space around the edges, which let out more sound. Even when I installed weather-stripping, I couldn’t get it to close all the way. Reaching through the door to operate the raw water seacock was uncomfortable, etc., etc. I wanted to make a new cover that didn’t have these little annoyances.
I began with a 4′x4′ piece of “underlayment,” which is just a piece of 1/4″ ply with one good side. The grain is fairly even, and its color is closer to mahogany than birch ply, which starts out a lot lighter in color. We have a 4-door sedan (Nissan), and it was a bit of a puzzle to get it into the car for transport. Wish I owned a small pickup . . . I also bought some 1″x2″ for framing out the panel, two 2′x2′ squares of pink foam board for insulation, two rolls of aluminum tape, a tube of construction grade exterior adhesive (like Liquid Nails), and two small brass hinges w/fasteners.
I carefully measured the opening, and cut the plywood to exceed the dimensions of the hole by 5/8″ all around. Then I carefully measured the panel and marked it for the framing– too big! I made it exactly 5/8″ smaller than the outside dimensions of the ply, and my test fit (of course) revealed that the inside frame was exactly the same size as the opening – duh. I knew there was something wrong with that when I did it. Fortunately, I just had to remove an 1/8 inch more material in the engine surround, and the panel fit perfectly. It took 10 extra minutes, and I was back on track.
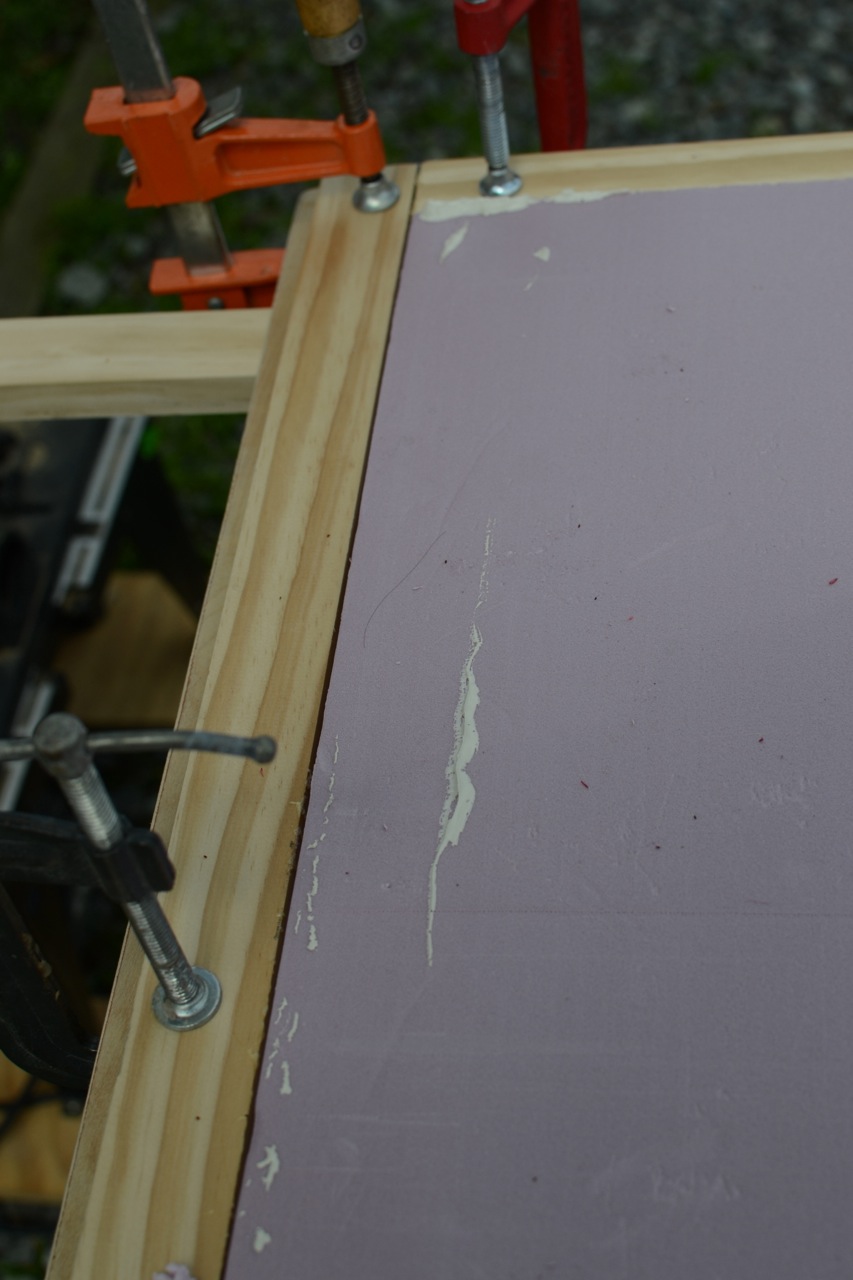
I cut the pink foam board to fit inside the frame, and applied the construction adhesive.
 |
I used the entire tube. No reason not to.
The frame is glued only – no screws.
I almost had enough clamps! |
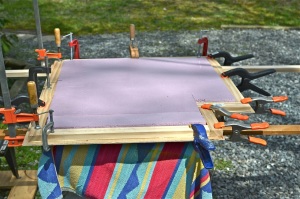 |
Foam set into the adhesive.
You can see the door cut-out, which was foamed separately. |
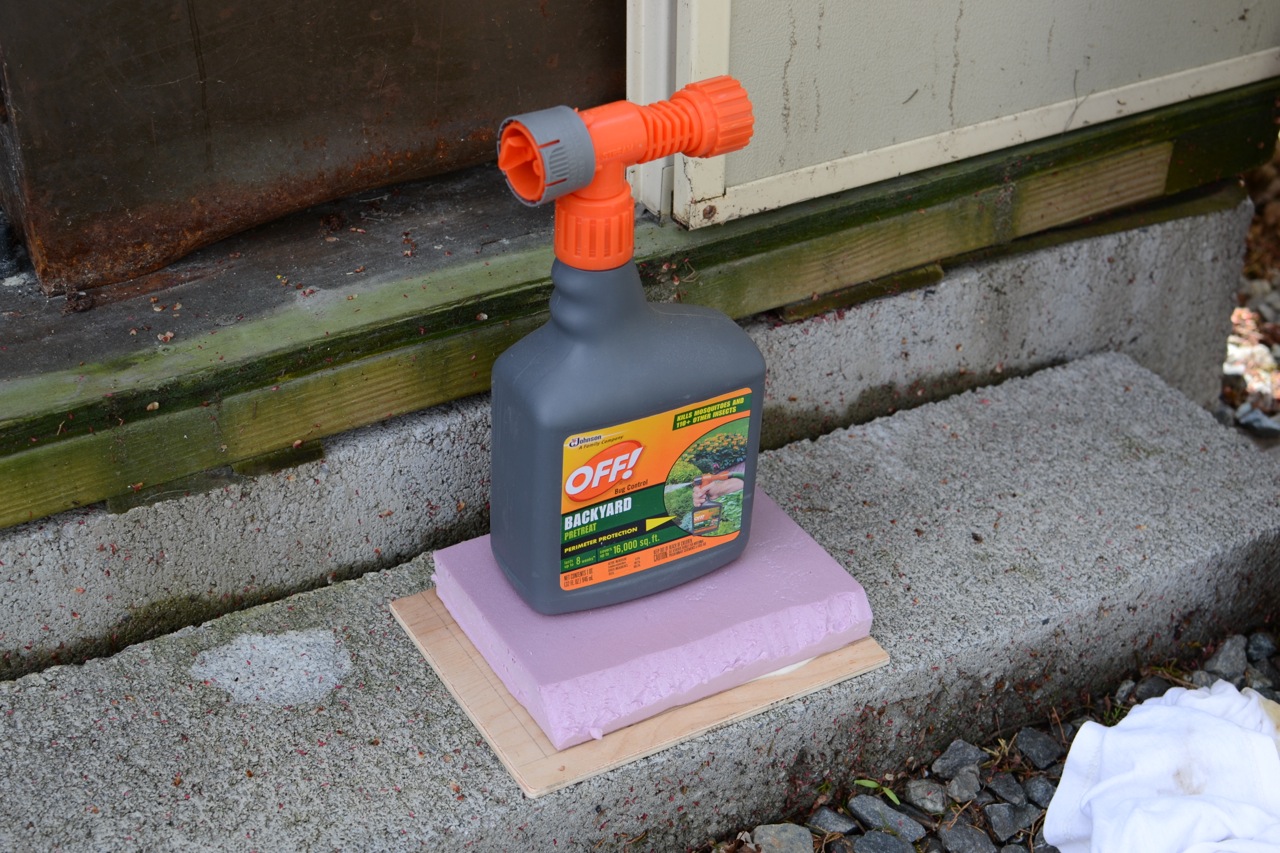
I set moderately heavy things on top of the foam, and went inside for lunch, waiting for the adhesive to cure.
 |
Of course, the first time I laid in the foam,
I put it wrong side down. It cleaned up easily. . . |
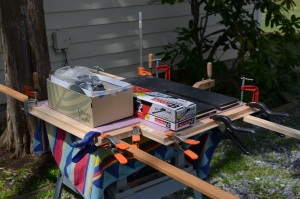 |
Moderately heavy things pressing the foam
into the adhesive. |
 |
This is the door section with its own modestly
heavy thing pressing the foam down. |
After lunch, I taped the entire surface of the foam with aluminum tape. I need to pause here, and acknowledge Robert Salnick for the information about this stuff – it is a great product. He featured it on his blog not long ago, and I was taken with the idea of applying a metallic surface to an otherwise non-metallic material. This foam was the perfect place for it. The tape adds density (sound deadening), moisture resistance, and fire resistance. And the sticky back is very sticky. I taped all the foam surfaces with it, and taped down the perimeter to the inner frame.
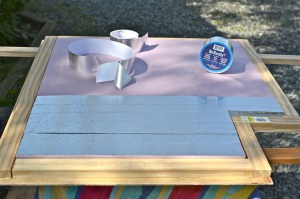 |
In progress. The tape has a peel-off backing,
and comes in rolls of 30 feet. |
 |
Finished. |
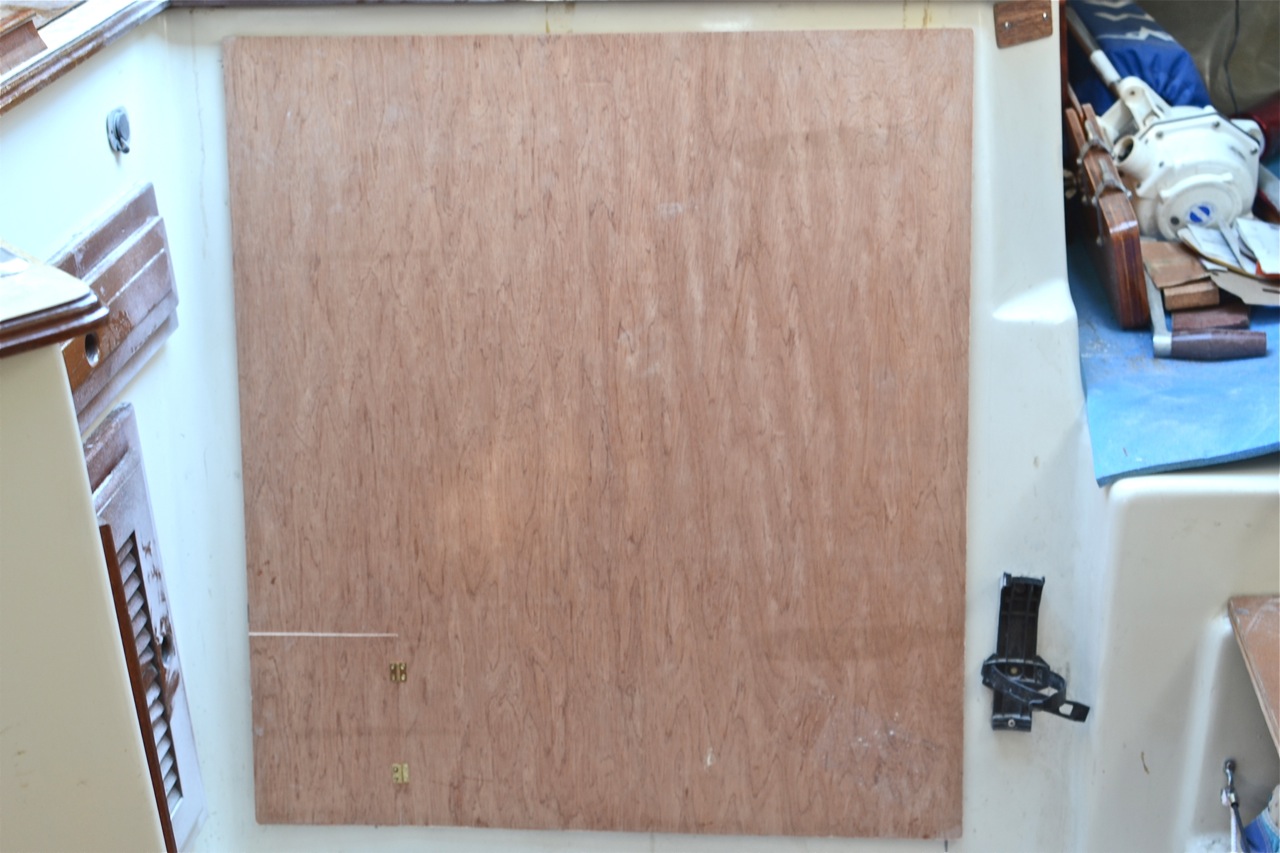
The old cover featured a frame around the perimeter with mitered corners. I left the frame off the new cover. I didn’t see that it added anything substantive. I saw a photo of my friend’s Watkins 27 (thanks again, Jim Brewer) who had omitted the frame from his. I thought it looked clean and simple, and I adopted the idea. After installing the tiny hinges and seacock access door, I took it down to the boat for a fit. Here are a couple of photos:
 |
| I may fashion a turn-button to keep the door closed tightly. |
 |
Three coats of varnish will darken the material
and make it blend with the rest of the
interior woodwork. |
There are a few more items to finish. I will secure this cover at the corners with screws. Like the original cover, this one doesn’t lie flush and tight against the surround either. A screw in each corner will pull it down tightly. I’ll install weather-stripping for a gasket all around. I also need to reinstall the top teak tread/step directly to the counter, trim the top of the ladder, and refashion how it secures to the counter. Then all of it gets new varnish to look fresh.


No comments:
Post a Comment