First off, the basic instructions came from one of our favorite books: “The Arts of the Sailor” by Hervey Garrett Smith.
You can also find the directions (including Hervey’s) on-line by googling “making baggywrinkle”. But, it’s a lot more fun to have a copy of Hervey’s book onboard.
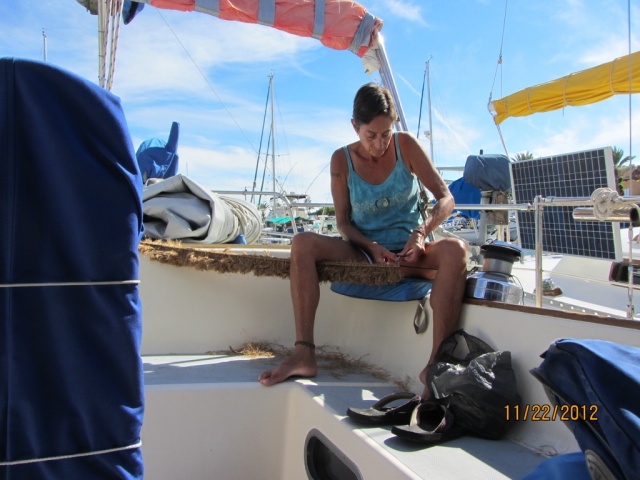
First you have to collect a whole bunch of 5-6″ pieces of line that’s not good for much of anything else. We used the cut-off ends of the 3/4″ manila that we made our fenders out of. Lulu unlayed the line and then divided each strand into separate yarns.
Then you double a long piece of nylon line to use as a core and fasten it between two anchors. To get an idea of how long the core needs to be, a 4′ long piece of baggywrinkle, wrapped around a 1/4″ shroud, will end up about 1′ long.
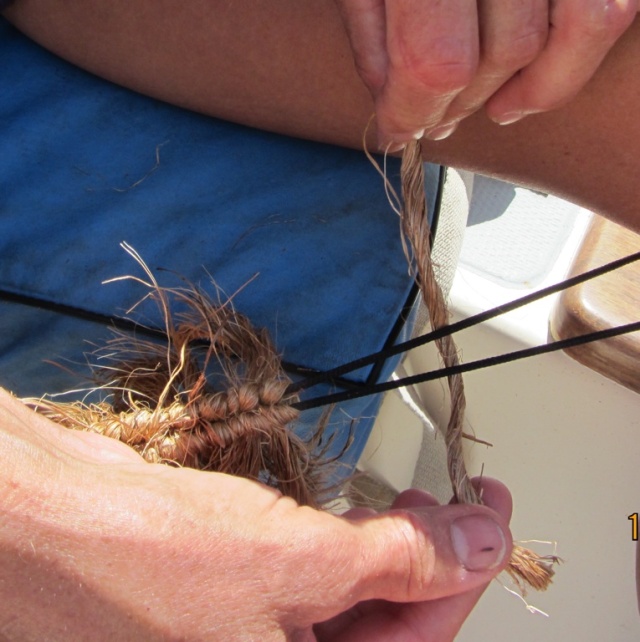
Now you need to start making the individual thrums or rovings. Pass the yarn under the core piece:
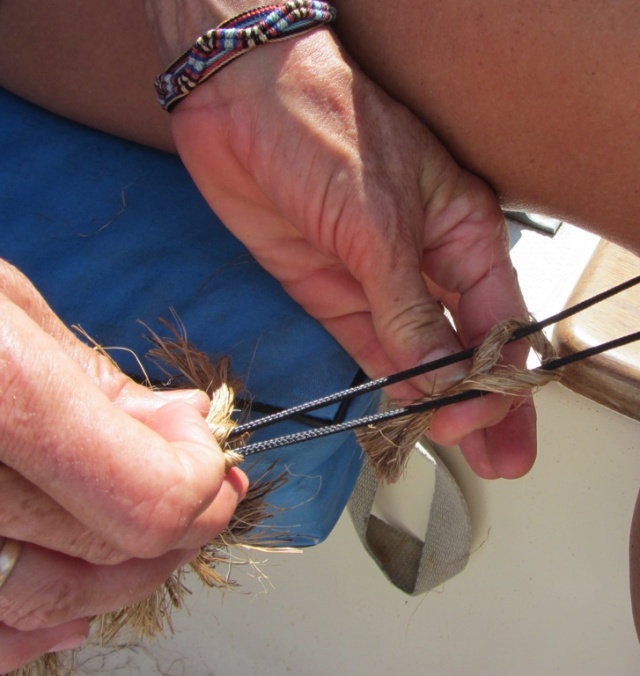
And then push it up against the pieces you’ve already done:
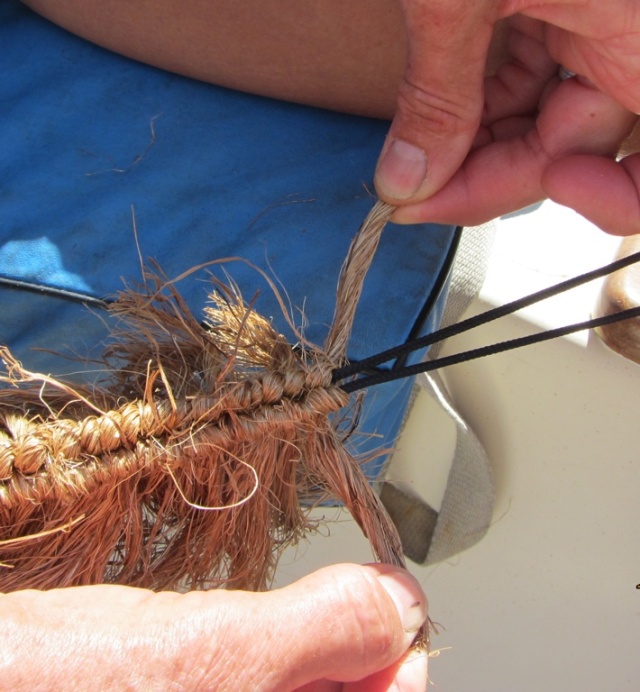
Pass the ends around the outside of the core and down through the middle.
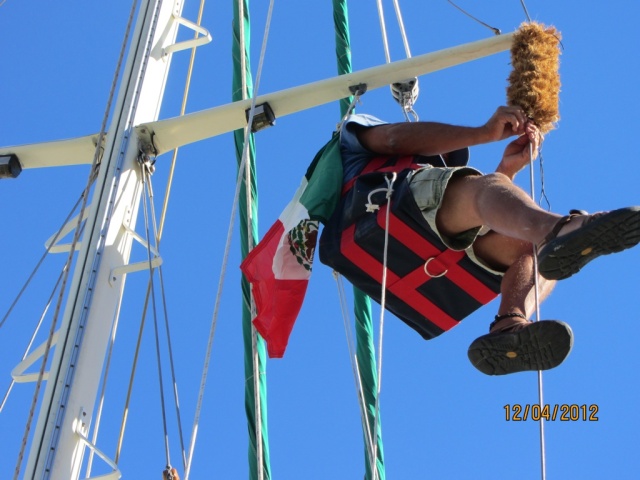
Then, you just tie one end on to the shroud and wrap the baggywrinkle around and around until you end up with a “brush”. Tie off the ends. Secure the knot with rigging tape if you’re insecure about the security of your knotwork, and then stand back and wait for everyone to ask, “Where’d you get those?”
There you have it.
Tuesday, December 11, 2012
Making Baggywrinkle
In addition to its time-proven effectiveness at preventing chafe, there isn't a much better way to make your boat look "salty" than to install some baggywrinkle. And Steve and Lulu on s/v Siempre Sabado show us how easy it is to make:
Subscribe to:
Post Comments (Atom)


No comments:
Post a Comment