Do you drag your dinghy behind your boat? If you do, you've probably wished for a set of davits, but they are sooo expensive. Brian over at
Dock 6 shows us that you can
make your own!
My low-buck dinghy needed a place to live. So I had to build some low-buck davits.
Updated:
Have you priced davits lately?
At the bottom end of the scale you have Plastimo davits, which start at $750, and it goes up from there. In keeping with my low-buck theme, i figured i would see if I could build an acceptable and attractive alternative, to carry the low-buck dinghy. The dinghy itself weighs less than 60 lbs., so here's the challenge I set:
Build a pair of davits that would carry 75 lbs each, (for a combined total of 150 lbs) without failing, that would not embarass me when hung off the stern of Whiskeyjack (or her, for that matter,) and that cost less than $100.00.
Here we go.
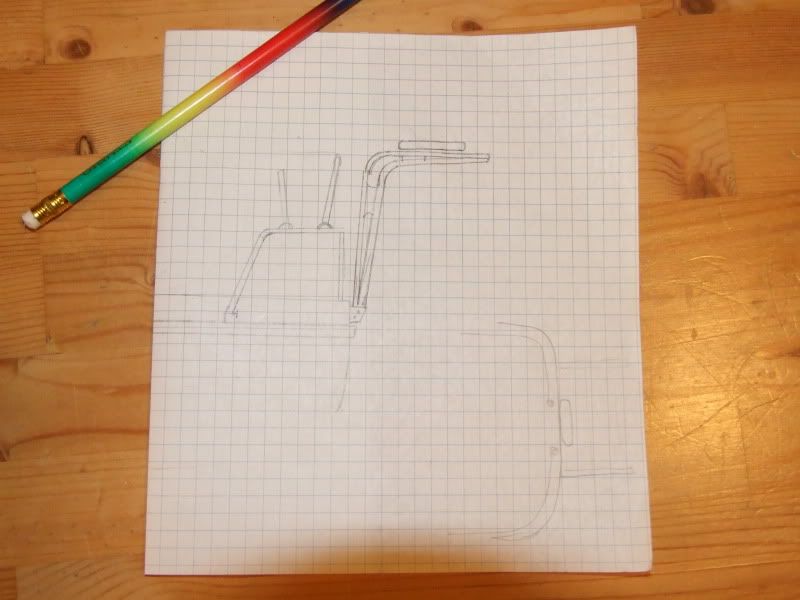
First, I created an artist's rendition of how the davits should, and if all the stars lined up correctly, would look:
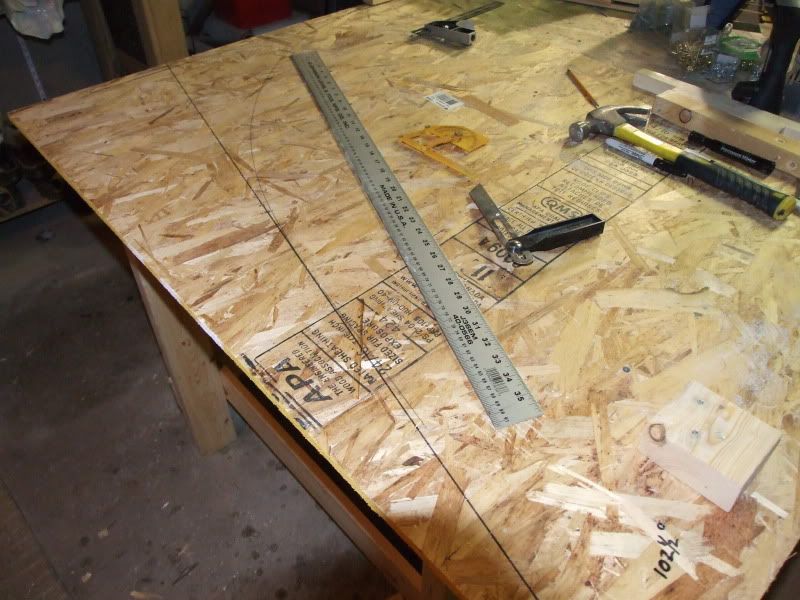
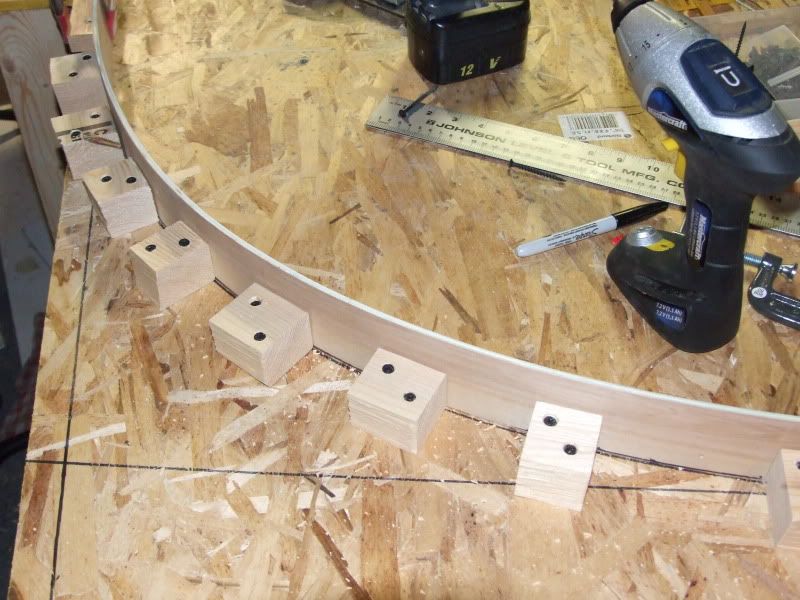
Then I carefully calculated the height and extension of the davits, as well as the angle of the dangle, then guessed at what looked like suitable dimensions. I laid out those dimensions on a layout table. this is where the davits will be born.
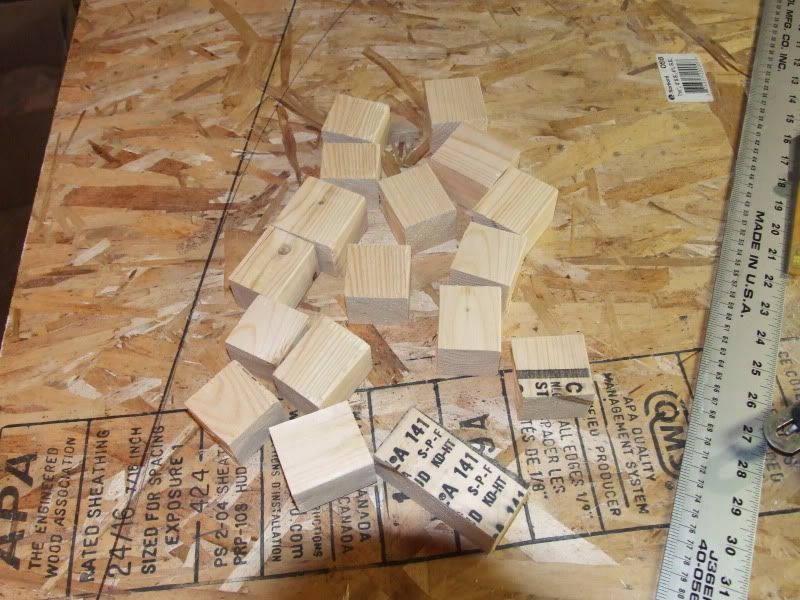
I cut a length of scrap 2x4s into even smaller scraps, then split those even smaller scraps into even more smaller scraps. These will become clamping cleats.
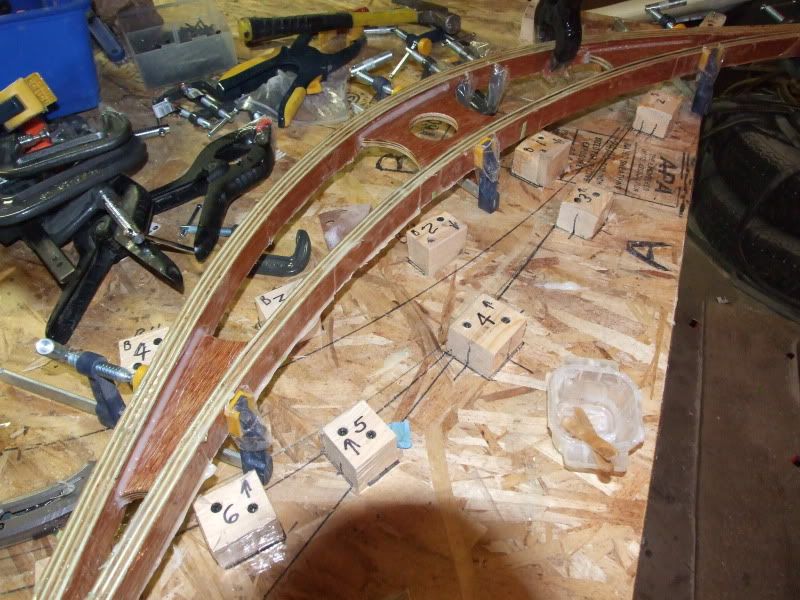
I then bent a batten of the construction material of choice, and traced the curves to establish where to secure the clamping cleats.
At which point I have unavoidably screwed up.
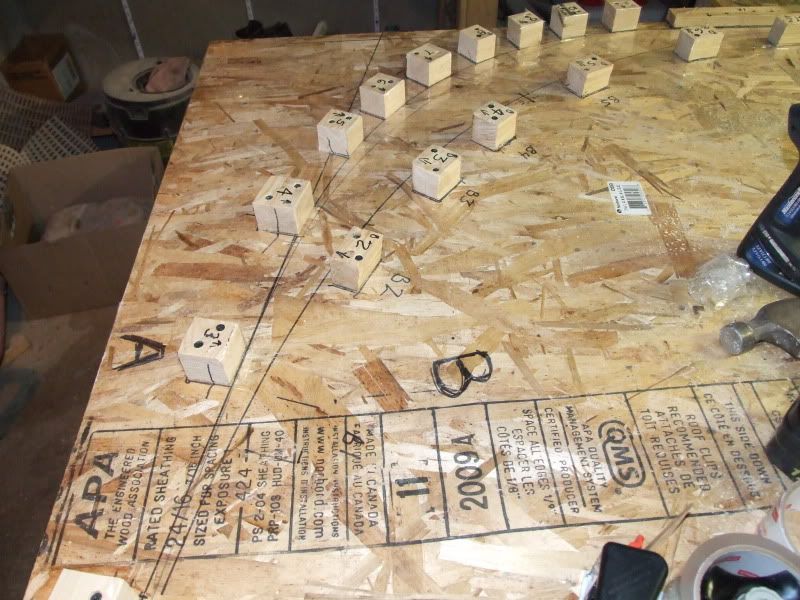
I am going to fab my davits out of my old friend, 1/4" mahogany ply and epoxy and fiberglass. For all intents and purposes, the ply is simply a support system for the epoxy and cloth. Each strip of ply will be buttered with thickened epoxy, and the entire laminate will be covered in fiberglass cloth... which will mean it will be permanently fastened to the layout table beneath it. They may very well end up being very attractive davits, but incredibly useless if permanently bonded to a table in my basement. So, I unfastened all of the cleats I had securely fastened to the table, after carefully labeling each one...
...and then I sealed the table and each cleat with a few layers of clear packing tape. Now, in theory, the davits will simply happily peel free of the table.
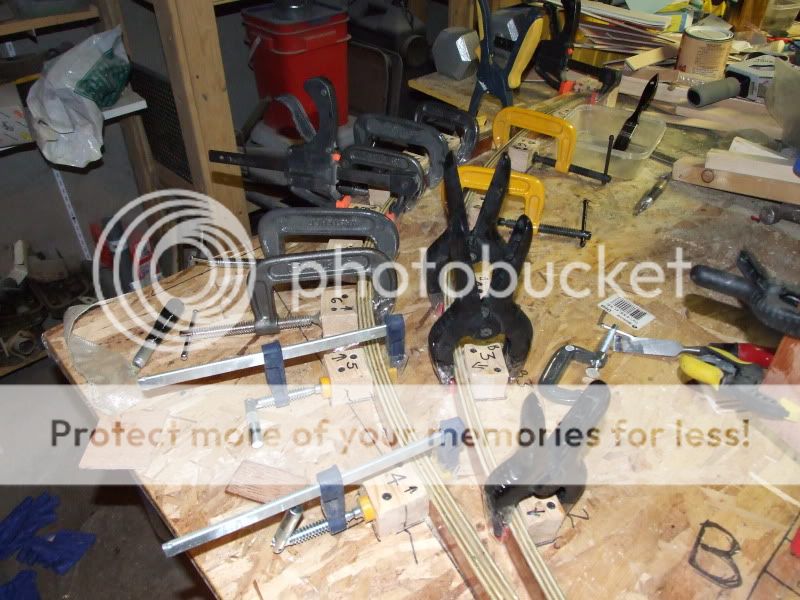
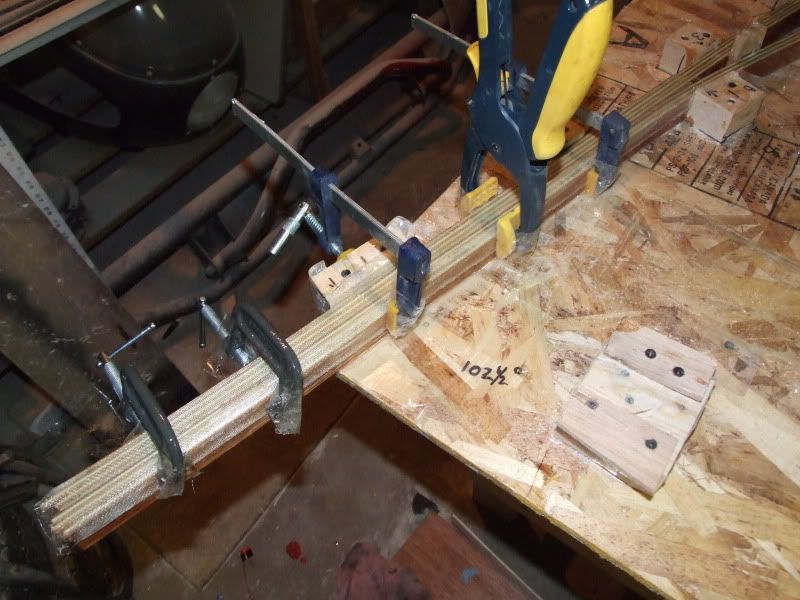
I then fired up my table saw, and ripped 20 1 1/2" strips from a 4/8' sheet. i planed them down so they were all more or less uniform in width, and dry laid the first davit. I trimmed the ends approximately to length, marked each strip for the assembly sequence, then buttered the exposed side with straight epoxy, and the mating surface with thickened epoxy, and got to clamping.
I decided to take advantage of some left over epoxy, and laid a layer of FG cloth wet on wet on the ends of the davit.
Davit one down. One more to go. Then I get to fab a mounting system.
 |
| Gussets cut and filleted into place |
Next step is to sheath the plywood with a layer or two of fiberglass cloth, which will add some stiffness and also help spread the load.
Speaking of loads...
Do you really think I am just flying by the seat of my pants, guessing at all this stuff? Do you honestly think that I am not smart enough or organized enough, to have run load and stress projections on the material before I started making sawdust? Honestly, do you really think I am a complete moron, simply crossing my fingers and hoping for the best?
If so, you are absolutely right, which is why I am only building one davit at a time.
Seriously, once I have this one glassed I am going to clamp it in it's installed position and start hanging weights from the end. I THINK, based on some admittedly basic calculations coupled with past experience, that I should be able to hang 75 lbs. without failure. That represents 1.5x the weight of the dinghy, or 3x the weight of the dinghy hanging on the pair of davits, which I THINK should be enough to tolerate some wave and wind stress. If nothing else, I will have a place to hang my solar panels, which is a secondary reason for this project. Yes, there will be two crossbars to tie the davits together and add some lateral stiffness, and provide aforementioned solar panel mounting.
I am going to use a couple of pieces of scrap stainless tube and some stanchion fittings to tie into the stern rail, and the foot of the davits will mount to the transom. I think I will have to fold some stainless sheet into a flanged Ushape for the transom mounts and then through bolt the davit to the plate and through bolt the plate to the transom with backing plates.
STRESS TEST RESULTS are in:
The weather was finally nice enough this week to see if my davits can carry the weight. (Actually,it took me a while to get up the guts to test my own WAG-style of engineering, but cold temps and rainy days make a good excuse.)
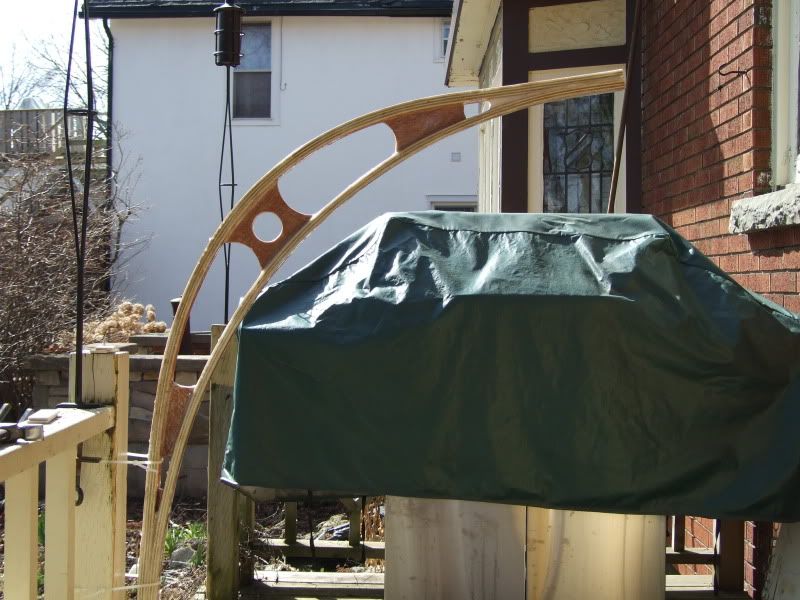
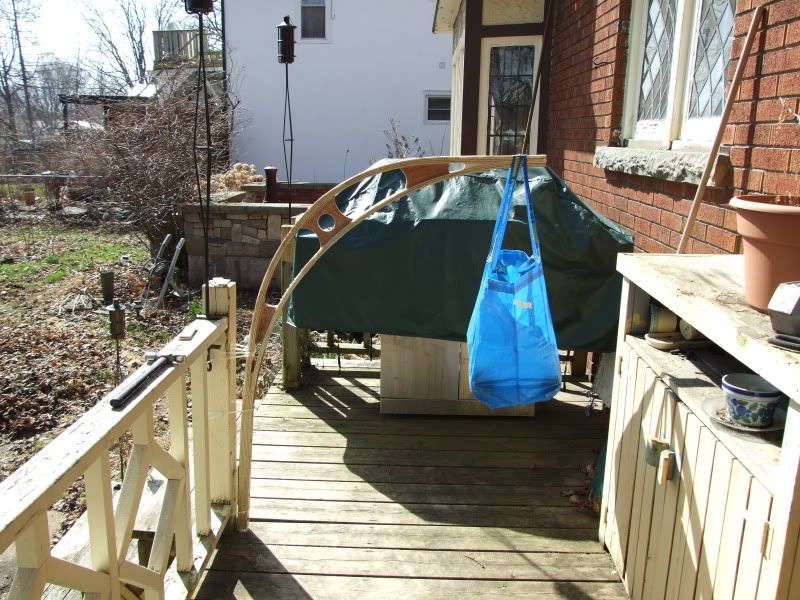
I carefully designed and skilfully constructed a cutting edge testing platform, then designed, cast and calibrated weight apparatus, and... I actually just tie-wrapped the davit to be tested to my back deck railing and hammered in a couple of wedges to keep it from moving around.
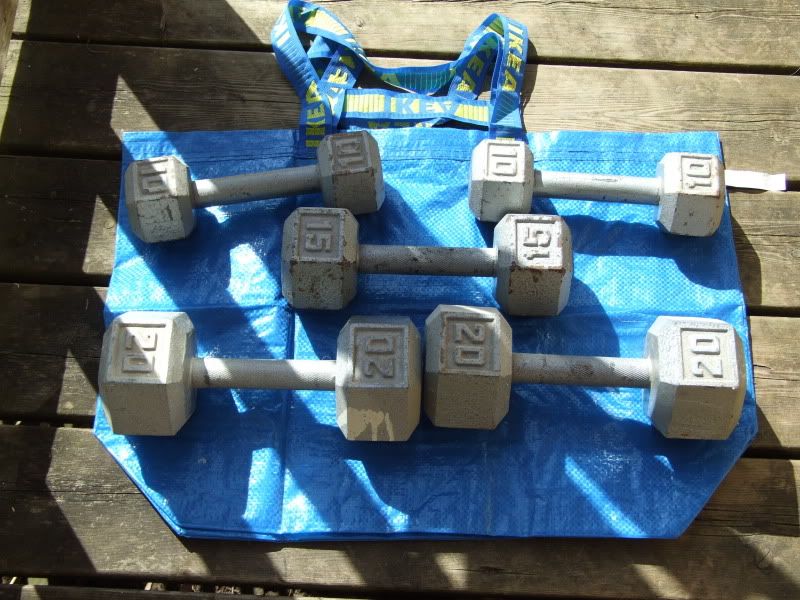
Here's the weight that the davit has to successfully carry:
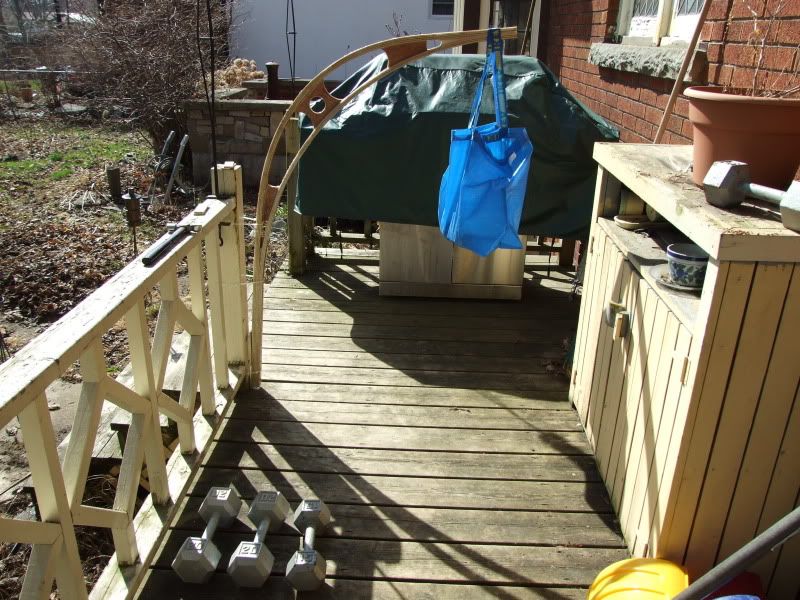
I decided to start light- here's 20 lbs:
It didn't break, so I stuffed 35 lbs. in the bag. My high-tech mounting system was showing signs of stress so i threw some more tie-wraps at the problem, and no more creaking and stretching sounds.:
No problem. Next I shuffled the barbells around, and went to 60 lbs. Passed with flying colours. So, deep breath, here we go,
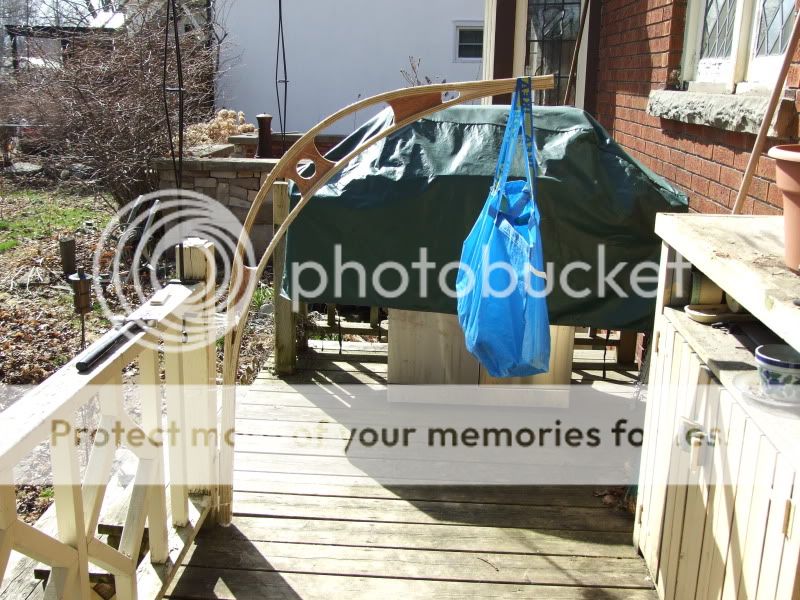
75 pounds....
YEAH, BABY!!!
I may add another layer of cloth to the top and bottom surface, just for peace of mind, but I am pleased with the result so far.
Currently I am working to finish up the mounting plates, and I will post pics shortly.


VERY cool! And my favorite part: no welding required. Nice job.
ReplyDelete-Steve
This is very useful .. thank you .. Where is the follow-up with installation and solar panels you spoke of? Send me the link... thank you Allard Stamm
ReplyDeleteNicely done! I'll share this posting with my friends at the club. Still, I'm thinking of doing my "Low Buck" davits with schedule 40 pipe. I'm a better welder than a woodworker. Again, beautiful job! Thanks for sharing. R. Williams
ReplyDeleteSteve,
ReplyDeleteDid you ever get pictures of the mounting brackets?
Kevin
Shoe Fitter -
ReplyDeletePerhaps this link would be helpful...
http://smallboatprojects.blogspot.com/2012/10/more-solar-power.html
bob