Aboard
s/v Cay of Sea Rick continues his series detailing how to rebuild pumps; today it is a Whale hand pump:
My second pump rebuild is the Whale V. I have two of these on board – one for the drinking water system, and one for the head lavatory. They both needed rebuilding, and I completed one yesterday. Here are the photos and discussion of that process.
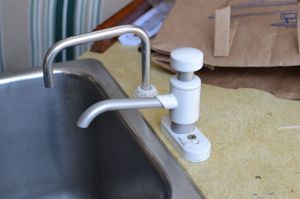 |
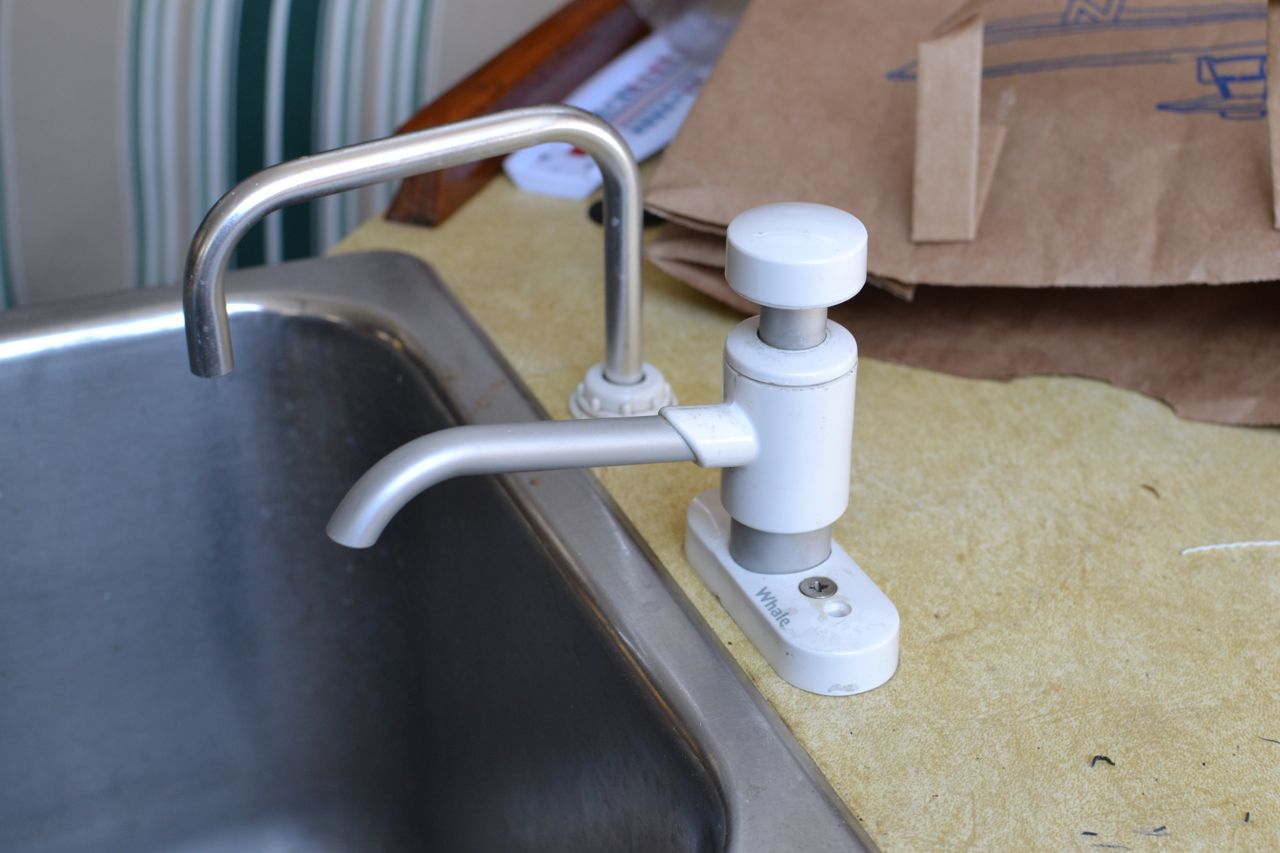
In its installed position at the galley sink
|
This rebuild was a little less straight-forward than the tiptoe pump described in the previous post. There are a few more parts, and they are very much sequentially assembled. My inevitable errors – both in disassembly and reassembly – made the process a bit more time-consuming. It is important to keep track of which parts are removed and replaced. Several of the replacement parts look very similar, so comparing the removed part with the replacement is essential. Here is a link to the exploded view and service kit. This kit costs about $15.
 |
Unscrew the hose barb on the bottom of the pump.
|
Unscrewing the hose fitting at the bottom of the pump provides access to the interior parts: piston, seals, o-ring gaskets, etc.
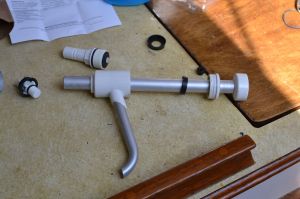 |
Piston and parts disassembled.
|
Although the instructions warn that the gasket inside the spout housing is the most difficult to replace (and recommended not doing unless absolutely necessary), I did not find that to be the case. I had to dig the old gasket out, which was slightly difficult. Then carefully compare parts to ensure I put the correct one back in place. More difficult by far was re-assembling the pump in the right order. I had to do it two or three times before I got the sequence right. It will be obvious if you get it wrong, because the piston will not go back in the cylinder if assembled out-of-order. There is a valve at the bottom of the piston that must be screwed on after the piston is back in the cylinder. It’s not complicated, really. Just takes a bit of trial-and-error.
 |
Main components
|
The little gutter washers are the most problematic – these are circular rubber cups with channels in them, and there are several of them – slightly differently sized. They are easily unseated as the pump is reassembled, so you might feel like you need three hands at some point during the process. The whole process took about 30 minutes. I loosely seated the pump in its mounting location (see top photo), waiting to fasten it in place until I have re-plumbed the drinking water lines with new tubing. The hard water in our water source leaves deposits inside the lines after several years of use, then begins to flake off into the water. We filter all the water with a Brita pitcher, but the water doesn’t look very appetizing with little white floaty things drifting around in the top reservoir of the pitcher. Time to change out the lines. . .


No comments:
Post a Comment