
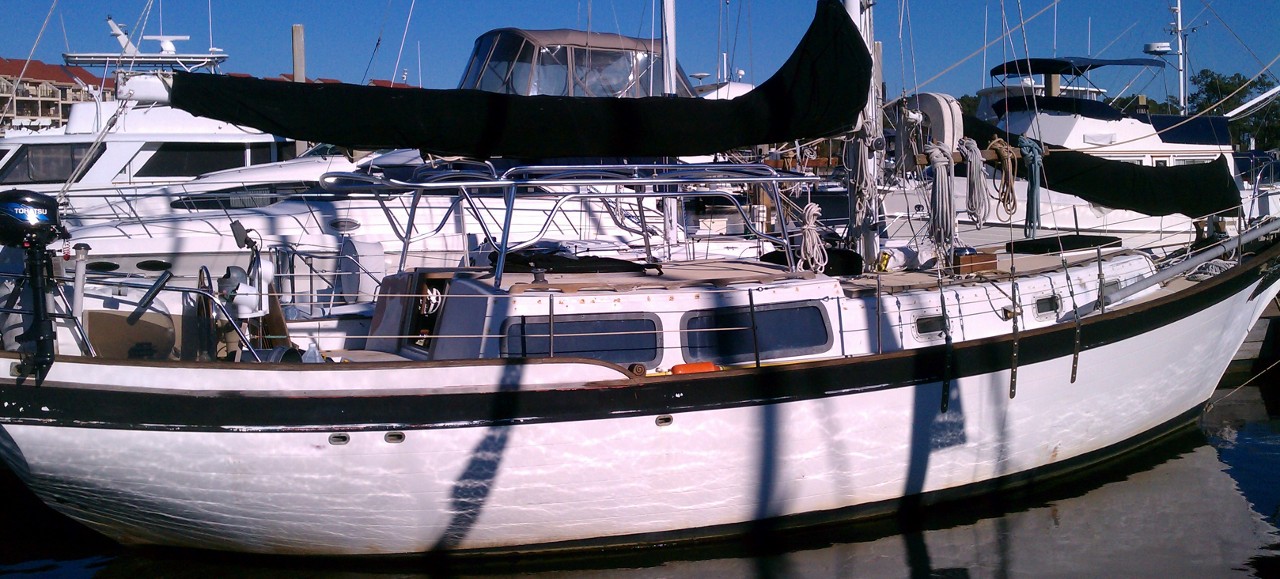
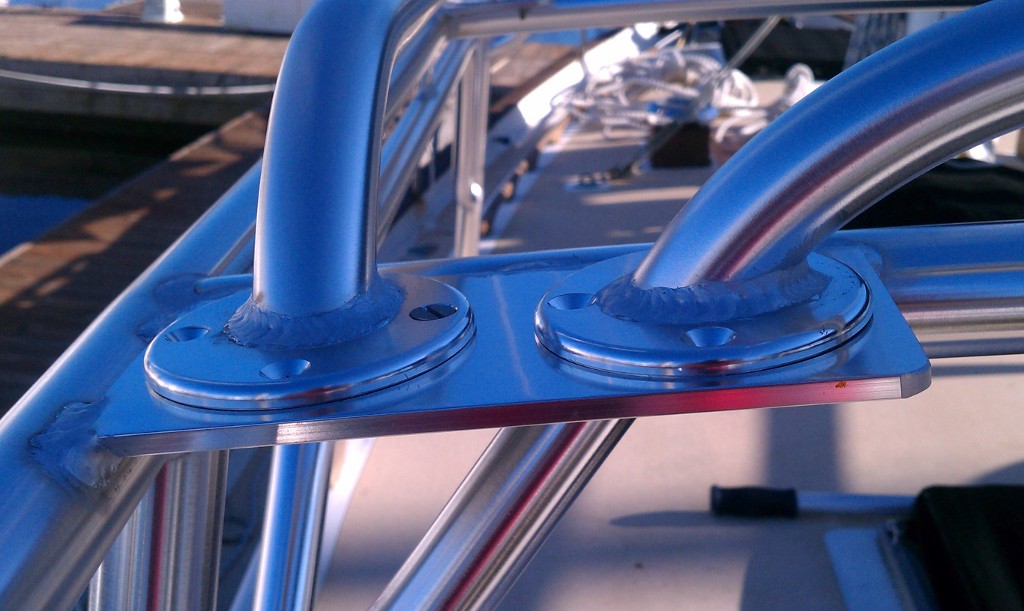
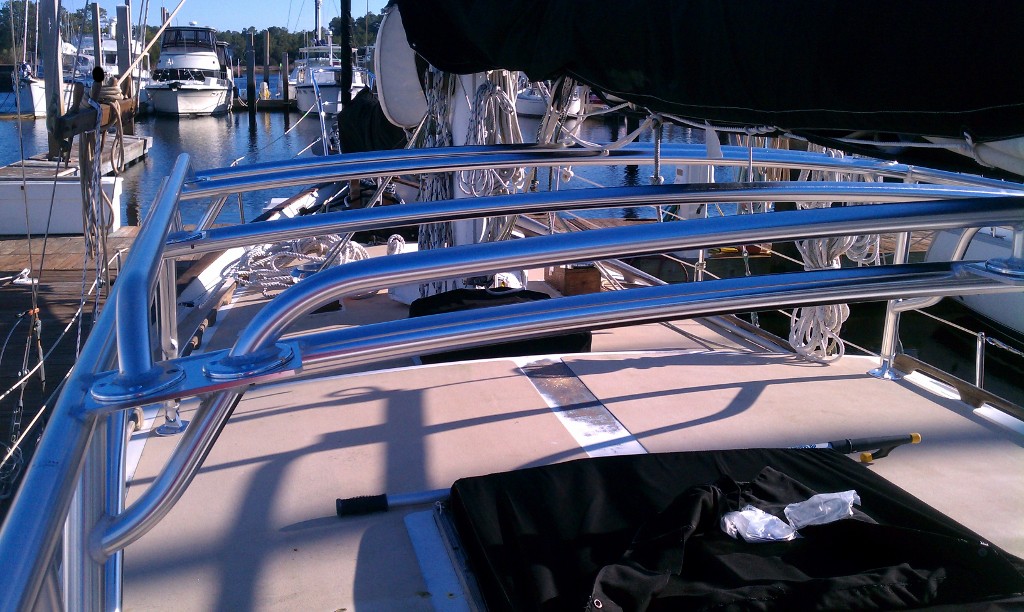
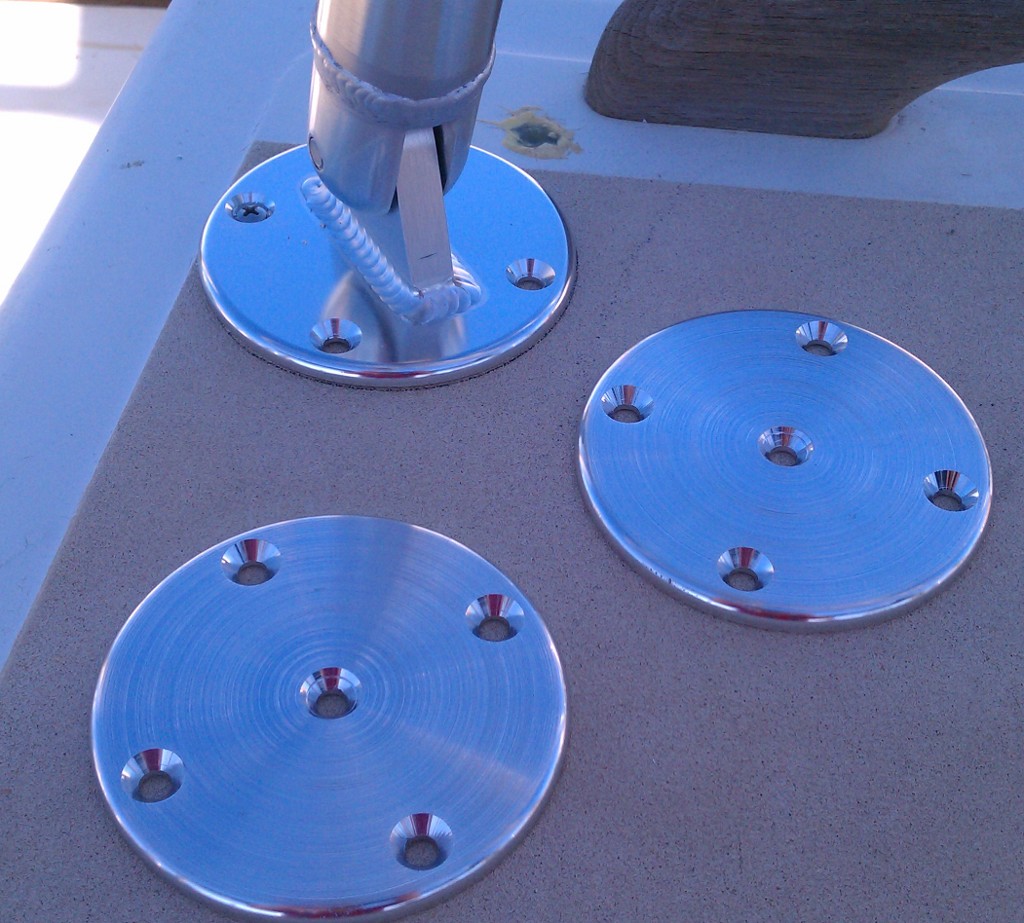
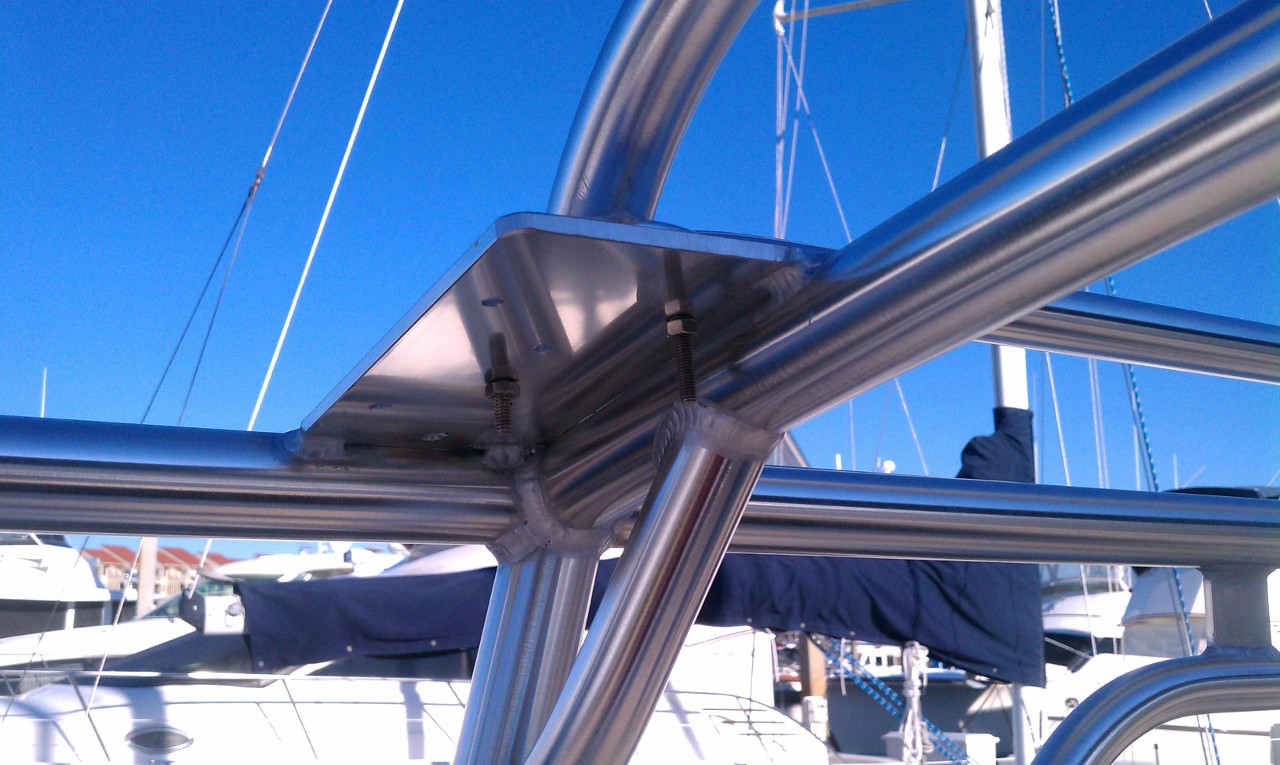
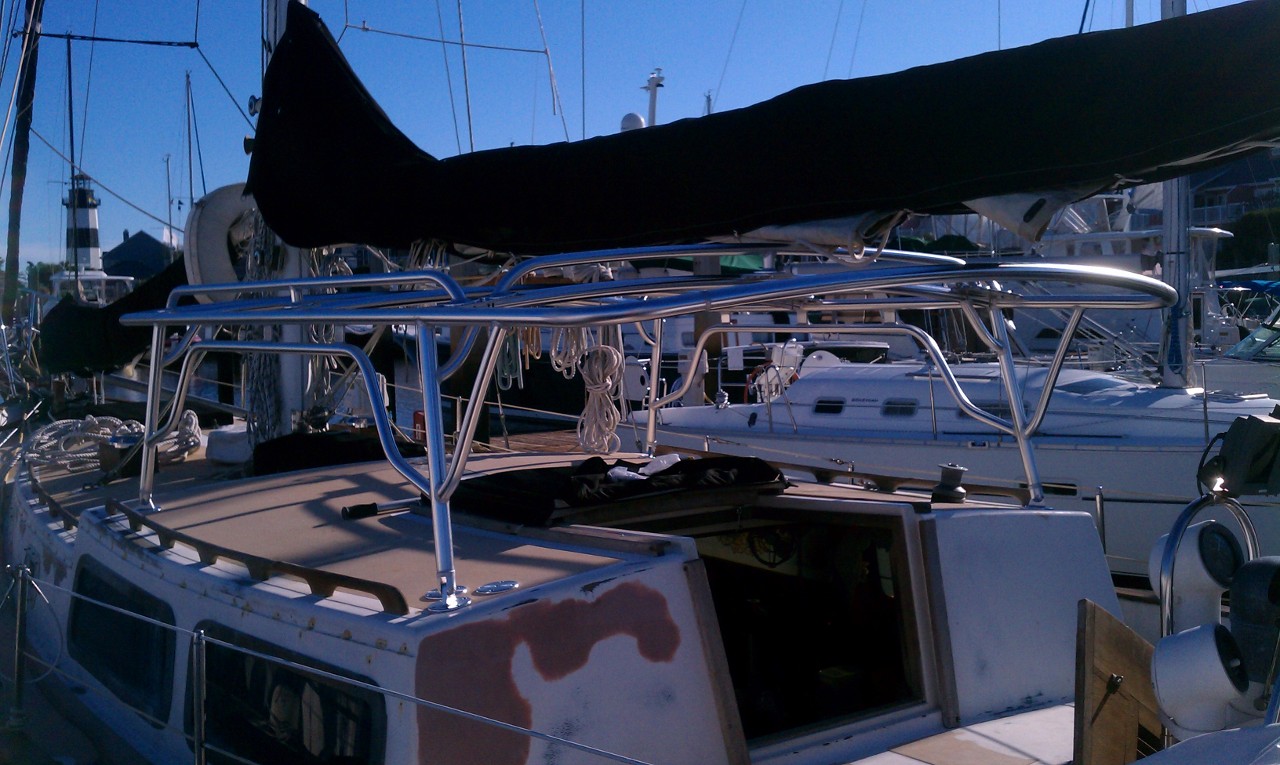
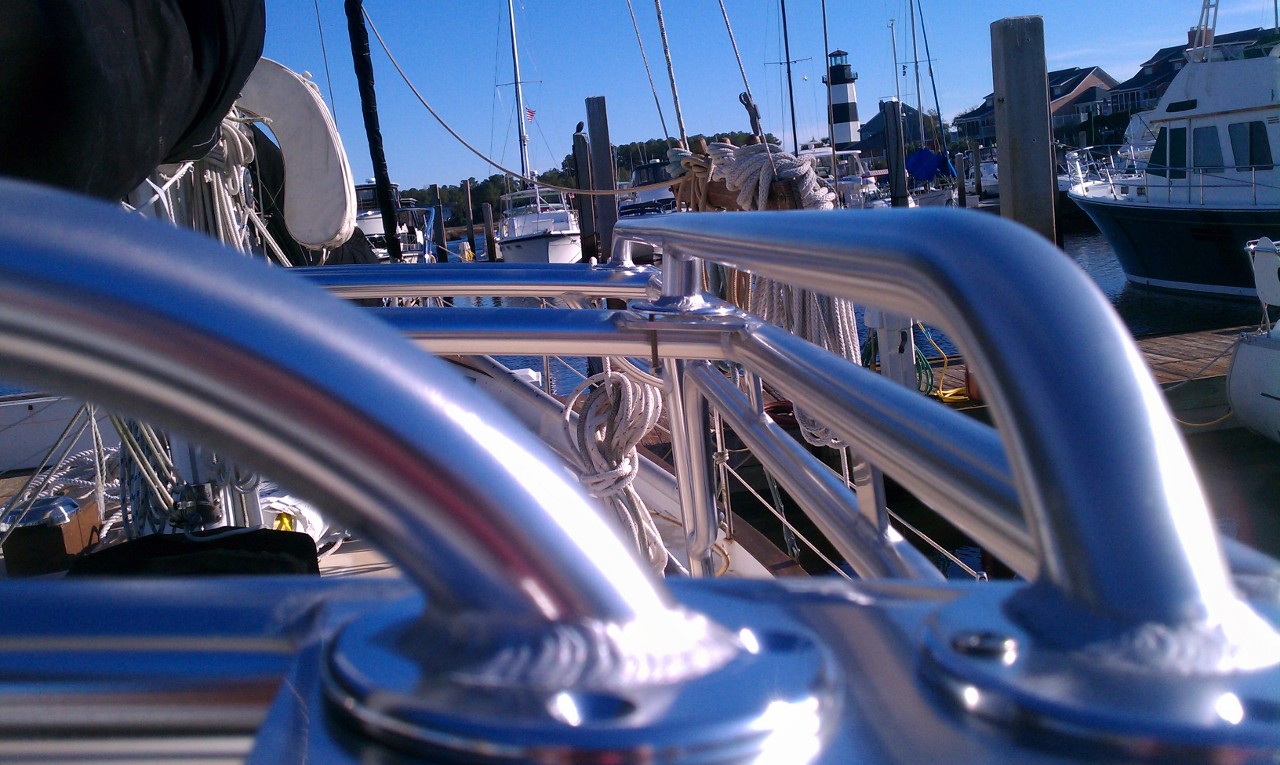
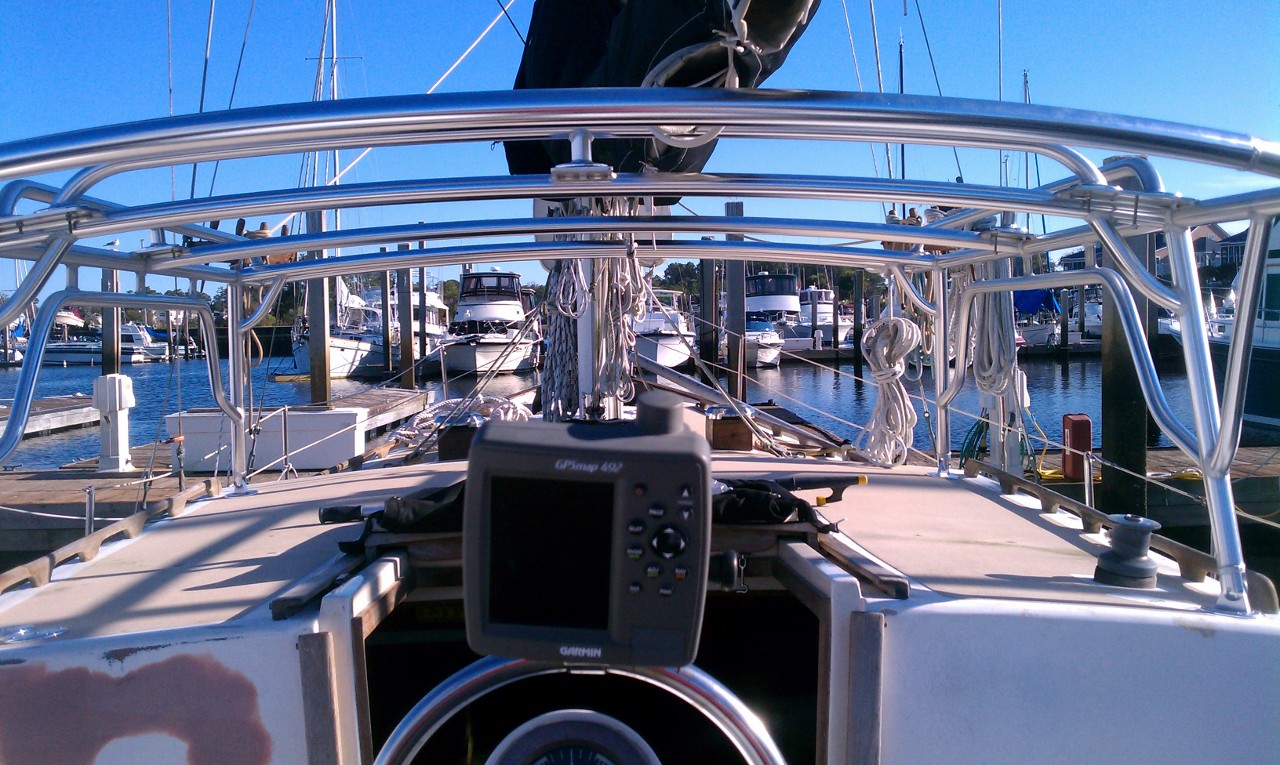
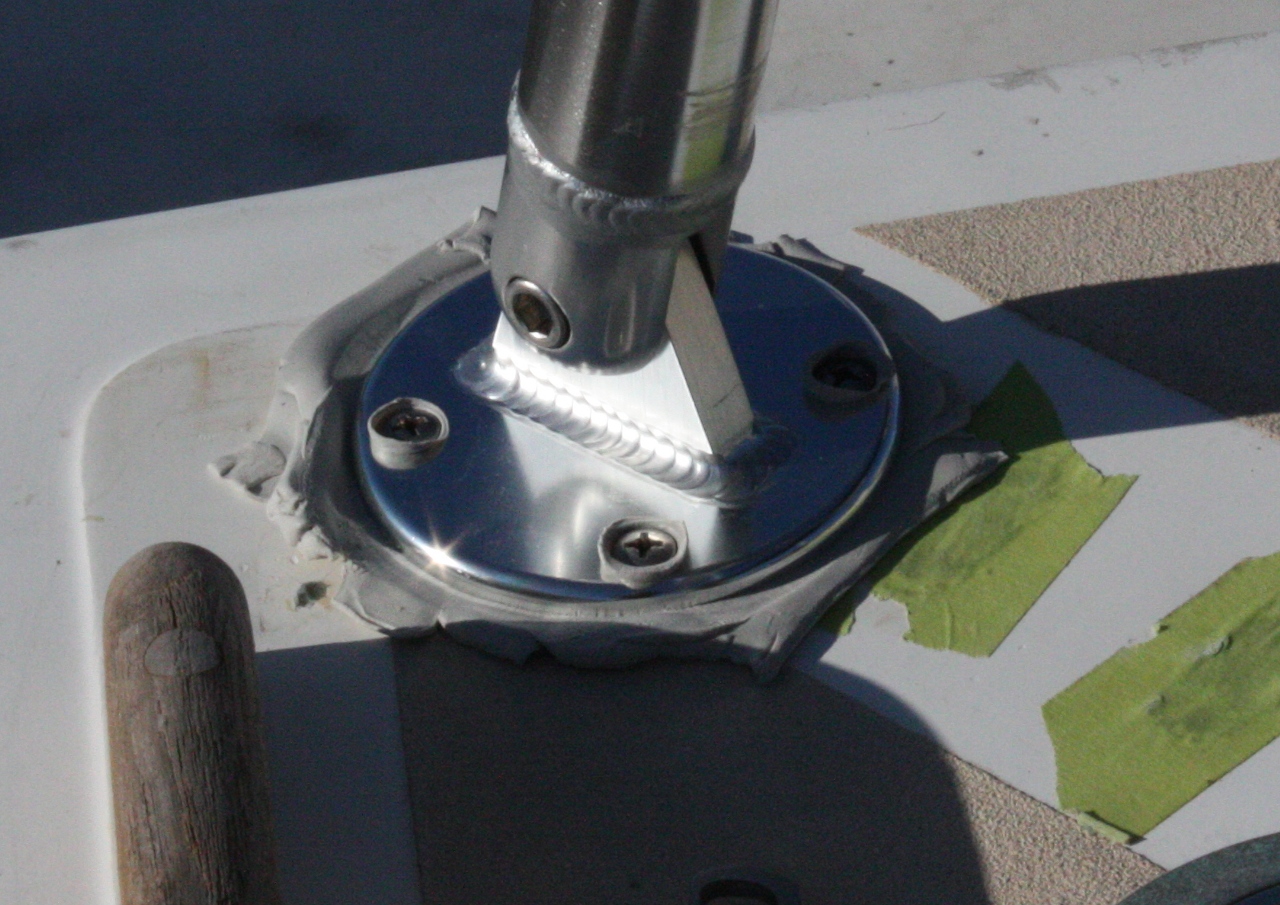
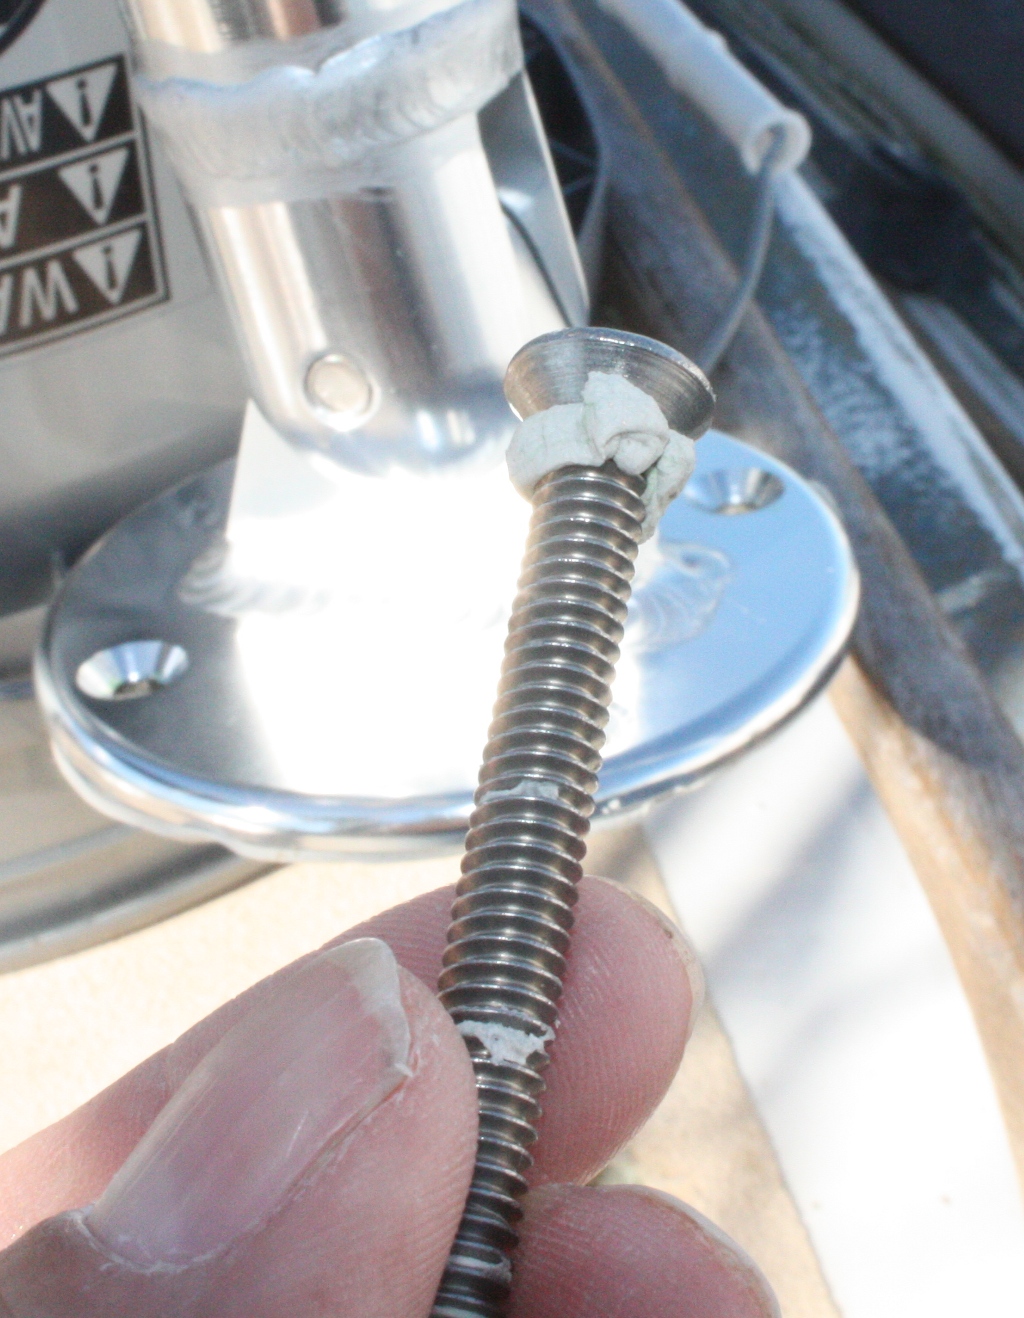
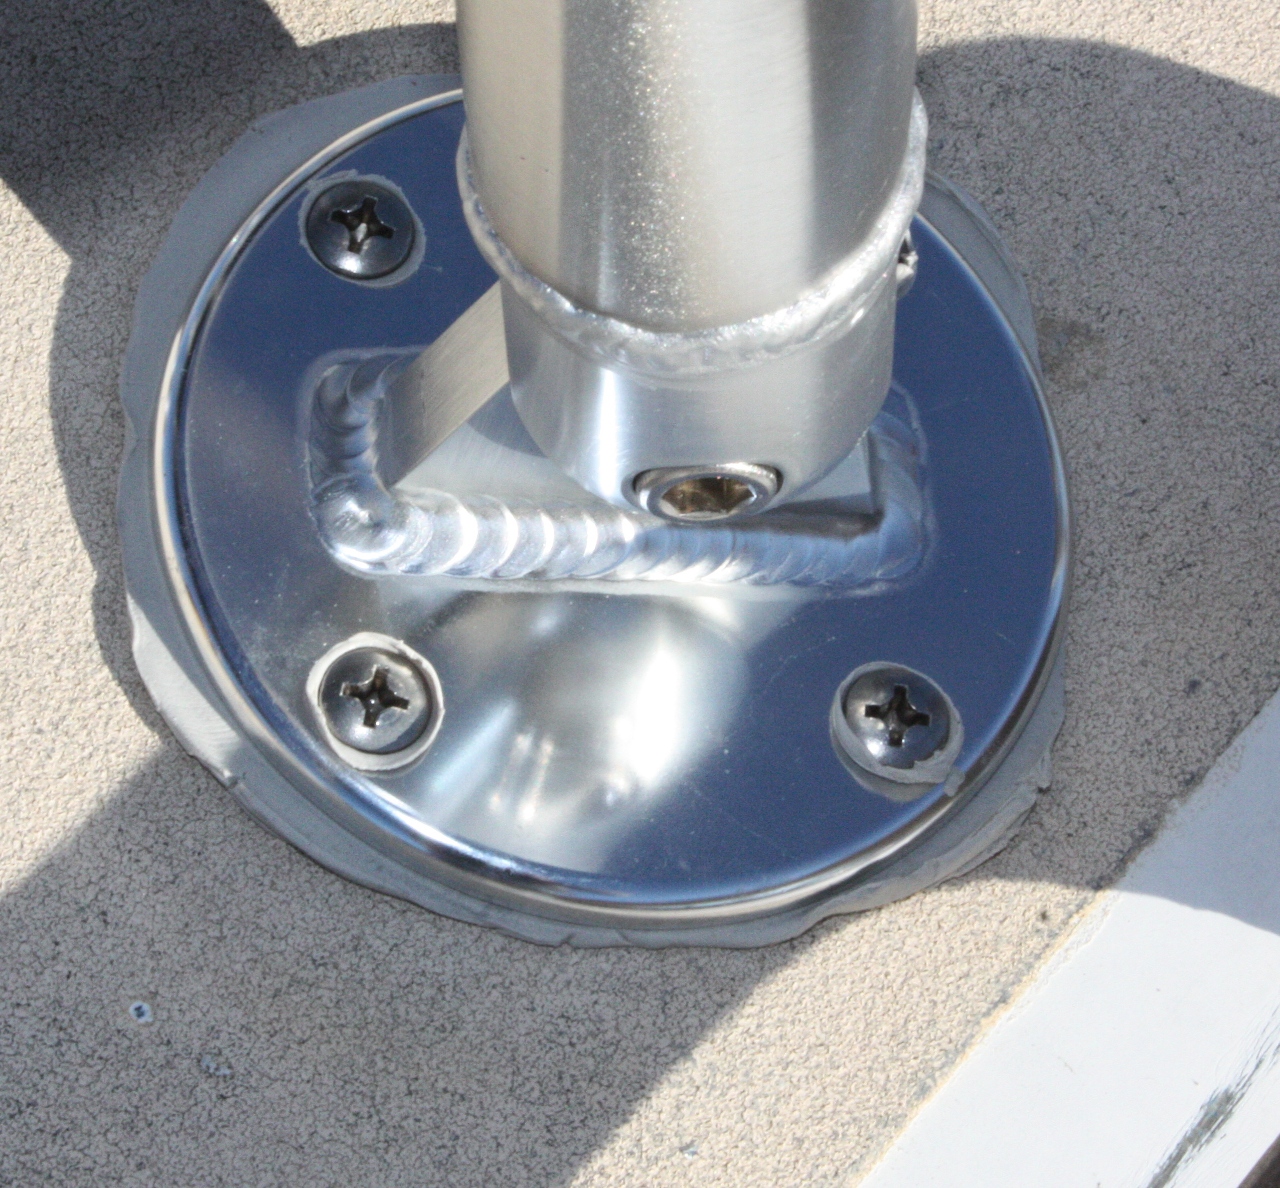
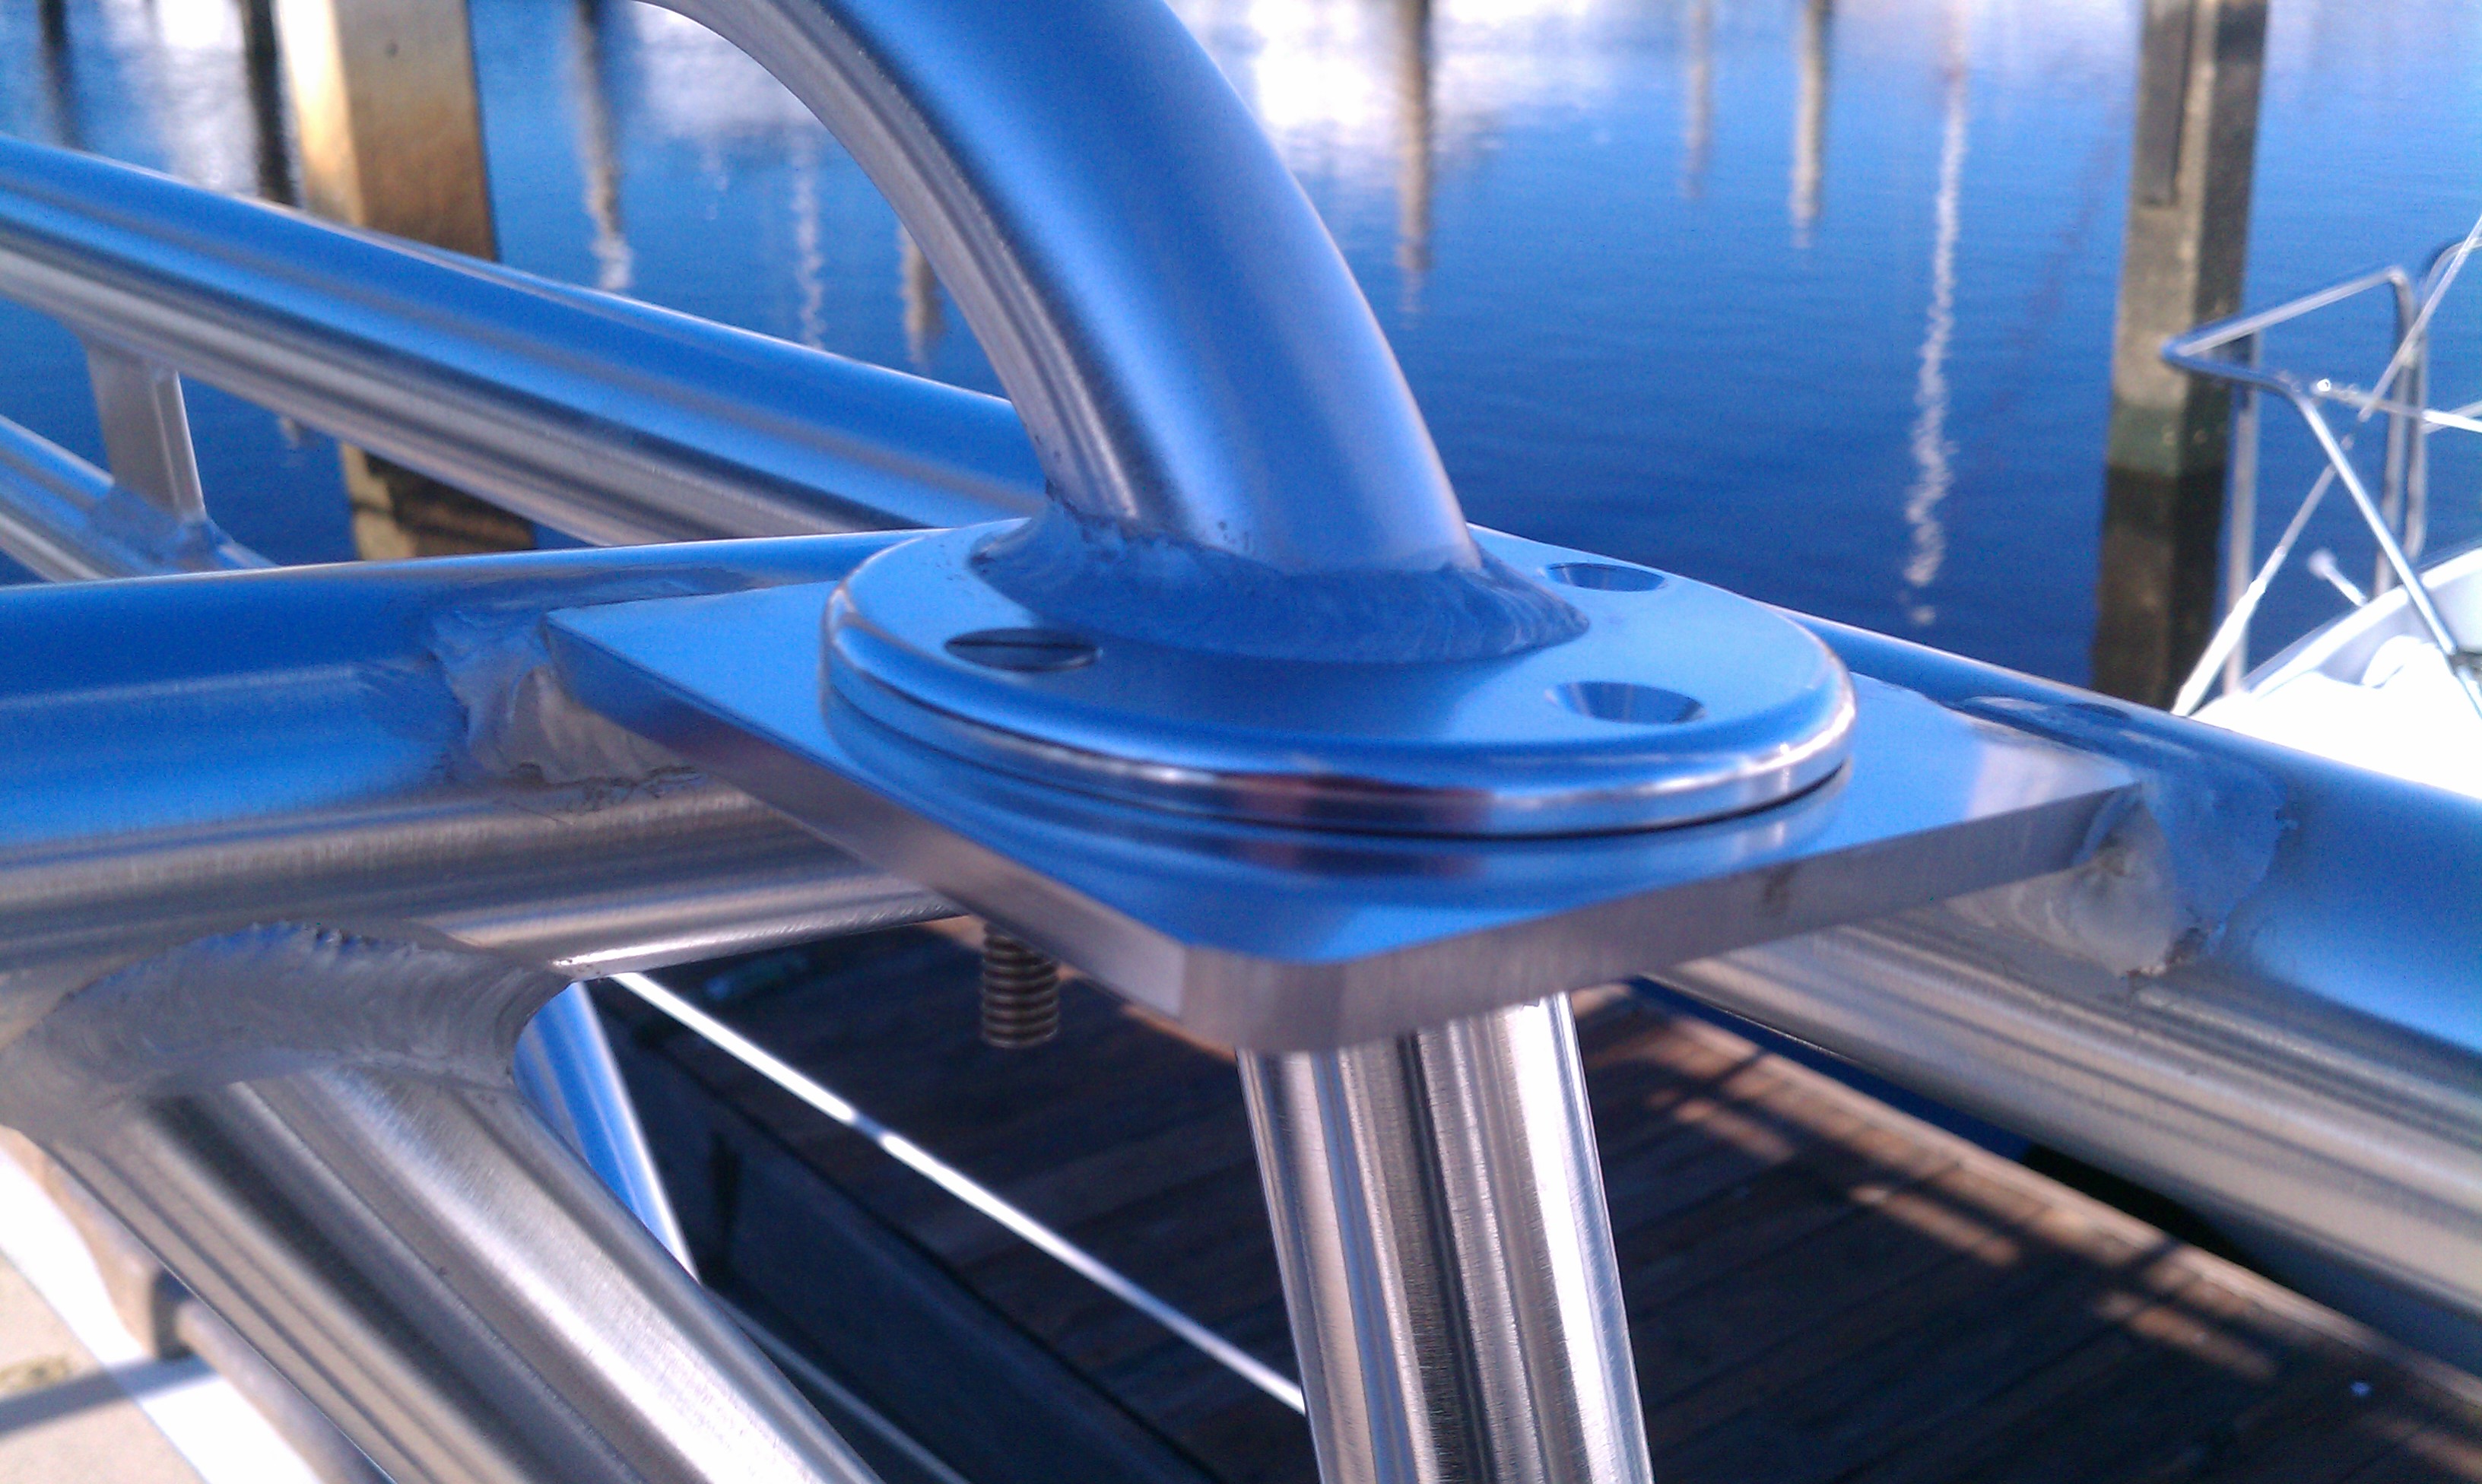
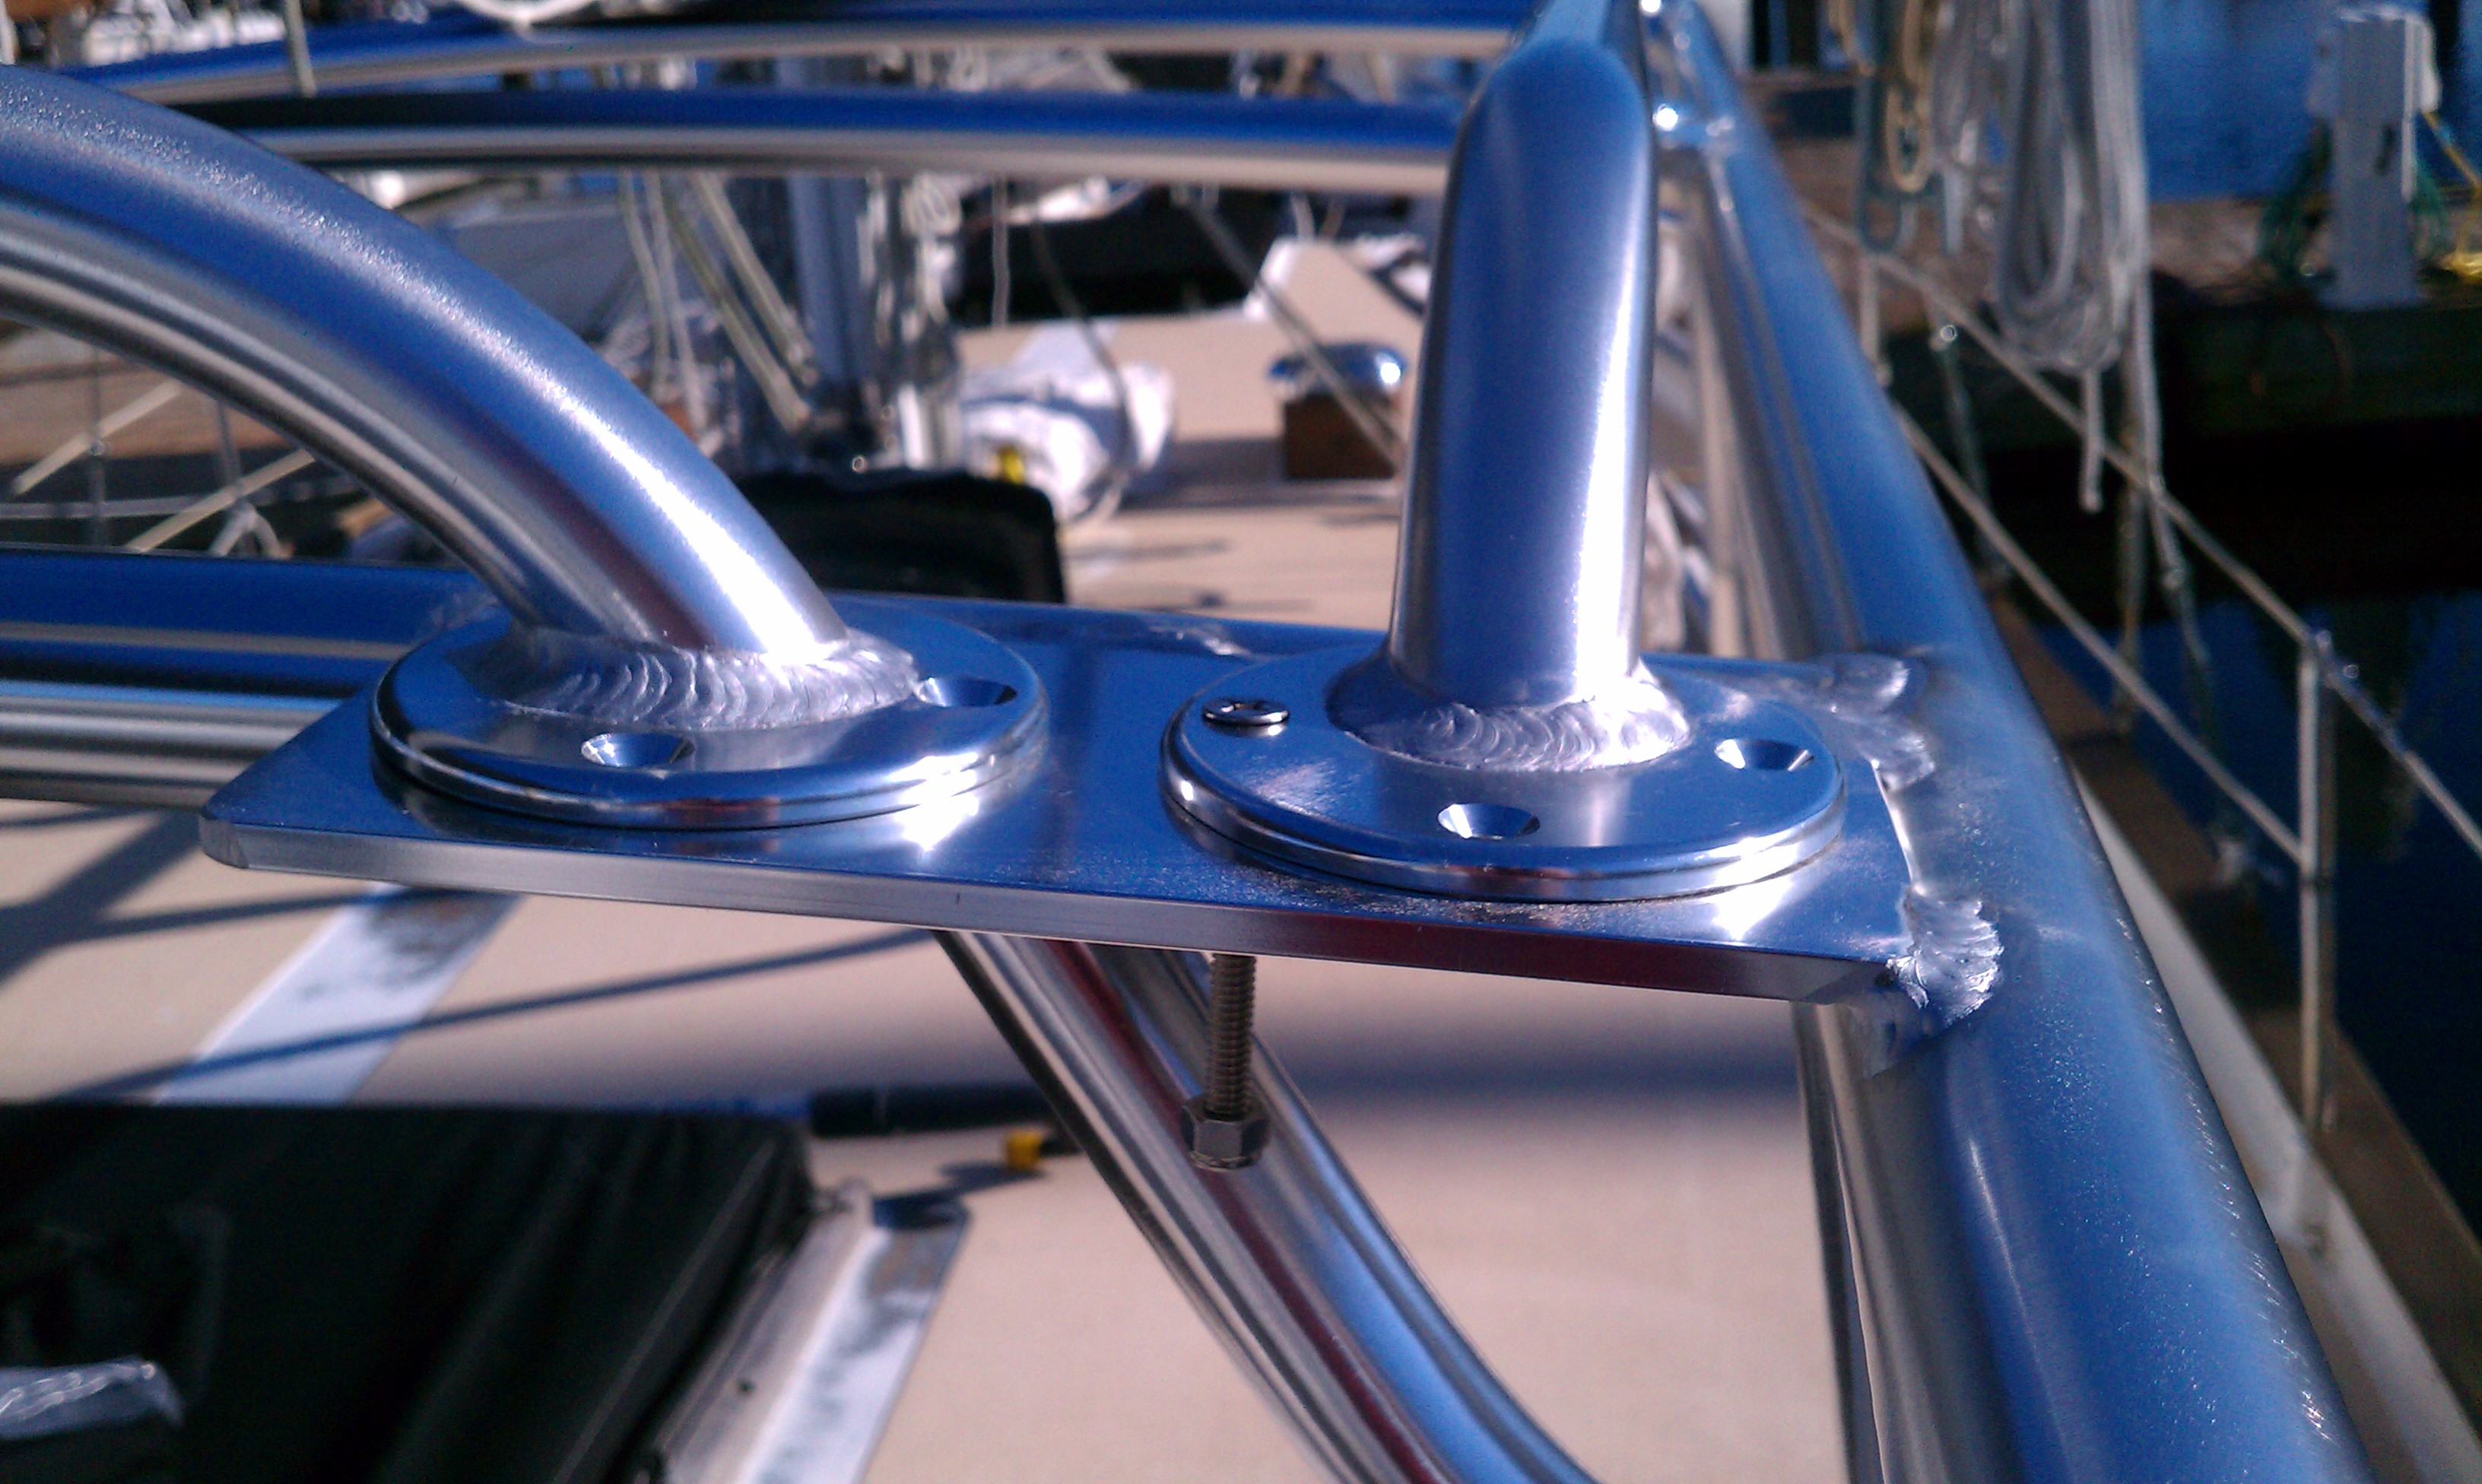
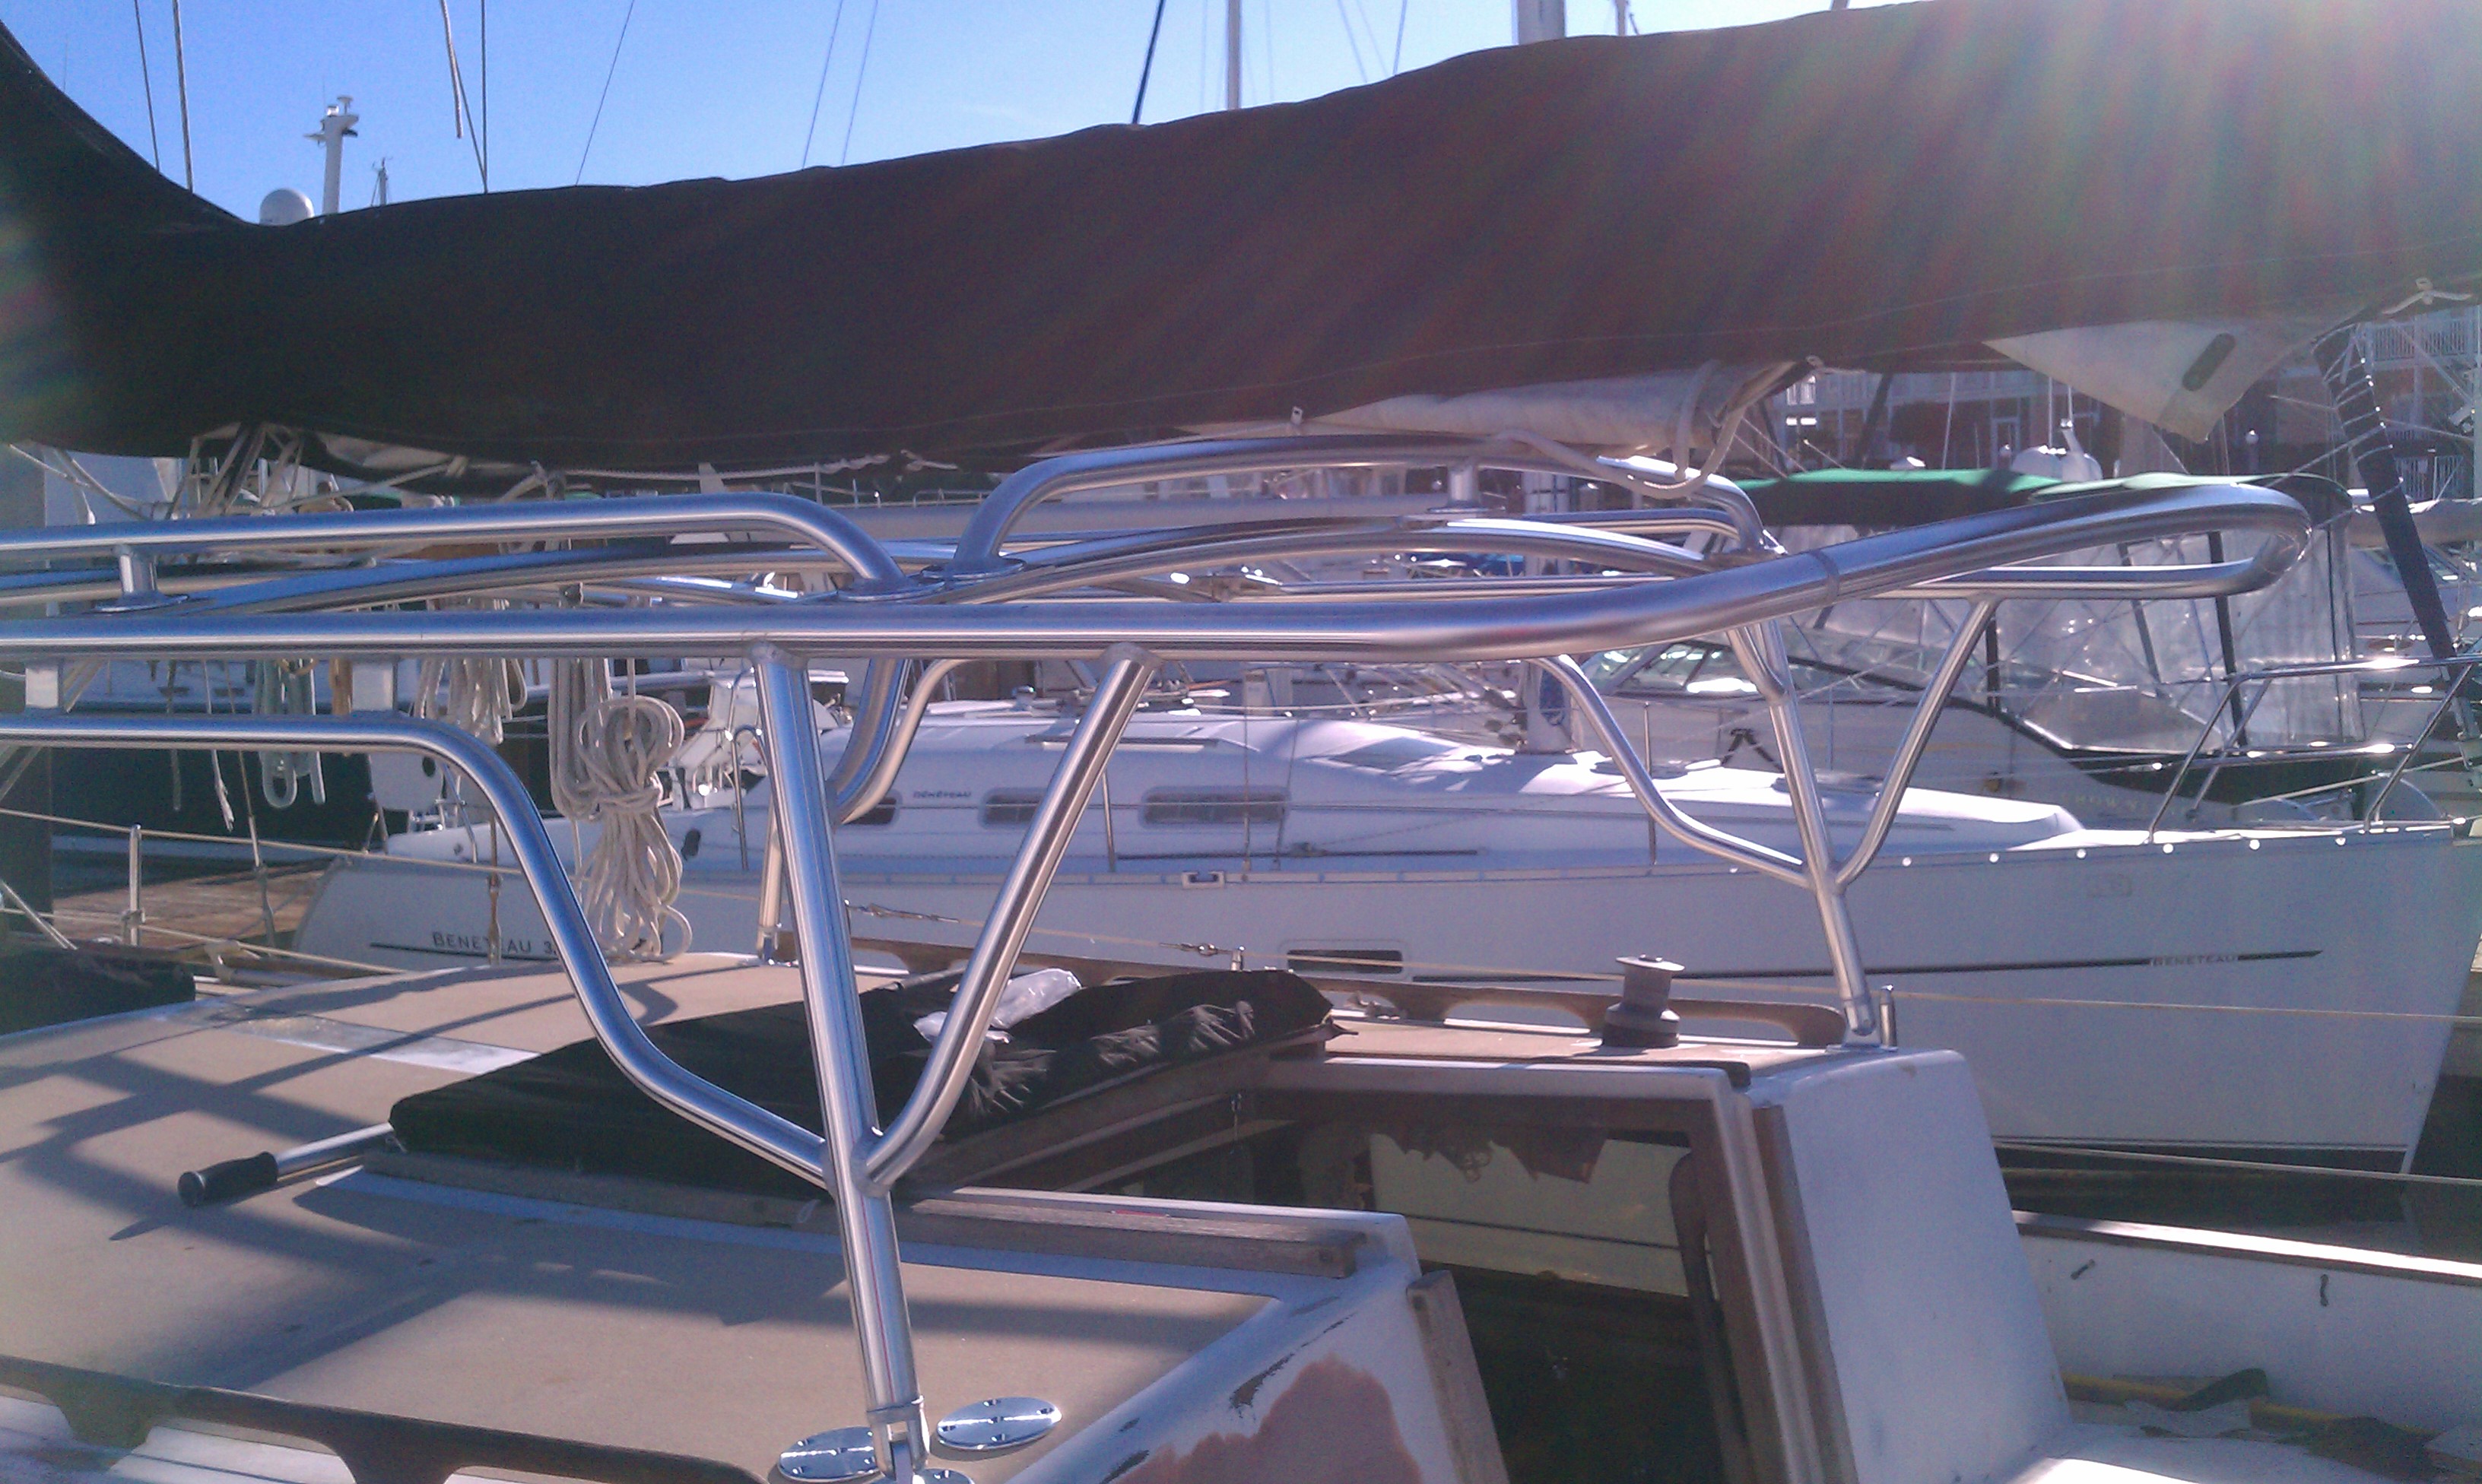
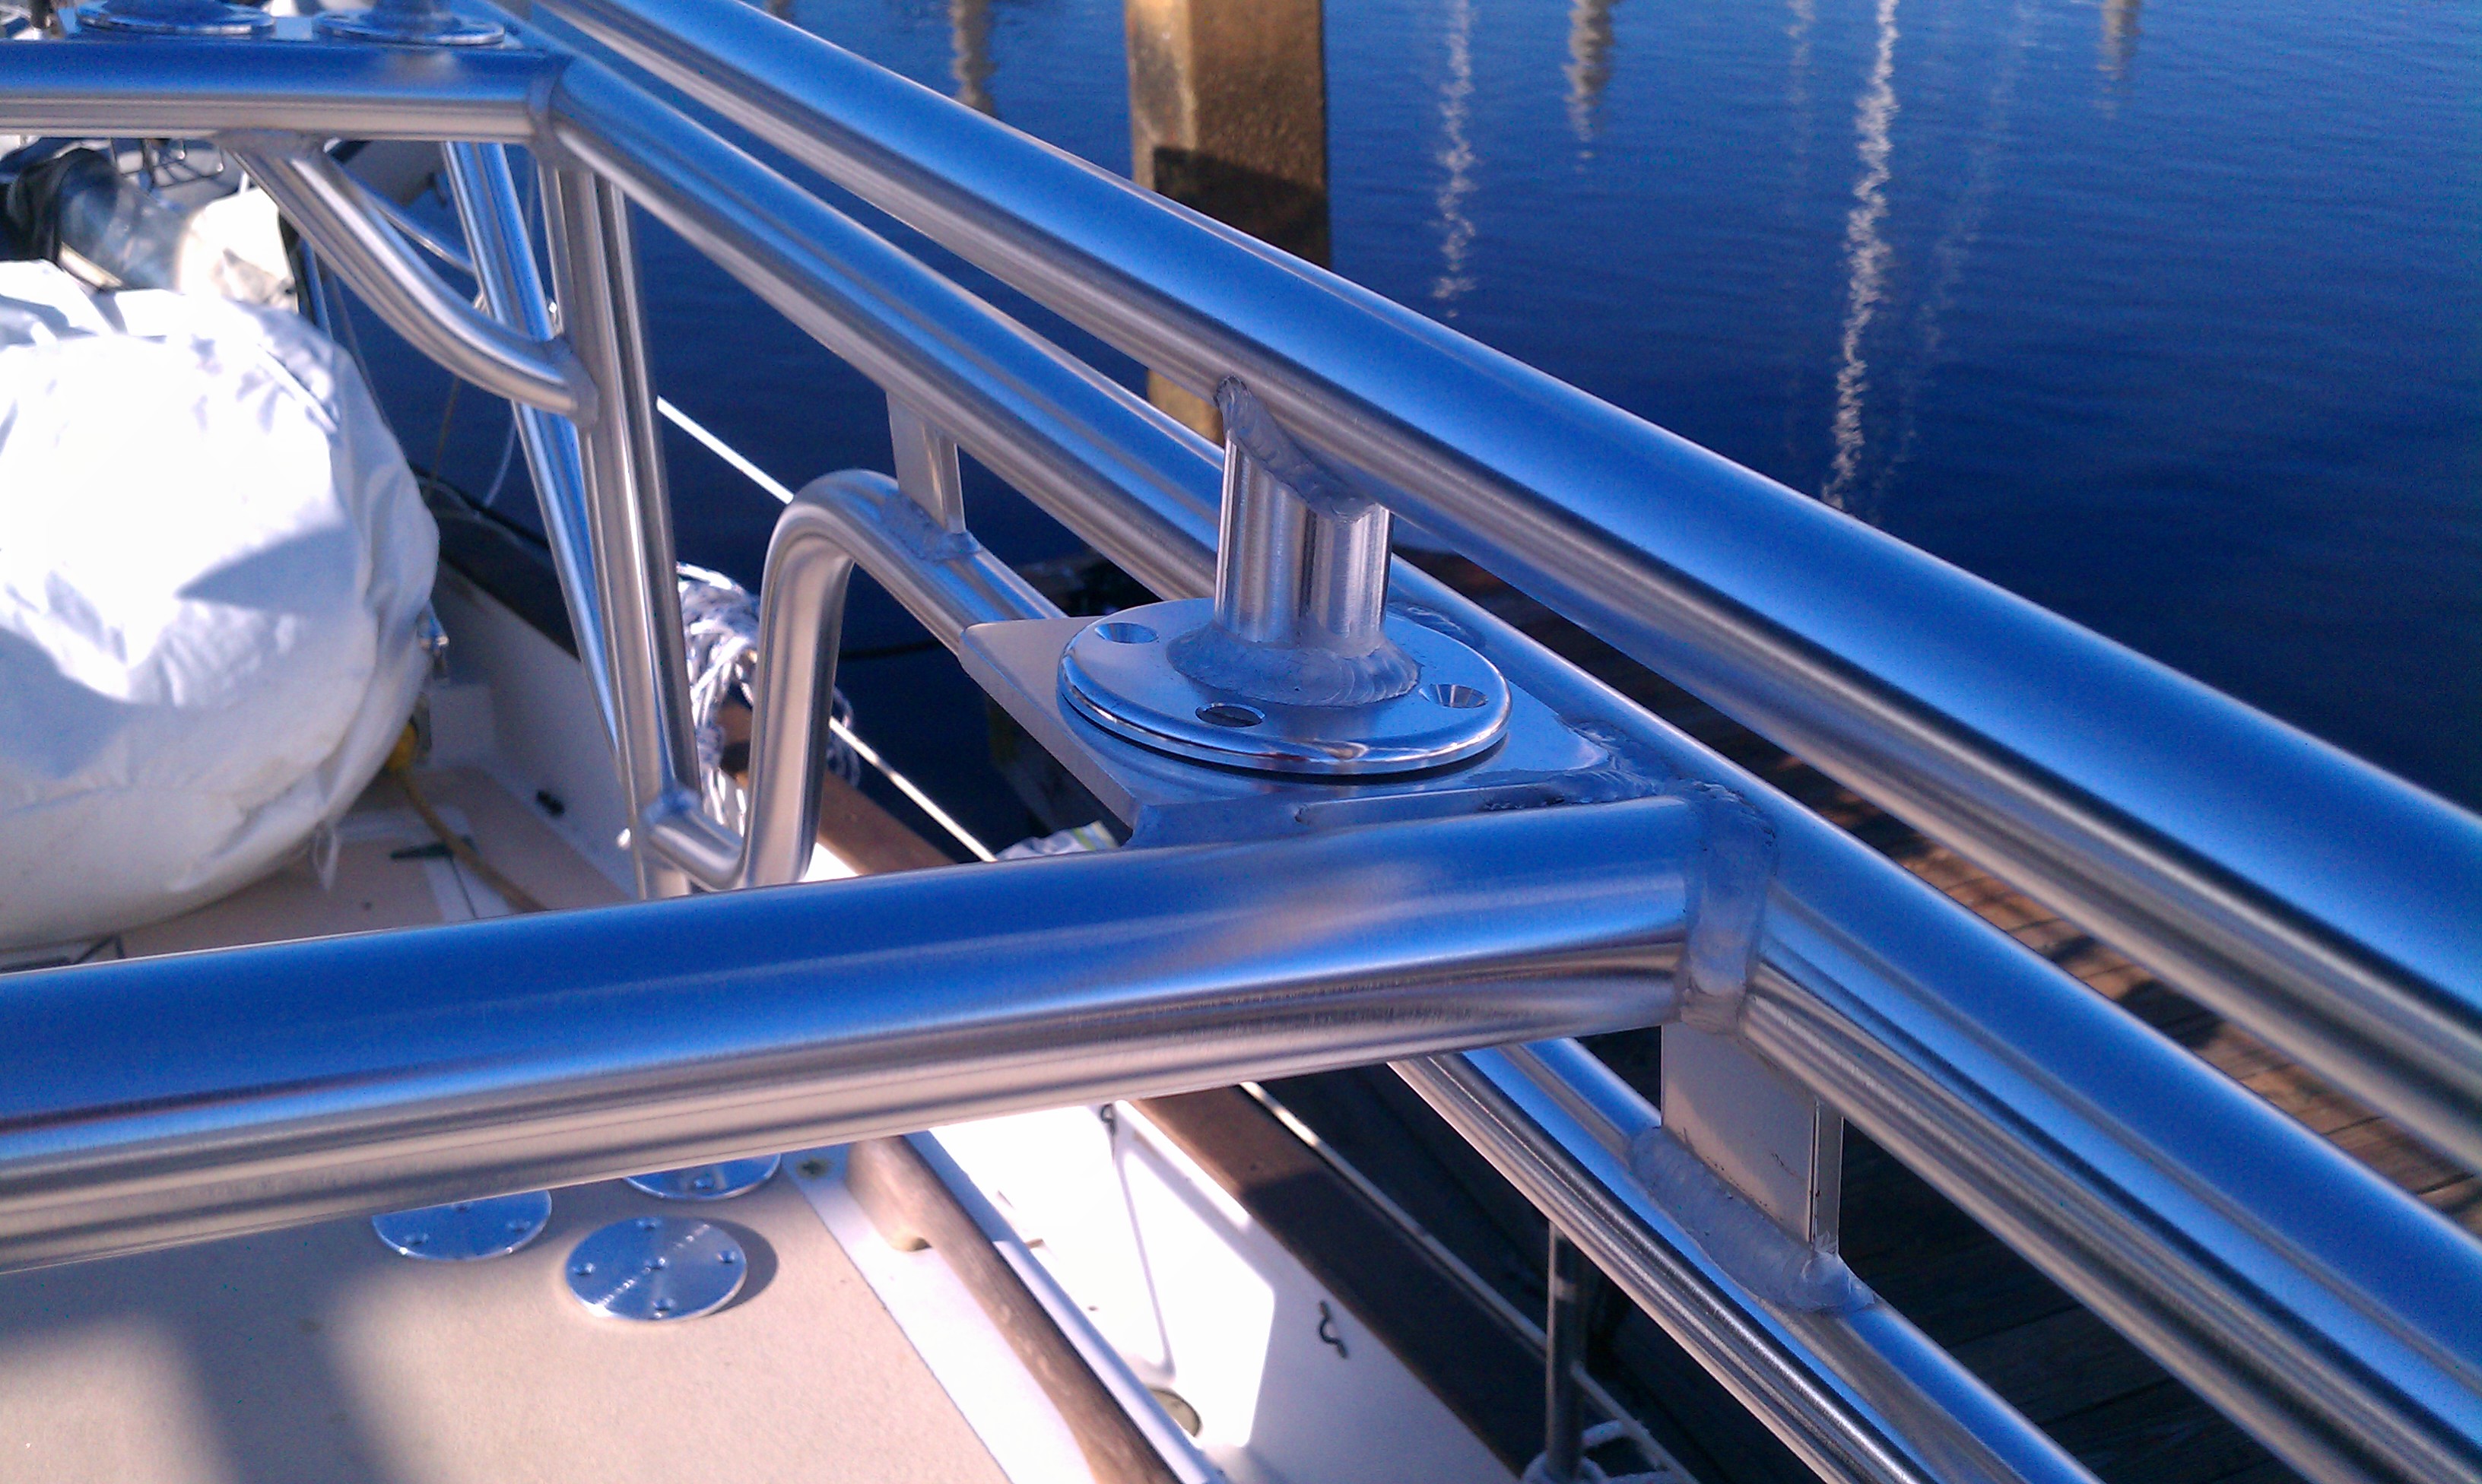
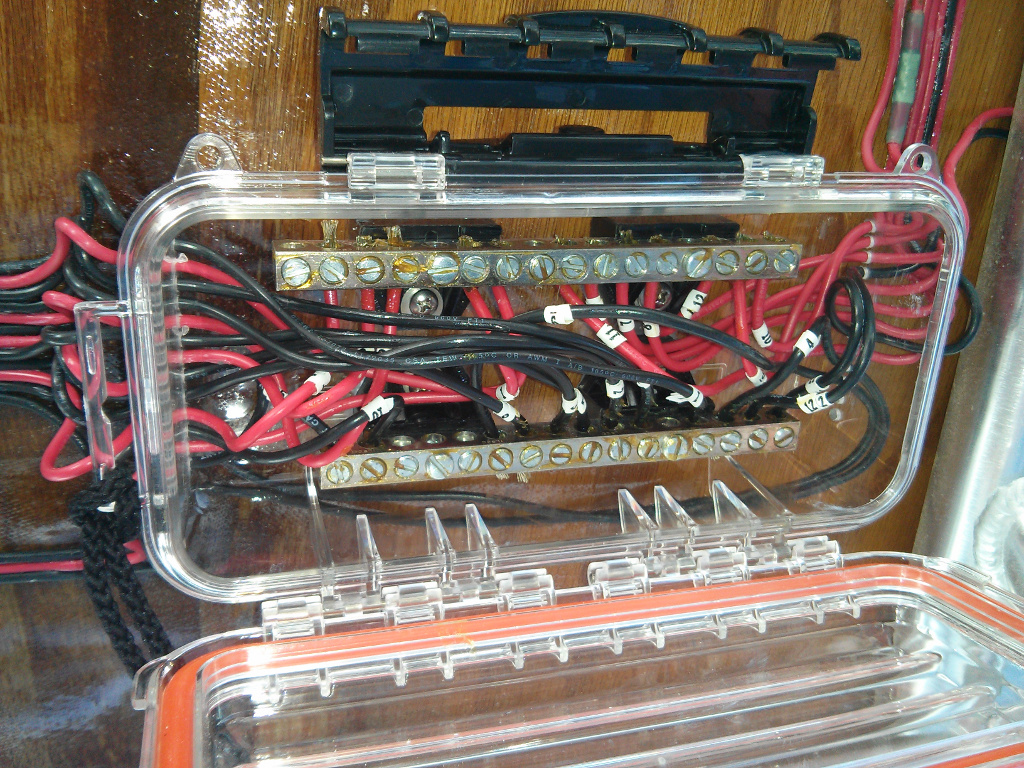
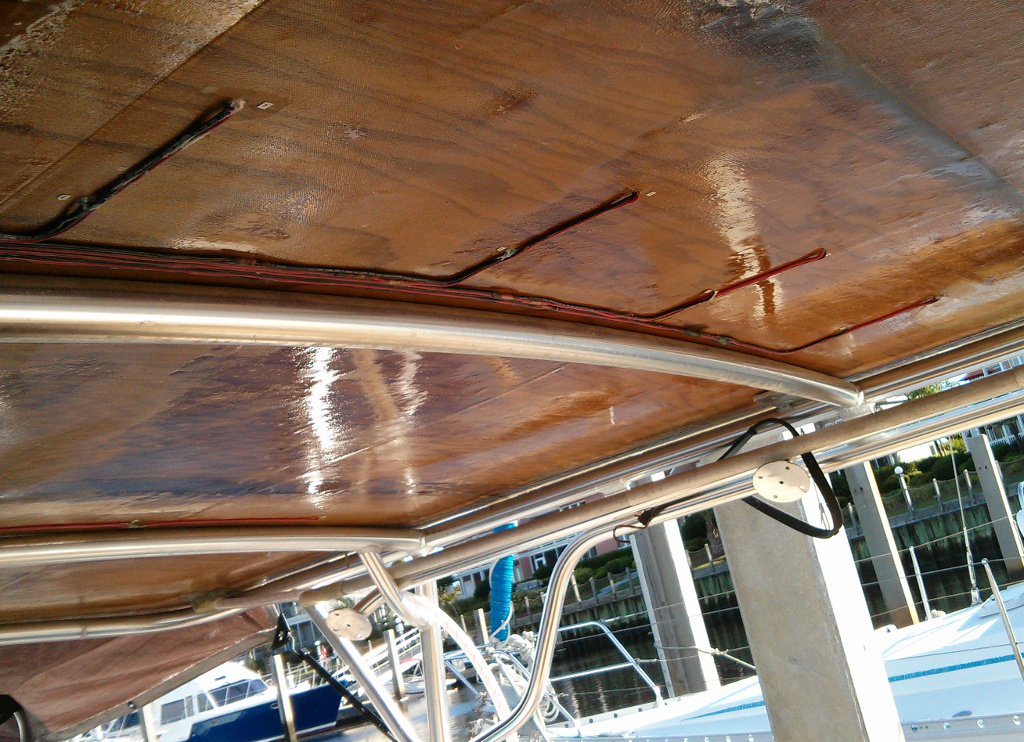
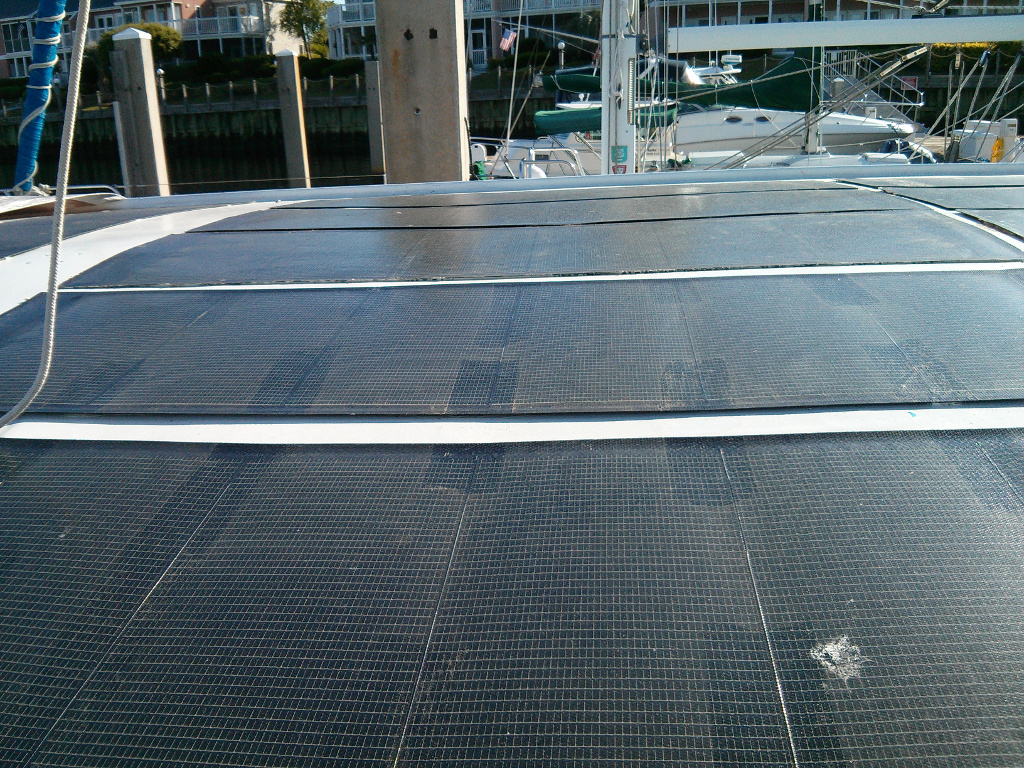
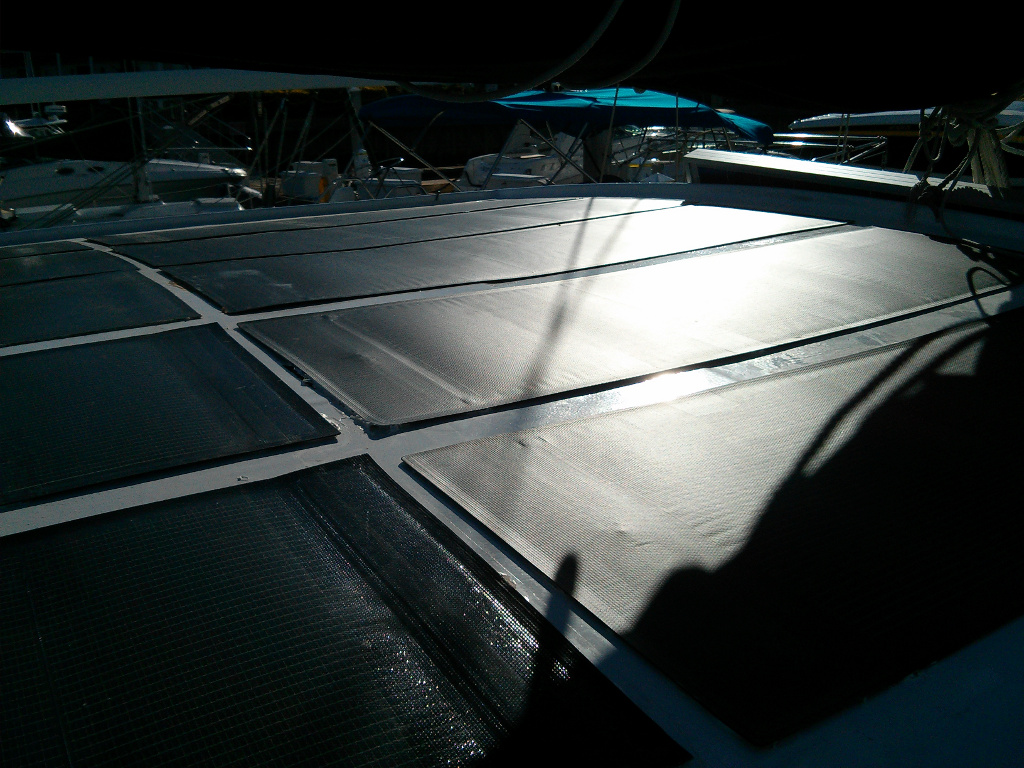
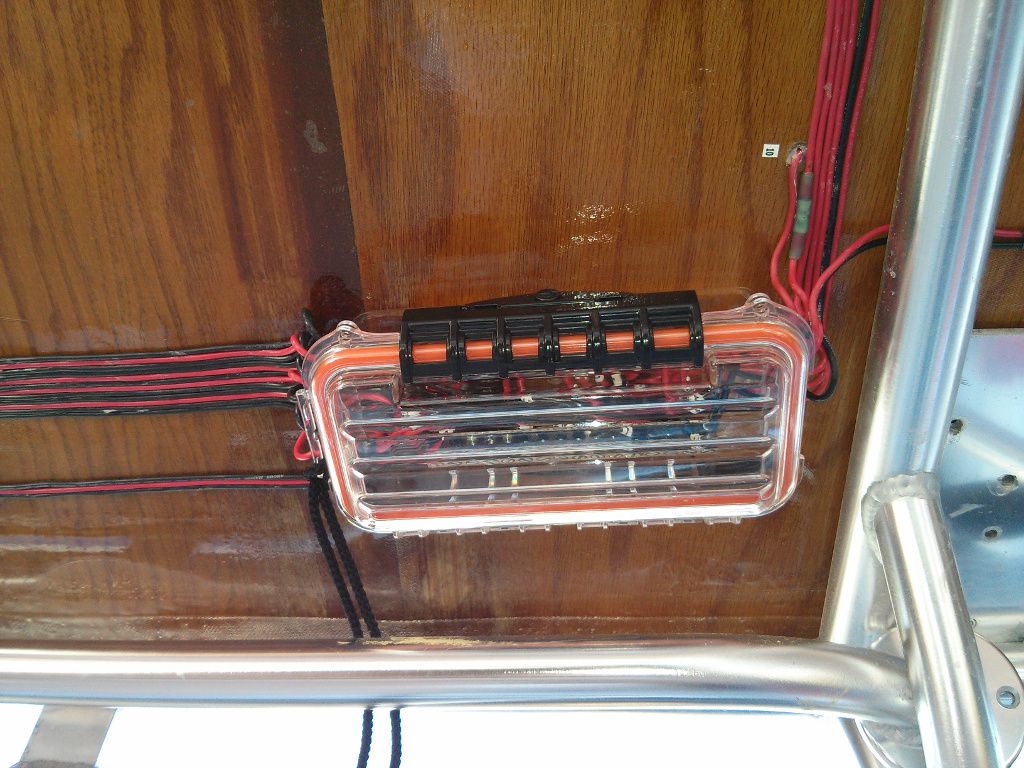
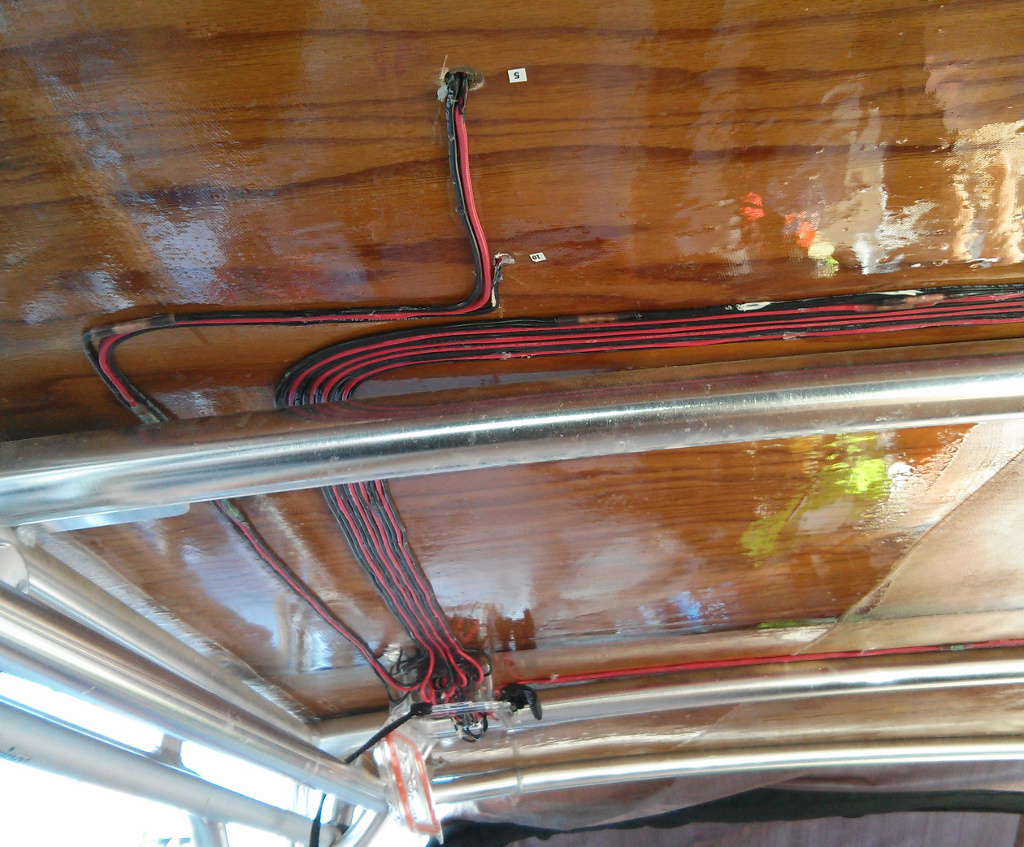
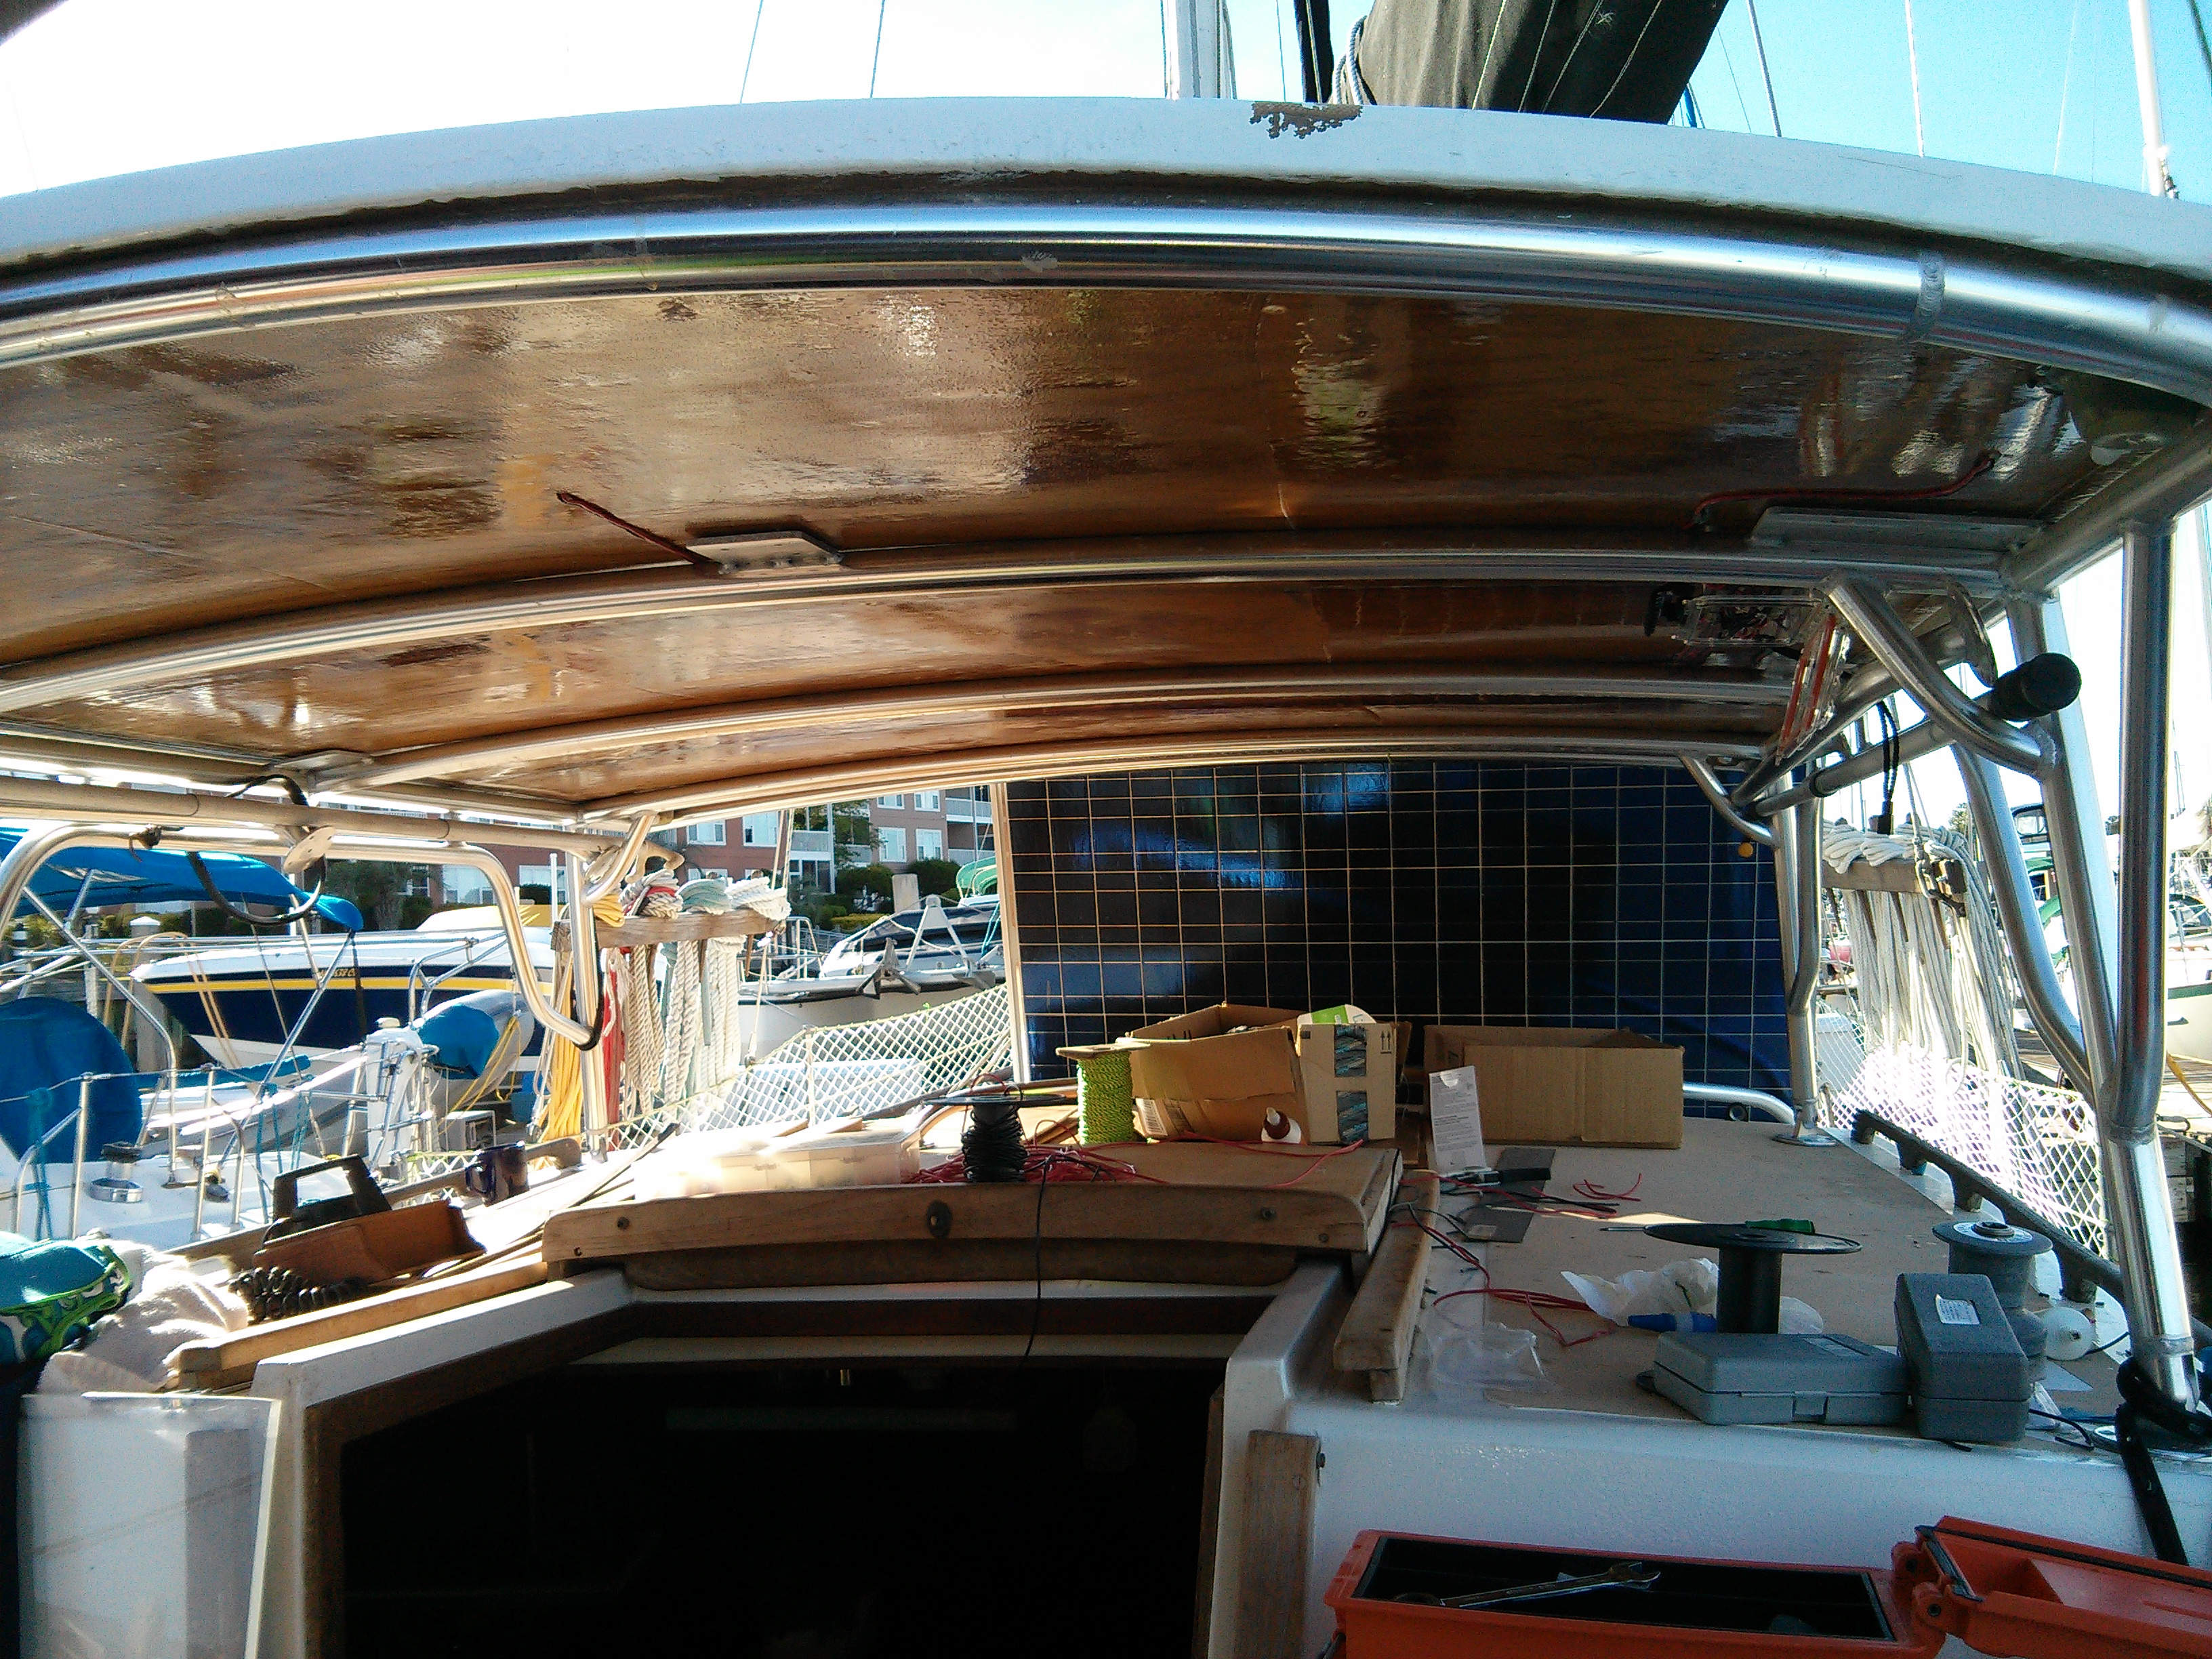
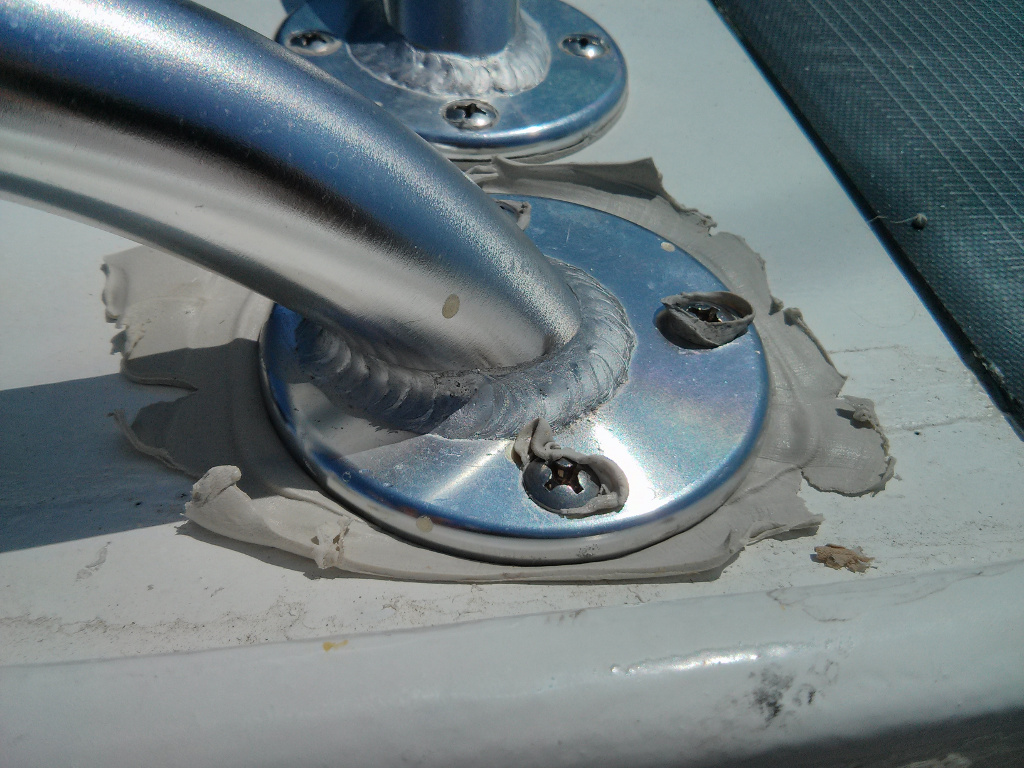
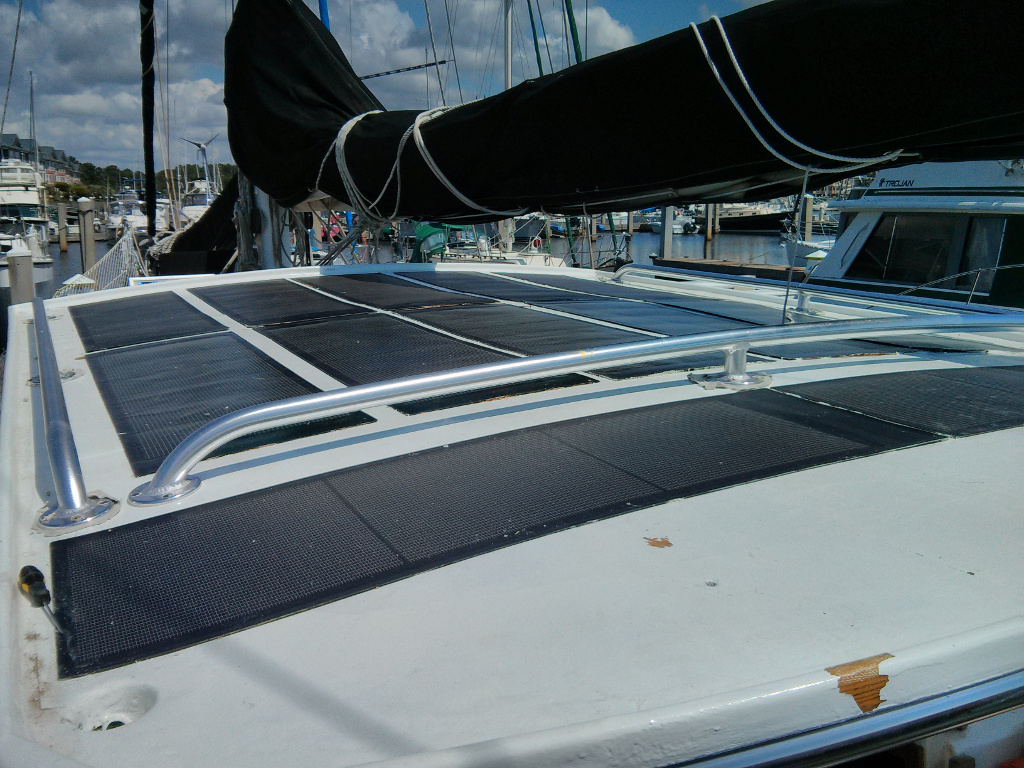
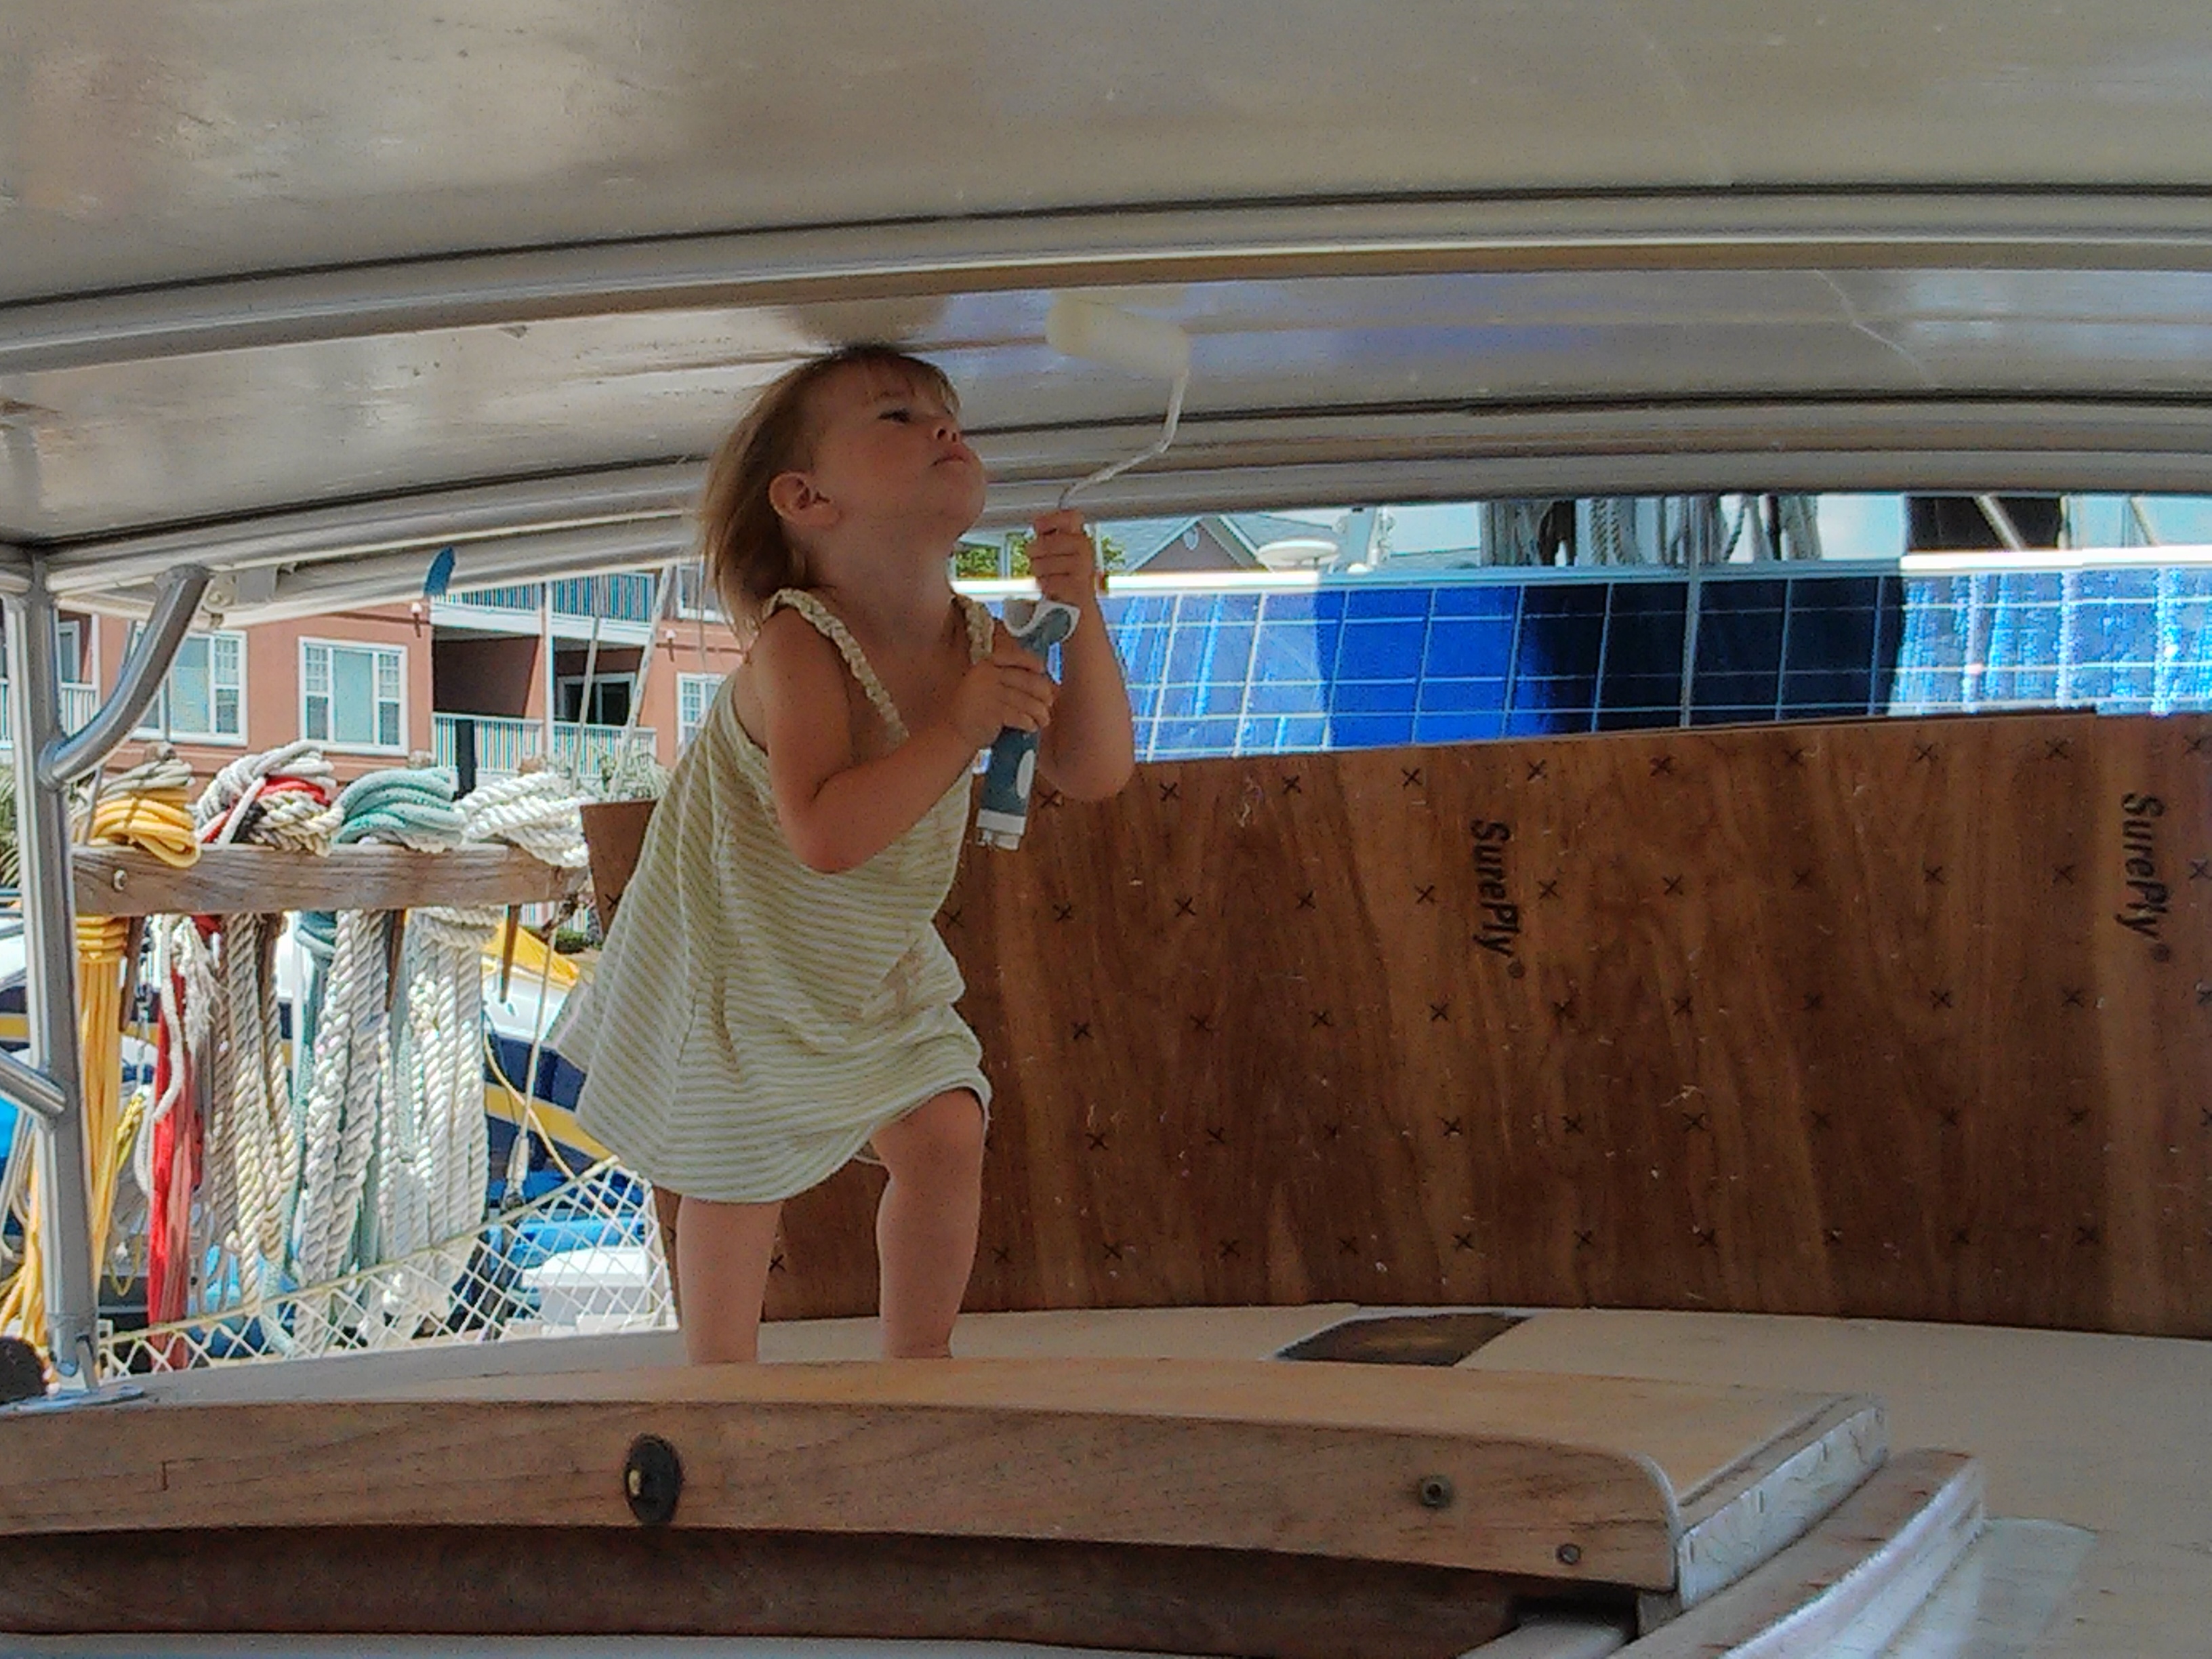
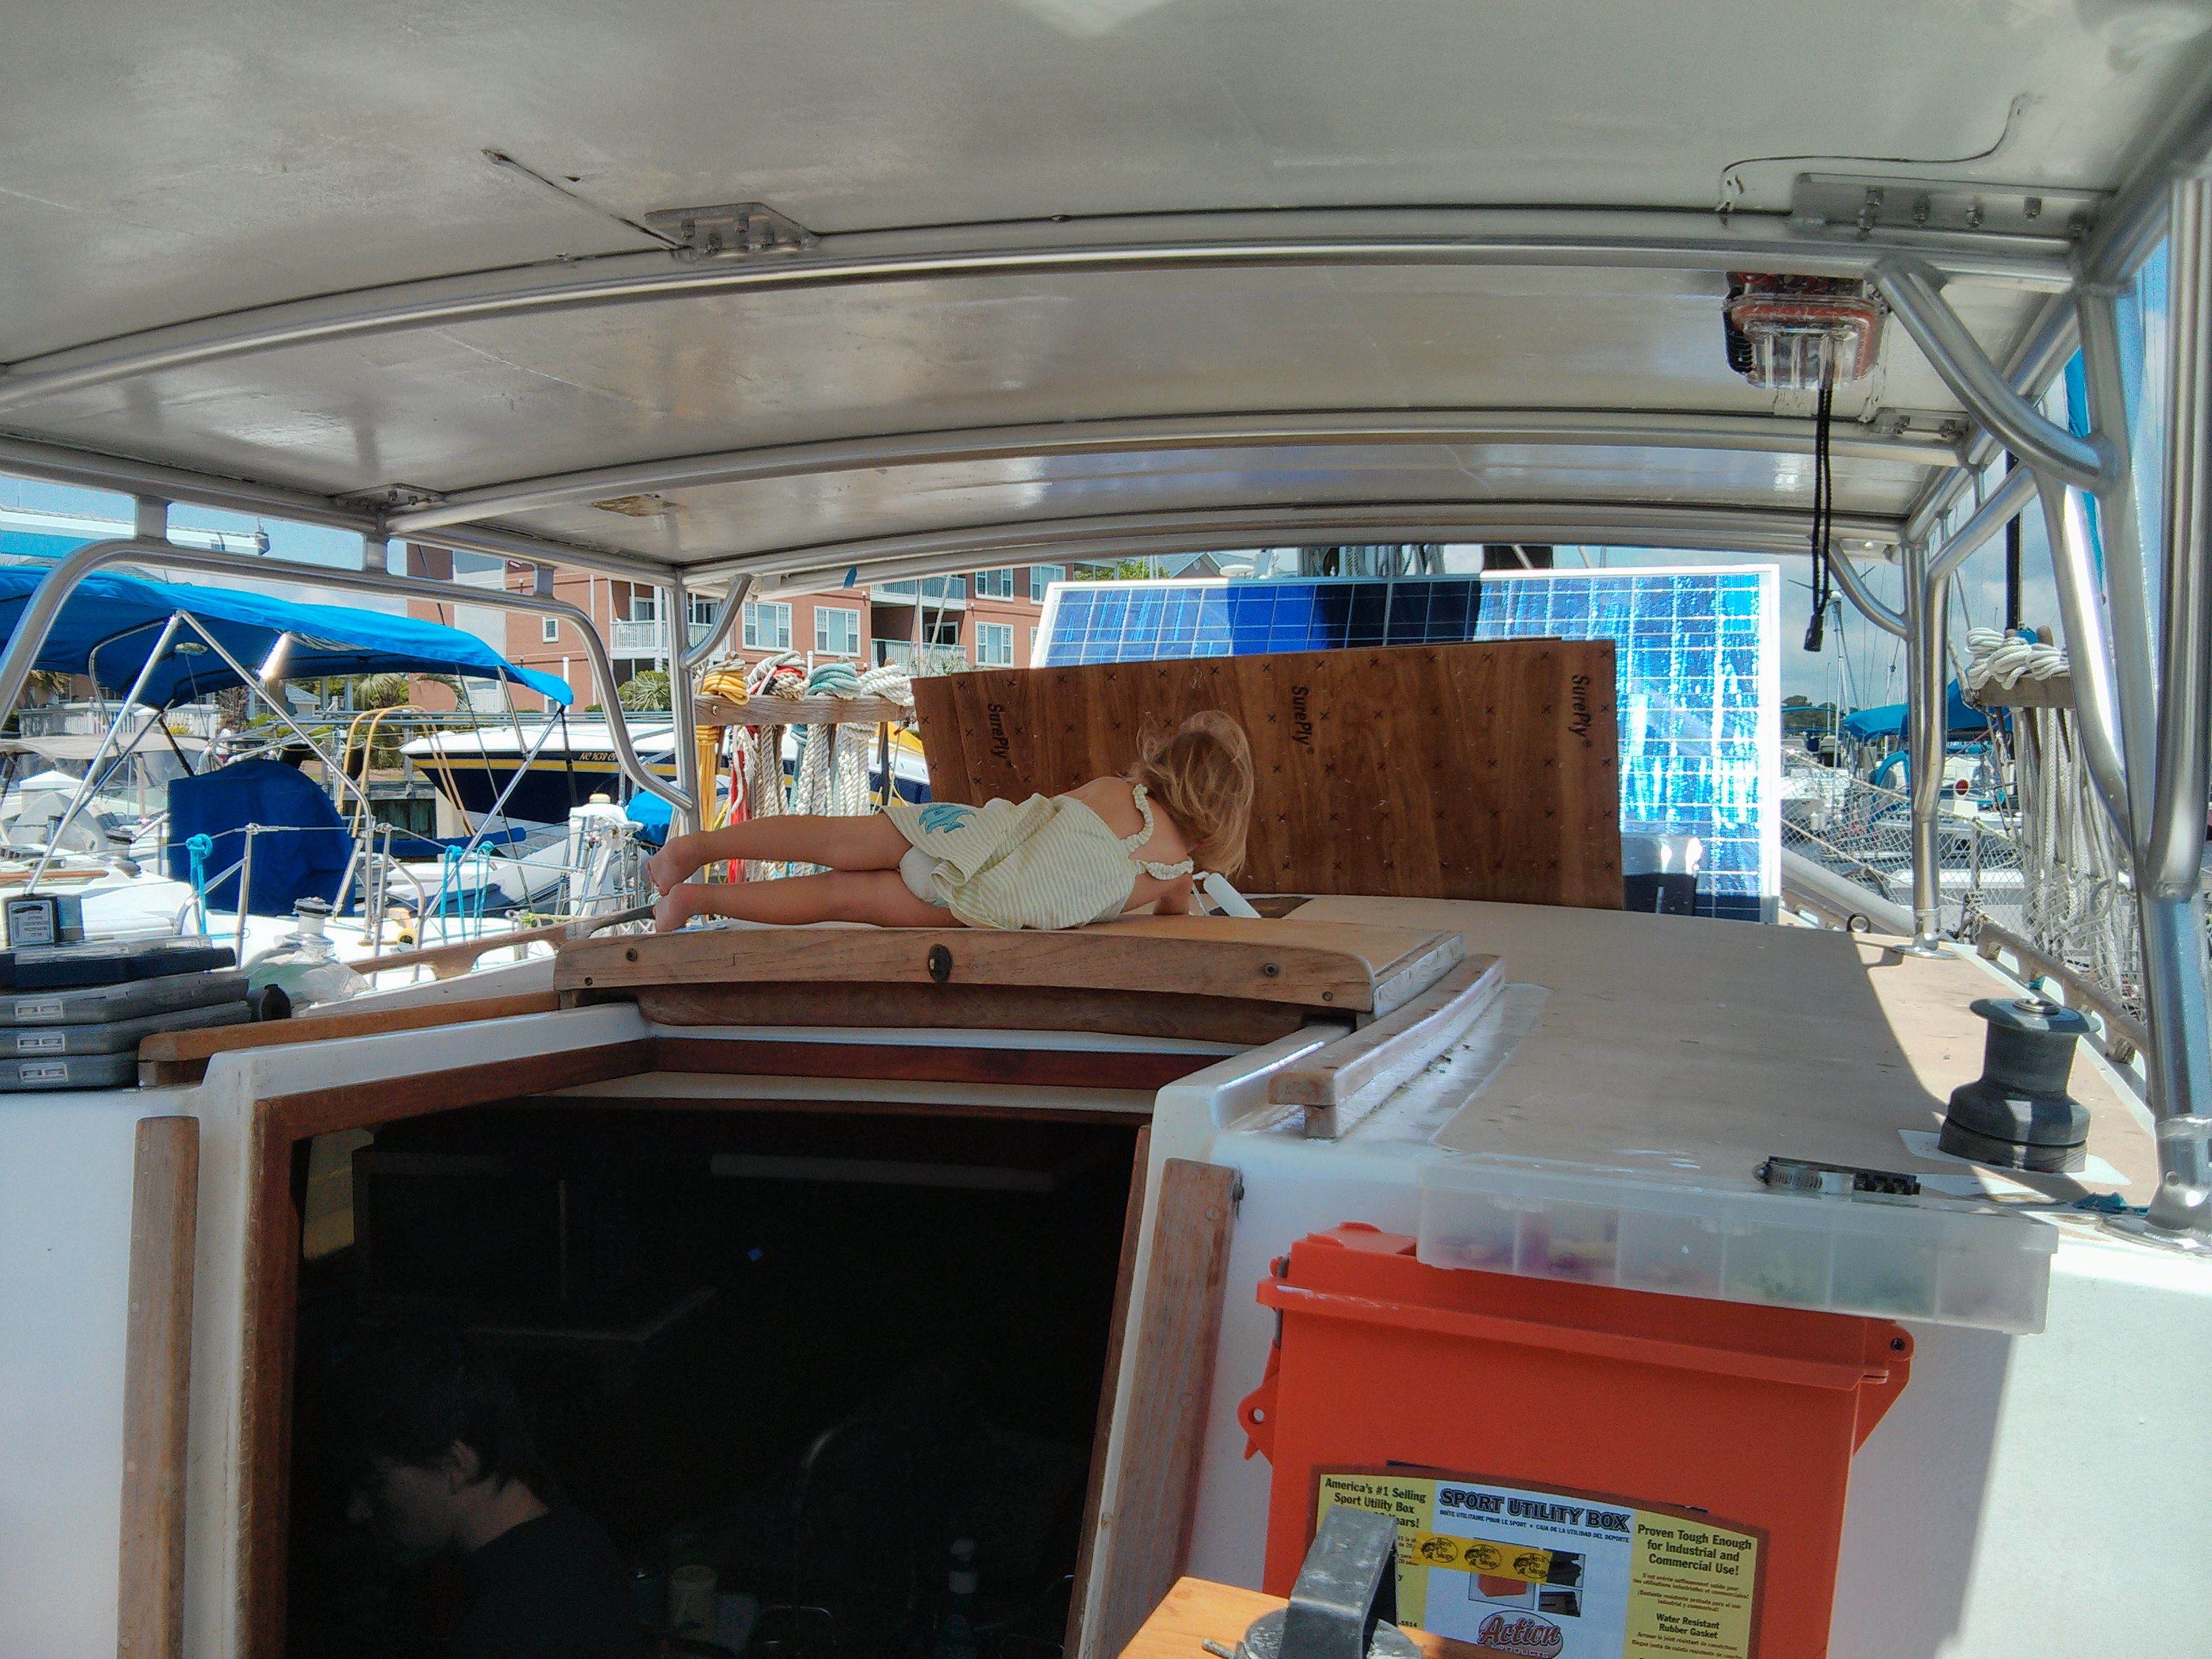
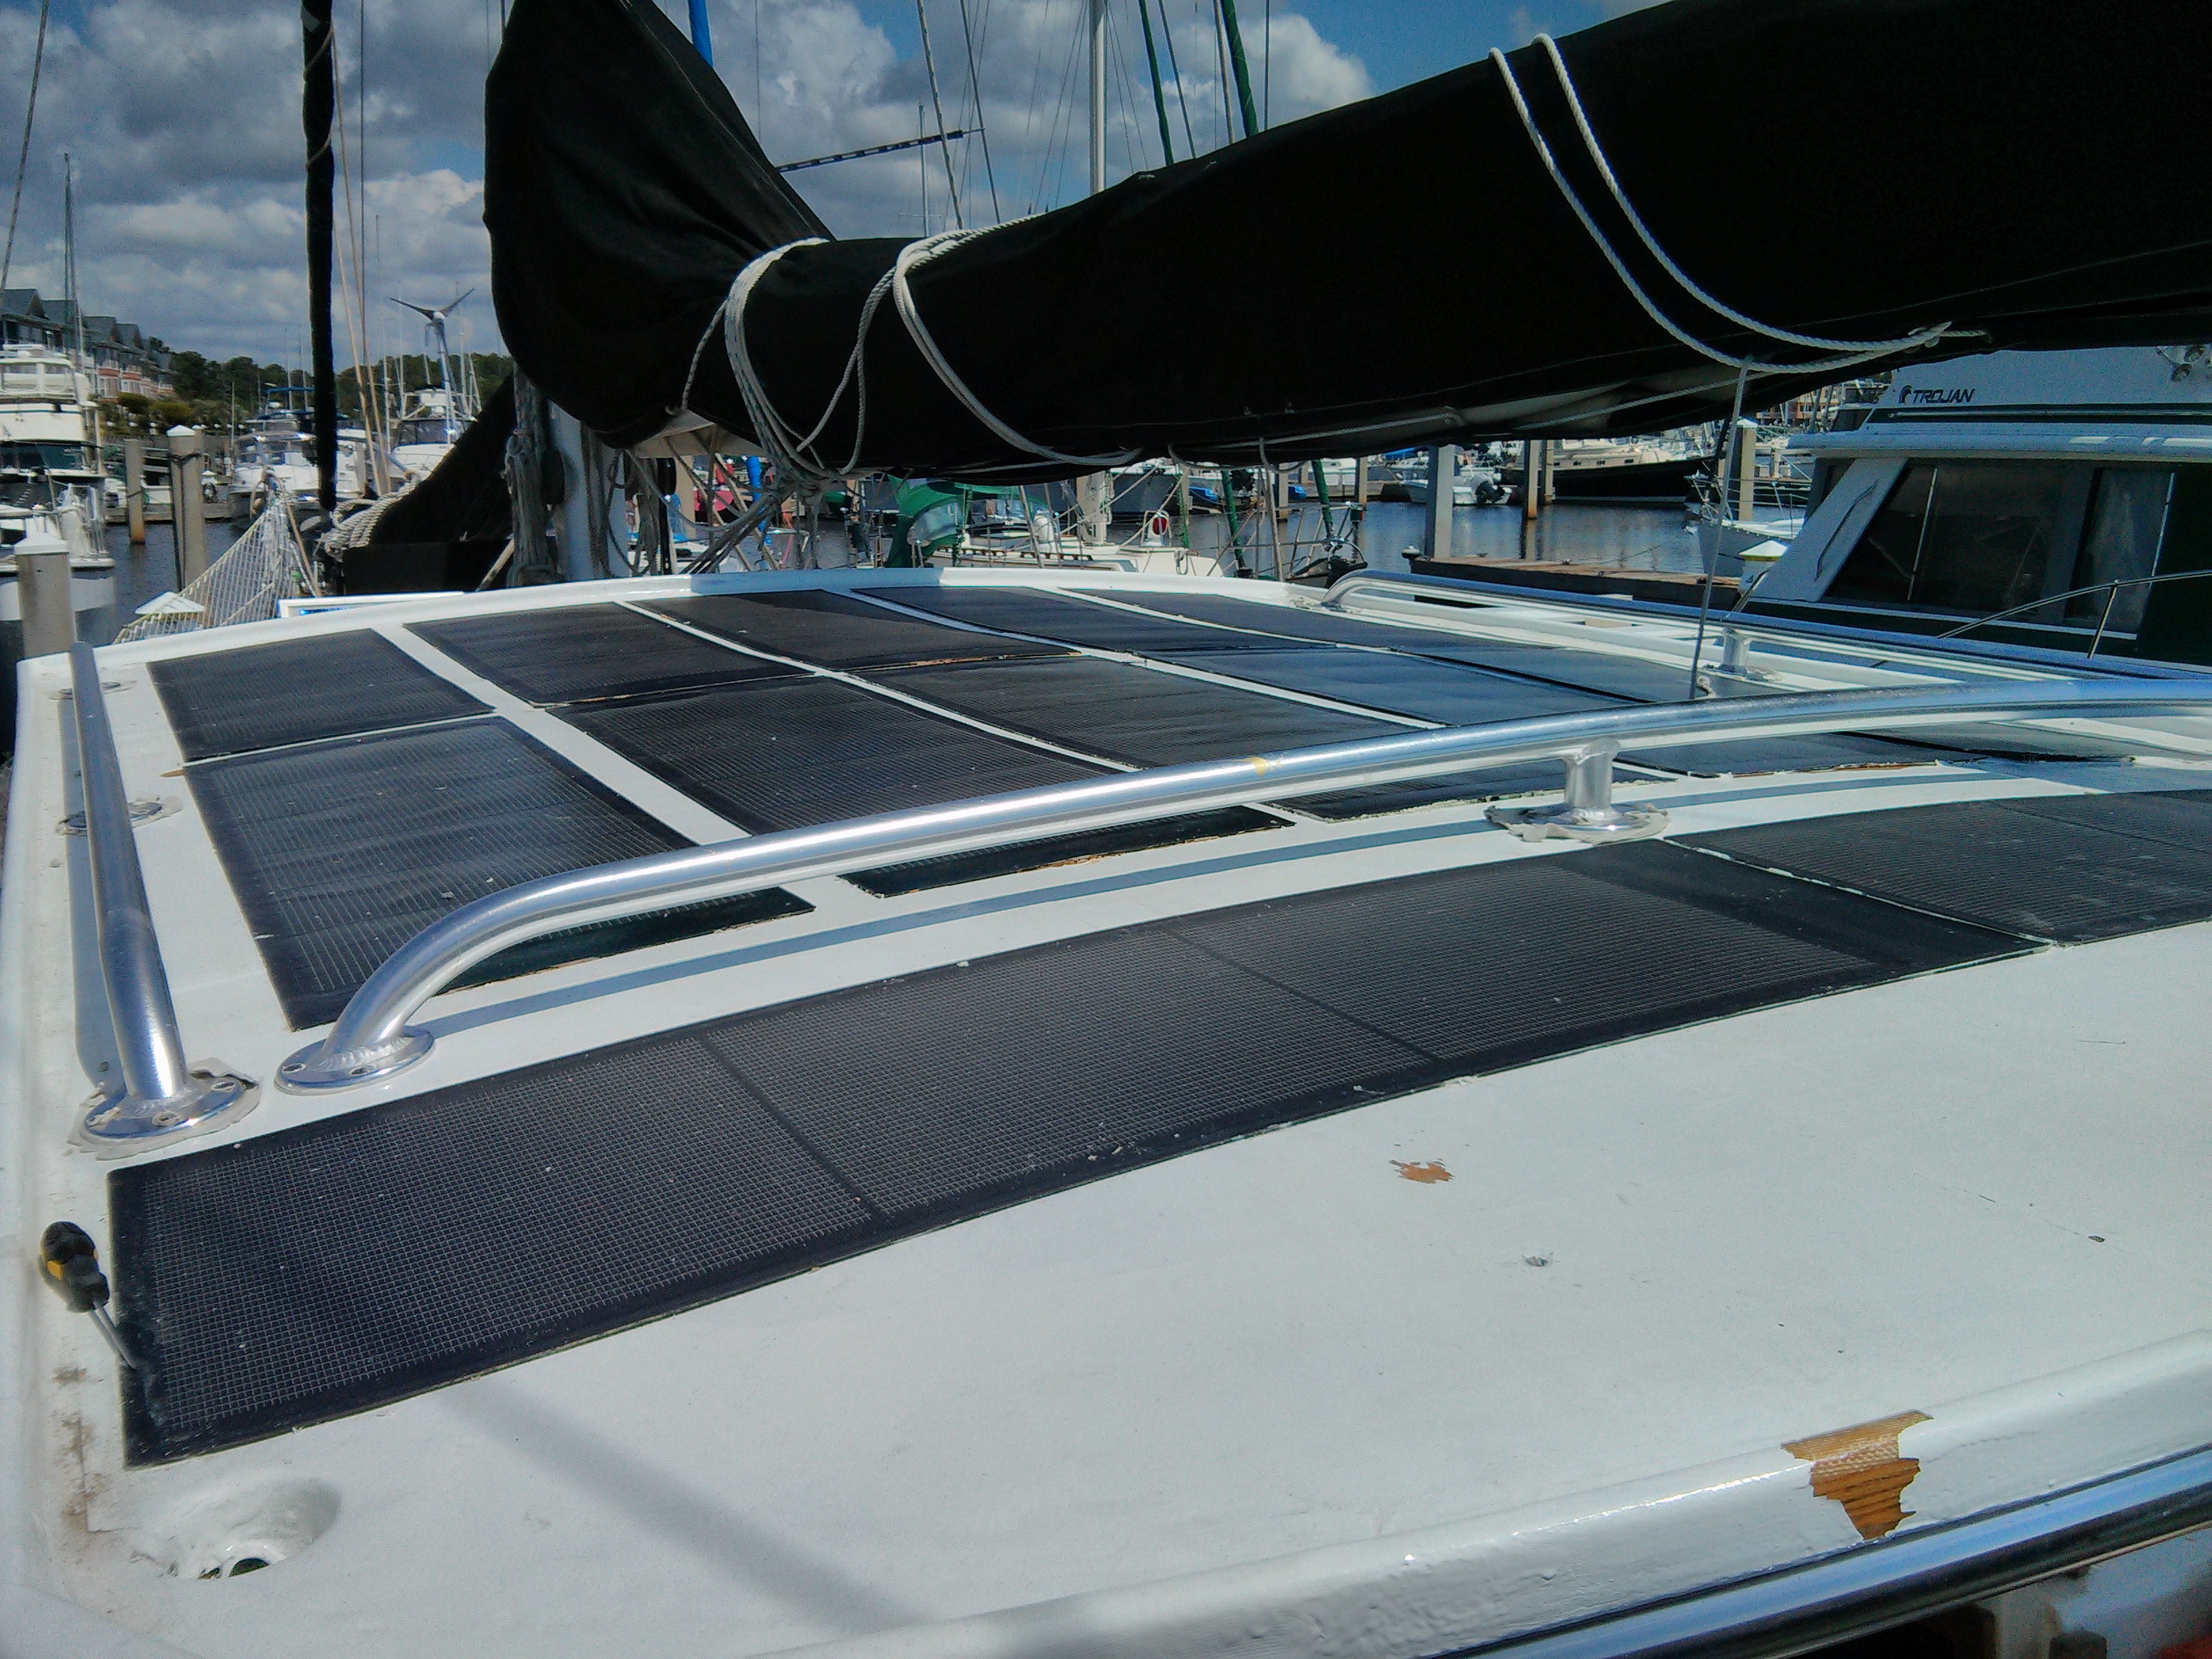
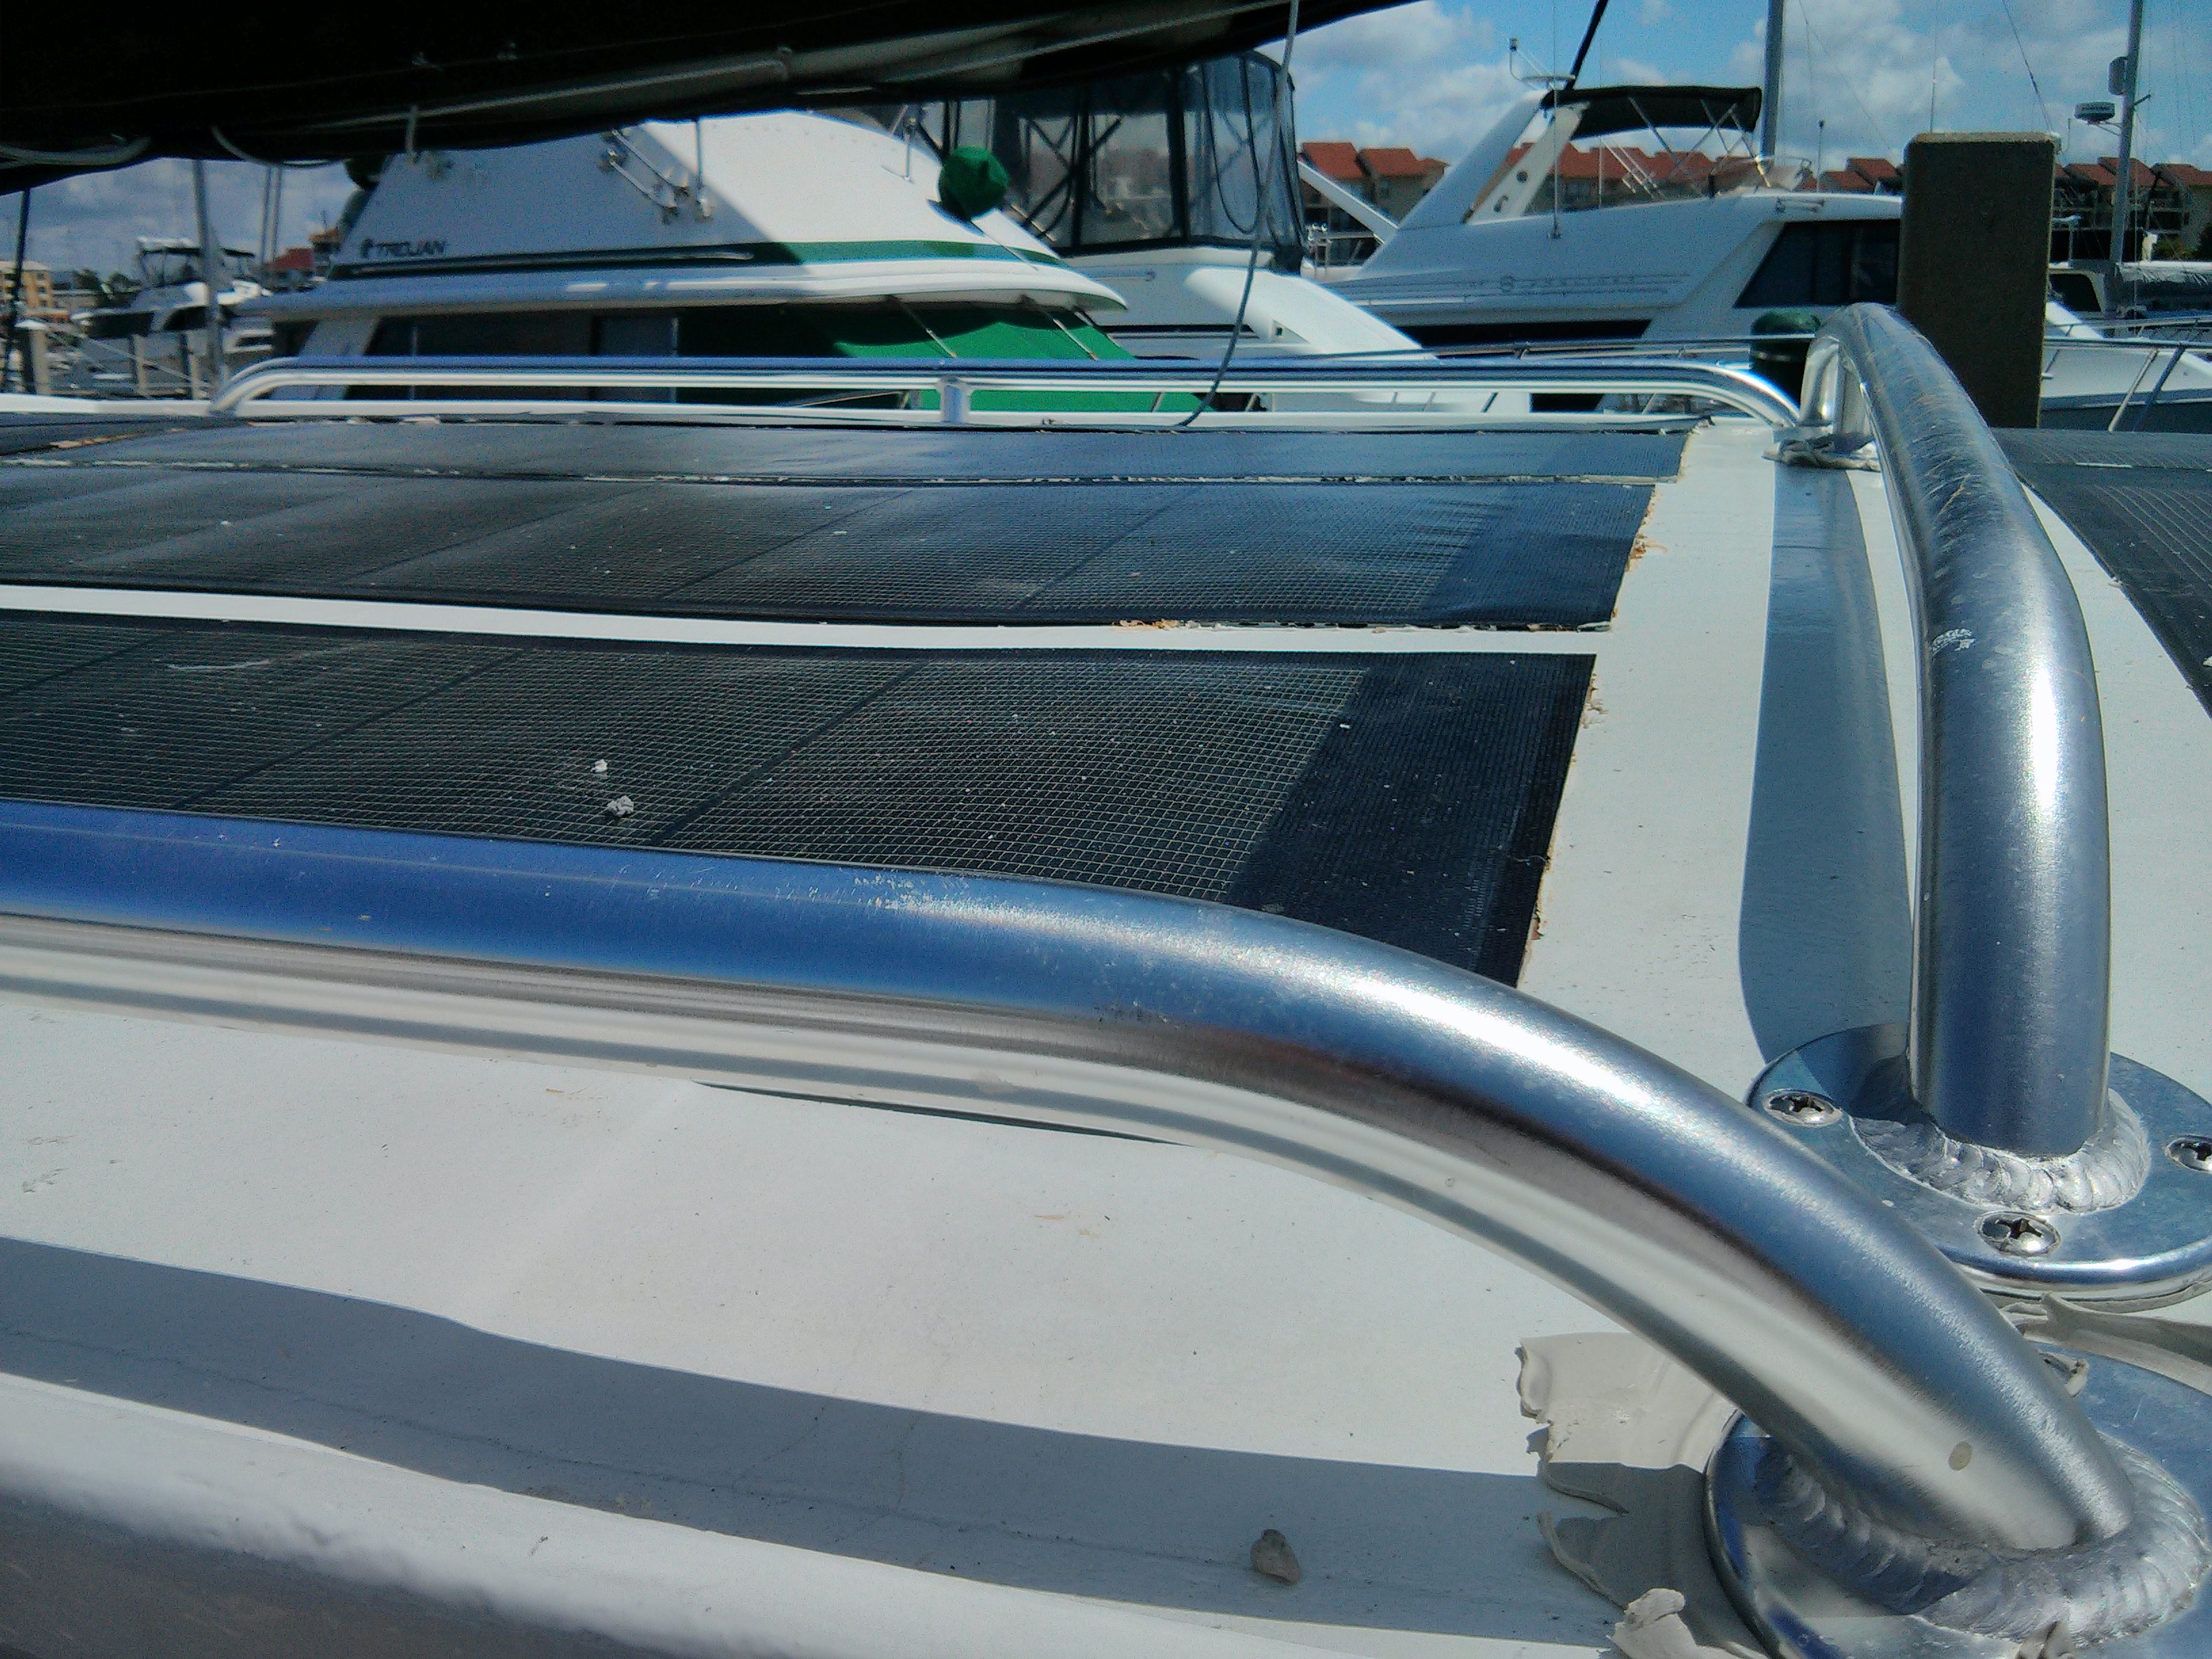
So I thought I had posted pictures of Valkyr’s hard dodger long ago but it seems that I didn’t. These are not the best formatted pictures but should help to give an idea of what I did.
Showing posts with label deck. Show all posts
Showing posts with label deck. Show all posts
Tuesday, February 7, 2017
Valkyr’s Hard Dodger
Scott aboard s/v Valkyr needed more solar power to run his A/C (he is in Florida). And shade is also a very nice thing... So he took on the project of making a hard dodger to support all those new solar panels. This is not strictly a small boat project, but shows some excellent construction techniques. Enjoy!



Tuesday, April 19, 2016
Ditch the Bent Nail
Drew at Sail Delmarva has a new take on an old method:
I've been doing a series of tests on backing plate materials, drilling, de-coring, de-epoxy filling, and re-drilling innumerable holes in balsa cored laminate. The standard method is to use a bent nail to pulverized the balsa.
Bent nail
Well, ditch that. At the suggestion of another DIY sailor I tired a notched roofing nail.
- The drill bucks less. Particularly helpful on larger holes.
- The dust is finer and hence easier to remove. No need to dig it out with a nail.
- You are less likely to miss a spot, though as the pictures show, both methods can do a very nice job.
Notched roofing nail
Dremel cutters work, producing fine dust that is easier to remove, but the undercut is only 0.09-inch vs 0.19-inch for the bent nail or roofing nail. By the time you cut a bevel for sealant, there isn't much left for a seal.
---------
The right tool for the job bay be the notched roofing nail


Tuesday, January 12, 2016
Fender Washers--Basically Useless?
Drew has been at it again... Here he is testing fender washers as might be used instead of proper backing plates for items thru-bolted on deck. Drew made two posts; I have included both of them here.
In the process or researching an article on backing plates, it seemed worthwhile to actually test some washers. After all, it was the failure of fender washers that led to cracking of my deck and the need to remount the winches.
I used a 3/4" pine board as a surrogate for a cored deck and tightened a collection of 1/4" washers untill the first damage to the wood, and until failure. To no surprise, common washers, fender washers, and HDPE were glaring failures, and FRP and thicker metal washers were fine.
(click to enlarge table)
And then there is always the matter of what happens in wet places. Though I like aluminum for ease of fabrication, I also know its limitations.
As ramp-up for some Practical Sailor testing, I thought I would share a preview.
First, unable to secure scraps of deck material for which I could be sure of the pedigree, I laid up some of my own. The testing will based upon 1/2-inch balsa core with (1) 6-ounce cloth and (1) 17-ounce biaxial layers on the deck side and (1) 17-ounce biaxial layers on the under side.
I drill a 1/4-inch hole (no epoxy plug, block of wood on the back side) and tightened down a fender washer against it. At 10 in-pounds (about 675# load) the washer had distorted and the laminate was failing. for comparison, the bolt working load of a Lewmar 40 winch (1/4-inch bolts) with a strong grinder is about 500 pounds each. In other words, without an epoxy plug the bolt will fail under working load and standard ASME bolting load, with no safety factor for aging and fatigue. It is about 5x weaker than good design suggests. It also explains why I had a PO installed winch rip out.
By 18-in-pounds the fender washer was buckled and the nut was well into the core. For comparison, this is about 50% better than a plain pine board in each case.
I repeated the test with only lock washer. The same result! The fender washer resulted in no increase in strength. The point being, that the bolting washer provided better support in close, the end result being the same.
Testing for the actual project will involve proper epoxy plugs. However, since under the load the bolt will NOT be supported on the other side (the winch or cleat will be lifting) in the real world, the top side support will be supplied by a 4-inch diameter ring spacer, allowing the washer to pull through, if that is what it wants to do. I've tested this without the epoxy plug; not surprisingly, it lowers the failure load and creates top side damage much like I saw on my failed winches.
We'll see. But for now, the moral of the story is that fender washers are basically useless; they fail as soon as they are actually needed.


Tuesday, March 17, 2015
Out Damned Spot!
This is a mash-up of posts which originally appeared on Windborne in Puget Sound


Supposing that these are some form of lichen, I did some research - it is such a wonderful thing to have the bulk of Man's knowledge at your fingertips!
Guess what? Algae, moss and lichens suffer grave bodily harm when exposed to a particular class of chemicals. Well I guess that part is not a surprise. But this part is: that family of chemicals is relatively harmless to virtually everything else. In fact, it is the active ingredient in Bactine: benzalkonium chlorides.
Now here's the next surprise. No, you don't have to buy 100 bottles of Bactine and distill it to get the benzalkonium chloride - all you have to do is go to the pool/spa section of your local hardware store and buy a bottle of HTH Algae Guard:
This is a 30% solution, and yet a 2% solution is supposed to be adequate for killing algae/moss/lichen.
So, the first test is a kind Hippocratic one. Does this stuff harm the Sunbrella canvas on the boat? I uncapped the bottle and put some of the straight 30% solution directly on a scrap of our Sunbrella and left it to dry. After rinsing it out 24 hours later, there was no detectable effect on the canvas. At 30%, the solution has a blue tint - I suspect this is just a dye for appearances, given its intended use. Our canvas is green - if yours is white, you might want to repeat this test.
For the next test, I made up a 6:1 dilution (5%) solution in a hand spray bottle and applied it to a section of the deck with the lichen, and a portion of our canvas which has a liberal infestation of winter algae on the outside. I also applied it to the inside of the canvas directly over our galley vent where we get the most amazing colonies of... well, life I guess, apparently feeding on whatever the vent delivers to the canvas.
The benzalkonium chlorides definitely killed the lichen. But it did take a mild scrubbing with a brush to remove the corpses. Please note that previous scrubbing with the same brush and bleach had no effect on the spots. I apologize that I used a washer for the sizing comparison - I didn't have a dime in my pocket. The washer is a little bigger than a dime and a little smaller than a nickle.
I also applied the 5% benzalkonium chloride solution to a portion of our dodger canvas. Please note that this canvas is more than 10 years old, and has lost most of its water repellant qualities - that's why the mold/mildew can live in it.
The "After" photograph does not do the results justice. The mold, mildew and algae are all dead. A couple of rainstorms washed the bulk of the corpses away, except at the seams. But more rain is coming (of course).
On Eolian's decks hundreds of black spots have been slowly appearing, and have been doing so ever since we repainted the decks. They don't grow fast, but they do grow. Nothing seems to touch them - using straight bleach has no more effect than plain water.


Supposing that these are some form of lichen, I did some research - it is such a wonderful thing to have the bulk of Man's knowledge at your fingertips!
Guess what? Algae, moss and lichens suffer grave bodily harm when exposed to a particular class of chemicals. Well I guess that part is not a surprise. But this part is: that family of chemicals is relatively harmless to virtually everything else. In fact, it is the active ingredient in Bactine: benzalkonium chlorides.
Now here's the next surprise. No, you don't have to buy 100 bottles of Bactine and distill it to get the benzalkonium chloride - all you have to do is go to the pool/spa section of your local hardware store and buy a bottle of HTH Algae Guard:
 |
| And it was less than $10! |
This is a 30% solution, and yet a 2% solution is supposed to be adequate for killing algae/moss/lichen.
So, the first test is a kind Hippocratic one. Does this stuff harm the Sunbrella canvas on the boat? I uncapped the bottle and put some of the straight 30% solution directly on a scrap of our Sunbrella and left it to dry. After rinsing it out 24 hours later, there was no detectable effect on the canvas. At 30%, the solution has a blue tint - I suspect this is just a dye for appearances, given its intended use. Our canvas is green - if yours is white, you might want to repeat this test.
For the next test, I made up a 6:1 dilution (5%) solution in a hand spray bottle and applied it to a section of the deck with the lichen, and a portion of our canvas which has a liberal infestation of winter algae on the outside. I also applied it to the inside of the canvas directly over our galley vent where we get the most amazing colonies of... well, life I guess, apparently feeding on whatever the vent delivers to the canvas.
 |
| After |
The benzalkonium chlorides definitely killed the lichen. But it did take a mild scrubbing with a brush to remove the corpses. Please note that previous scrubbing with the same brush and bleach had no effect on the spots. I apologize that I used a washer for the sizing comparison - I didn't have a dime in my pocket. The washer is a little bigger than a dime and a little smaller than a nickle.
I also applied the 5% benzalkonium chloride solution to a portion of our dodger canvas. Please note that this canvas is more than 10 years old, and has lost most of its water repellant qualities - that's why the mold/mildew can live in it.
 |
| Untreated |
 |
| Treated |
Conclusion
This stuff works! And Jane tried it on the moss on our driveway at a 3% concentration, as another experiment. It worked there too - the moss is all dead. In fact, using a 5% solution was probably overkill - my next application on Eolian's canvas will be at 3%, but I think I'll retain the 5% level for the tough-to-kill lichen on the decks.Thursday, November 21, 2013
New Nonskid!
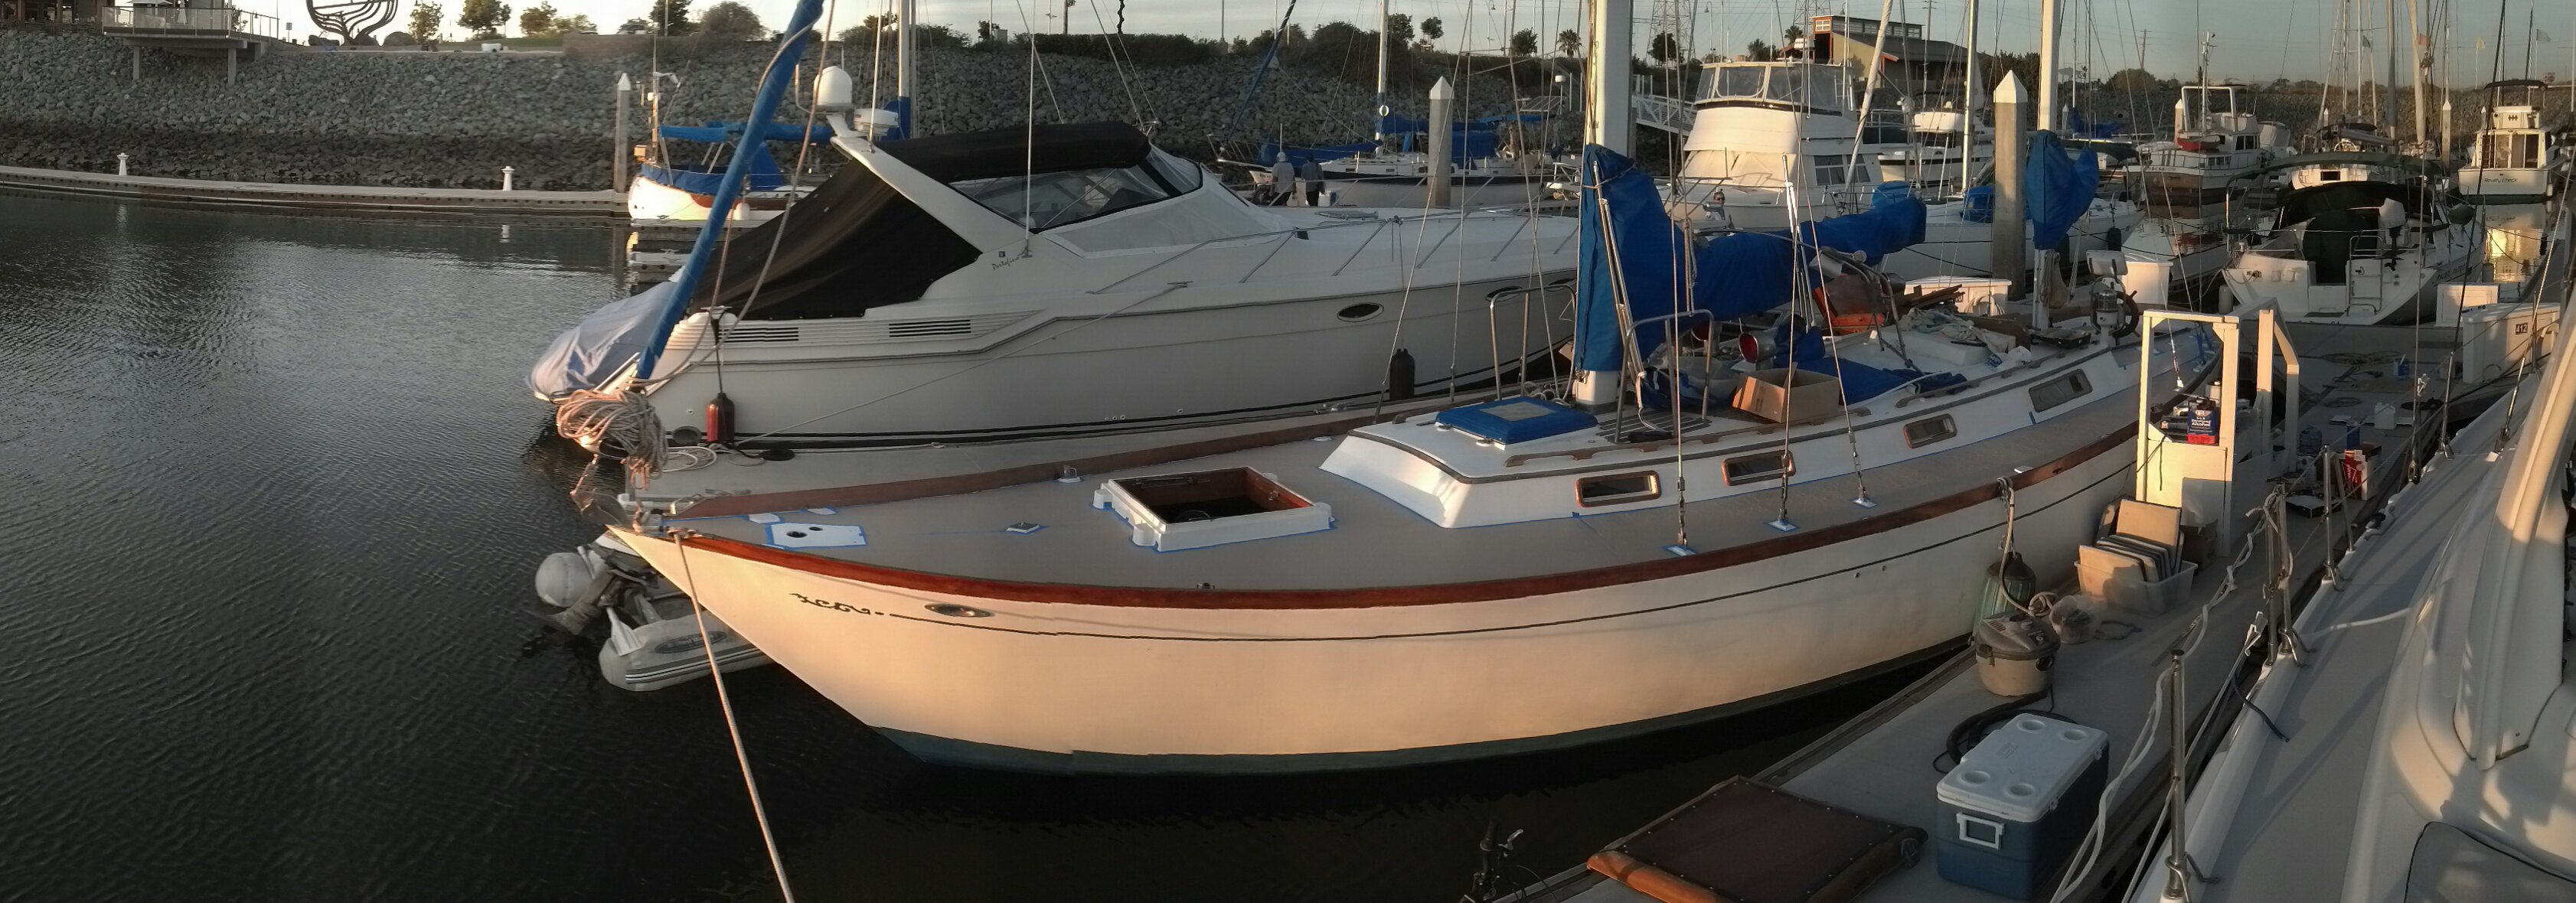
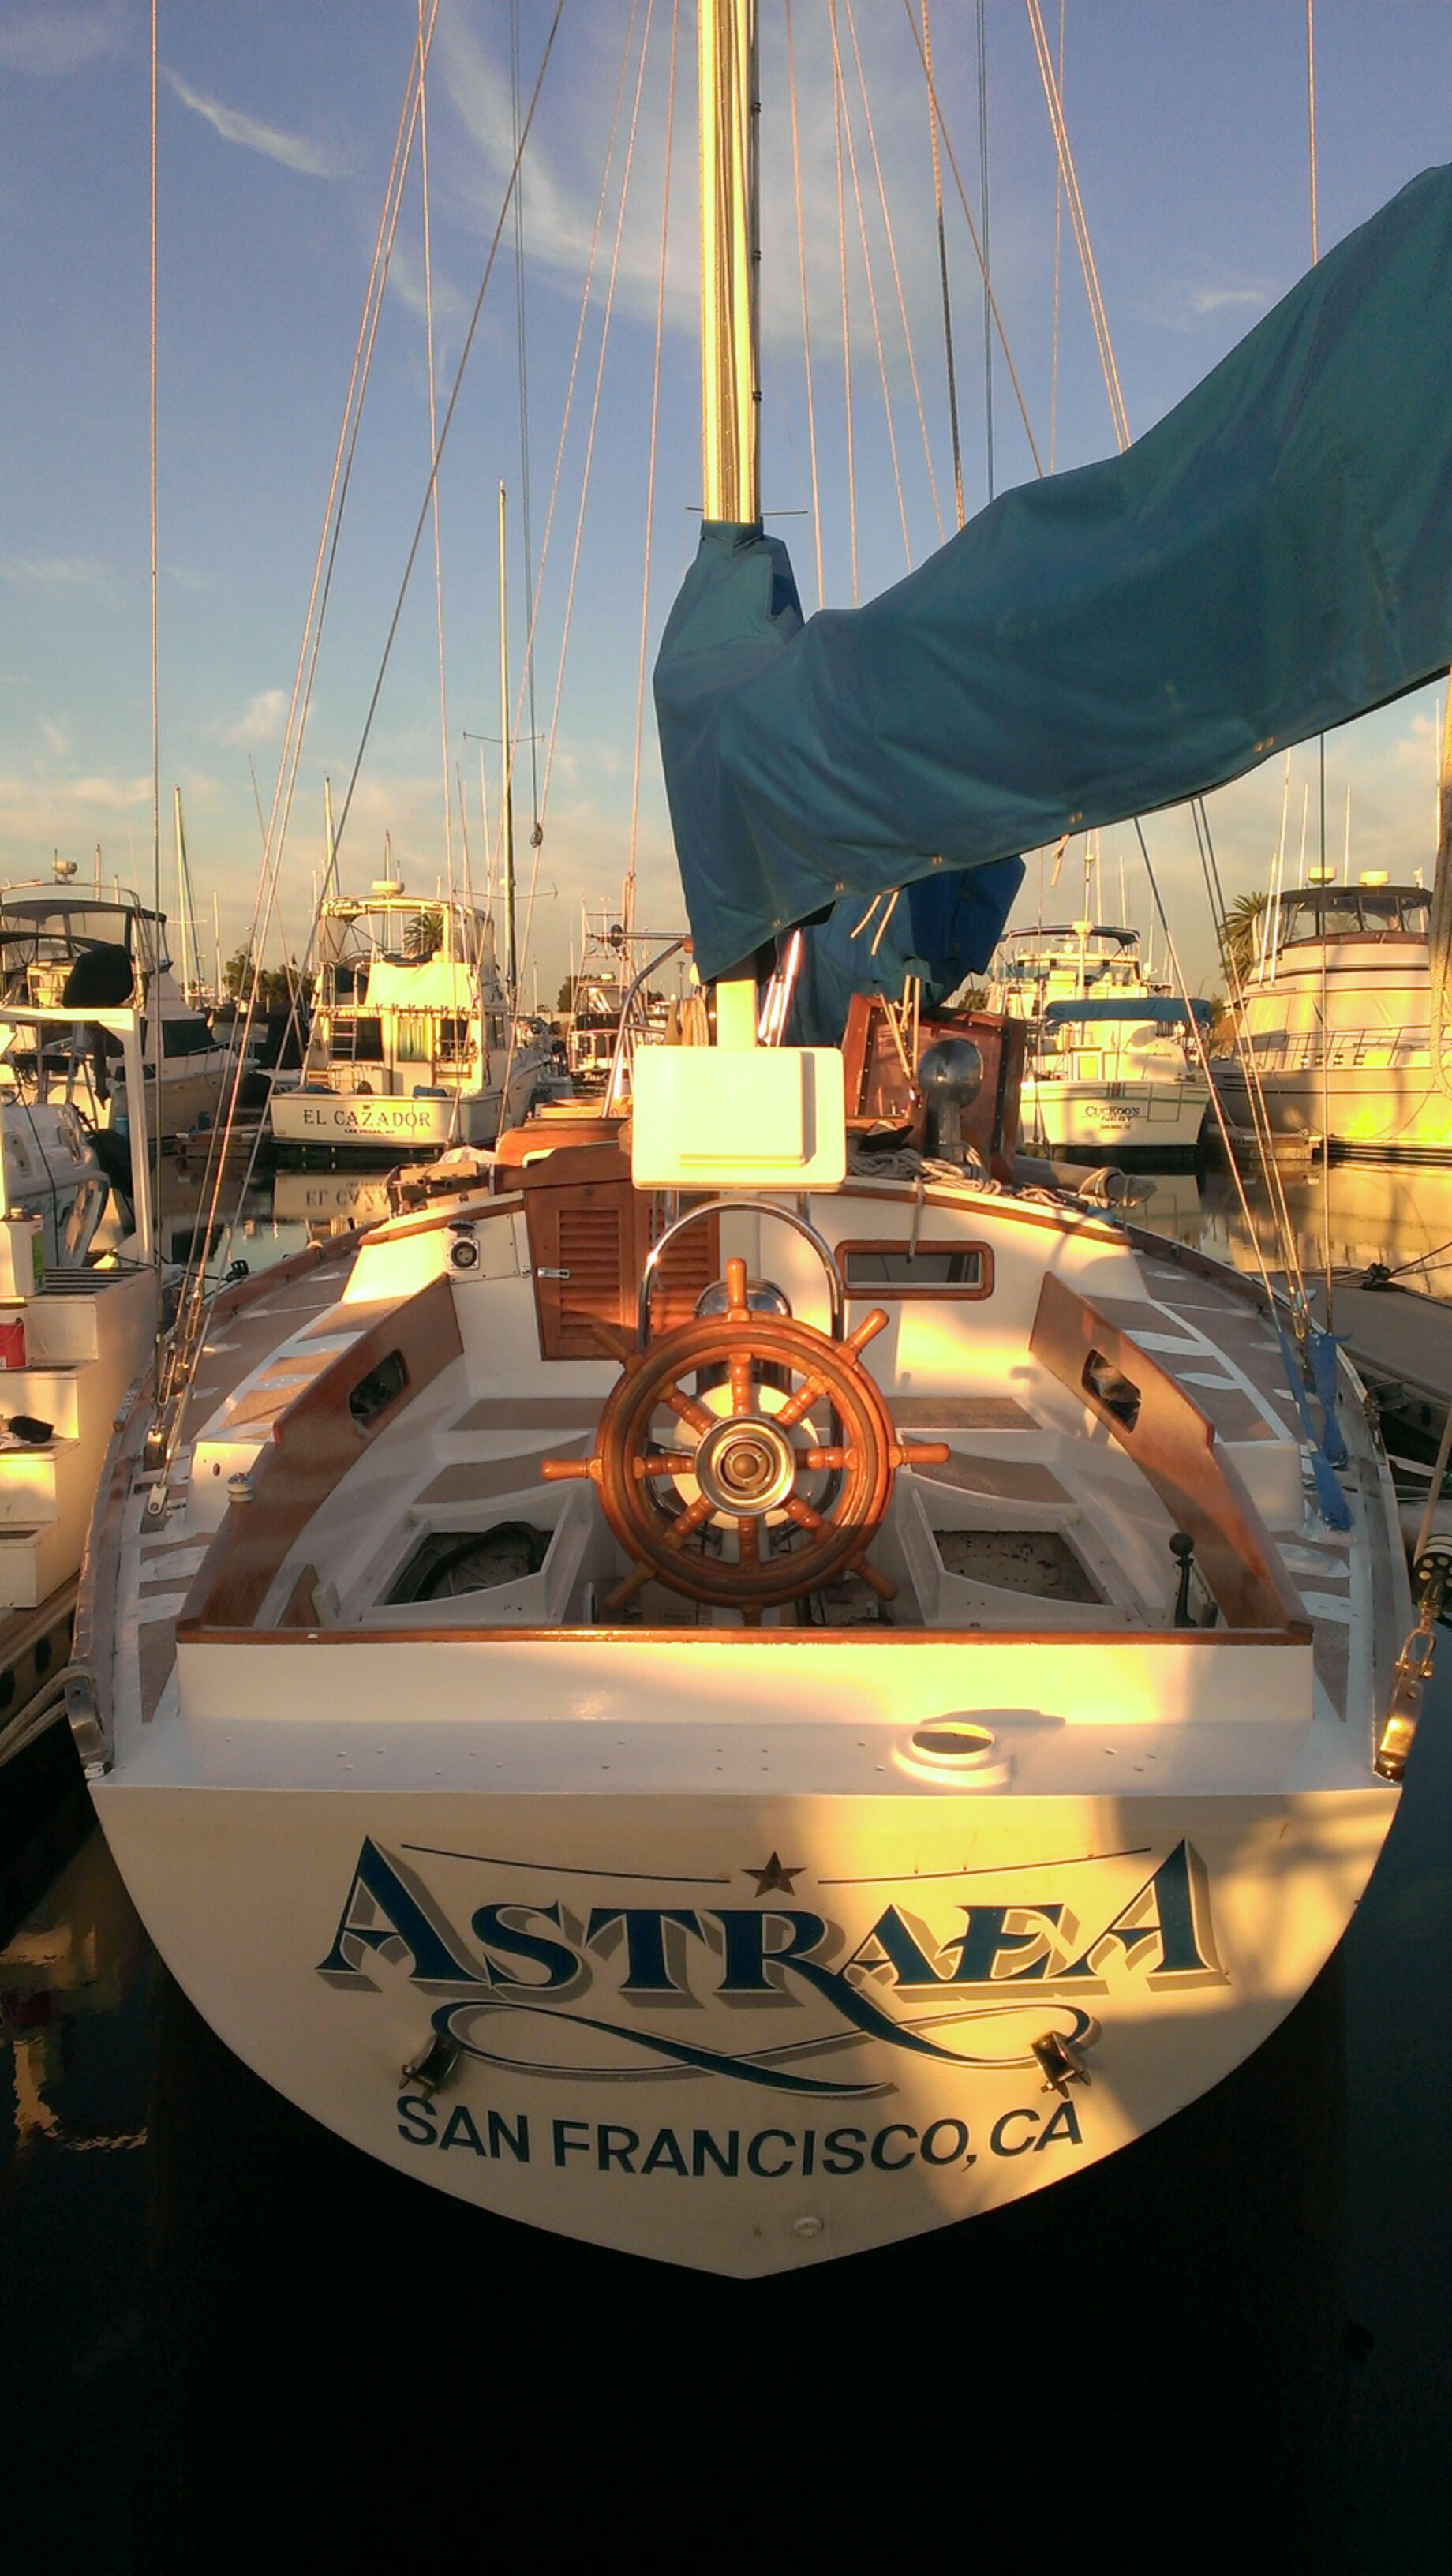
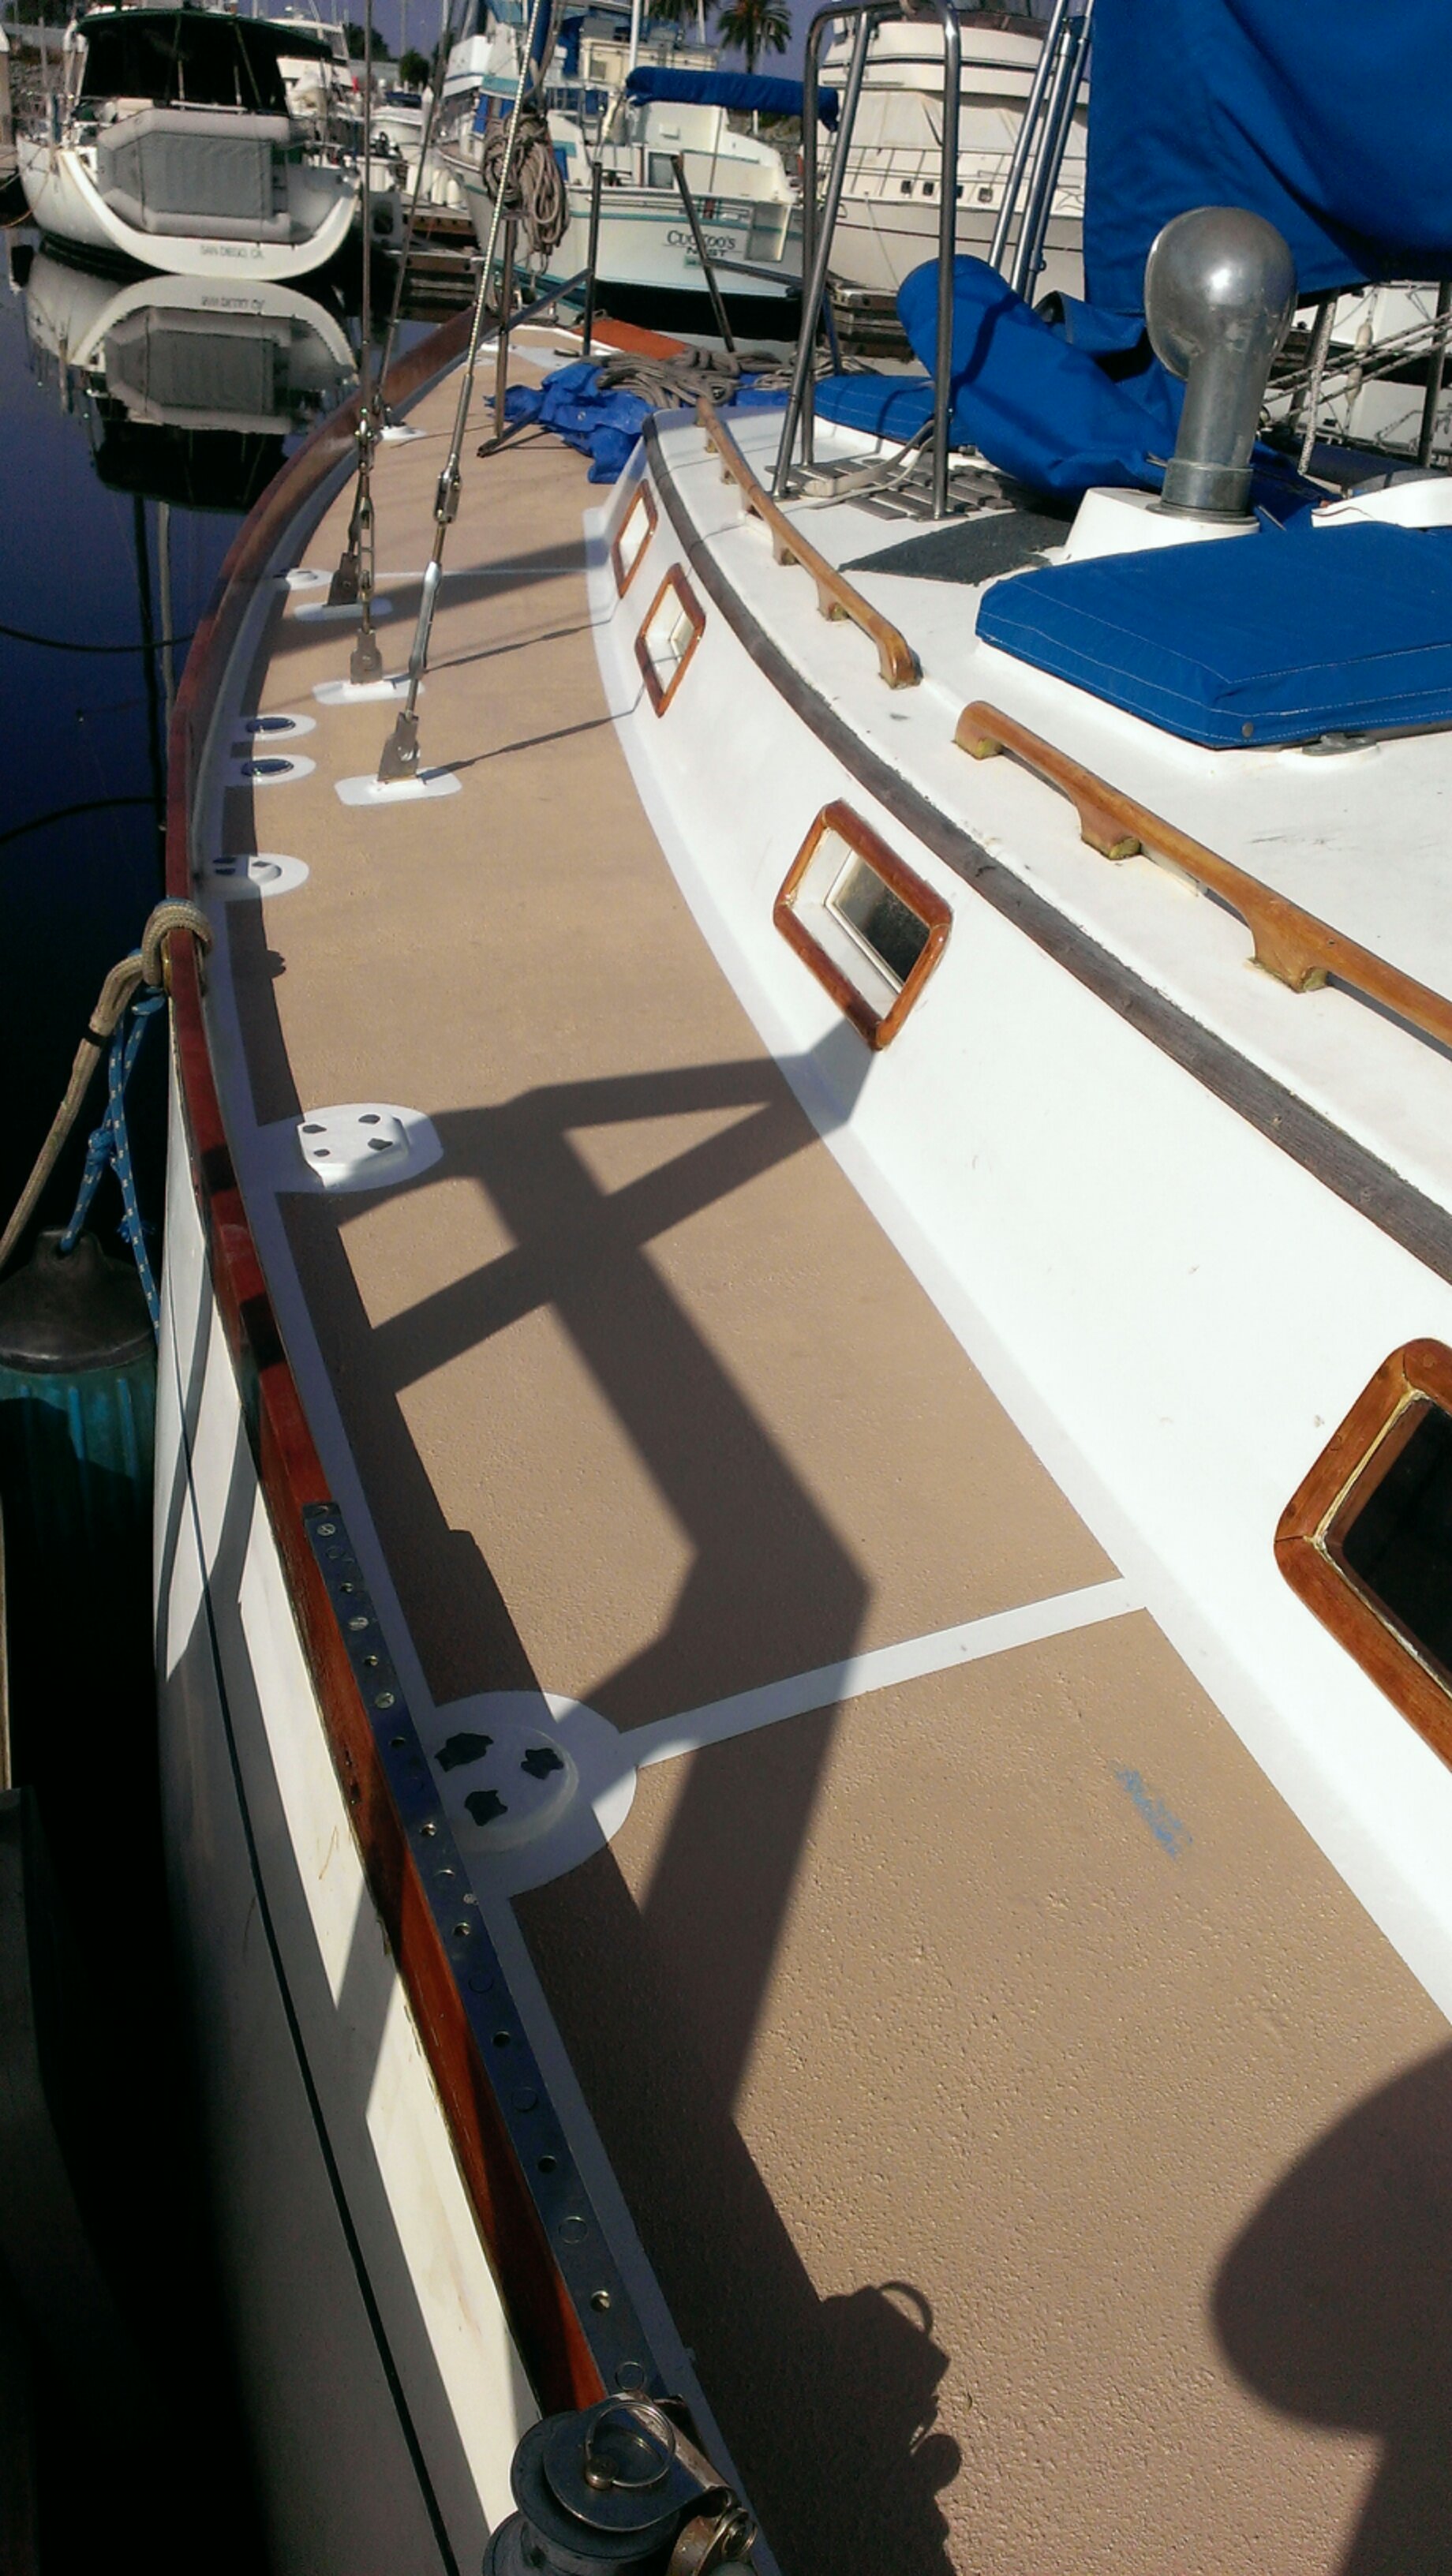
Nate and Natalie aboard their Cheoy Lee 41 s/v Astrea have renewed the non-skid on their deck. It came out great! Here's how they did it:
Astraea finally has a new look. After two coats of Interlux Prekote primer and two coats of Interlux Brightside paint. We did one coat each day. The primer covered the entire deck and the paint went down just around the deck edges. In between coats we sanded with 220 grit and cleaned up with Interlux 333 brushing liquid.
We rolled most of the area and only brushed in the areas behind hardware and corners. We didnt roll and tip because the results from just rolling were really good, there were very few bubbles. While working on the deck preparation and painting we wore clean socks to keep dirt off the decks.
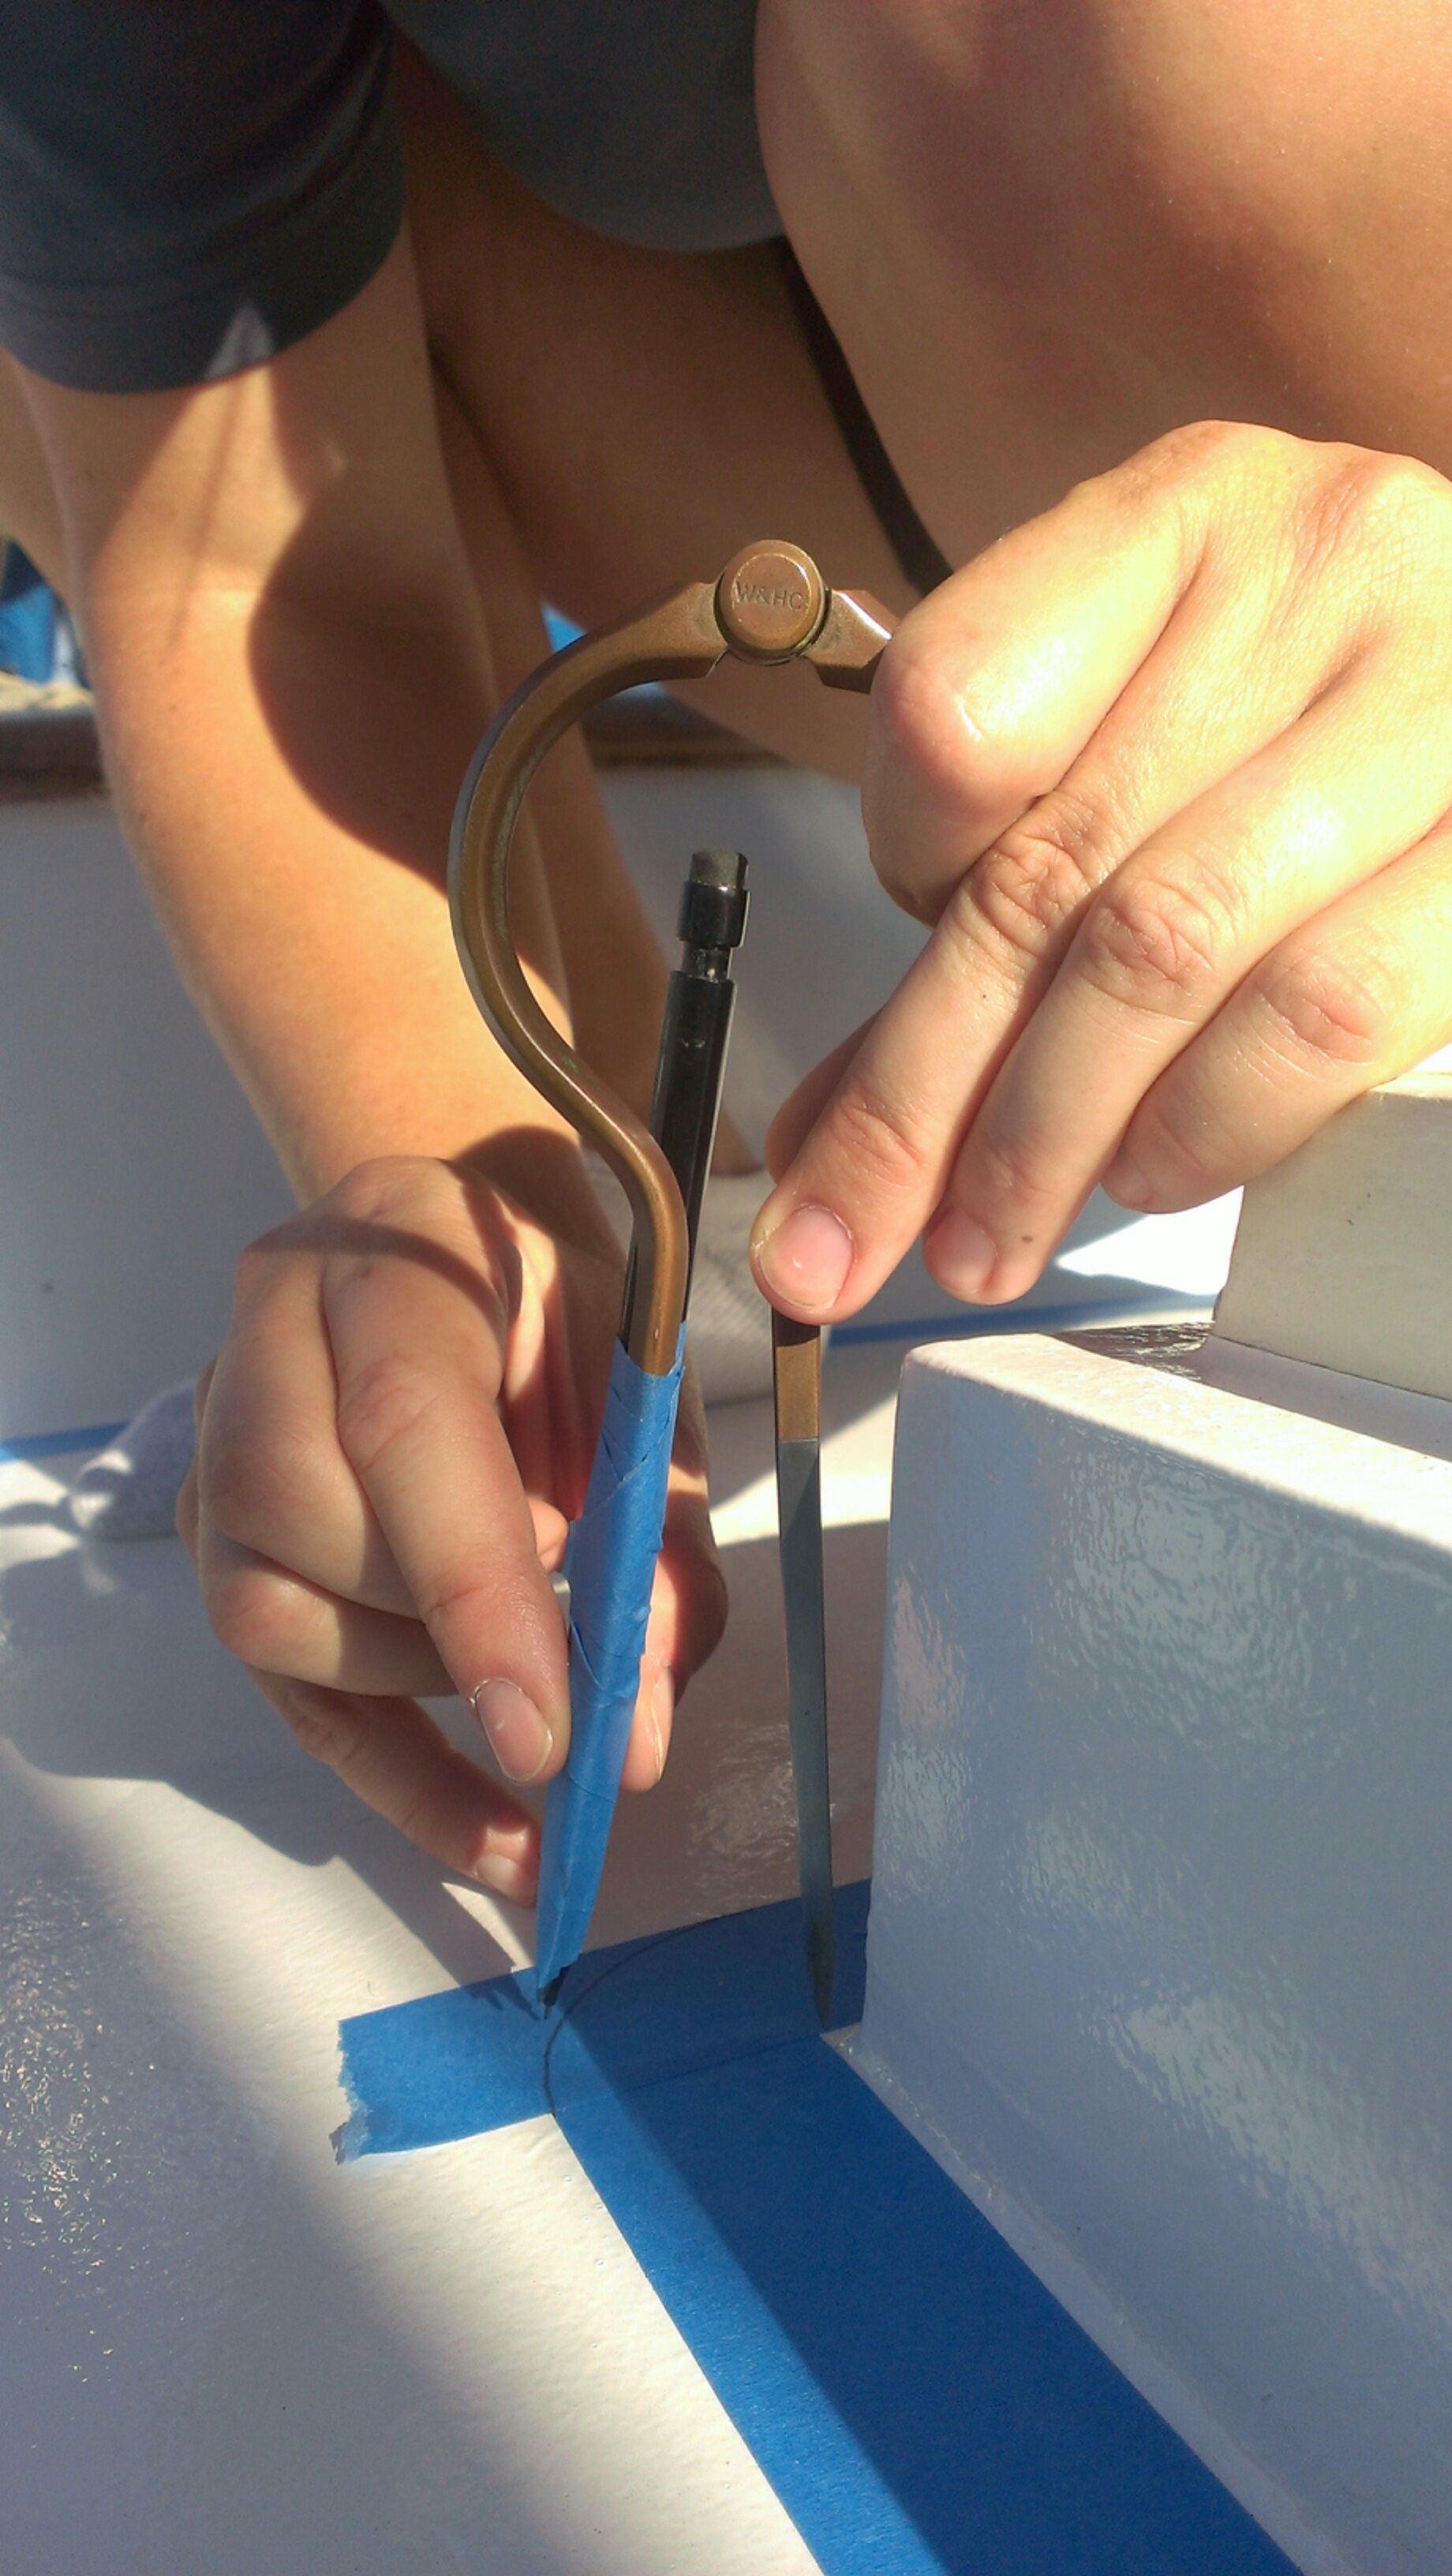
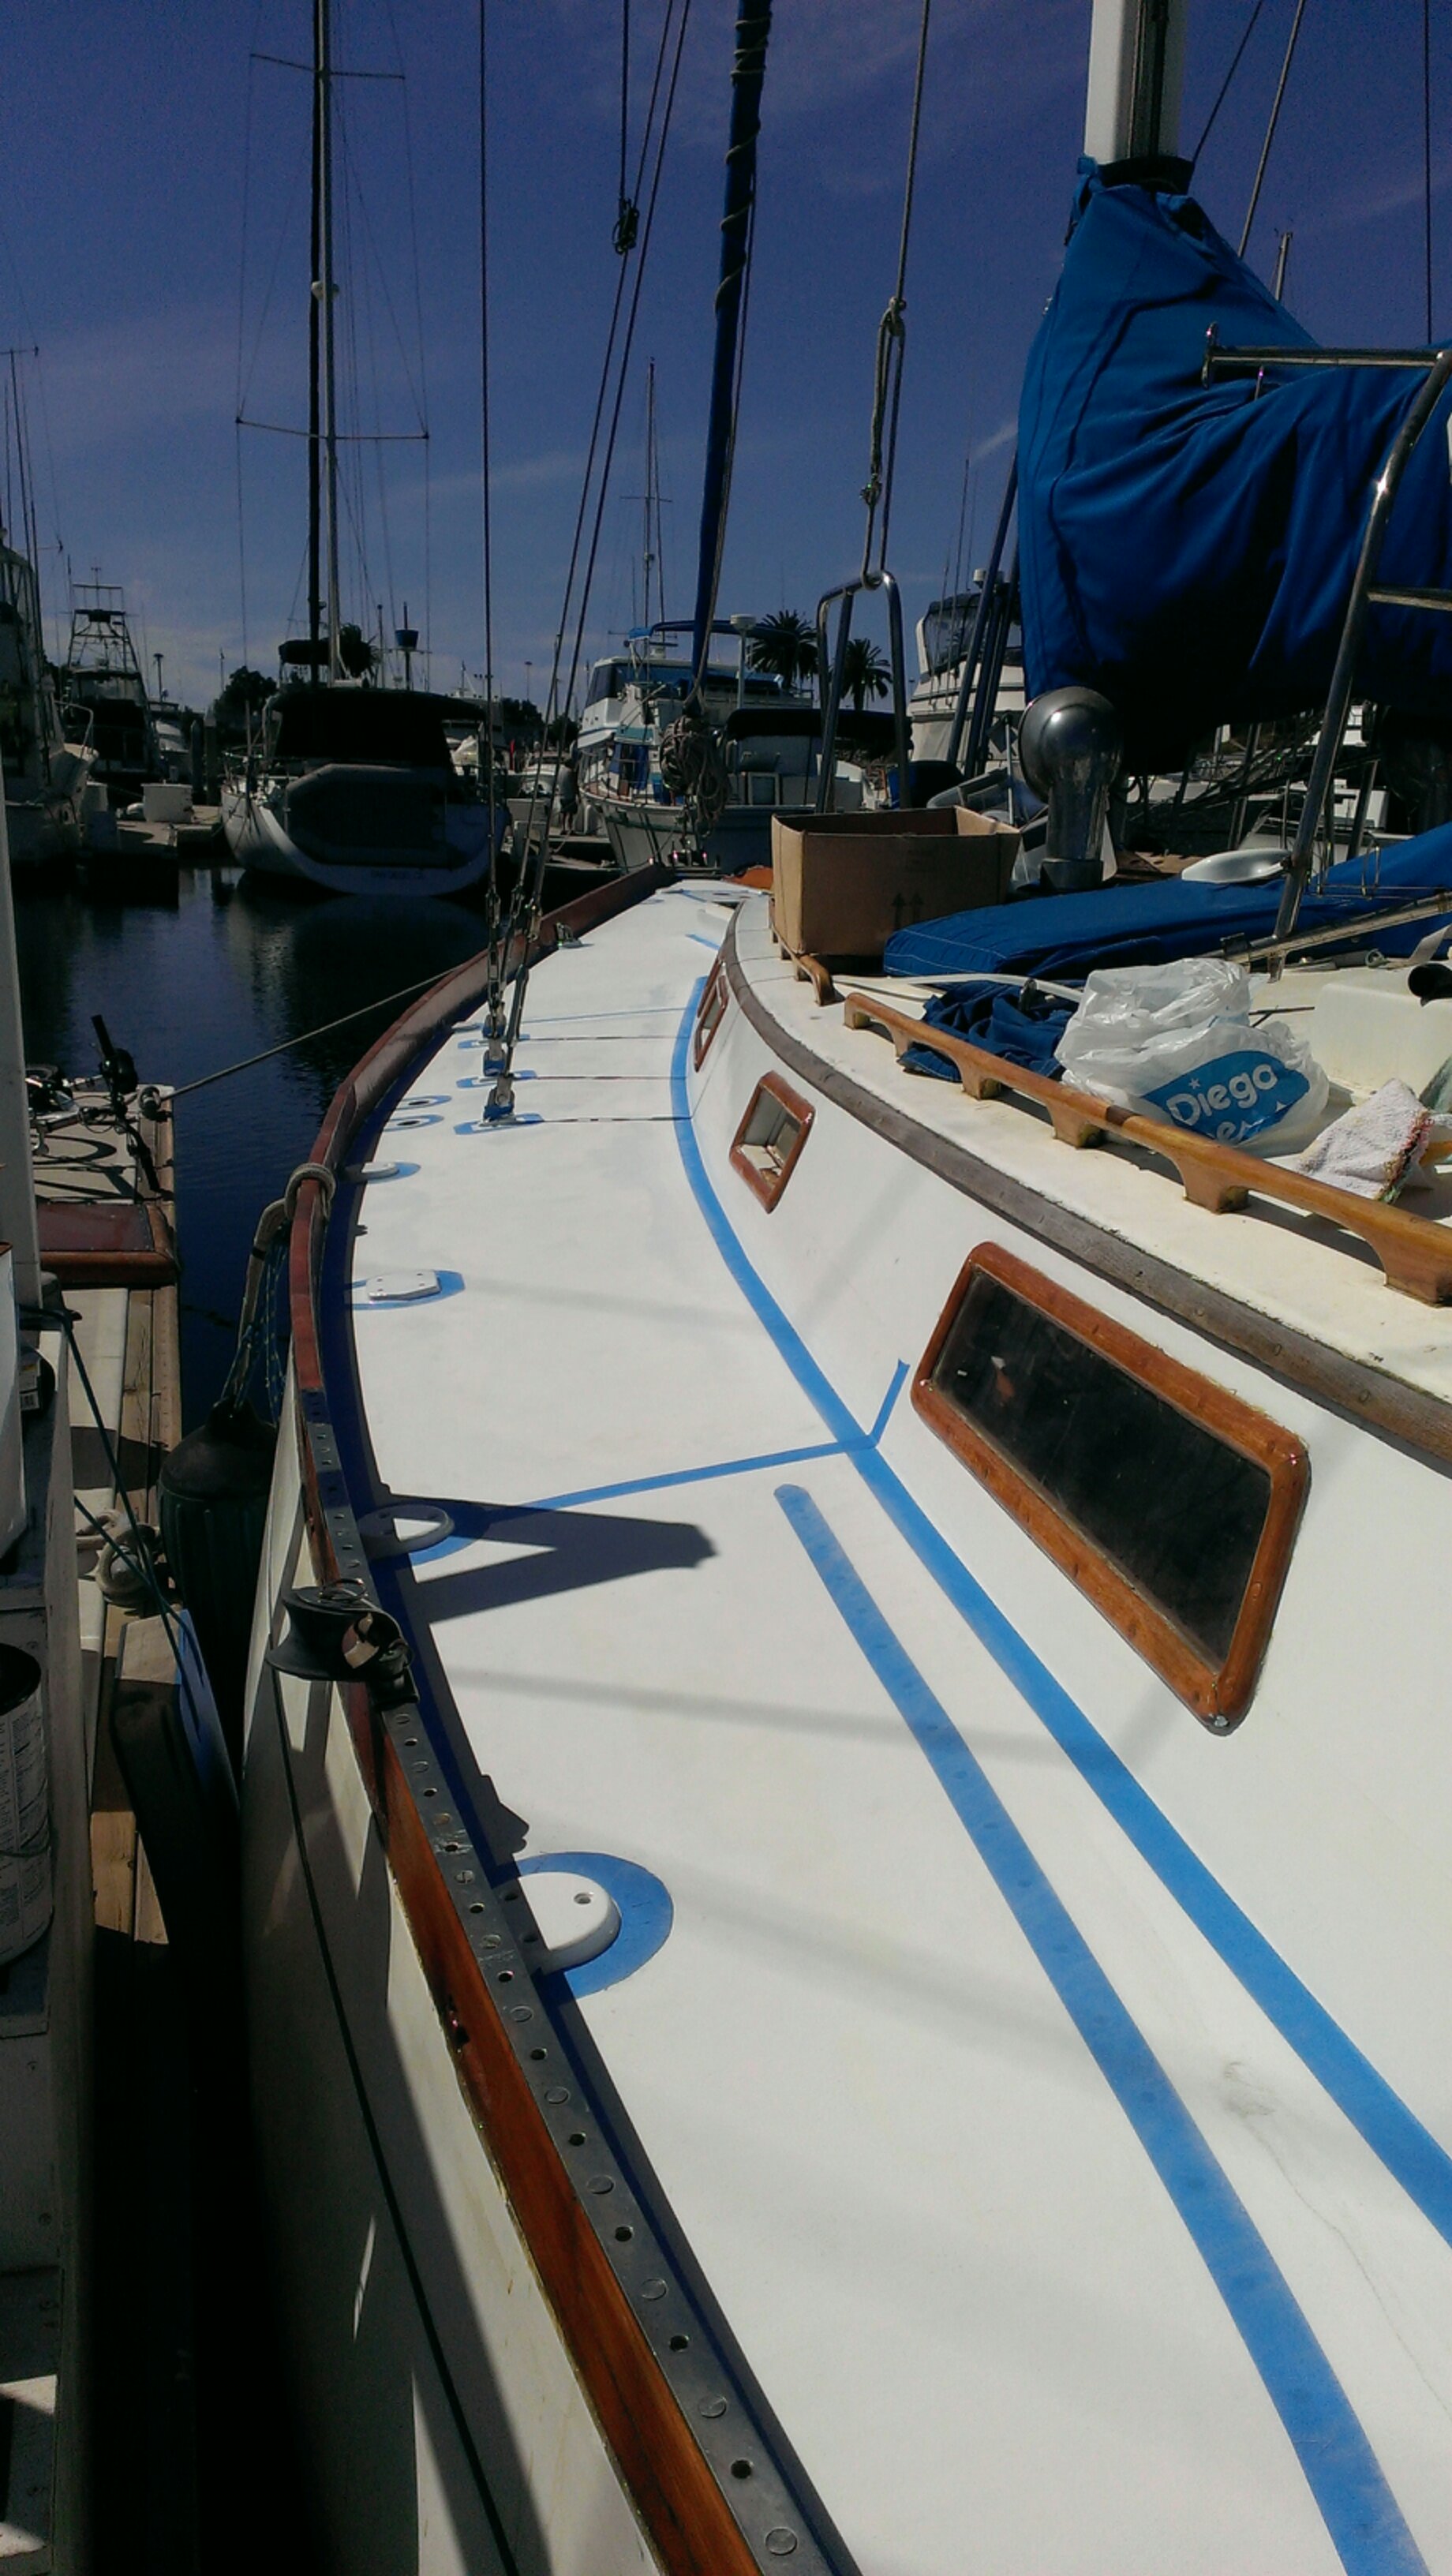
The day after our last coat of paint we taped the area around the deck edges and hardware we didn’t want nonskid to go. It took us about 8 man hours to tape the entire deck. We made all the edges the same width of a roll of blue 3M painters tape. The straight edges were easy to tape, just put the tape against the edge and roll the tape. Natalie used a compass to draw some easy curves, but it didn’t work for everything. She got creative and used kitchen tongs holding a pencil for curves around the deck house and hatches where a compass didn’t work. We over taped and traced the width of a roll of tape then cut away the excess using an exacto knife and peeled up the tape.
Natalie taped and drew the curved lines around hardware
Using a compass to draw a curve on the tape
Natalie using the tongs to hold a pencil and draw a curve
Cutting excess tape from the deck
Side decks with the tape removed
We sanded the deck with 100 grit sandpaper and cleaned up the deck twice with rags wetted with Industrial Maintenance Coating Thinner. The directions for the Durabak nonskid calls for Xylene, but Xylene isn’t available in California. Industrial Maintenance Coating Thinner is OK to use in place of Xylene.
Finally we were ready roll the nonskid! I opened the first can and mixed it up with our electric drill and a paint mixer and poured it in to a paint pan. I did some test rolling on cardboard to get used to rolling the textured material before rolling on the boat. It took about an hour and a half to cover the decks. I took a break and then rolled the second coat.
That night after the Durabak dried for four hours we could walk on the nonskid and peel up the tape from the edges before it fully cured. The tape came up easily if the Durabak wasn’t too thick. We cleaned up areas where the tape tore with an exact knife. We had some issues with the tape pulling up the white paint underneath where it hadn’t dried completely because we applied the paint too thick. We will touch up those areas later when we finish priming and painting the cockpit locker covers.
We’re so excited that this project is almost finished! It’s been a long six months…now on to re-mounting all the hardware.



Subscribe to:
Posts (Atom)


 Posts
Posts


