
Remember my post about wanting to have a dry bilge? Well, we ultimately decided to go the route of installing a couple of sump boxes to deal with the air-conditioners’ condensation. We selected this one[Tho not clean enough to drink, the condensate from the air conditioner would be an ideal source of ion-free water for battery maintenance. -Ed]and Michael brought two of them with him when he arrived on the 15th.
I am 80% of the way through installing the first of the two. Here are the steps I have taken thus far:
The next step is to permanently connect the outlet hose. My plan is to T it into the sink drain hose. In order to do that properly, I’ll need to place a non-return valve (check valve) in the outlet hose, just before the T. This will prevent any water draining out of the sink from finding its way into the sump box’s outlet hose*. Unfortunately, the chandlery will not have the check valve I need until some time tomorrow. Until then, we’ll be living with a hose zip tied to our sink.
- Before getting started, we dried and cleaned the bilges.
- I then ran a line from the AC unit’s drip tray outlet down into the bilge to see if it would gravity feed the water where I wanted it to. I put a short length of hose into a plastic container. We ran the air conditioner and it fed the water as I had hoped. I was surprised at how quickly it filled the container!
- Before doing any actual plumbing and electrical connections, I wanted to test the unit to ensure that it worked, and also to ensure that it would pump the water high enough to exit where I planned to dispose of it. We tested this by taking the sump box out into the cockpit, connecting a hose to the outlet and filling the box with water. While Rebecca held the hose in the air, I applied temporary power to the pump using a 12V plug and alligator clips. It worked as we had hoped.
- The next step was to attach the inlet and outlet hoses. We had already made one trip to the chandlery to purchase parts for this (hose, clamps, fittings). This particular box has multiple inlets of various sizes. The strange thing (to me) is that you need to saw off the end of the inlet that you want to use! It seems to me there could be a better solution but it is what it is, I cut it off.
- I temporarily positioned the box in the bilge, a location which is at a lower level than the AC unit. This allows the condensation water to gravity feed into the box, as tested earlier. I connected the sump pump’s power leads to a bus bar in a nearby junction box which supplies 12V to the electric bilge pumps. The outlet hose I simply ran into a nearby sink. We tested the operation of the unit in this configuration and it worked perfectly. The AC unit ran for some time and the bilge remained dry as we had hoped.
*Alternatively, I guess I could route the sump box outlet hose so that it feeds down into the drain hose. Gravity should then prevent the sink water from making its way into that hose.
Notes: I also want to plumb our refrigerator’s drain into this sump box. The sump box that I’ll be installing on the starboard side will have to deal with the condensation from both the salon AC unit, and the starboard hull’s AC unit.
Showing posts with label bilge. Show all posts
Showing posts with label bilge. Show all posts
Thursday, January 29, 2015
Dry Bilge
Mike and Rebecca on s/v One Love really want a dry bilge. And air conditioning a boat in the tropics was working against that goal. I am also an advocate of the incremental test/installation process that Mike used. Here's what he did:


Tuesday, July 23, 2013
New Bilge Pump & Strainer
Petr and Jana on s/v Janna came up with a nifty solution for a bilge pump strainer for their new bilge pump...
We naturally love water, but same as with the fire, it is a good servant, but a bad boss. Recently we found out that our otherwise quite dependent bilge pump Rule 1100 started malfunctioning. First the float switch started to get stuck and refused to get lifted by the water in the bilge. Soon the motor would start working only sporadically and when it did work, it wouldn’t have enough power to lift the water.
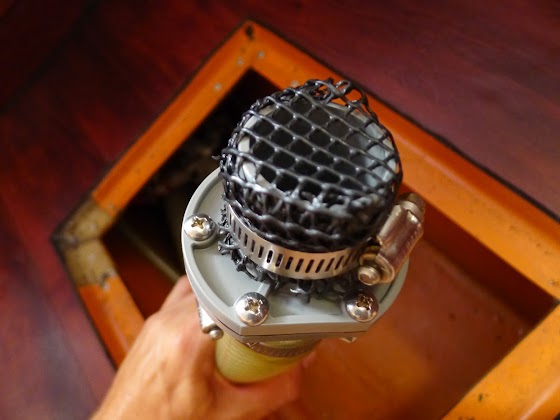
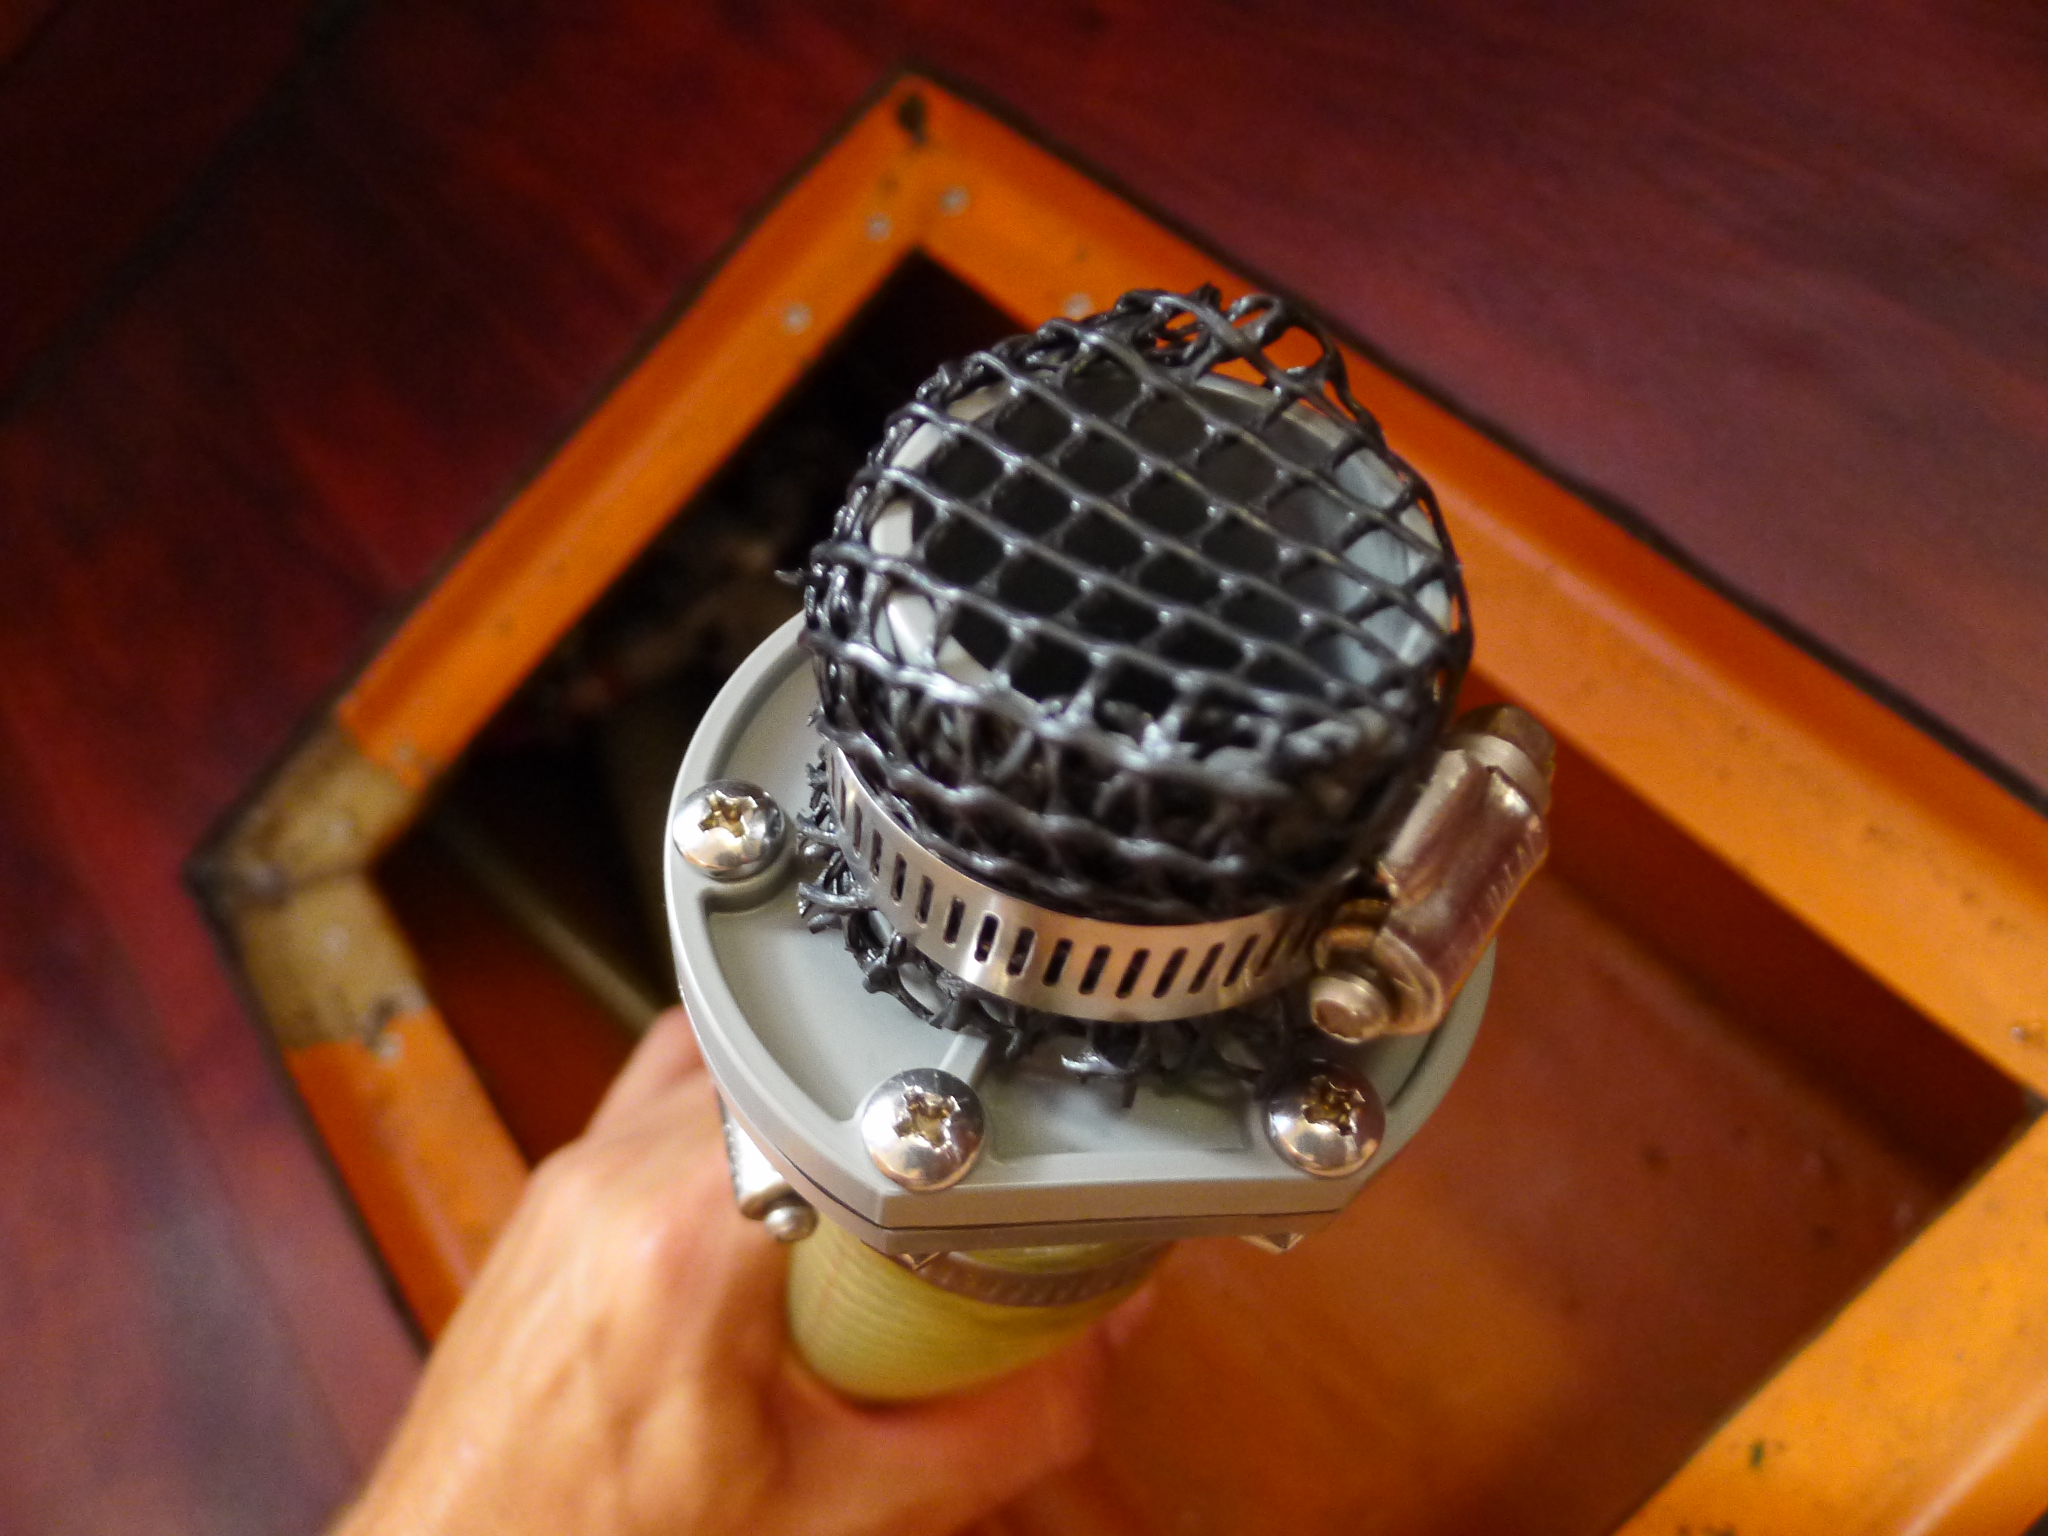
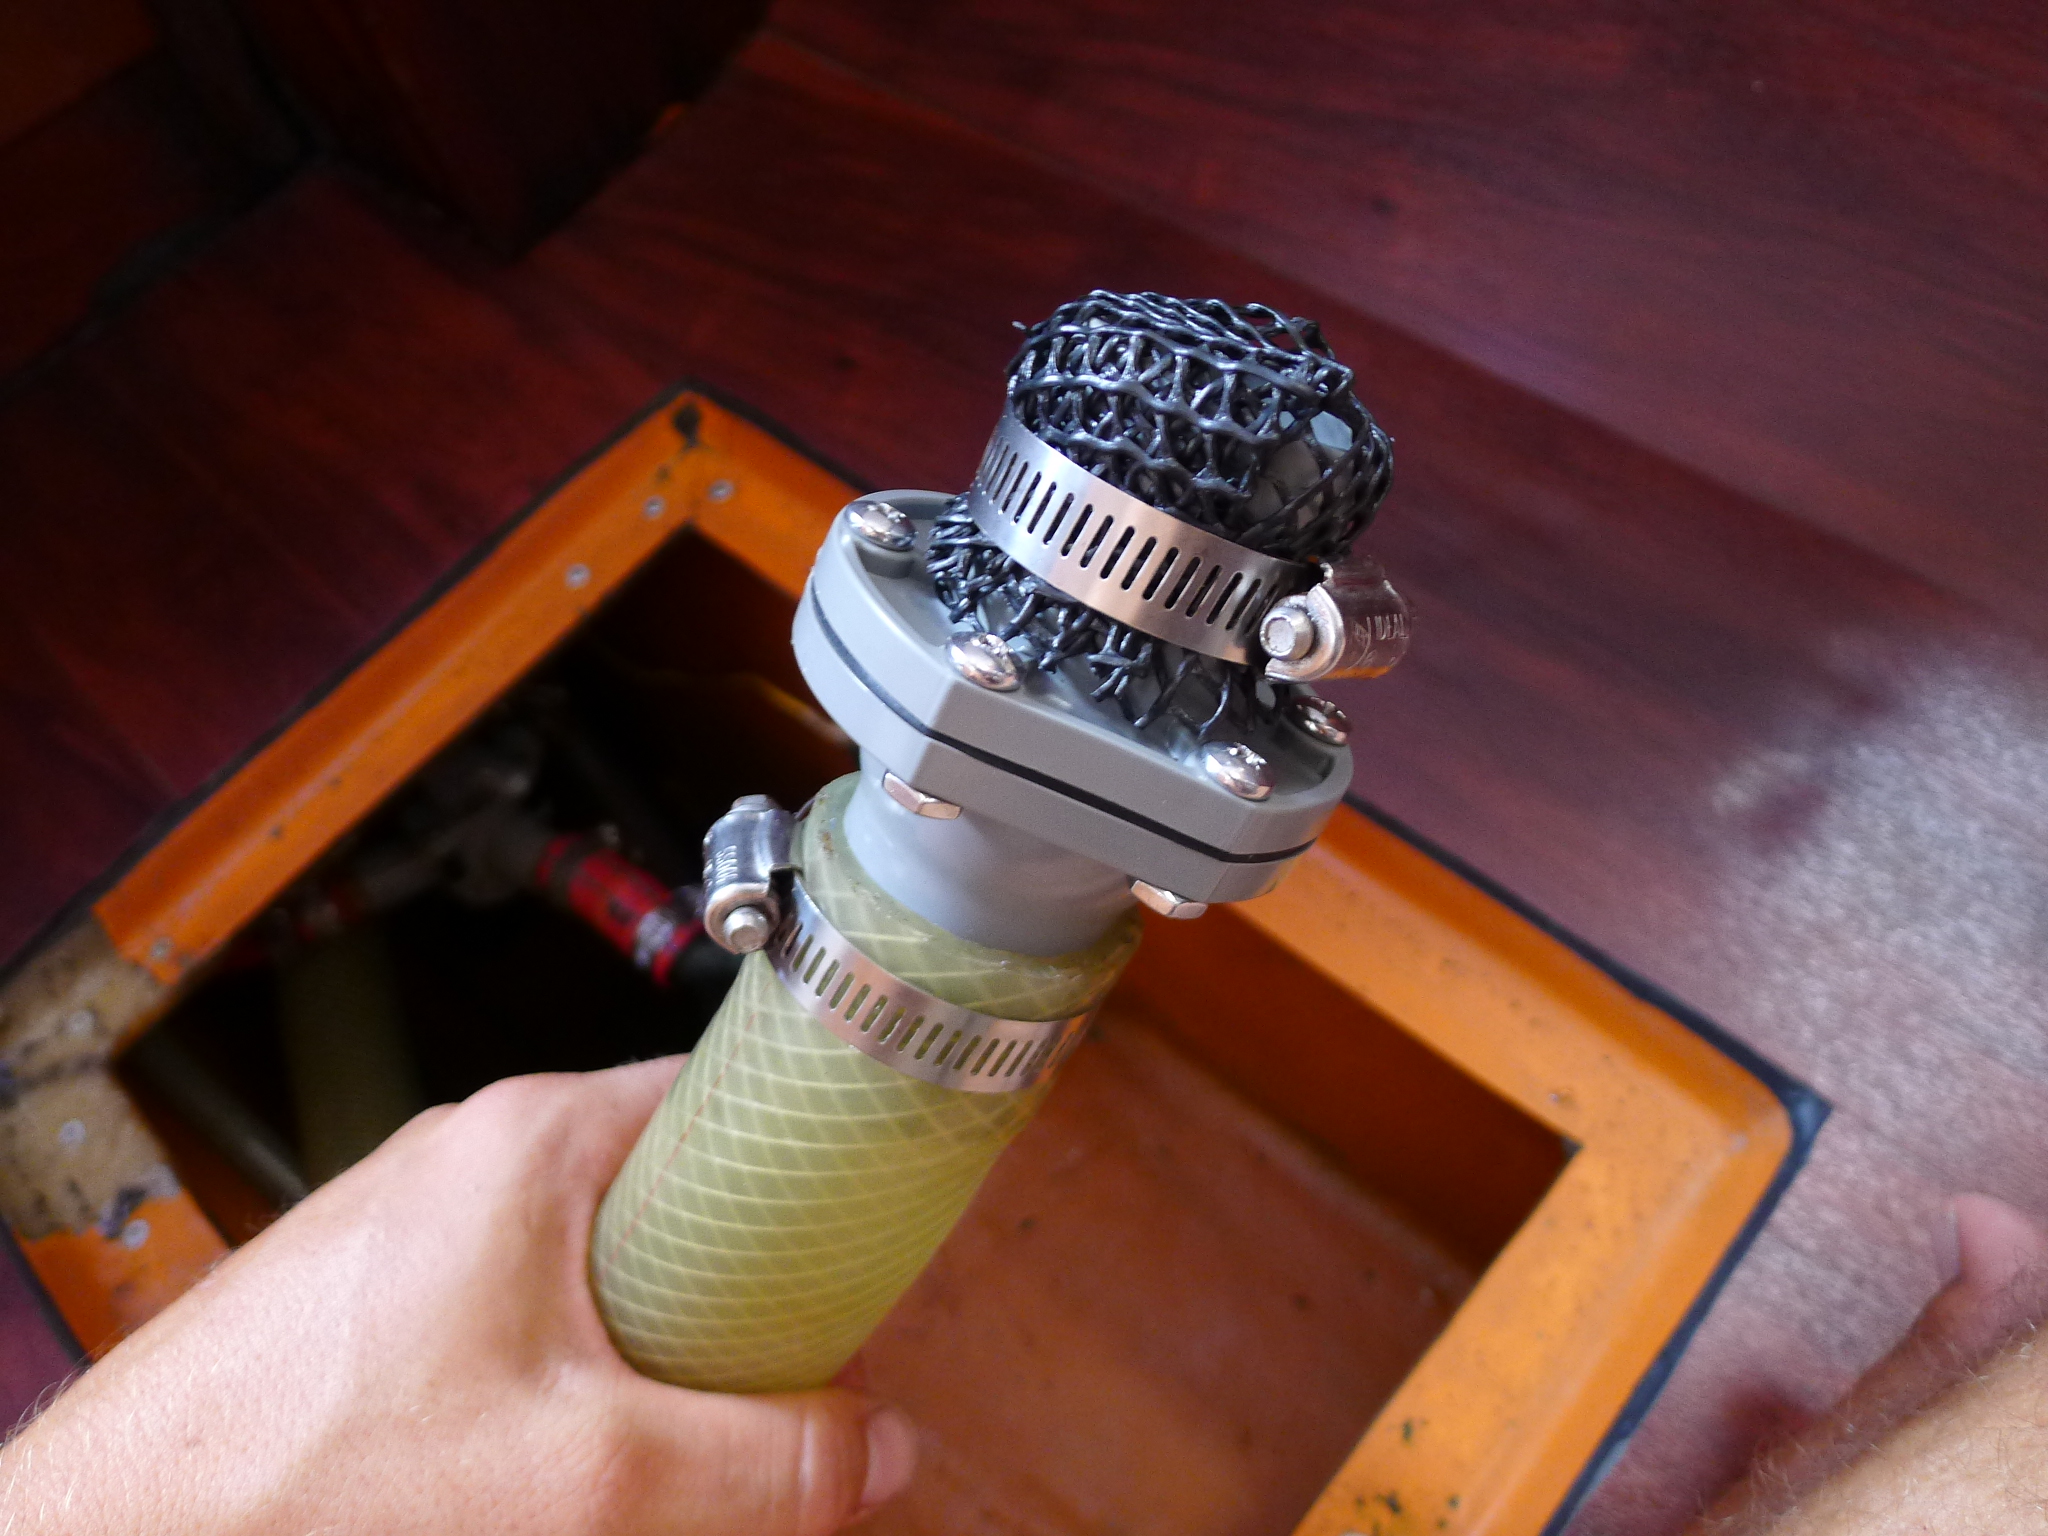
I tried to get inside, but the motor is sealed in a plastic body of the pump, so we decided to order a new one, which is by the way, quite improved, the float is hidden so it cannot get dirty and stuck. At the same time we ordered an inline check-valve for our manual bilge pump Gusher 10. We were looking for a similar strainer that we had before, but the advantage of the strainer, other than being able to be attached to the floor, is not so clear to me, so I just attached a piece of strong plastic netting on the check-valve to get a cheap strainer. The netting is naturally important to prevent hard large objects getting into the bilge pump and puncturing the membrane.
Now everything is back in working order and we sleep a tad sounder, i.e. until there’s water in the bilge which triggers an annoyingly alarming buzzer…
Thursday, October 25, 2012
Sometimes it's the little things
Over on s/v C'est la Vie Jeff has been working on a big project: refurbishing his engine room. Now this certainly does not qualify as a "small" boat project. But in the midst of this, he has found one of those small things that can be more important than the big ones.
One of the few items remaining in C'est la Vie's engine compartment is the drive shaft. The drive shaft is a solid stainless steel rod that connects the engine inside the boat to the prop outside the boat.Inspecting and replacing hose clamps is a "small" boat project we should all perform, annually at the least.
C'est la Vie's shaft and shaft seal were replaced in 2007 Traveling from the prop towards the engine, the point where the shaft passes through the hull it is supported by shaft log. The log is a bronze tube with rubber bushings. The log relies on water from outside the hull to serves as a lubricate thus reducing wear and friction. Directly forward of the log is our shaft seal. The shaft seal allows the shaft to spin freely yet prevents water from entering the boat. In 2007, we replaced the shaft, shaft log, and the shaft seal (here is a link to the photo album - Replace Shaft, Log, and Seal - fall 07)
During the 2007 project, we purchased a PYI-PSS shaft seal and had the boat yard complete the installation work. The shaft seal uses a rubber bellows as a spring to press a carbon flange against a spinning stainless steel rotor. The carbon flange and stainless steel rotor are very smooth and when pressed together create a water proof seal. As with any hole in the hull of the boat a failure of this system can cause the boat to sink.
the newly installed shaft seal - Fall 2007
Since all the components of the shaft system were new in 2007, I left them in place and did not intend to replace any parts. My experience over the weekend has me questioning this decision.
C'est la Vie's Shaft Seal - Sept 30, 2012
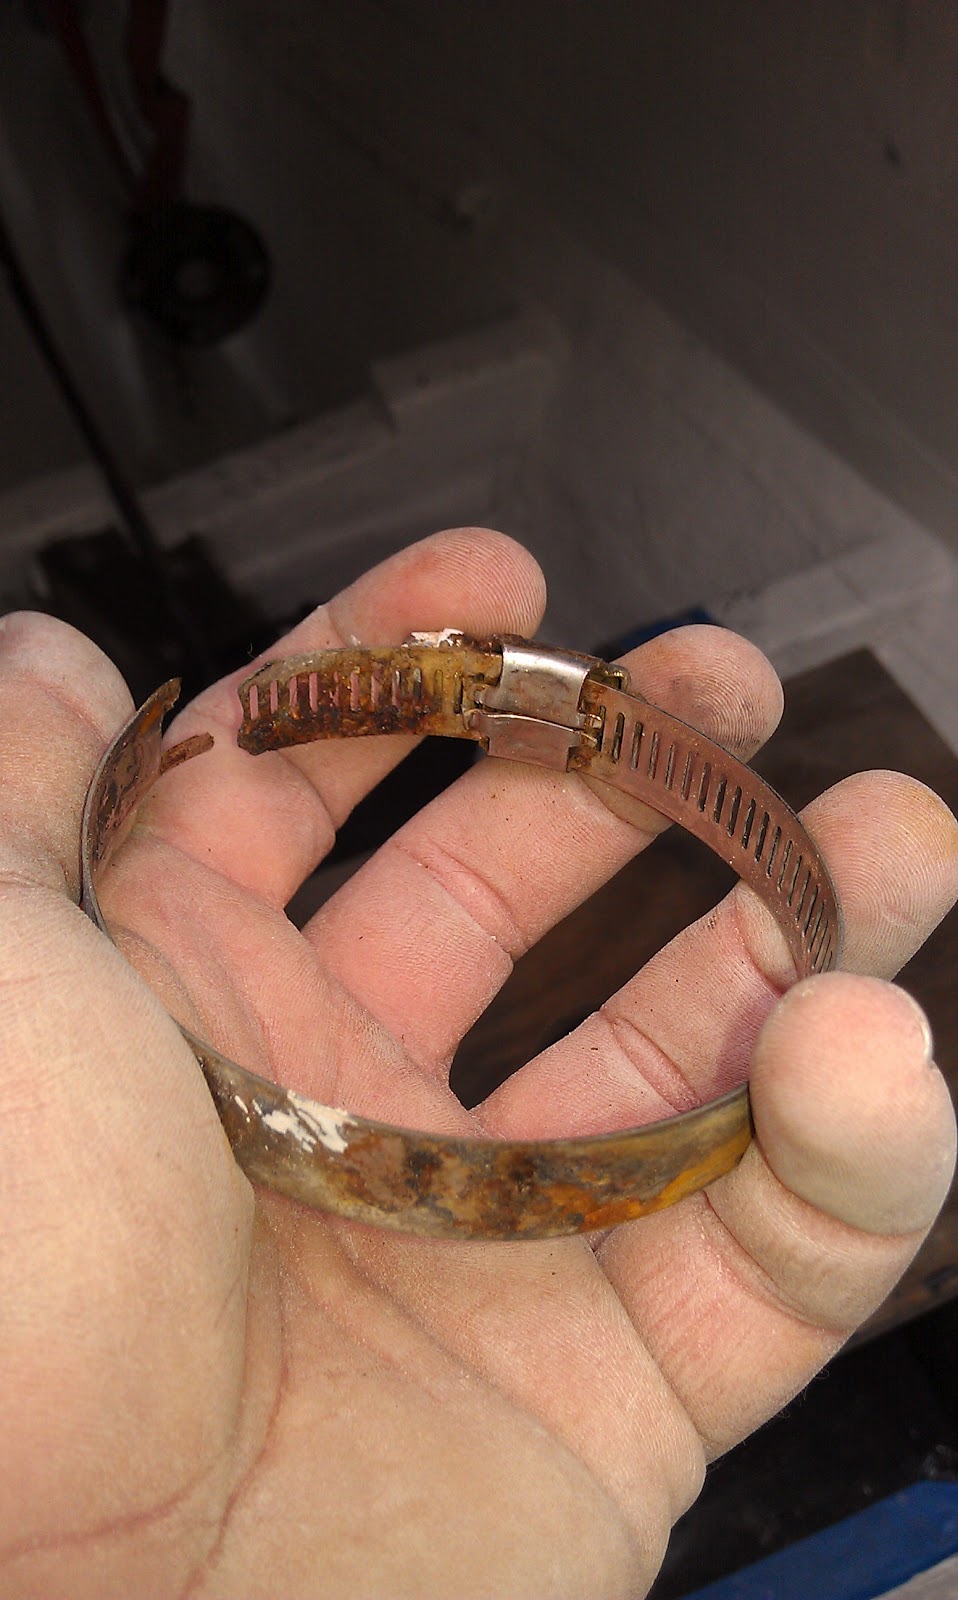
While sanding between coats of primer in the bilge, I noticed a paint drip on the aft most of the shaft seal's four hose clamps. Using a scotch bite scrubbing pad, I reached back to remove the paint drip. Instantly the hose clamp broke in my hands.
the stainless steel hose clamp that broke in my hands after 5 years of
service on our shaft seal.
Alarmed I grabbed a nut tool and attempted to loosen the other hose clamps for an inspection. The very next hose clamp I touched, the forward most clamp, broke as I torqued on the hex head. Yikes! Failure of these clamps can sink the boat. The clamps used on shaft seal were provided by the manufacturer, but are not of the quality I expect for critical through hull fittings. Not all hose clamps are created equal.
Without a doubt all hose clamps on board a boat should be stainless steel, but even among stainless clamps there is a broad spectrum of quality. Clamps used in critical areas (i.e. through hull fittings, engine coolant lines, engine exhaust lines, black water systems, etc.) must be ABYC approved 316 stainless steel with a non-perforated band.
an ABYC approved 316 SS hose clamp with a non-perforated bans will replace
the bands on our shaft seal.
How does one identify the various quality of clamps? The easiest test is to run a magnet across all hose clamps on the boat. If the magnet is attracted to the clamp then the clamp contains ferrous metal that will easily rust. Any clamp attracted to a magnet needs to be kicked off the boat ASAP. I keep a magnet in my tool box expressly for testing hose clamps, bolts, screws, etc. If any of these items do not pass the magnet test then off they go.
Hose clamps that will pass the magnet test are appropriate for non-critical boat systems (i.e. tank vent lines, fresh water plumbing, etc.). If the clamp is destined for a system that is considered critical then it must pass two additional tests. First is the band non-perforated? A non perforated band is stronger, better resists rust, and provides more uniform pressure around a hose. Secondly the hex head on the clamp must be 7mm.
I'm unsure if the 7mm hex head is a brand specific standard or if it is set by the ABYC. All high quality AWAB Hose clamps have a 7mm head so I look to this as an identifying feature of high quality clamps.
If your using the 7mm head as standard of quality then I recommend purchasing a flexible shaft 7mm nut tool to compliment the clamps.
It is worth noting an exception to my hose clamp rant. As hose diameter increases to 2" or greater and/or if the hose has a wire for additional strength (e.g. engine exhaust systems), then t-bolt hose clamps are recommended due to their ability to provide increase pressure on the hose.



Thursday, December 8, 2011
In The Bilge. The Sump.
Many folks would simply buy one of these. But with the marine tax, they are breathtakingly expensive. Mike of s/v Chalice solves the problem using some plywood scraps and some epoxy...
I needed to add a separate sump to our grey water system. I have a store bought sump from Rule in the forward end of the bilge for the head and shower, but needed one to handle everything else including it. At a $100 bucks or more for one of these plastic boxes, I figured I could make one for a lot less.
Here is how I did it. You can build one too. It's fairly simple. I must add I had some scrap Plexiglas already. I bought the 500 gph bilge pump on ebay. The rest was scrap pieces of marine plywood.
Box measure 11x11x6 inches. It is 1/2 inch ply with 3/4 x 1 inch around the inside for a lip to help seal it and give a place to mount the bolts. The plastic screen inside is actually from a craft store. It is used for some kind of needle work.
Build the box. Then give it several coats of thinned epoxy inside and out. Save money, Don't buy CPES epoxy, just cut your already mixed epoxy with some MEK (NOT MEKP), thin till it's just a little thicker than water, almost half and half mix. MEK is just like Acetone, but evaporates much slower. Let it cure between coats, but put the first 2 coats on while still green. Sand for the last coat and thin it only a little or maybe not at all. You'll know you have enough coats when it is very shiny when finished.
Side note; this little trick will help you fix rotted post and the like without buying special epoxy. I actually apply it to porch post and columns before installing them. Then they never rot.
I used 1/4 inch bolts for the lid. Insert them as you make the box.
From Sump
Fit Plexiglas lid.
From Sump
Install pump and float switch.
From Sump
Install all the fittings in the box and screen plus the fuse holder outside.
From Sump
From Sump
Then install it. I eliminated 12 thru hulls with these two sumps. Now I only have 3 thru hulls.


I mounted it to the bilge with some stainless brackets I had. Screw them to the side of the box, make some pads that can be epoxied to the bilge , with bolts so that the whole thing is removable.
It is under the engine, but hopefully it will be somewhat accessible.
From Sump

Thursday, July 7, 2011
How many holes?
Bob over on Boat Bits has posted a sobering rant that every boat owner should read. Here is a tease - a short test from the end of the post:
It isn't just that you have to know where all the seacocks are and be able to reach them.. You must be able to reach and operate them when the boat is sinking:
Think you can?
So here is a quick and handy test to see if you have a too complicated (spelled unsafe) boat...But I'd like to amplify that a little.
If the answers to #1 and #2 require ponderation of any sort exceeding ten seconds you have too many holes in your boat.
- How many seacocks and thruhulls do you have?
- Do you know where they all are and how to get to them in a hurry?
It isn't just that you have to know where all the seacocks are and be able to reach them.. You must be able to reach and operate them when the boat is sinking:
- It is pitch black inside the cabin because the batteries are shorted out.
- You are at sea, in a storm (of course...); the boat is rolling.
- The floorboards are floating. This means that the bilge is under water - water that is now probably mixed with battery acid, diesel, and oil.
Think you can?
Wednesday, June 29, 2011
Moving water
Our friends on s/v Letitgo show us an easy way to move water from where it shouldn't be to somewhere else...
Our dock neighbour and friend, also a veteran catamaran sailor who sailed from the West coast to New Zealand and back, parted with us a very wise advice few weeks ago. While filling his water tank he discovered that a fitting had broken during the winter and the entire content went into the front cabin. Not the most pleasant of Spring surprise though a hard reality. This is when he showed us his creative portable bilge setup. Luckily on multi hulls we have separated “water tight”compartments but not all are linked to the bilge pump, hence the need for this clever device! You can plug it as you need it, vacuum whatever needs to be done and then store it for the next event. As you can see on the picture below, yesterday while purchasing the replacement strainer screen for the water system, I acquired the entire elements to have my own portable pump.We have a similar system on Eolian, and it has served us well.
Here are the ingredients you will need:
I don’t have to teach you how to put it together, but for $30 it is a nice little system to have on board even just to empty the dinghy when you leave it out and it rain really hard. Not that we will ever do that around here, no.
- 15ft of bilge tubing,
- 30 ft of 16 gauge electric cable,
- one male 12 volt plug, one clamp
- and one rule 500 GPH bilge pump.

Wednesday, December 22, 2010
What's in the lowest part of the bilge?
What's in the lowest, most inaccessible part of your bilge? Your bilge pump and switch, of course. On December 13, Jeff from s/v C'est la Vie penned this description of his journey into the nether regions of his boat.
While awaiting out the frontal passage we tackled projects… laundry, cleaning the bilge, servicing the lower bilge pump switch, and replacing a section of exhaust hose.At least we are prepared for it here up north...
Issues with lower bilge pump switch first appeared during our Wilmington to Abacos crossing. Due to a build up of bilge sludge the switch would not turn off once it was activated. This resulted in some long run times for the pump. Our shallow draft, full keel hull design makes it very difficult to access the lowest section of the bilge. Wisely the last owner installed an excellent pump switch -the ultimate bilge switch - and located the filter and pump remotely. This set up is ideal for servicing the pump and the filter, both located in the starboard cockpit locker. During the six years we have owned C’est la Vie this is the second time I have pulled the lower bilge switch for cleaning. The previous cleaning was done in conjunction with replacing the shaft so there were fewer obstacles in the way (i.e. the exhaust system, water lift muffler, and shaft were all out of the way.)
I went into the project with some idea of the difficulties of reaching the switch. Accessing the switch required removing a number of cooling hoses, the air filter, and the diesel fuel return line. With these obstacles gone and after much squirming, cursing, pleading, and bruising of my upper torso; I was finally able to remove the switch. Expecting to find a hearty coating of oily muck, even I was astounded at the degree of gunk built up on the switch.
Based on the contents of the switch I became determined to dredge out the lowest reaches of our bilge. Anne assisted me in creating a scoop out of a measuring cup and bamboo skewers. The very same bamboo skewers that worked so well to clean out the tubes of our heat exchanger in summer 2008. A hour of effort resulted in the collection of one handle of a screw driver the metal portion long ago succumb to rust, one wooden scoop, one zip tie, numerous washers, the stainless screen off our scrum box, and nearly a quart of oily muck.
Did we mention it is cold here in Miami? Low temps in the 30’s with wind chill readings in the 20’s… in Miami? Cannot imagine what the rest of the country must be experiencing.


Subscribe to:
Posts (Atom)


 Posts
Posts


