My service kit arrived today for this Henderson Mk V manual bilge pump, so I took some time this afternoon to rebuild it. This was the easiest rebuild of the four different type pumps that are on Cay of Sea.
The Henderson pump is actually destined for use as a holding tank evacuation pump. When we go off shore (eventually), I want to be able to empty the holding tank overboard. I discuss my refit of the sanitation system on board Cay of Sea here.
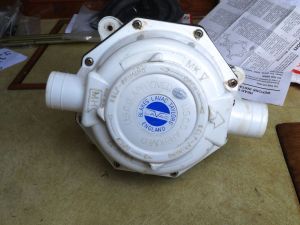
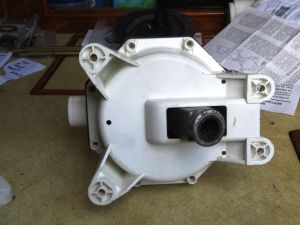
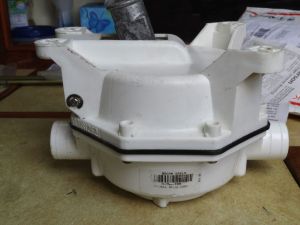
Above are images of the very large and bulky pump body. The bottom and top halves are fastened with 8 self-tapping screws, and the diaphragm also serves as a gasket between the halves. The casting and labeling seen above actually identify this pump as a “Blakes Lavac” pump, but it is a Henderson Mk V. It is supplied by Lavac (and labeled as made by them!) as their preferred pump for their vacuum-operated marine toilets.
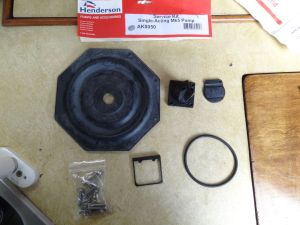
There are only a few parts in the service kit: Two valves, an O-ring gasket, and the big rubber diaphragm are the heart of the kit. It also comes with new stainless fasteners and snap retainers for pivot shafts.
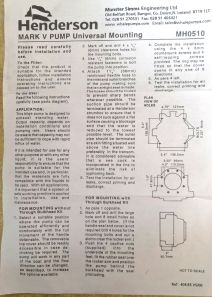
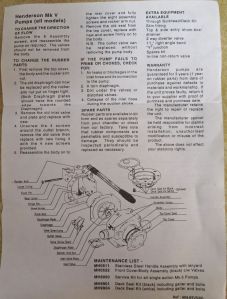
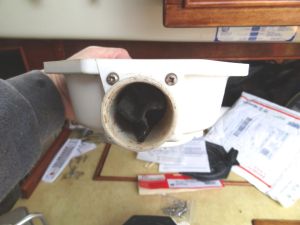
The instructions are useful, including a complete parts inventory reference, plus the various options and requirements for installation. I was a bit dismayed by one of the parts supplied: the “joker” valve, or back flow preventer, was distorted and looked to be in worse shape than the joker valve I was replacing. While the rubber of the new one was slightly more supple, the distortions in shape made me doubt that it would close properly when pulling a vacuum. I cleaned the old one, lubricated it with dish soap, and reinstalled it. The joker valve is held in place with four stainless screws. It’s easy to remove and replace.
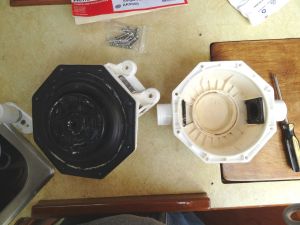
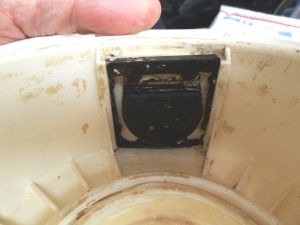
Here are a couple of photos of the pump halves separated. You can see the orientation of the valves and diaphragm.
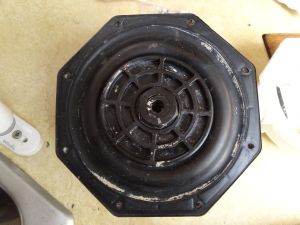
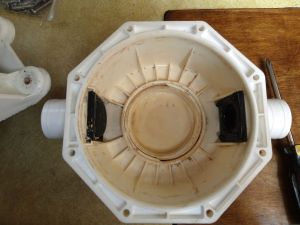
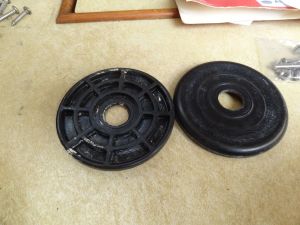
The diaphragm is moved by a lever which is attached to an actuator arm. The end of the arm is threaded to received a large diameter nylon nut. Two large plastic plates mount onto the actuator arm and are secured in place by the nut. Photos make this easier to understand than text.
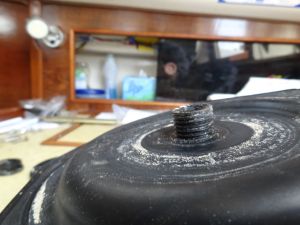
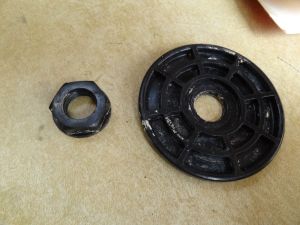
I see now that I forgot to get a photo of the actuator arm without the diaphragm in place. Sorry, guess you’ll have to refer to the illustration (above) for that. I did not remove the actuator – there was no need to.
I also replaced the old flapper valve (think of a one-way door) with the new one from the kit.
I installed the new diaphragm, reassembled the pump halves, carefully tightened the screws all around as evenly as possible, and continuously checked the gasket contact area for fit and seal. After it was put back together, I checked the pump by inserting the handle into the socket and pumping it while checking for suction with my hand. It pulled well – unlike before. I’m not sure which component was the culprit – perhaps an accumulation of little leaks throughout – at any rate, it works now.
I’ll review its installation in the head in another post.
Life aboard is living large, in a small space. Every boat owner has found ways to make life in that small space easier, more comfortable, more convenient. The idea behind this site is to provide a place where these ideas can be shared amongst the boating community. To participate, send your contribution to SmallBoatProjects at gmail dot com.
Pages
▼
Thursday, July 24, 2014
Another Pump Rebuild – Henderson Mk V Bilge/Diaphragm Pump
Rick on s/v Cay of Sea is on a pump rebuilding tear...

Good explanation! A rebuild of one of these is in my future as we have the Henderson/Lavac combo. In fact, it's what encouraged my wife to buy the boat...
ReplyDelete