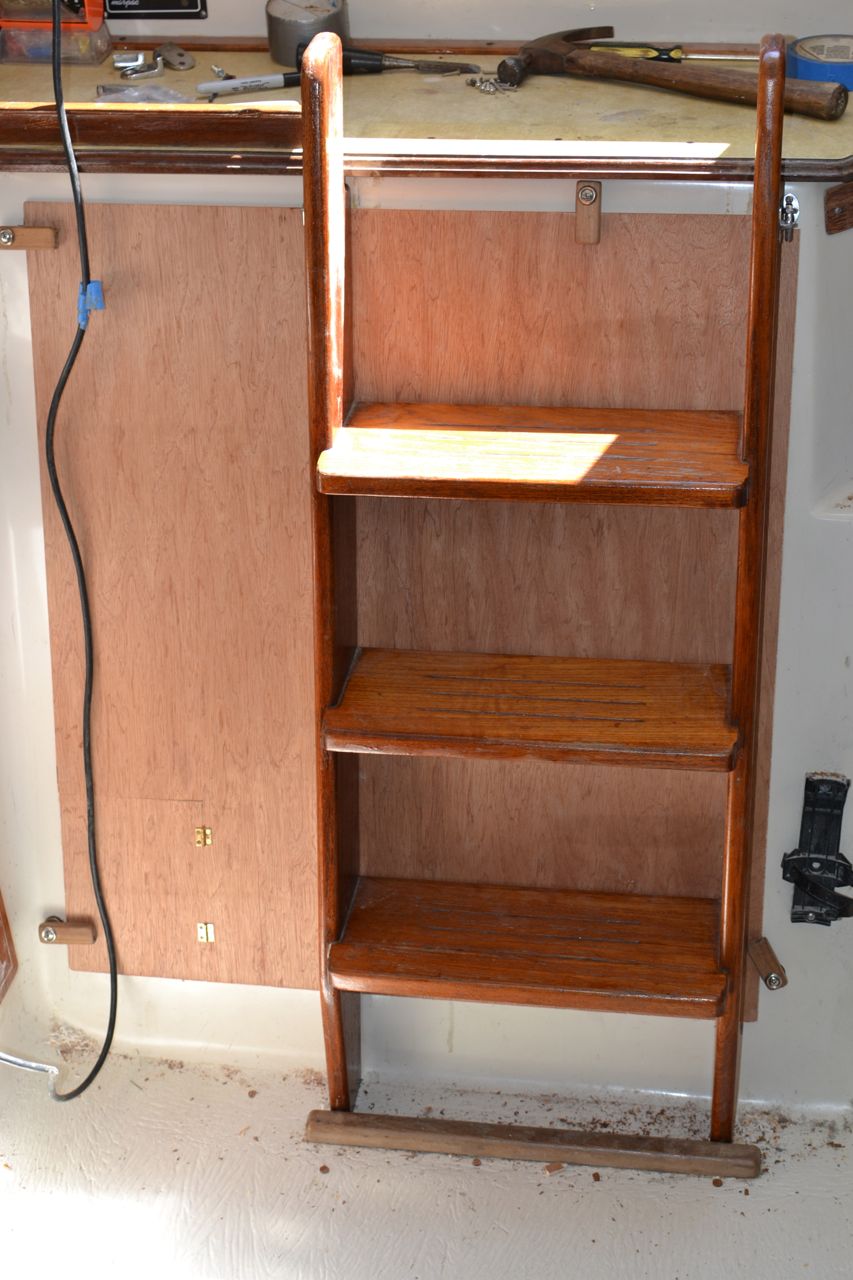
I had a lot of time for this project today, and finished the construction phase. Actually, with some time spent over the last several days, I managed to design and install the turn buttons, and locate and install the ladder hardware. Here is a photo – which doesn’t really do justice to the amount of time that went into the these two little accomplishments:
You will have to click and enlarge
in order to see the turn buttons
on the corners and the hooks
mounted just under the counter top.
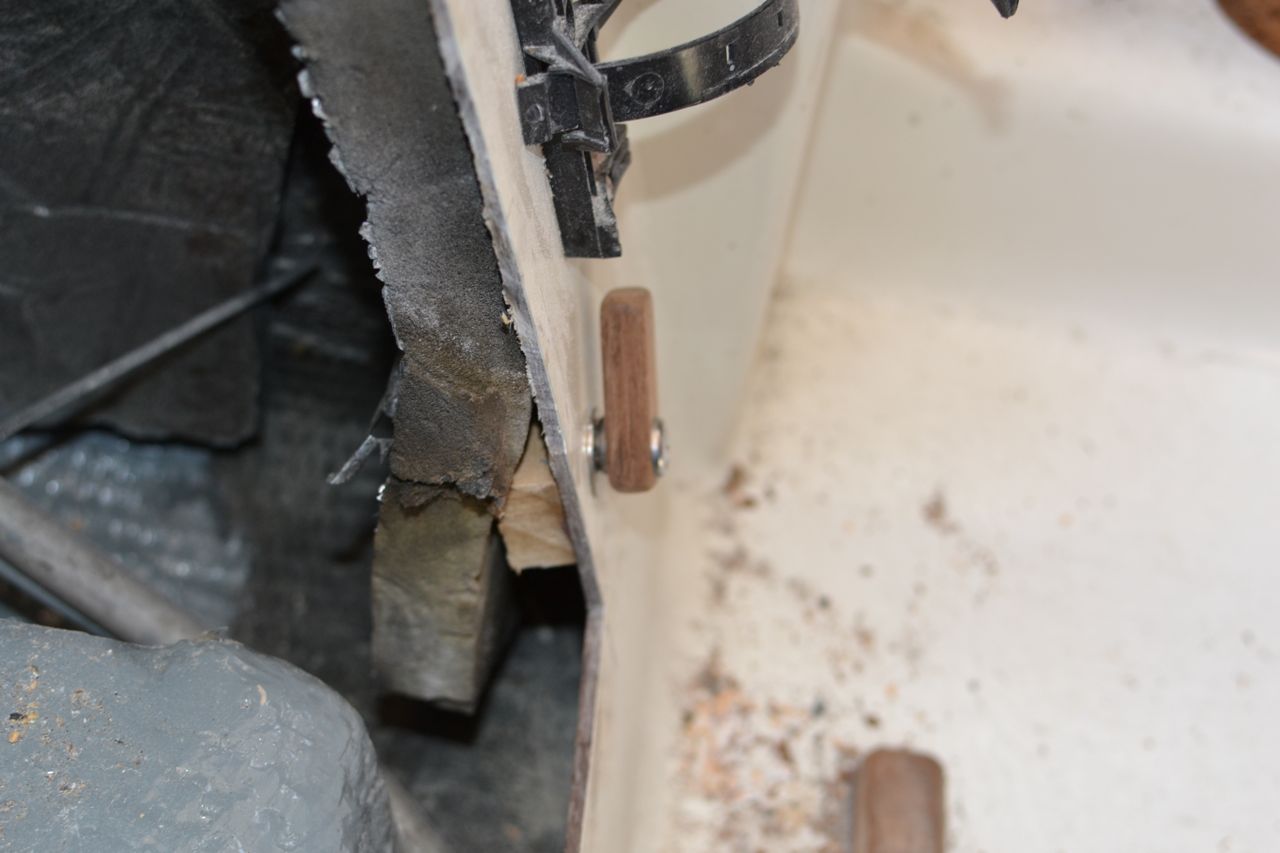
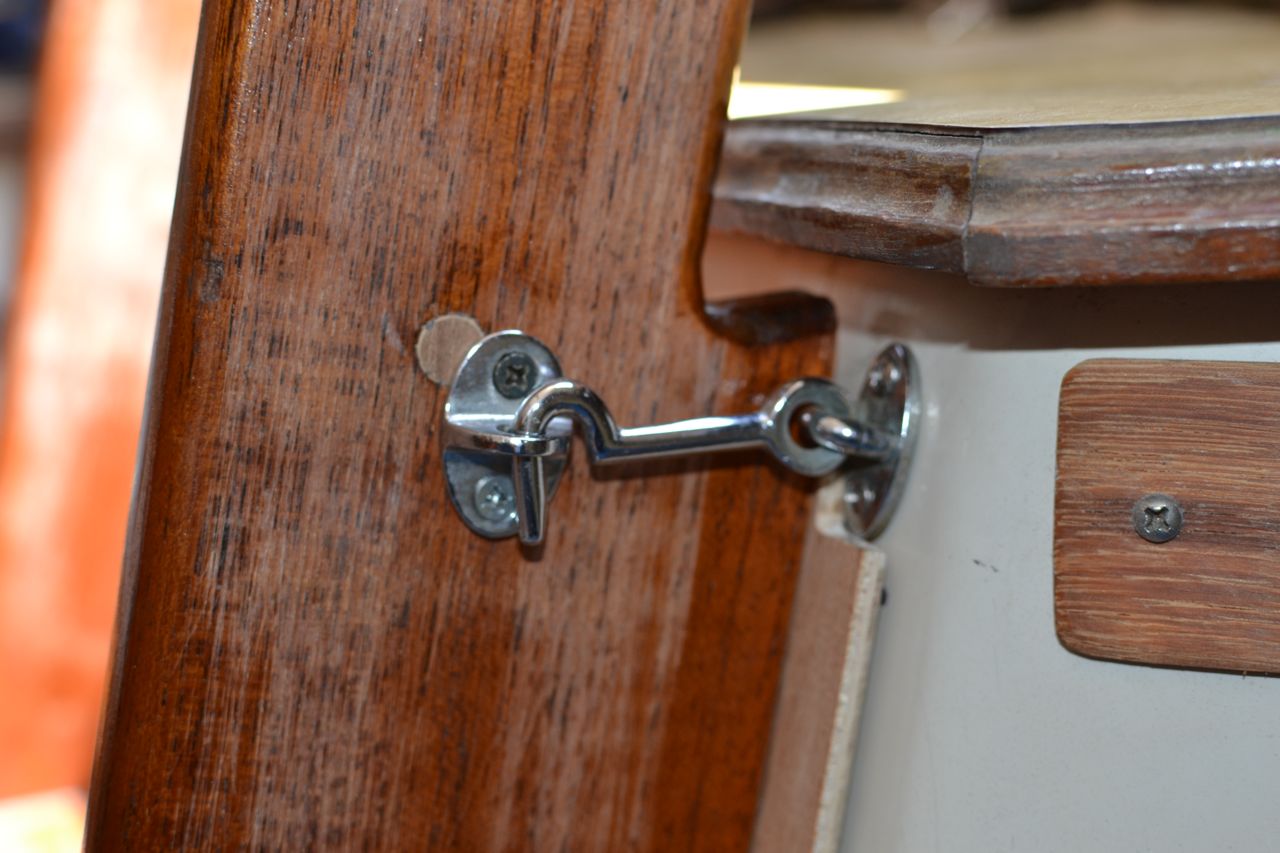
I ended up using some hook-and-eye hardware that my boat neighbor gave me as it was more heavy-duty and of “marine” grade. I mostly used it because of the heavier gauge material of its construction. The turn buttons were made of some teak decking scrap left over from another project. It took a bit of fiddling to get the spacers right between the facing surround and the turn buttons. Without the spacers, the buttons wouldn’t ride up onto the compartment cover.
Hook attached to a pad-eye.
Spacer between facing surround and turn button.
The next step was to install the eyes to secure the ladder, but first I had to fix the holes through which the clevis pins were passed in the old system. Here are a few photos of the holes being bunged and hardware installed.
There were four bungs like this because the plugs
weren’t long enough to fill the two holes front-to-back.
The bung is trimmed and sanded flush,
and the eye installed on the ladder.
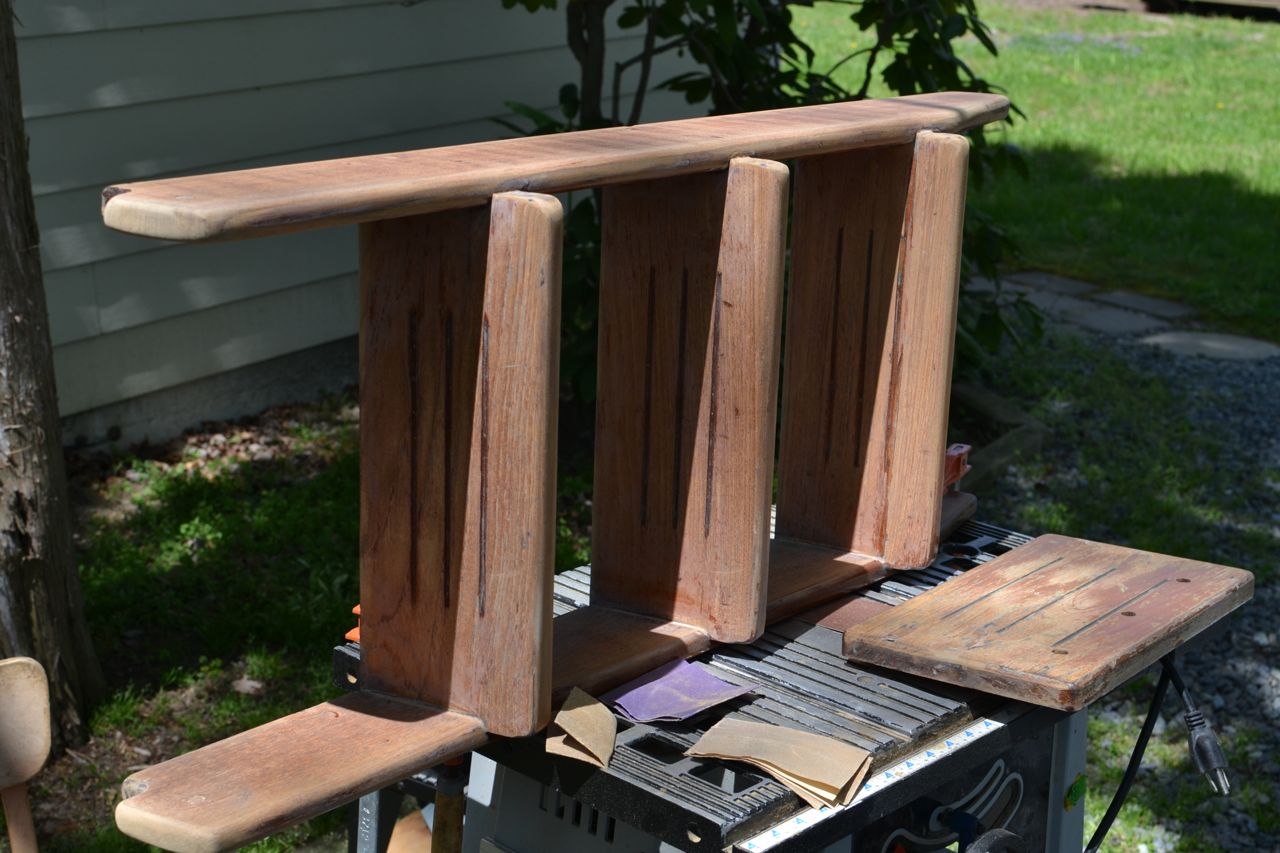
With the holes bunged and the hardware located on the ladder, it was time to refinish it. I sanded it all smooth and removed all the old varnish. I also trimmed the top of the ladder uprights even with the counter top. Having them extend above the level of the counter looked like a trip hazard to me.
Ladder trimmed and sanded smooth.
I trimmed about four inches off the top of each upright.
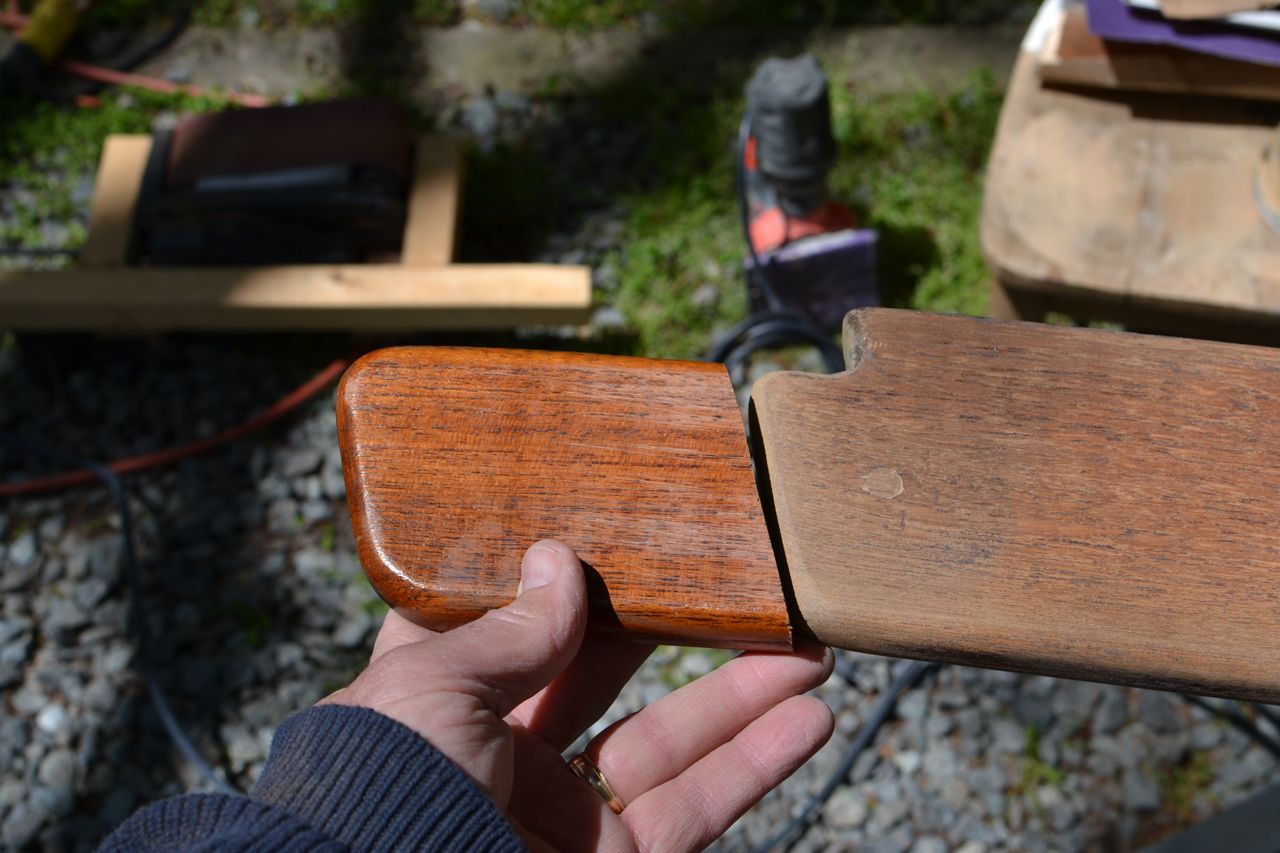
I also repaired the top step that was mounted on the counter top. The wood split out when I removed the old bungs. I repaired it with epoxy, bunged the old mounting holes, and sanded it smooth.
Bunged.
Repaired and bunged.
Clean and ready for varnish (sorry about the shadows).
Compartment cover and ladder in place.
This is before trimming the ladder tops.
I spent the rest of the afternoon sanding and varnishing with a sealer coat. I also sanded and sealed the teak trim around the counter top. It was in terrible shape and has bothered me for years. This is finally the right time to clean it up.
Life aboard is living large, in a small space. Every boat owner has found ways to make life in that small space easier, more comfortable, more convenient. The idea behind this site is to provide a place where these ideas can be shared amongst the boating community. To participate, send your contribution to SmallBoatProjects at gmail dot com.
Pages
▼
Thursday, June 27, 2013
New Engine Compartment Cover: Complete
Over on s/v Cay of Sea, Rick has finished constructing his new engine room cover. This is Part II of a two-part series - you can see Part I here.


No comments:
Post a Comment