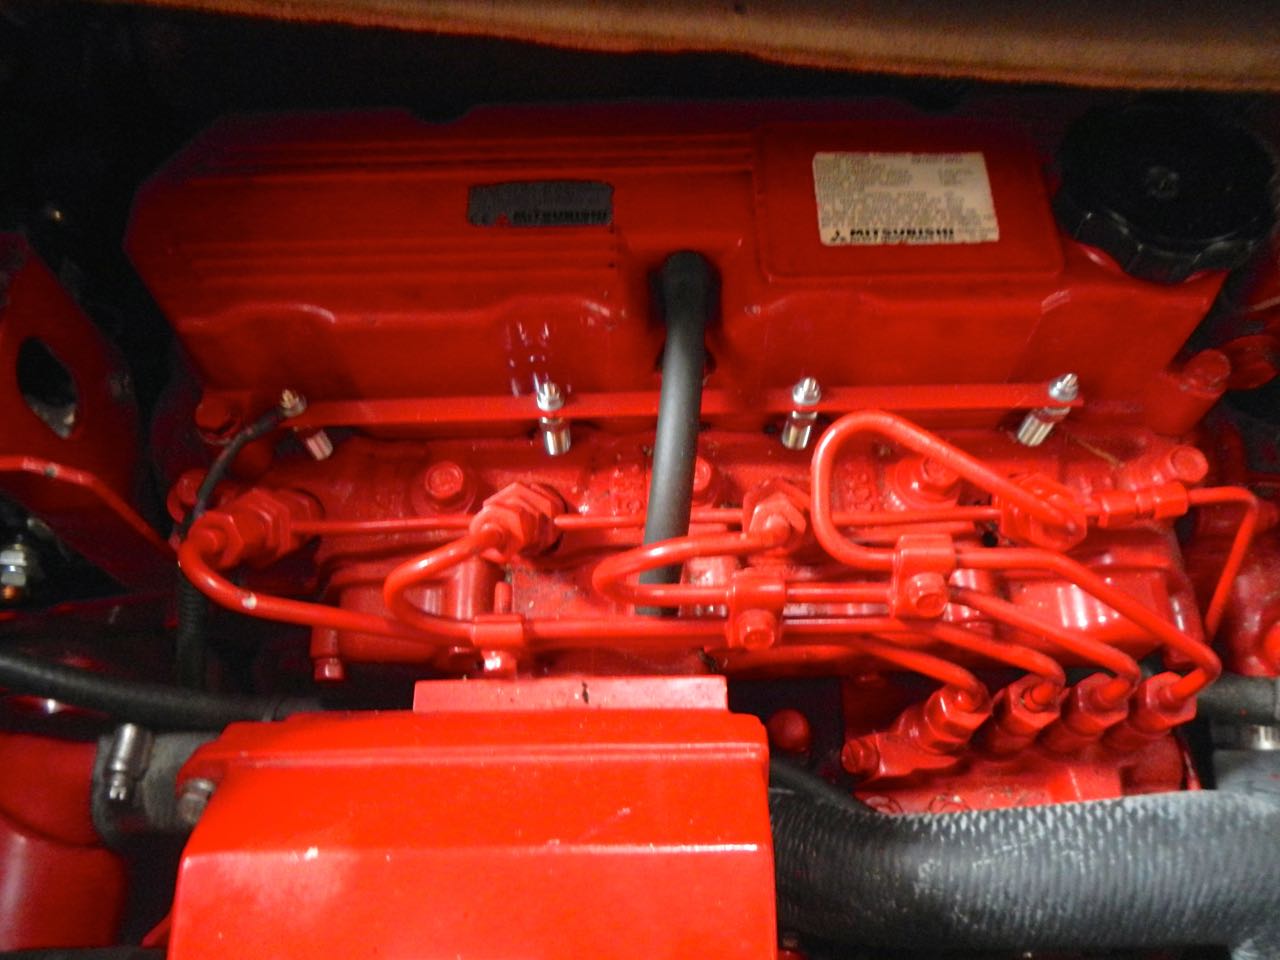
The day we got Astraea the engine started right up. Then after having her for about eight months the engine started being hard to start. We thought it was a problem with the batteries not delivering enough current, and they were seven years old, so I replaced them. Well, that didn’t make the engine start any easier. Each time we went to use the engine for the first time that day it would take 2 or three long cranks to start the engine. Our engine starting procedure went something like this:
Back in December at Southwestern Yacht Club I got lucky troubleshooting when Gary from Sea Rover II came over to help. He had a clamp on ammeter that we used to check the starter current and the current through the glow plugs. We used a voltmeter to read good voltage at the rail that connects the glow plugs, but when activated there was no current drawn, indicating that the heating element in the glow plug burnt up and was and open, not allowing electricity to flow through and register as Amps.
- Open the floor boards and turn off the raw water supply so we wouldn’t flood the engine.
- Hold preheat for 10 seconds and then crank the engine for 20-30 seconds, knowing that it wouldn’t start.
- Put the batteries on “Combined” and pray the engine would start when we would crank it for 20-30 seconds. Sometimes it would, but usually it wouldn’t.
- Crank the engine one more time for 20-30 seconds and it would either start, or we’d pull out the generator and charge the batteries.
- Once the engine started, rush down and open the seacock for the raw water supply to allow cooling water through the engine.
- Check for water discharge at the stern and see that the batteries are charging.
- Sigh a sigh of relief and/or have a beer.
The day before we left San Diego I went and bought 4 new glow plugs from A to Z Marine near Shelter Island, but didn’t install them until a few weeks ago because I didn’t want to screw the engine up worse during our long cruise down the coast. I now regret not having replaced the glow plugs sooner because it was really easy.
To replace the glow plugs all I had to do was remove the rail that connects them, then back the glow plugs out and replace them and tighten like a spark plug. The most important part of the prep work was ensuring that the engine was clean to prevent anything from falling in the cylinders while working.
The glow plugs are just a bit different, if you look at the old plug there are 7 threads that were engaged in the engine. When I replaced it the new plug only went down 4 turns before it got tight. After removing and inspecting the new plug, I saw that the middle of the plug below the threads is longer on the new plug. About 4 threads are needed to engage to have the plug seat entirely.
After replacing all four plugs we just push the preheat button for about 5 seconds, then crank the engine for about a second and it fires right up! No more sweating if the engine won’t start! Natalie said she was getting an ulcer with the stress of whether or not the engine would start. Now she can worry about other things.
Life aboard is living large, in a small space. Every boat owner has found ways to make life in that small space easier, more comfortable, more convenient. The idea behind this site is to provide a place where these ideas can be shared amongst the boating community. To participate, send your contribution to SmallBoatProjects at gmail dot com.
Pages
▼
Tuesday, March 10, 2015
Westerbeke 44B Glow Plug Replacement
We sailors like to pretend that we are not power boaters. But almost all of us are. And when that motor doesn't do what it is supposed to do, we are filled with anxiety. Nate and Natalie living aboard s/v Astraea got to the bottom of their engine difficulty, and found it was a straightforward problem:


No comments:
Post a Comment