Since the last blog, I’ve run the wires for the outside stereo speakers. I haven’t actually mounted the speakers because I can’t seem to find the stainless steel u-bolts I brought back from the States. They’ve got to be here somewhere but I don’t know where. I’m also missing a couple of other small items. They’re probably all in the same bag somewhere. Wish I knew where. But, no matter because I’d no sooner get the speakers mounted than I’d have to remove them when we store the boat.
Mounting the speakers consisted of
- figuring out where to put them,
- figuring out how to run the wire inconspicuously,
- running the wire.
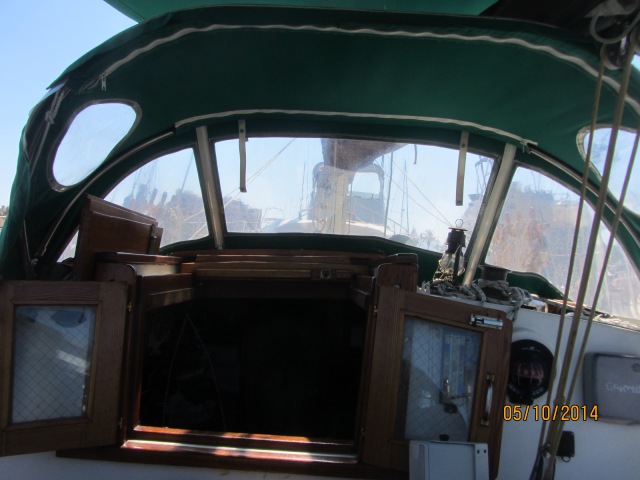
First, where to put them. The W28 companionway is not centered on the cabin making symmetrical mounting problematic.
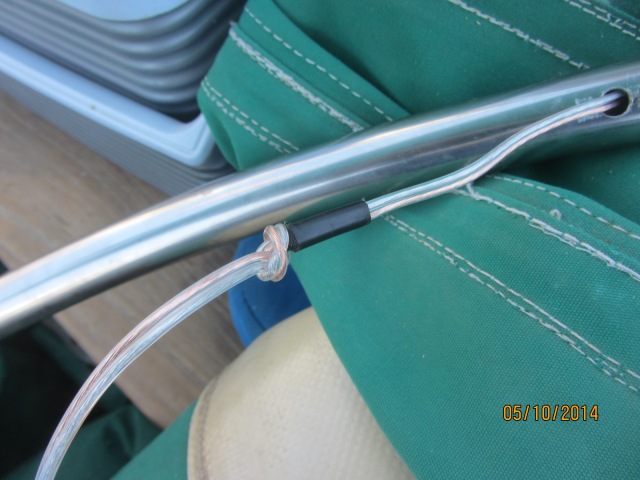
If things were symmetric I could just mount the speakers on the cabin top on either side of the companionway. Be a piece of cake to run the wires then, just drill a hole under each speaker, run the wire out and seal the hole. But, on the port side there is almost no room outboard of the companionway at all so that idea is out. My next thought, and the one I went with, was to mount them on the forward dodger supports (thus the need for u-bolts). The speakers are kind of big but they’ll go there just fine. So, how to get the wire to them. The easiest way would be to run it along the dodger frame and just zip-tie the wire to the frame. But this goes contrary to Lulu’s wish to “make it pretty”. I could maybe run the wire inside the tubing, which is what I ended up doing. I pulled the dodger off and took the forward bow off the frame so I could set it down on deck for drilling. I drilled a hole near where the bow meets the aft bow. This would be the entry point for both wires. Then I drilled exit holes where the speakers were to be mounted. I tried pushing a piece of speaker wire through from the exit hole to the entrance hole but it inevitably ran into something inside that stopped it. Other than the nice smooth curve of the tube, I can’t imagine what there is inside that would stop the wire’s progress. Well, no matter, I just fed a piece of stiff wire through from the entry hole and then fished it out the exit hole where I twisted and taped it to the speaker wire. Then it as a simple thing to just pull the stiff wire back, pulling the speaker wire with it.
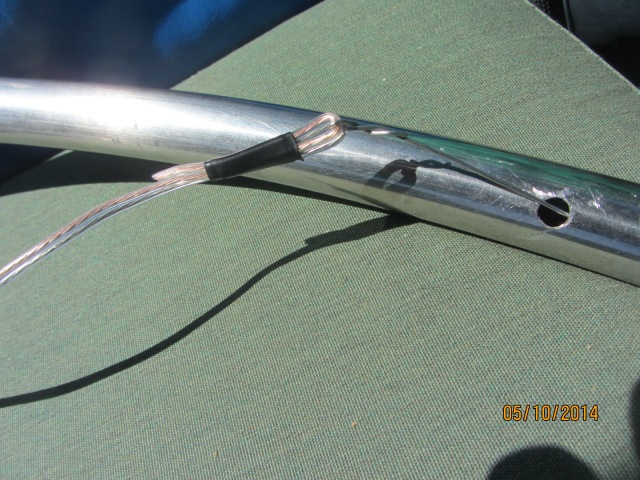
Then I put some anti-chafe gear (aka electrical tape) around the wire to protect it and tied a knot in it to keep it from getting pulled inside. Hopefully that knot won’t slow the music down and make it sound like a 33-1/3 RPM record playing at 30 RPM.
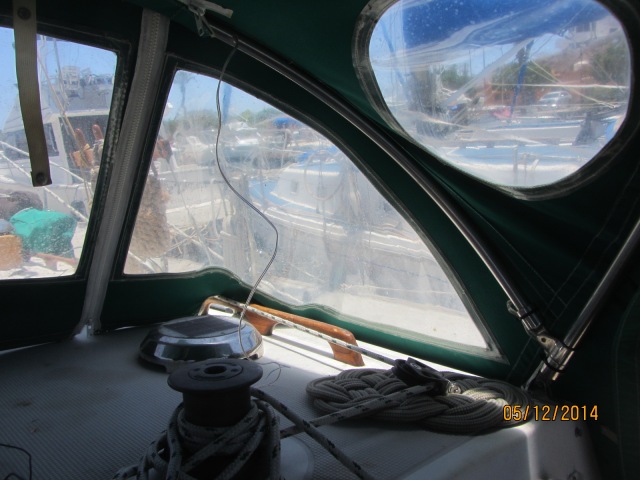
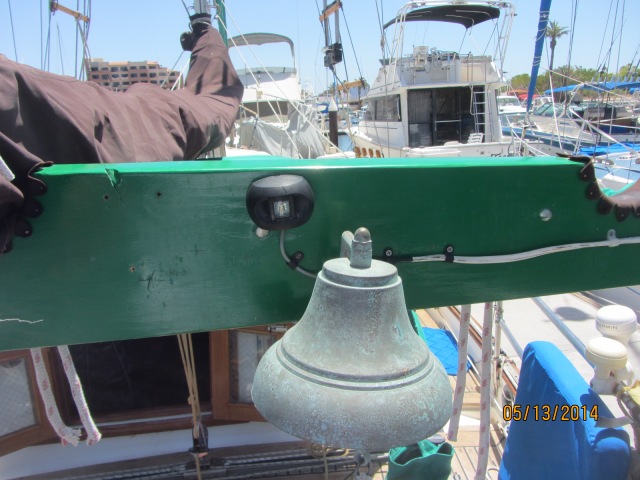
And, the final product, minus the speakers:
That’s a reasonably neat installation, isn’t it?
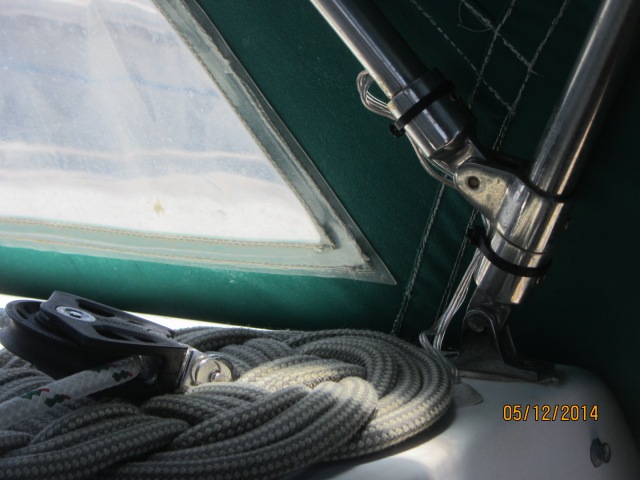
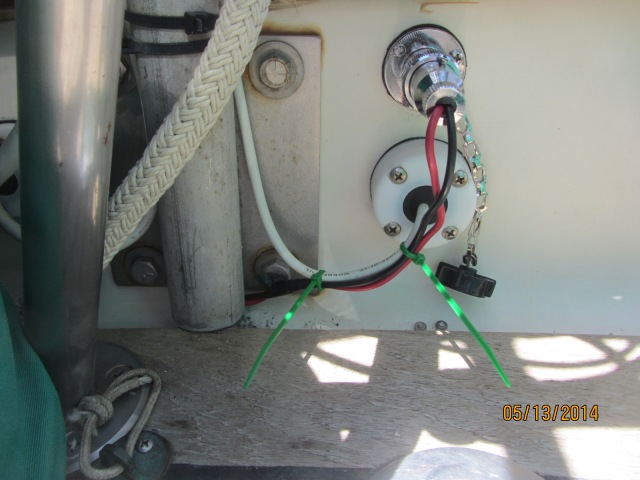
A close-up of the wire exiting the cabin. I used butyl tape to seal the hole:
Man! These are all so dark. Wish I’d discovered the camera setting sooner.
The next project I tackled was changing the light in the engine room. The old light had three problems:
- It was just a standard ceiling dome fixture with an incandescent bulb which didn’t shed light on all the places it needed to,
- Its switch was on the fixture itself which was in the engine room (duh). On several occasions, I’ve closed up the engine room with the light still on and didn’t know it. This happened recently when we were anchoring a lot. I was watching the meter panel and noticed that it seemed like we’d be using a significant amount of amps when nothing seemed to be on. This went on for a couple of days before I decided to check the engine room. Sure enough, the light was on. This speaks well of our new solar panels as they managed to keep up anyway. and
- The bulb in the existing light fixture is burned out. After reading this episode of Cunning Little Plan, I decided that I NEEDED lights like Mike bought. I bought three and have now installed one.
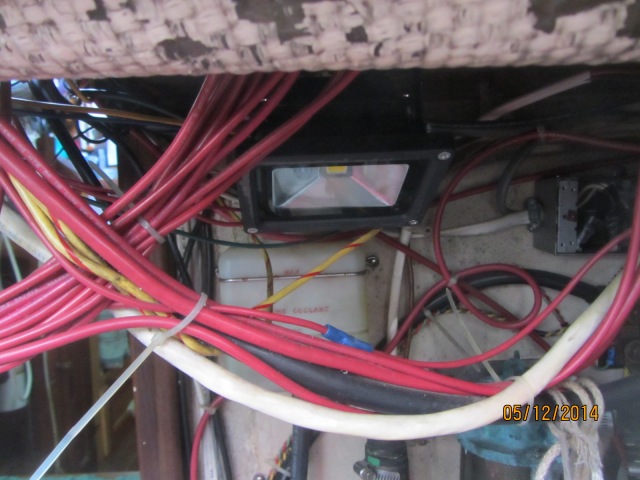 |
| Maybe now I’ll be able to actually see my dipstick. |
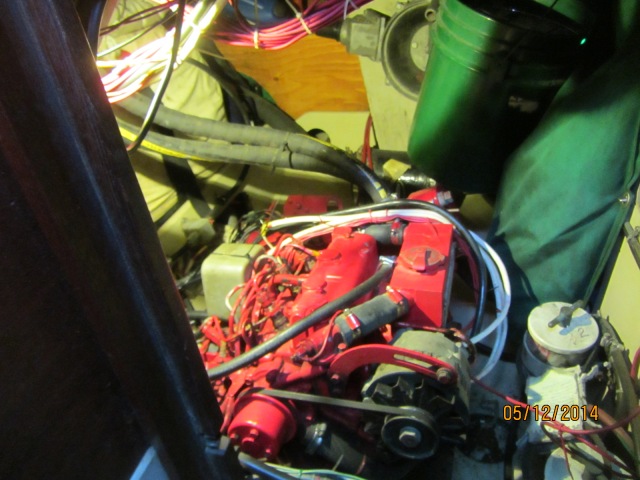 |
Add some ribbon lights above to send light into the shadowed areas and I could probably perform surgery in the engine room.
|
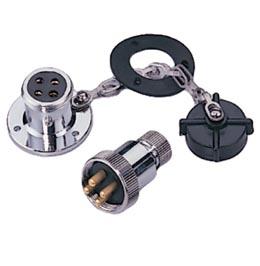
I started by removing the light and fishing out the wire that fed it. Looked like there would be enough wire to run to the new location. I would have liked to have made this run without any breaks but that would make the job MUCH harder. First, I’d need one of these for running the wire through the inside of the bulwarks. Even if I’d had one, if I ran the wire through it and then it turned out that it wasn’t quite long enough, I’d have to make a splice in an area prone to getting very wet. What I did have on board were a couple of these, albeit 2-pronged ones:
So, I drilled a hole in the bulwark and then ran the old wire to the female end and mounted it on the inside of the bulwark just aft of the boom gallows.
As it turned out, the wire wasn’t quite long enough to make it to the light but, I really wanted to use it as it was much better wire than anything else I had onboard. So, I just moved the stern light a wee bit to starboard.
Once again, the toughest part of the job was getting the wire down through the boom gallows stanchion. I drilled an entry hole to feed it in but, naturally, it wouldn’t go. Tried using the stiffer wire and it kept getting hung up as well. Ended up removing the gallows so I could see feed the stiff wire straight down the pipe. It still got hung up a few times. On what, I do not know. But, eventually I got it through and could then use it to pull the electrical wires down to where they would feed out the open bottom of the stanchion.
That’s about my last pre-haulout job. I do think I’ll remove the dodger so I can see better when I motor over to the haulout dock but that’s about all. Don’t want to start stashing stuff below until I’m sure I won’t have to access the space underneath and I won’t know that until I’m in the yard doing all the jobs necessary before storing the old girl for a year or more.
All in all, the jobs have gone smoother than I had anticipated. Better that than the reverse. Now, if the yard jobs will just go as smoothly.
No comments:
Post a Comment