Every estimate of time for a boat project should be trebled.
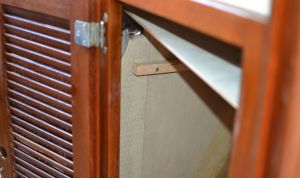
I began the conversion to shelves from hanging space yesterday. After 2.5 hours, I had fitted exactly one shelf – and it wasn’t finished, just fitted. I managed to cut and tack on a fiddle to the shelf as well, but it needs to be glued. Now it’s only screwed on, which isn’t very secure at all.
All By Eye
Nothing is square or level on a boat. You need to use a square for reference, and sometimes pieces that you cut should be square with themselves. But the installations are never square. Example: I measured and estimated by eye the even height for the first shelf from left to right (actually, fore and aft), then when I looked at the installed cleats (shelf supports) it didn’t look like it could ever possibly be level to the eye. But – it was. When I got the shelf itself trimmed to fit in the space, it looked perfect. Who could have guessed by looking at the cleats? Some combination of estimation, gauging by eye, and measuring produced the correct levels.
Why Doesn’t This Thing Fit Yet?
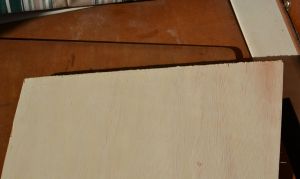
I made no fewer than 7 trips between the boat and my work area to trim the shelf so that it would fit the space. Side to side, front to back, and then trim the back side of the shelf to fit the curvature of the hull. Lots of trial, but mostly error. Then that last fitting, and it worked!
Trimming to fit the hull is an interesting exercise that I had read about, but never tried. You take a compass (you know, that thing you used in school with which to scribe arcs in geometry?) and place the pointy end against the hull. Press the pencil against the shelf you want to trim. Now keep the compass at a consistent level and in contact with both surfaces as you drag it along the width of the shelf (on the back side, of course). The result is a pencil line on your shelf that duplicates the curve of the hull in that place. It’s like magic when you cut the along the line and refit the shelf – and find that it matches!
Space – The Final Frontier
This upper-most shelf is 23-26 inches deep (it’s shallower towards the bow, deeper towards the stern). If you measure your arm from the tips of your fingers to the arm pit, that’s about as far as you can reach. The space above the shelf is about 10 inches. That’s a humongous space on a boat.
The next shelf down won’t be quite that deep, as the hull curves in towards the keel the further down you move along the hull. However, it will still be 19-23 inches deep, which is still a lot of space.
Life aboard is living large, in a small space. Every boat owner has found ways to make life in that small space easier, more comfortable, more convenient. The idea behind this site is to provide a place where these ideas can be shared amongst the boating community. To participate, send your contribution to SmallBoatProjects at gmail dot com.
Pages
▼
Thursday, August 2, 2012
Hanging Locker Conversion to Shelves
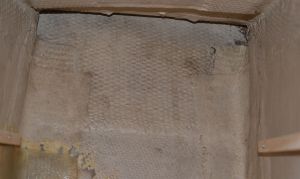
Rick on s/v Cay of Sea sets about changing a hanging locker into shelved storage space. It's an interesting exercise in making things fit in the curved, not plumb, not level environment of a boat. This is part I:


This is how you show your creativity in organizing shelf in your boat. Learn to be minimalist is a great character in designing your boat features interior. Not just engine to be learned but the whole part of your boat should be learned.
ReplyDeleteJoan @ west michigan boat storage
I agree Joan. When you get a boat that's new to you, it seems like the only storage is in open lockers or on the settees. Over time and with use, you figure out where things need to be, and if you don't have stowage that fits the need, you modify space so that it will serve. Takes time and thinking.
DeleteI use thick cardboard (as in cardboard box material) and scribing with compass to make patterns for things like shelves. The cardboard can be sculpted on-site with a knife or scissors, then taken to the shop for transferring the shape to the wood or other material.
ReplyDeleteThat is a very good idea, John, and saves a lot of effort and time. I've done that in that past, and it works well. Especially when my shop was 50 miles away when we lived in northern Virginia, and commuted here on the weekends. In fact, that is the way I shaped the new companionway drop boards.
ReplyDeleteNow that we live on the creek, my "shop" was just off the pier at my house, though carving cardboard would have still save time and effort. The subsequent shelves went much faster, as I had a better feel for dimensions of the space into which they were being fitted.
Rick