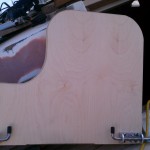
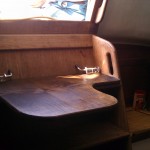
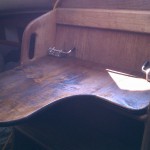
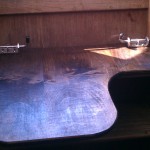
I first saw this table/seat in a newsletter I get from Steve Roberts of the Nomadnes report (his http://nomadness.com ) I modified it slightly to fit how we wanted to use it,by doing a cutout on the right side as you face it in the companionway. This allows for someone to climb up or down the companionway with the table installed. Our companionway is fairly wide so it still left plenty of space for a usable table surface. In mounting it we drilled holes at every step from bottom to top so that the table could be used for multiple tasks at different levels.
So far we have used it for several things
The materials used cost about 30 dollars. We purchased the stainless trailer latches that Steve used in his table from etrailer.com and I had purchased a 3/4 inch sheet of birch plywood to repair the companionway hatch and just made the table with a small piece of the left over birch plywood. The latches were about 15 dollars each including shipping and the plywood was extra that was laying around. I could have purchased a small section 2×2 ft at home depot for 20 dollars or so for the nice birch hardwood ply,or used something a bit cheaper.
- It has freed up the space over the fridge that normally holds utensils,mixing bowls of ingredients etc.. and has given me much better access to the fridge when working in the galley. Mostly I use it in the top step of the companionway for this. For me it is at chest height. My wife who is shorter might use it in the step below that to be more comfortable for her. I intend to install some removable fiddle boards for when at sea eventually so that we will be able to use it then also.
- It works as an extra seat in the second from the bottom step. We haven’t created a cushion for it yet but intend to create one that has flaps that fold down and under the table to attach to some velcro or snaps on the bottom of the table. This way the attachment won’t affect the work surface on top when the cushion isn’t in place.
- I had to replace a filter under the galley sink that faces the companionway. At 6’2″it has always been a very difficult process for me to try and kneel in the small floor area there and reach under the sink to work. I found that with the seat/table on the lowest step that I could comfortably sit on it and lean forward and access that area with ease.
- Though our pilot berth is for now mostly a repository of parts and tools,at some point we will reclaim it as usable living space. I can envision having the table/seat in place on the step that is at the same level as the pilot berth and being used as a table for someone laying there reading. Maybe to hold a plate or cup.
- Our 14 month old daughter has developed significant climbing ability.
Our companion way is approx. 5ft tall and very steep and ladder like yet she can now climb it in less time than it takes to read this. In looking at the table my wife realized that if we drilled mounting holes at the front of the step we could flip the table up vertically so that it covers the bottom step and that it would extend high enough to limit our daughters ability to step up on the first step and climb the companionway. I’m sure it won’t work long as she grows but it turned out to be a elegant solution with something we had already built.
only two more holes to be drilled

Tools used were a jig saw,router and sander to cut out wood and shape the edges. Painted with stain to make it as close as I could to the companionway color and then sealing it with penetrating epoxy. I plan on painting it again with a clear polyurethane at some point when I have some out for another project. I cut the board about 1/2 inch less in width than the inside dimensions of the companionway steps so that it would easily slide into the steps. With the board all the way in after I had mounted the latches I took and used a pencil to trace where the shafts on the latches touched the side rails of the companionway. Then used a 1 inch drill bit if I remember correctly to drill holes right and left on each step so that I could use the table at any level. Double check the drill size if doing this to the shaft size. There is very little to no slop in my installation so that there isn’t much if any movement of the table.
Scott Carle
s/v Valkyr
Downeaster 38
http://www.downeasteryachts.com
http://scottcarle.com/wordpress
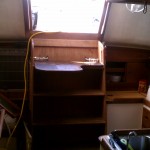
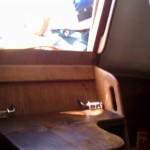
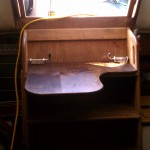
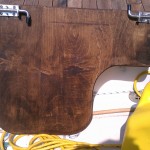
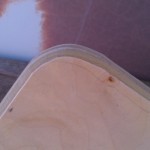
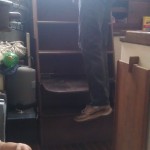
A few pictures of the finished product in use
Life aboard is living large, in a small space. Every boat owner has found ways to make life in that small space easier, more comfortable, more convenient. The idea behind this site is to provide a place where these ideas can be shared amongst the boating community. To participate, send your contribution to SmallBoatProjects at gmail dot com.
Pages
▼
Thursday, June 7, 2012
Companionway Seat/Table
I can't show this one to my kids, because they heard me too often enjoining them to not sit on the top step in the companionway because they blocked access to the cabin. Scott on s/v Valkier has made a clever addition to his companionway which solves the problem:

Brilliant!
ReplyDelete